Picture this: a kitchen that exudes elegance, where every detail is carefully curated to perfection. One of the key elements that can elevate your kitchen’s aesthetic is a stunning granite countertop. But here’s the thing – it’s not just about picking the right slab; it’s also about how you attach it to your cabinets. That’s what we’re here to talk about today.
Whether you’re a handy DIY enthusiast or a seasoned contractor, understanding the art of attaching granite countertops is essential. It’s the secret sauce that ensures your countertop stays secure and stable for years to come. So, let’s dive into the nitty-gritty details and uncover the materials and techniques required for this task.
In this blog post, we’ll walk you through everything you need to know about attaching granite to cabinets like a pro. From choosing the right adhesive to mastering installation techniques, we’ve got you covered. By the end of this read, you’ll have all the knowledge and confidence needed to tackle this project head-on.
But before we get started, remember that every granite and cabinet combination is unique. So, while we’ll provide general guidelines, always consult any specific instructions or recommendations from manufacturers for your particular materials.
Are you ready? Let’s embark on this journey together and unlock the secrets behind creating a perfect union between granite and cabinets.
The Benefits of Attaching Granite to Cabinets
Contents
- 1 The Benefits of Attaching Granite to Cabinets
- 2 Preparing the Cabinet Surface
- 3 Applying the Adhesive
- 4 Lowering the Granite Slab
- 5 Applying Pressure to Secure the Bond
- 6 Curing Time for the Adhesive
- 7 Mechanical Methods for Securing Granite to Cabinets
- 8 Factors to Consider During Installation
- 9 Conclusion
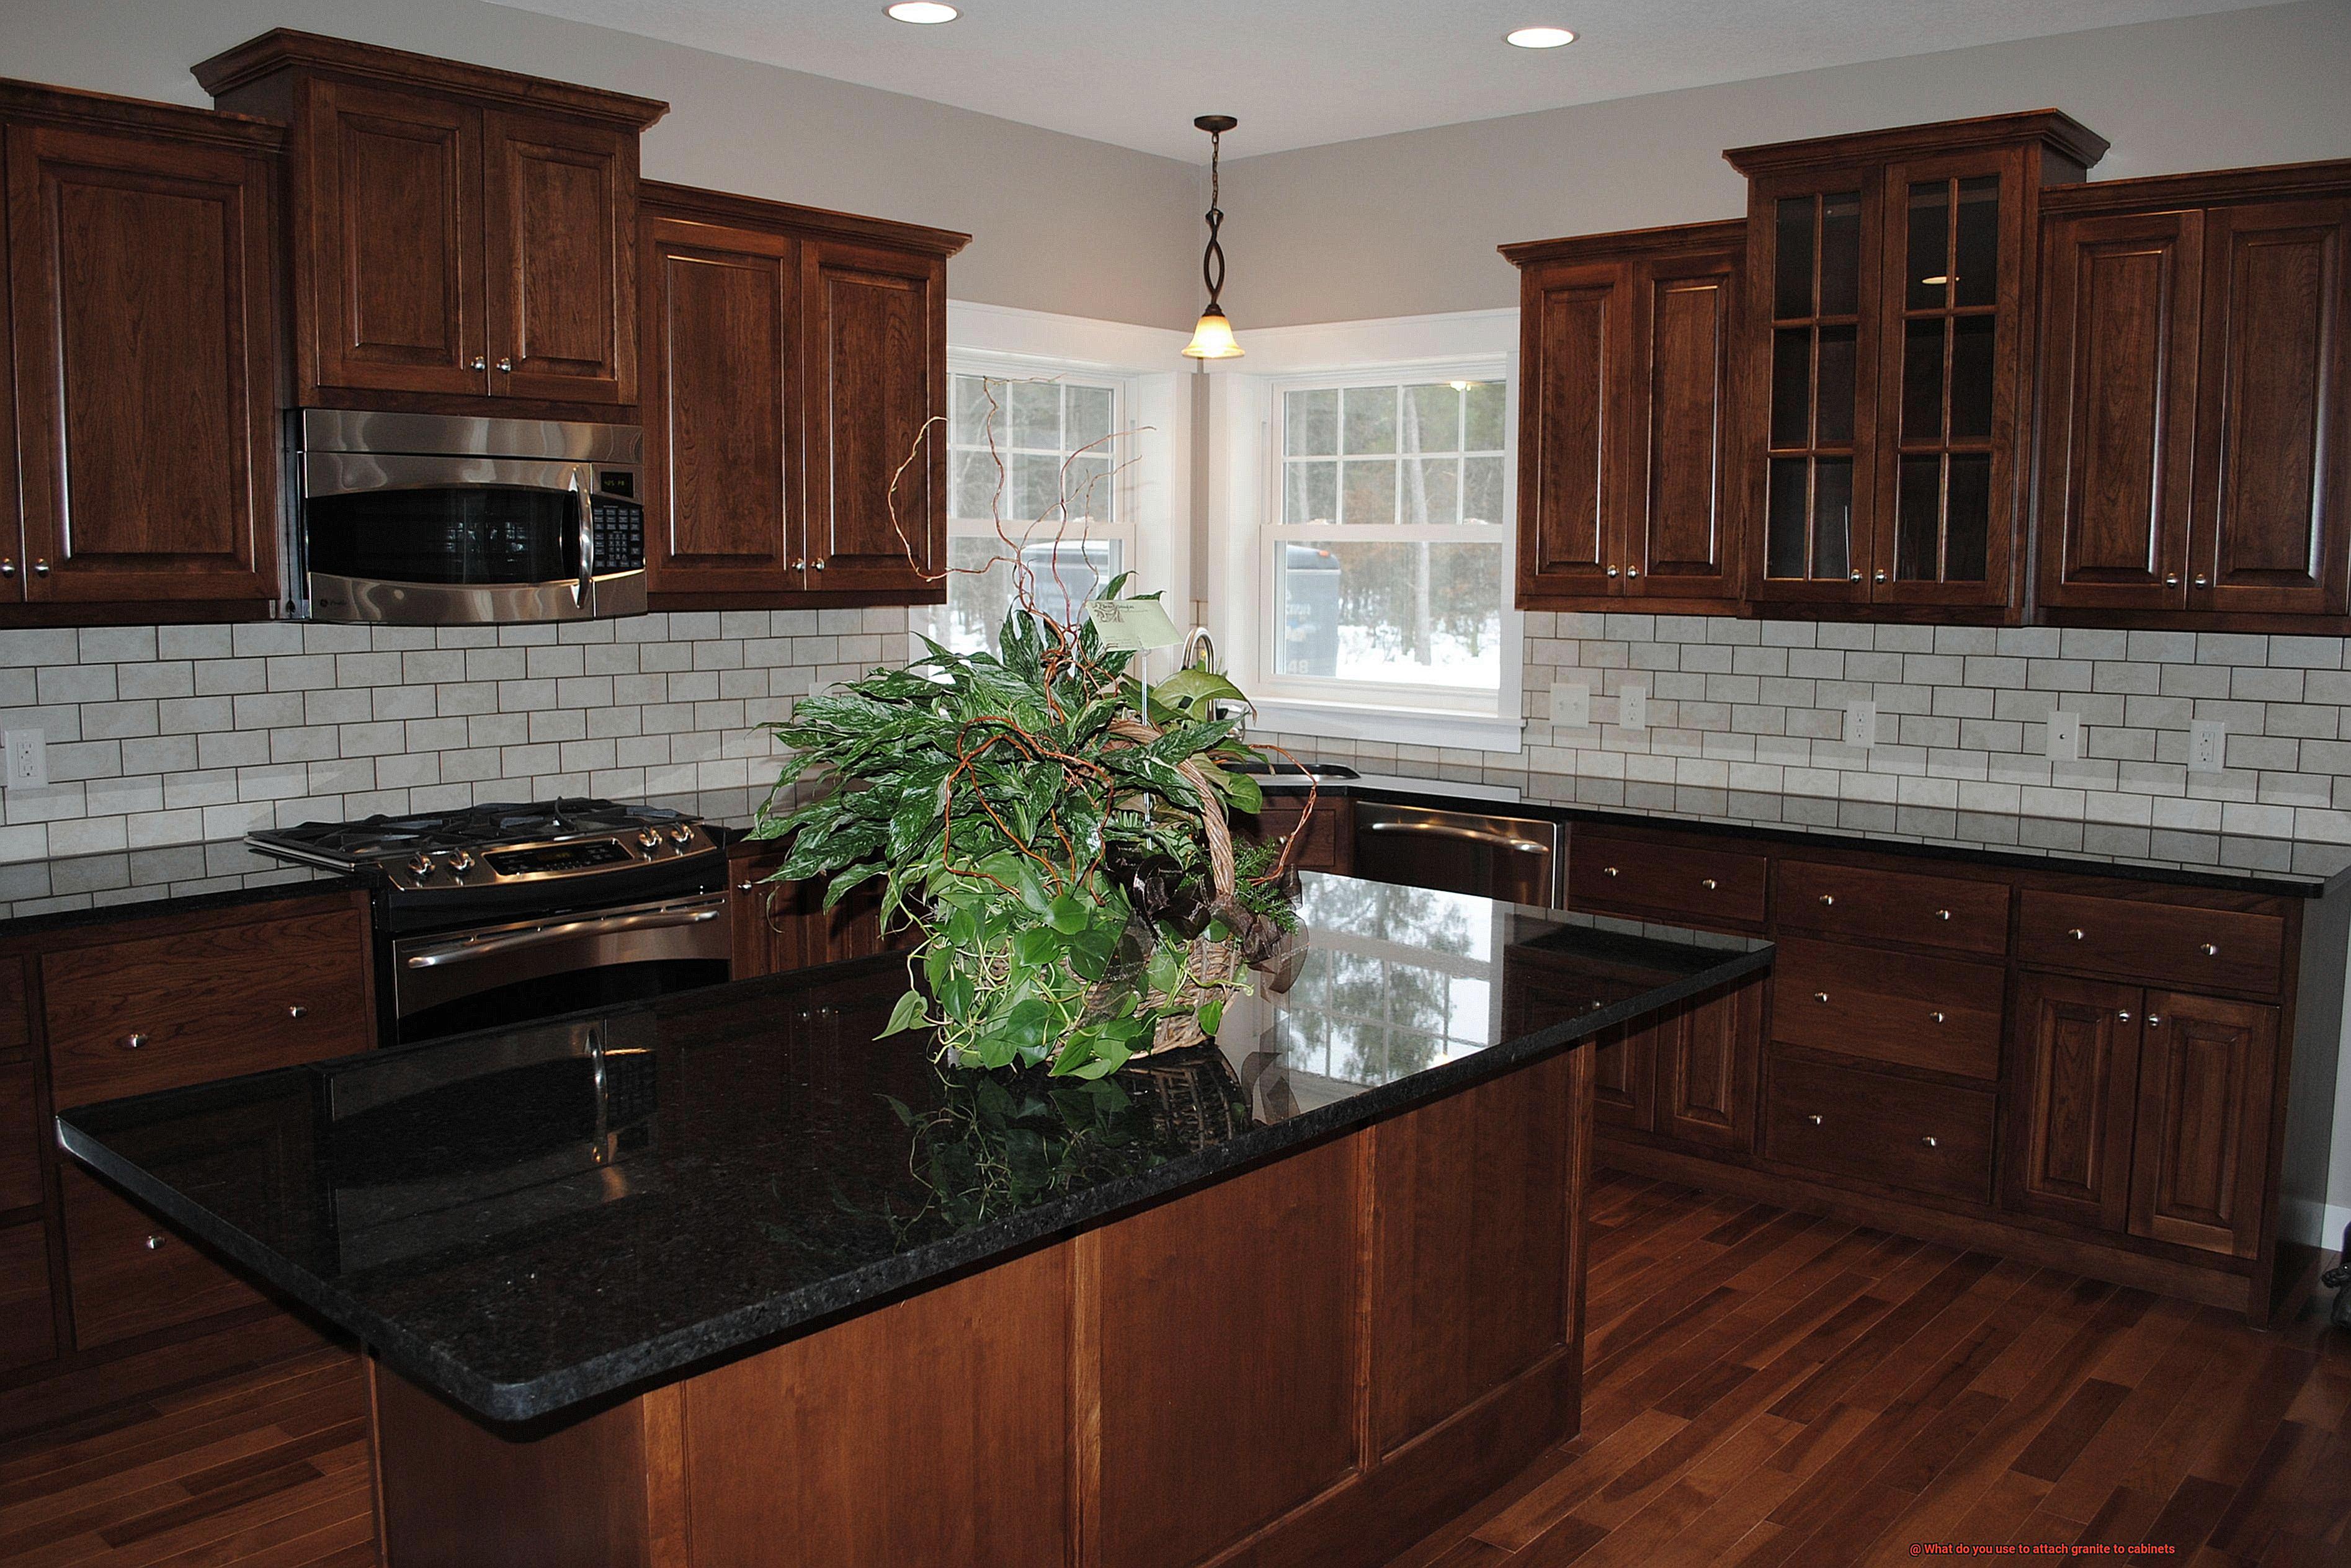
Upgrade your kitchen or bathroom countertops with the luxurious and durable natural stone of granite attached to cabinets. Discover the advantages of this elegant addition that will elevate the aesthetics and functionality of your space. From luxurious aesthetics to increased home value, let’s explore why attaching granite to cabinets is a worthwhile investment.
Luxurious Aesthetics:
- Choose from a variety of colors and patterns to complement your overall design scheme.
- Instantly elevate the visual appeal of your kitchen or bathroom with an elegant touch.
Durability:
- Granite’s hard and tough composition withstands daily wear and tear.
- Scratch, heat, and stain-resistant, ensuring long-lasting beauty and functionality.
Increased Home Value:
- Desirable feature for potential buyers, making it an excellent investment.
- Enhance the value of your home and create a selling point for future transactions.
Easy Maintenance:
- Effortlessly clean and maintain with minimal effort.
- Wipe down with mild detergent and water for pristine appearance.
- Non-porous surface prevents bacteria or germs from harboring, perfect for food preparation areas.
Versatility:
- Customize granite to fit any cabinet layout, offering flexibility and personalization.
- Extend its use to kitchen islands or bathroom vanities for a cohesive look throughout the space.
Seamless Surface:
- No grout lines or seams collect dirt or grime, ensuring easy cleanliness.
- Provides a smooth and polished appearance, enhancing the overall design of your kitchen or bathroom.
Preparing the Cabinet Surface
Before you embark on the installation process, it’s crucial to properly prepare the cabinet surface. This step is vital for ensuring a strong and long-lasting bond between the granite and the cabinets. So, let’s dive into the essential steps involved in preparing the cabinet surface:
- Check the structural integrity: Before anything else, ensure that your cabinets are structurally sound and properly installed. Repair or replace any loose or damaged parts. A solid foundation is key to a successful granite installation.
- Clean, clean, clean: Create a clean canvas for your granite by thoroughly cleaning the cabinet surface. Use a mild detergent and water solution to remove dirt, grease, or debris. For stubborn stains or residue, opt for a non-abrasive cleaner and a soft cloth. Squeaky clean cabinets are a must.
- Sanding for better adhesion: Enhance the adhesion of the glue or adhesive by creating a rough texture on the cabinet surface. Gently sand the entire surface, including edges and corners, using medium-grit sandpaper. This step ensures secure bonding with your granite.
- Dust removal: Dust can disrupt surface bonding, so after sanding, remove all traces of dust from your cabinets. Wipe down with a clean, damp cloth or use a vacuum cleaner with a brush attachment. Don’t let sneaky dust particles interfere with your granite installation.
- Primer application: Apply a high-quality primer designed for wooden surfaces to create an even surface for better adhesion and prevent moisture damage. Use a paintbrush or roller to evenly apply the primer, covering all areas of the cabinets. Let it dry completely as per manufacturer’s instructions.
Applying the Adhesive
When it comes to attaching granite to cabinets, the application of adhesive is like the brushstroke that brings together a masterpiece. Just as an artist carefully prepares their canvas, proper adhesive application is crucial for creating a strong and long-lasting bond between the luxurious granite countertop and the sturdy cabinet base. In this article, we will dive into the fascinating world of glue and explore how it plays a significant role in this application.
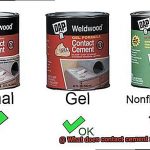
The Power of Epoxy:
In the realm of granite-to-cabinet bonding, epoxy adhesives steal the show with their remarkable strength and durability. These adhesives consist of two components – a resin and a hardener – that, when combined, undergo a chemical reaction, resulting in a solid bond capable of withstanding the test of time.
Surface Preparation is Key:
Before delving into adhesive application, it’s essential to properly prepare both the granite countertop and cabinet base. Cleanliness is paramount, ensuring both surfaces are free from dirt, debris, and any remnants of old adhesive or caulk. This meticulous preparation sets the stage for a flawless adhesive work of art.
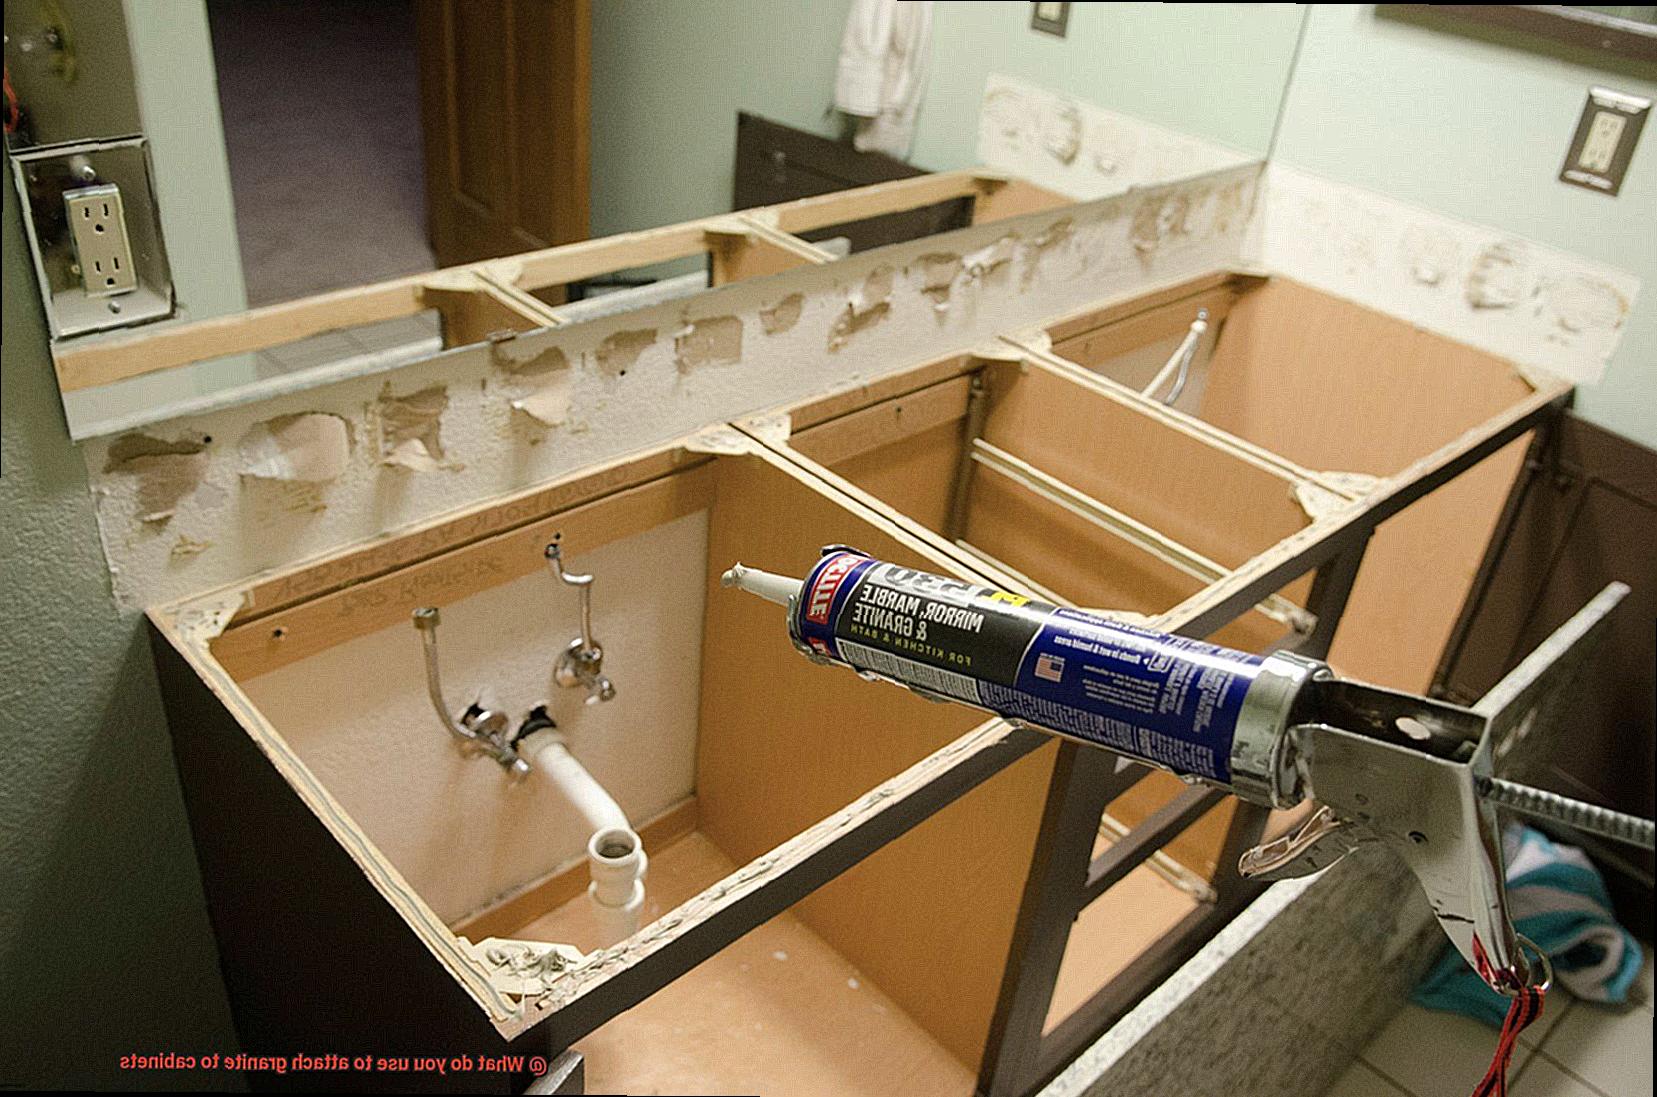
Creating an Even Canvas:
To achieve an even distribution of adhesive, apply a thin layer across the entire cabinet top surface. Utilize a notched trowel or a similar tool to create ridges in the adhesive, maximizing the surface area contact between the granite and cabinet for a rock-solid bond.
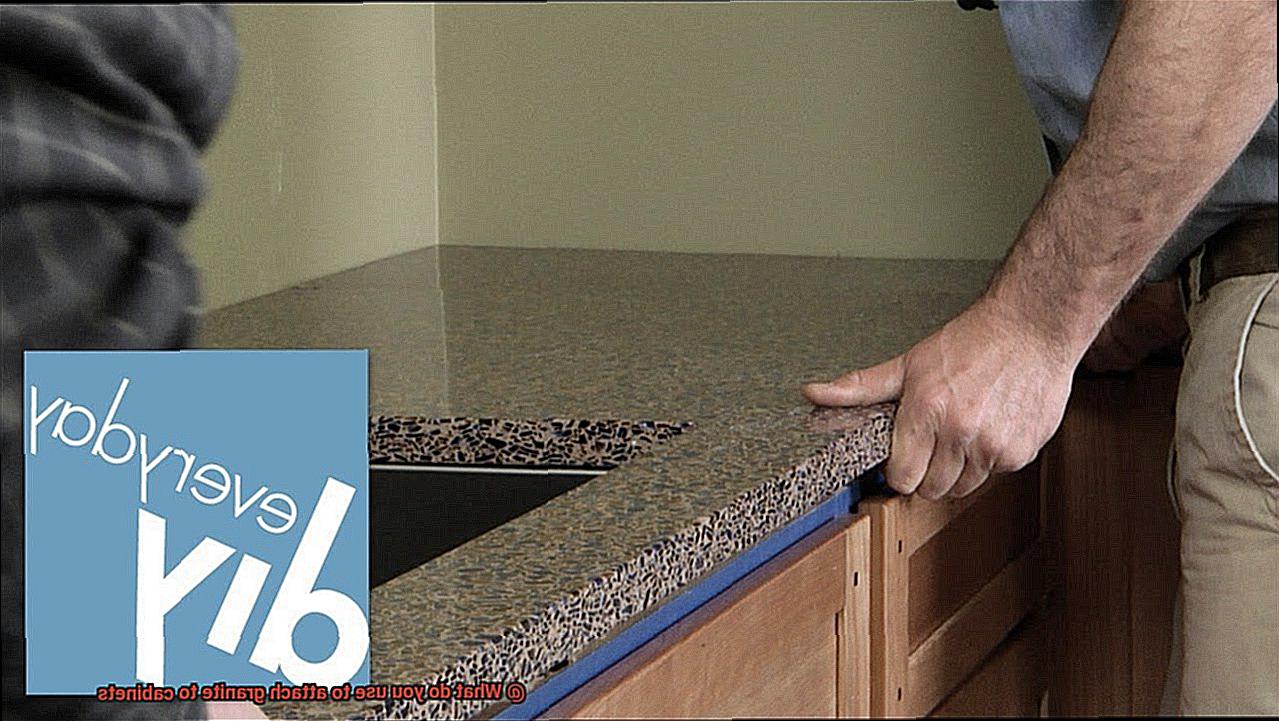
Meticulous Placement:
With your trusted assistant by your side, gently lower the granite countertop onto the adhesive-covered cabinet surface. Apply pressure evenly to ensure optimal weight distribution across every inch, elevating the bond to perfection.
Filling in Gaps for Perfection:
Once the granite is in place, inspect for any gaps or unevenness. If imperfections are detected, add additional adhesive to fill them in. This final step guarantees a seamless connection, leaving no room for voids that could weaken the bond over time.
The Patience of a Masterpiece:
To achieve impeccable results, exercise patience and allow the adhesive to cure for at least 24 hours before subjecting the countertop to use or stress. During this curing period, refrain from placing heavy objects or applying excessive pressure, allowing the adhesive’s magic to work its wonders.
Lowering the Granite Slab
When it comes to attaching a granite slab to cabinets, one crucial step is the safe and precise lowering of the slab onto the cabinet structure. This process requires a combination of techniques and tools that ensure a secure and long-lasting bond. In this article, we will explore the various methods and equipment used to safely lower a granite slab onto cabinets.
Suction Cups: Your Trusty Allies
Suction cups, made from durable rubber or silicone, create a vacuum seal against the surface of the stone. These unsung heroes provide stability and control during the lowering process, making them essential for smaller or medium-sized slabs.
Stone Lifting Clamps: The Grip of Confidence
Stone lifting clamps securely grip granite slabs by their edges, offering stability and control during lowering. Manual or hydraulic options with adjustable features accommodate different slab thicknesses, making them ideal for thicker or heavier slabs.
Gantry Cranes: Power Meets Precision
For larger projects or exceptionally heavy slabs, gantry cranes are necessary. These sturdy structures consist of a horizontal beam supported by two upright legs, providing excellent stability during overhead lifting and movement.
A-Frames: Maneuverability Meets Efficiency
A-Frames are versatile tools that provide stability during transportation and installation of granite slabs. Adjustable arms securely hold the slab, making them ideal for tight spaces or maneuvering through doorways.
Forklifts with Specialized Attachments: Versatility at Its Finest
Forklifts equipped with stone handling attachments offer mobility and versatility. These attachments provide a secure grip on the slab, allowing for precise placement and control. Forklifts are suitable for various job site conditions.
Applying Pressure to Secure the Bond
If you’ve ever marveled at the stunning beauty of granite countertops or admired the elegance of granite cabinets, you may have wondered how these pieces are securely attached. Today, we delve into the fascinating world of applying pressure to secure the bond between granite and cabinets. Prepare to uncover the key ingredient that ensures a rock-solid connection and guarantees the longevity of your granite marvels.
The Importance of Applying Pressure:
Creating an Unbreakable Bond:
Imagine a bond that withstands the test of time, holding your granite slabs securely in place for years to come. Applying pressure plays a vital role in achieving this feat. By exerting force, pressure helps the adhesive fully bond with both the granite slab and the cabinet, creating an unbreakable union.
The Mighty Glue: Epoxy Resin:
The type of glue used in securing the bond is crucial for its success. Epoxy resin, known for its exceptional bonding properties and durability, is commonly employed in granite installations. This resilient adhesive ensures a lasting connection between your granite and cabinets.
Steps to Secure the Bond:
Pristine Surfaces:
To begin, thoroughly clean both surfaces – the back of the granite slab and the cabinet surface. This step removes any dirt or debris that might hinder a strong bond.
Generously Applying Epoxy Resin:
Once cleaned, generously apply epoxy resin to both surfaces. This ensures sufficient coverage for a robust connection.
Clamping down for Perfection:
Now it’s time to apply pressure using specially designed clamps. These clamps are strategically placed along the edges of the granite slab to exert uniform pressure across its entire surface. By doing so, you create a bond that is as flawless as the granite itself.
Safety Measures:
When working with clamps, it’s essential to choose ones that won’t damage the delicate stone surface. Protecting your investment is paramount. Additionally, always prioritize safety by wearing gloves and eye protection when handling adhesives.
Alternatives to Clamps:
If clamps aren’t your preference, heavy weights can also be used to provide pressure. Distribute the weight evenly to prevent any uneven pressure points that could compromise the bond.
Patience and Curing:
Timing Matters:
The duration for applying pressure varies depending on the adhesive used. Follow the manufacturer’s instructions carefully to determine the appropriate timing for optimal bonding.
Steadfastness during Curing:
During the curing process, avoid any movement or disturbance that could disrupt the bond. Patience is key to achieving a secure connection.
The Moment of Triumph:
Once the adhesive has fully cured, typically within 24 to 48 hours, remove the clamps or weights. Behold your securely bonded granite and cabinets, ready to be admired.
Curing Time for the Adhesive
When it comes to attaching granite countertops to cabinets, the secret lies in the curing time of the adhesive. It’s the crucial period that determines whether your countertop will stay securely in place or become a potential hazard.
Let’s dive deeper into why curing time matters and how you can ensure a successful bond between your granite and cabinets.
The Type of Adhesive:
Epoxy adhesives are the go-to choice for attaching granite to cabinets. They offer superior strength and durability. However, keep in mind that epoxy adhesives typically have a longer curing time compared to other types of adhesive. The curing time can range from 24 to 48 hours, but always follow the manufacturer’s instructions for specific guidance.
Proper Support and Clamping:
During the curing process, proper support and clamping are essential. This helps prevent any movement that could compromise the bonding. Use appropriate clamps and supports that distribute pressure evenly across the countertop.
Avoid Applying Pressure:
To achieve maximum strength, avoid placing heavy objects or applying pressure on the granite during the curing period. Patience is key. Rushing or interrupting the curing process can result in a weak bond, leading to issues like loosening or cracking down the line.
Environmental Factors:
Temperature and humidity play significant roles in determining curing time. Higher temperatures accelerate the process, while lower temperatures slow it down. Similarly, higher humidity levels extend the curing time. Consider these factors and follow guidelines provided by the adhesive manufacturer for optimal results.
By giving the adhesive ample curing time, you ensure a strong and lasting bond between your granite and cabinets. So, take a step back, let the adhesive work its magic, and revel in the triumph of your securely bonded kitchen. Your upgrade will not only be visually appealing but also built to stand the test of time.
Mechanical Methods for Securing Granite to Cabinets
Securing granite to cabinets requires the use of mechanical methods that provide stability, support, and long-lasting attachment. These methods involve the use of various hardware and fasteners specifically designed for this purpose. Let’s dive into the world of brackets, connectors, and specialized fasteners that will give your granite countertops a rock-solid foundation.
Metal brackets and L-shaped steel bars are like the superheroes of the countertop world. These sturdy components attach to both the underside of the granite and the top of the cabinet, ensuring rock-solid support. Say goodbye to sagging or wobbling countertops with these bad boys in action.
Countertop connectors are another essential tool in securing granite to cabinets. Made of metal and consisting of a male piece and a female piece, these connectors create a perfect match between the underside of the granite and the top of the cabinet. Some connectors even offer adjustable features for easy installation and adjustment, adding convenience to the process.
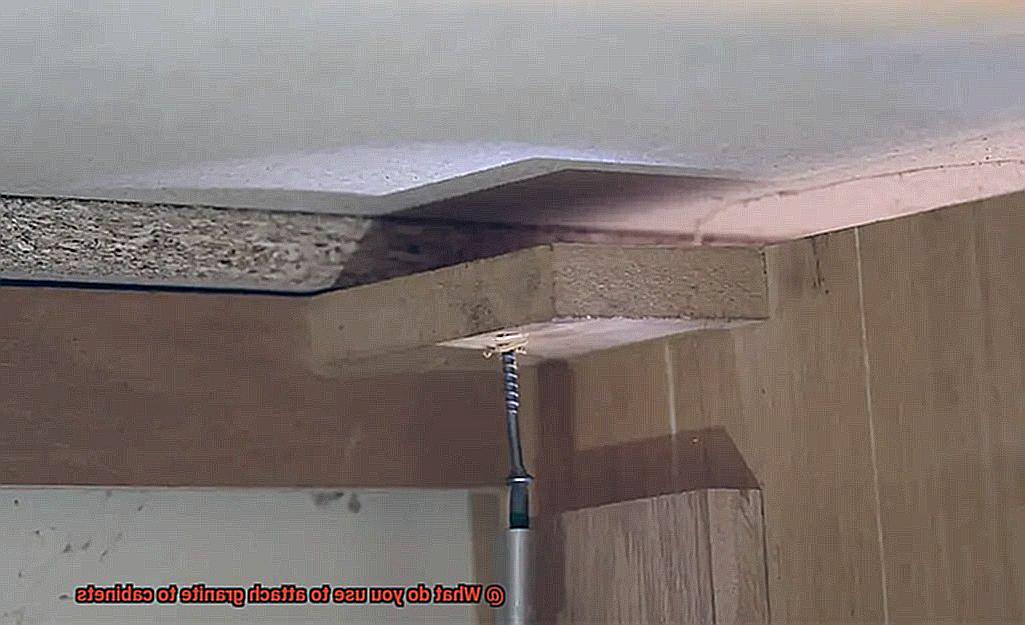
Now, let’s talk about specialized fasteners. These little gems are specifically designed for attaching granite to cabinets. Equipped with screws or bolts that have special heads, they securely tighten without damaging the surface of your precious granite. With these fasteners in place, you can say goodbye to worries about your countertop coming loose.
However, before you go all Hulk on your cabinets, it’s important to ensure that they can handle the weight of your majestic granite. If not, reinforcements may be necessary to keep everything intact.
Remember to follow proper installation instructions provided by manufacturers or professionals. Trust me, you don’t want your countertop coming loose like a bad breakup. Adhering to these guidelines ensures a secure and long-lasting attachment.
But here’s a tiny disclaimer: mechanical methods may not work for all types of cabinets or situations. Thin-walled cabinets or limited space might require alternative methods such as adhesive bonding or clamping systems.
Factors to Consider During Installation
Transforming your kitchen or bathroom with granite countertops is an exciting endeavor. However, a successful installation requires careful consideration of several factors. In this comprehensive guide, we will explore the key elements that should be taken into account during the installation process. From evaluating the strength of your cabinets to selecting the right adhesive and support system, we will cover every aspect to ensure a flawless and enduring attachment.
Type of Cabinets:
The first step is assessing the strength and support capabilities of your cabinets. Solid wood cabinets are more robust and better equipped to handle the weight of granite compared to particleboard or MDF cabinets. Evaluating your cabinet’s structural integrity is essential before proceeding with installation.
Weight of the Granite:
Granite is a heavyweight material, so its weight plays a significant role in the installation process. The type of adhesive or fasteners required will depend on the weight of the granite slab. It is crucial to ensure that your cabinets can bear this weight without sagging or buckling, as it can impact both the aesthetics and functionality of your countertops.
Adhesive Selection:
Choosing the right adhesive is paramount for a secure attachment between the granite and cabinets. Epoxy-based adhesives are widely used due to their strength and durability. Opting for an epoxy adhesive specifically designed for stone applications ensures an optimal bond that will stand the test of time.
Surface Preparation:
Proper surface preparation is key to a successful installation. Both the cabinet surface and the underside of the granite slab should be clean, dry, and free from debris or contaminants. Removing any existing adhesive residue or grease using an appropriate cleaner is crucial. Additionally, roughening the surfaces with sandpaper can enhance adhesion.
Support System:
In addition to adhesive, a support system may be necessary for extra stability and strength. Installing support brackets or braces underneath the granite slab helps distribute its weight evenly across the cabinet structure. These supports prevent sagging and stress on the cabinets, ensuring the longevity of your countertops.

Professional Installation:
While DIY projects can be fulfilling, installing granite countertops requires expertise and precision. Hiring a professional installer experienced in handling granite is highly recommended. Professionals have the necessary tools, skills, and knowledge to ensure a secure and successful installation, minimizing the risk of damage or accidents.
WK8luqXhfxg” >
Conclusion
When it comes to attaching granite countertops to cabinets, professionals rely on a combination of adhesive and mechanical fasteners for an unyielding connection. The key ingredient in this rock-solid recipe is a high-quality construction adhesive specifically formulated for bonding stone surfaces – ensuring an unwavering grip that won’t let go.
But that’s not all. To fortify the bond even further, mechanical fasteners like screws or brackets come into play. These sturdy reinforcements are strategically positioned beneath the granite countertop, acting as guardians against any potential sagging or shifting over time. With their help, weight distribution becomes an art form – keeping your countertops steadfastly in place.
Remember, though: precision is paramount when it comes to installing granite countertops on cabinets. This intricate process demands meticulous attention to detail from start to finish. That’s why it’s highly recommended to enlist the expertise of a professional installer who knows the ins and outs of working with granite.
So, whether you’re embarking on a kitchen remodel or simply upgrading your countertops, understanding what it takes to attach granite to cabinets is crucial.