Sick of those pesky Glue Dots that just won’t budge? Whether you’re a parent trying to save your walls from your little Picasso or a pro who needs a clean adhesive removal solution, knowing how to dissolve Glue Dots can be a total game-changer.
Glue Dots are these handy dandy adhesives made with pressure-sensitive glue that sticks like crazy. But let’s be real, they can be a pain in the behind when it comes time to say goodbye.
In this blog post, we’re diving deep into the science of what dissolves Glue Dots and giving you some practical solutions so you can get rid of that sticky mess in no time. We’ll talk solvents, their chemical magic, and how they interact with those stubborn Glue Dots.
What are Glue Dots?
Contents
- 1 What are Glue Dots?
- 2 Understanding the Composition of Glue Dots
- 3 Solvents That Dissolve Glue Dots
- 4 How to Use Isopropyl Alcohol to Dissolve Glue Dots
- 5 How to Use Acetone to Dissolve Glue Dots
- 5.1 Step 1: Gather your materials.
- 5.2 Step 2: Apply a small amount of acetone onto your cloth or cotton ball.
- 5.3 Step 3: Gently rub the acetone-soaked cloth or cotton ball onto the glue dot.
- 5.4 Step 4: Once the glue dot is soft, you can gently scrape it off using a plastic scraper or even your fingernail.
- 5.5 Step 5: If the glue dot is being stubborn and doesn’t want to come off, don’t worry.
- 5.6 Step 6: After removing the glue dot, make sure to clean the area with soap and water to remove any residue left behind by the acetone.
- 5.7 And there you have it
- 6 Other Solvents for Removing Glue Dots
- 7 Using Mechanical Methods to Remove Glue Dots
- 8 Safety Precautions When Dissolving or Removing Glue Dots
When it comes to sticking things together, there’s one adhesive solution that stands out for its versatility and convenience – Glue Dots. These small dots of adhesive offer a mess-free alternative to traditional liquid glue and tape, making them a popular choice in homes, offices, schools, and various industries. In this article, we will explore what Glue Dots are, their purpose, uses, and how they can make your bonding tasks a breeze.
What are Glue Dots?
Glue Dots are small dots of adhesive that consist of a pressure-sensitive adhesive applied to a backing material. The backing material can be paper, plastic, or film, depending on the type of Glue Dot. The adhesive itself is typically a synthetic polymer like acrylic or rubber-based adhesive. With various sizes and strengths available, Glue Dots can accommodate different bonding needs.
Versatile Applications:
Glue Dots are incredibly versatile as they can adhere to numerous surfaces such as paper, cardboard, plastic, metal, glass, wood, and even fabric. This versatility makes them suitable for a wide range of applications. Whether you are working on crafting projects or scrapbooking, securing gift cards or business cards, sealing boxes in the packaging industry, or even assembling products in manufacturing settings – Glue Dots offer a reliable and temporary bond.
Convenience at its Best:
One of the standout features of Glue Dots is their ease of use. Unlike liquid glue or tape that requires additional tools or preparation, Glue Dots are hassle-free. They come in pre-cut individual dots or rolls/sheets that can be easily dispensed using a specialized dispenser. This means no more messy spills or waiting for glue to dry. With Glue Dots, you can save time and complete your bonding tasks quickly and efficiently.
Understanding the Composition of Glue Dots
Glue dots, those unsung adhesive heroes that stick like magic, have become an irreplaceable part of our lives. From crafts to repairs and packaging, these versatile dots offer a clean and convenient solution to all our sticking needs. But have you ever wondered what makes glue dots so sticky and how to effectively dissolve them? In this enlightening blog post, we will dive into the intricate composition of glue dots and explore various methods for their dissolution.
The Composition of Glue Dots:
Glue dots are not your ordinary adhesives; they are a perfectly engineered blend of ingredients that give them their extraordinary sticking power. The key components that make up the secret sauce of glue dots include:
- Base Polymer: Acting as the backbone of the adhesive, this synthetic rubber or acrylic-based material provides strength and flexibility to the glue dot.
- Tackifiers: These compounds work their magic by enhancing the initial bonding strength, ensuring that the glue dot adheres effectively to a variety of surfaces.
- Plasticizers: To prevent brittleness and maintain flexibility over time, plasticizers are added to the composition of glue dots, allowing them to conform to different shapes without losing their grip.
- Other Additives: Depending on specific needs, glue dots may contain additional additives such as UV stabilizers to shield against sunlight degradation, antimicrobial agents to fend off mold or bacteria growth, or even fragrance oils to provide a pleasant scent during use.
Dissolving Glue Dots:
Now that we’ve uncovered the composition secrets of glue dots, let’s explore some effective methods for their dissolution:
- Heat: Applying gentle heat to the glue dot softens the adhesive, making it easier to remove. Grab your trusty hairdryer or a low-temperature heat gun and watch the glue dot melt away. But remember, caution is key to avoid overheating the surface or surrounding materials.
- Solvents: Certain solvents have the power to break down the adhesive properties of glue dots, making removal a breeze. Reach for common household heroes like rubbing alcohol, acetone, or nail polish remover. Always test the solvent on a small area first to ensure it won’t cause any unwanted damage.
- Mechanical Methods: In some cases, a little gentle scraping or peeling may do the trick in removing glue dots. However, handle these methods with care to prevent surface damage or residue.
Glue dots are no ordinary adhesives; they are carefully formulated with a combination of base polymers, tackifiers, plasticizers, and other additives to provide their unique sticking properties.
Understanding their composition is essential in finding effective methods for their dissolution.
Whether it’s applying heat, using solvents, or employing careful mechanical methods, knowing how to remove glue dots allows us to make the most of their convenience without leaving any traces behind.
Solvents That Dissolve Glue Dots
I’m here to share expert knowledge on the solvents that can dissolve those pesky adhesive dots. Whether you’re a crafting enthusiast looking to remove Glue Dots from your latest masterpiece or just someone who’s had enough of the sticky situation, these solvents will come to your rescue.
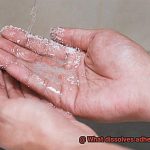
First up is the versatile superhero of solvents: rubbing alcohol, also known as isopropyl alcohol. Found in most households, rubbing alcohol swoops in and breaks down the adhesive properties of Glue Dots, making them easier to remove. Simply grab a cloth or cotton swab, apply some rubbing alcohol, and gently rub it over the Glue Dots. Let it work its magic for a few minutes before attempting removal.
Next on our list is acetone, the powerful solvent found in nail polish remover. Acetone is a force to be reckoned with when it comes to dissolving Glue Dots. Apply a small amount onto a cloth or cotton swab and gently rub it over the dots. Let the acetone sit on the adhesive for a few minutes before attempting removal.
But wait, there’s more. If you’re feeling adventurous, you can even try using heat to dissolve Glue Dots. Grab your trusty hairdryer or heat gun on a low setting and apply gentle heat to the dots. The heat will soften the adhesive, making it easier to remove. Just be cautious not to damage the surface or any surrounding materials.
It’s always a good idea to test any solvent on a small, inconspicuous area of the surface before going all-in. You don’t want to end up with a bigger problem than sticky Glue Dots. And don’t forget to work in a well-ventilated area and protect your hands with gloves.
So, there you have it, folks. Rubbing alcohol, acetone, and a little heat can be your secret weapons against those stubborn Glue Dots. Bid farewell to sticky surfaces and say hello to a glue-free world. Just remember to follow the instructions and precautions mentioned above for safe and successful removal.
How to Use Isopropyl Alcohol to Dissolve Glue Dots
Glue dots can be stubborn and challenging to remove, but fear not. I’m here to guide you on how to use isopropyl alcohol to dissolve those pesky glue dots. Isopropyl alcohol is a powerful liquid that can break down the adhesive and make it vanish. Just follow these simple steps, and you’ll be glue dot-free in no time.
Understanding Isopropyl Alcohol:
Isopropyl alcohol, also known as rubbing alcohol, is a versatile solvent widely used for its ability to dissolve various adhesives, including glue dots. It’s commonly used for wound cleaning but can also be an excellent solution for tackling those sticky messes.
Preparing the Glue Dots:
Before you start dissolving the glue dots, it’s crucial to gather your materials. Grab a clean cloth or a cotton swab and pour a small amount of isopropyl alcohol onto it. Remember, a little goes a long way.
Applying the Isopropyl Alcohol:
Now it’s time to go on the offensive against those glue dots. Gently dab the cloth or cotton swab onto the glue dot, ensuring complete coverage with isopropyl alcohol. Allow it to sit for a few minutes, allowing the alcohol to work its magic.
Breaking Down the Glue Dots:
After a few minutes of patience, it’s time to start breaking down those stubborn glue dots. Take the cloth or cotton swab and gently rub the area in circular motions. As you do so, observe how the glue dot gradually diminishes in size as it dissolves into nothingness.
Cleaning Up After Dissolving the Glue Dots:
Once the glue dot has disappeared, you may still notice some remnants or residue left behind. No worries. We can take care of that too. Grab a clean cloth and dampen it with a small amount of isopropyl alcohol. Use the damp cloth to wipe away any remaining residue, leaving the surface spotless.
How to Use Acetone to Dissolve Glue Dots
Have you ever found yourself in a sticky situation with glue dots that just won’t budge? Well, fear not. Acetone is here to save the day. Acetone is a powerful solvent that can effectively dissolve those pesky glue dots and set you free.
Before we dive into the steps, let’s talk about safety first. Acetone is a strong chemical compound, so it’s important to use it in a well-ventilated area to avoid inhaling the fumes. It’s also advisable to wear gloves to protect your skin. Safety first, friends.
Now, let’s get down to business. Here are the steps to using acetone to dissolve glue dots:
Step 1: Gather your materials.
You’ll need some acetone, a clean cloth or cotton ball, and the surface with the glue dot.
Step 2: Apply a small amount of acetone onto your cloth or cotton ball.
Remember, a little goes a long way, so be cautious not to flood the area.
Step 3: Gently rub the acetone-soaked cloth or cotton ball onto the glue dot.
Apply light pressure and keep rubbing until you start to see the glue dot soften.
Step 4: Once the glue dot is soft, you can gently scrape it off using a plastic scraper or even your fingernail.
Be careful not to scratch the surface underneath.
Step 5: If the glue dot is being stubborn and doesn’t want to come off, don’t worry.
Just repeat steps 2-4 until it dissolves completely.
Step 6: After removing the glue dot, make sure to clean the area with soap and water to remove any residue left behind by the acetone.
And there you have it
a simple and effective way to dissolve those pesky glue dots using acetone. Just remember to work in a well-ventilated area, wear gloves, and be patient. With a little bit of acetone and some elbow grease, you’ll be glue dot-free in no time.
But wait, there’s more. Acetone isn’t the only solvent that can dissolve glue dots. Isopropyl alcohol, citrus-based cleaners, mineral spirits, and adhesive removers can also do the trick. Just make sure to test them on a small area first to avoid any damage.
Other Solvents for Removing Glue Dots
Don’t let stubborn glue dots hold your surfaces hostage any longer. The world of solvents is filled with powerful allies that can help you defeat these adhesive foes and restore your surfaces to their former glory. Prepare to unleash the magic as we dive into the realm of solvents, exploring secret weapons that will make glue dots tremble in fear.
Acetone: The Nail Polish Remover Wonder
Acetone, the trusty sidekick found in nail polish removers, is a formidable opponent against glue dots. Apply a small amount onto a cotton ball or swab, gently rub the glue dot until it softens, and then carefully scrape it off. Before taking on the battle, test acetone on a small area to ensure it won’t damage your surface.
Isopropyl Alcohol: The Gentle Warrior
Isopropyl alcohol, also known as rubbing alcohol, is a kinder alternative to acetone. Dab some onto a cloth or cotton ball, gently rub the glue dot, and watch it vanish like magic. As with acetone, testing on a small area is recommended to ensure compatibility with your surface.
Goo Gone: The Commercial Adhesive Remover Extraordinaire
For those who prefer a commercial solution, Goo Gone is your hero. Specially formulated to safely dissolve sticky residues without causing harm to surfaces, this adhesive remover is a reliable ally in your fight against glue dots. Apply Goo Gone to the glue dot, let it work its magic for a few minutes, and then gently rub it away with a cloth or sponge.
Vegetable Oil: Mother Nature’s Solvent
Nature has its own secret weapon against glue dots – vegetable or cooking oil. Apply a small amount to the glue dot, let it sit for a few minutes, and then gently rub it away with a cloth. While this method may require more effort, it is generally safe for most surfaces.
Warm Soapy Water: The Mild-Mannered Hero
Sometimes, a mild solvent is all you need. Soak the affected area in warm soapy water, then gently scrub away the glue dot with a cloth or sponge. Though this method requires patience and repeated attempts, it’s a safe option for delicate surfaces like glass or plastic.
WD-40: The Versatile Superhero
Surprisingly, the lubricant we use on squeaky hinges is also a glue dot vanquisher. Spray a small amount of WD-40 onto the glue dot, let it sit for a few minutes, and wipe it away with a cloth or sponge. However, exercise caution and test WD-40 on a small area beforehand to prevent damage or discoloration.
Using Mechanical Methods to Remove Glue Dots
Removing glue dots can be a challenging task, but don’t fret. There are several mechanical methods you can employ to tackle these stubborn stickinesses head-on. Let’s dive into the various techniques that will help you wage war against these adhesive foes.
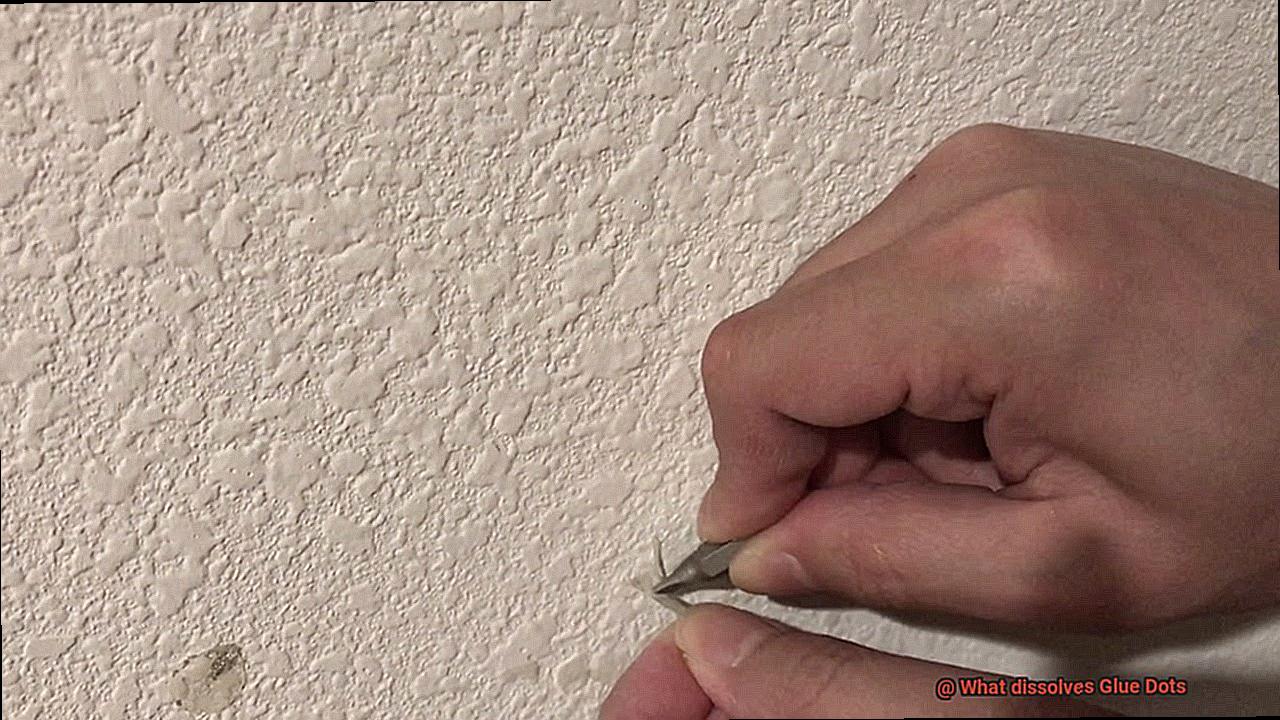
- Scrape it off: The trusty plastic scraper or credit card is your first line of defense. Gently scrape the glue dots off, taking care not to damage the underlying surface. This method works best for larger, hardened glue dots that have been lingering for some time.
- Heat it up: If scraping alone doesn’t do the trick, bring out the heat. Grab your hairdryer or heat gun and warm up the glue dots. The heat will soften them, making it easier to peel them off. Just remember to maintain a safe distance between the heat source and the surface to prevent any unintended damage.
- Freeze and pry: For those who prefer a cooler approach, freezing is the way to go. Place an ice pack or a bag of ice directly over the glue dots. The cold temperature will cause the adhesive to harden, making it easier to pry off. However, be cautious as freezing may not be suitable for all surfaces, so test it on a small area first.
- Gentle rubbing motion: Delicate surfaces require a delicate touch. Soak a soft cloth or sponge in warm soapy water and gently rub the glue dots. The warm water will loosen the adhesive, allowing you to remove them without causing any harm. Remember to use mild soap and avoid excessive scrubbing to protect the surface.
- Solvent superheroes: When all else fails, turn to solvents or adhesive removers specifically designed for removing glue. Apply them directly onto the glue dots, allowing them to sit for a few minutes to dissolve the adhesive. Then wipe away the remnants. Be sure to read and follow the instructions carefully and conduct a small test on an inconspicuous area beforehand.
Keep in mind that no single method may completely eliminate all glue dots, especially if they have been stuck for a while. In such cases, a combination of mechanical methods and other techniques may be necessary for complete removal.
Safety Precautions When Dissolving or Removing Glue Dots
Glue dots are a versatile adhesive solution, but when it’s time to remove them, safety should be your top priority. Whether you’re using adhesive solvents or dissolving agents, it’s crucial to take precautions to protect yourself and others. In this article, we will explore the essential safety measures to follow when dissolving or removing glue dots, ensuring a safe and hassle-free process.
Use Protective Gear:
Before you begin, equip yourself with the necessary protective gear. Wear gloves to shield your skin from potential chemical exposure and safety goggles to protect your eyes from splashes or spills. Additionally, consider wearing a lab coat or apron as an extra layer of protection.
Work in a Well-Ventilated Area:
Proper ventilation is essential when working with solvents or dissolving agents. Ensure you are in a well-ventilated area to minimize exposure to fumes and maintain a healthy working environment. Open windows and doors to promote airflow, and if indoors, use fans or portable ventilation systems.
Avoid Inhalation:
Adhesive solvents can release harmful fumes when used. To prevent inhalation, keep your face away from the container when opening it and avoid breathing directly over the solvent. If you experience dizziness or difficulty breathing, move to an area with fresh air immediately and seek medical assistance if needed.
Use Moderately:
Use only the amount of solvent necessary to dissolve the glue dots. Excessive use can increase the risk of exposure and potential hazards. Follow the manufacturer’s instructions and avoid improvising with larger quantities than recommended.
Proper Storage:
Store adhesive solvents or dissolving agents in a secure place out of reach of children and pets. Make sure lids are tightly sealed on their original containers to prevent accidental spills or leaks.
Dispose of Waste Responsibly:
After removing the glue dots, dispose of any leftover solvents or dissolving agents according to local regulations. Do not pour them down the drain or throw them in regular household trash. Contact your local waste management authorities for proper disposal methods.
Follow Instructions:
Always read and follow the instructions provided by the manufacturer when using adhesive solvents or dissolving agents. Pay close attention to safety precautions and warnings mentioned on the product label to prevent accidents or mishaps.
fX3zU5fp5Q4″ >