Ever been frustrated by a stubborn sticker or label that leaves behind an annoying residue? We’ve all been there, desperately seeking a solution to this sticky predicament. But fear not, dear readers. Get ready for a thrilling journey into the world of adhesive residue removal and the magical chemicals that make it happen.
Imagine a potion that effortlessly dissolves stickiness, leaving surfaces pristine and residue-free. Picture a superhero armed with the power to defeat those seemingly invincible adhesive remnants. With each swipe, mist, or spray, these incredible chemical warriors come to our rescue, eradicating the stubborn aftermath of adhesives.
In this captivating exploration, we’ll unveil the secrets behind these remarkable chemicals. We’ll dive into their compositions and unravel their unique abilities to banish adhesive residue. Prepare yourself for an enlightening journey through the science behind these substances as we demystify their interaction with different surfaces and adhesives.
Our adventure will take us through a myriad of wondrous options – from household products like rubbing alcohol to specialized adhesive removers. We’ll even explore unconventional heroes like petroleum-based solvents, citrus-based cleaners, and hand sanitizer. Brace yourself for a treasure trove of adhesive-busting solutions you never knew existed.
But that’s not all. We’ll also share essential tips and tricks on using these chemicals effectively – ensuring your battle against unwanted stickiness is hassle-free. And there’s more. We’ll discuss potential risks associated with these chemicals while providing eco-friendly alternatives for those conscious of the environment.
So join us on this enthralling adventure as we equip ourselves with knowledge to defeat adhesive residue once and for all. Get ready to bid farewell to sticky situations and embrace the liberation of pristine surfaces that await you.
Stay tuned for future installments in our series where we dive deeper and discover innovative methods for tackling adhesive residue on various surfaces. The world of adhesive removal is about to become a whole lot less daunting.
Types of Adhesive Residue
Contents
- 1 Types of Adhesive Residue
- 2 Removing Adhesive Residue with Rubbing Alcohol or Isopropyl Alcohol
- 3 Acetone: A Powerful Solvent for Removing Adhesive Residue
- 4 Goo Gone: A Commercial Product for Removing Sticky Residues
- 5 White Vinegar: A Natural and Gentle Option for Removing Adhesive Residue
- 6 Vegetable Oil and Cooking Oil to Remove Adhesive Residue
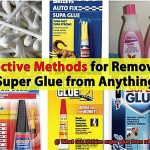
- 7 Commercial Products such as WD-40 and Nail Polish Remover
- 8 Test the Chemical on a Small, Inconspicuous Area First
- 9 Conclusion
Sticky residue from adhesives can be a pesky problem to tackle. But don’t despair. We’re here to provide you with an in-depth understanding of the various types of adhesive residues and effective methods to remove them.
From water-based adhesives to the relentless grip of epoxy residue, we’ve got your back with practical tips and tricks. Let’s dive right in and bid farewell to sticky messes.
Water-Based Adhesive Residue:
Water-based adhesives are widely used in woodworking, crafts, and paper projects. Dealing with their sticky residue is relatively straightforward. Just grab some water or mild soap, and gently scrub the residue with a cloth or sponge.
The water-soluble nature of these adhesives ensures a quick and hassle-free removal process, leaving surfaces pristine once more.
Solvent-Based Adhesive Residue:
When it comes to sticking things together with strength and durability, solvent-based adhesives take center stage. However, their residue can be stubborn and resistant to simple cleaning methods.
To combat this challenge, turn to powerful solvents like acetone, isopropyl alcohol, or mineral spirits. Apply a small amount of the solvent on a cloth or cotton ball, then gently rub the residue until it dissolves completely. Remember to work in a well-ventilated area and prioritize safety precautions when using these potent chemicals.
Hot Melt Adhesive Residue:
Hot melt adhesives, popularly known as glue sticks, find immense utility in arts and crafts as well as packaging applications. However, their residue can pose a formidable challenge. Fear not. Heat is your secret weapon in eliminating this sticky annoyance. Grab a hairdryer or heat gun, direct warm air towards the residue, and witness its transformation. As the adhesive softens, use a scraper or wipe it away with a cloth. The residue will succumb to the power of heat, leaving you with a pristine surface.
Silicone Adhesive Residue:
Silicone adhesives, known for their flexibility and resistance to extreme temperatures, find wide application in construction, automotive, and electronics industries. However, removing their stubborn residue can be quite a task, especially from porous surfaces. Thankfully, specialized adhesive removers or solvents designed explicitly for silicone adhesives come to the rescue.
Apply these products to the residue and allow them some time to work their magic. Then, use a cloth or sponge to wipe away the softened residue. With the right tools, even silicone adhesive residues will surrender.
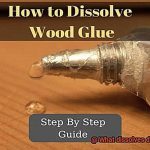
Epoxy Adhesive Residue:
Epoxy adhesives are renowned for their exceptional bonding strength and chemical resistance. Consequently, removing their residue requires specialized adhesive removers or solvents capable of breaking down the cured epoxy.
Removing Adhesive Residue with Rubbing Alcohol or Isopropyl Alcohol
Adhesive residue can be a stubborn foe, but fear not. I am here to unveil the secret weapon that will banish sticky remnants for good. Prepare yourself to harness the power of rubbing alcohol or isopropyl alcohol, as we embark on a journey to conquer those clingy adversaries.
Grab your cloth, and let’s dive into this foolproof method of adhesive removal that will leave no trace behind.
Choosing the Right Concentration:
To ensure victory in this battle, selecting the right concentration of rubbing alcohol is crucial. Aim for a mighty 70% or higher concentration, as this elixir has the strength to dissolve various types of adhesives. With this powerful solvent by your side, you can trust that no adhesive residue will stand a chance.
Testing, Testing, 1-2-3:
Before launching into full-on combat, it is wise to perform a quick reconnaissance mission on a small, inconspicuous area of the surface. This preliminary test will reveal any potential risks of damage or discoloration caused by the rubbing alcohol. Safety must always precede victory.
The Rubbing Alcohol Ritual:
Now that you are armed with the perfect concentration, it’s time to engage in the sacred ritual of rubbing alcohol application. Pour a small portion onto a pristine cloth or cotton ball, and employ gentle circular motions to address the affected area. Witness as the rubbing alcohol works its magic, breaking down the adhesive residue and paving the way for its swift eradication.
A Little Extra Elbow Grease:
In some instances, tenacious residue may require an extra dose of determination. Do not waver. Repeat the process multiple times if necessary; remember that perseverance is key. The moment you conquer that stubborn adhesive residue will be oh-so-sweet.
Handle with Care:
While rubbing alcohol is a valiant ally for most surfaces, caution is essential. Certain materials, such as plastics or painted surfaces, may be vulnerable to the potent effects of rubbing alcohol, resulting in damage or discoloration. To avoid unintended consequences, always test in an inconspicuous area and employ a gentle touch when applying the alcohol.
Acetone: A Powerful Solvent for Removing Adhesive Residue
Prepare to witness the triumphant defeat of stubborn adhesive residue as we unveil the ultimate secret weapon in our arsenal – acetone. Brace yourself for an exhilarating journey into the extraordinary world of acetone, the unrivaled superhero of adhesive removal that leaves no trace behind. Get ready to bid farewell to sticky situations.
The Mighty Force of Acetone
- Introduce acetone as an exceptionally potent solvent for vanquishing adhesive residue.
- Highlight its transparent, colorless appearance and its captivatingly sweet aroma.
- Shed light on its ubiquity in nail polish removers and paint thinners, making it effortlessly accessible for household use.
Shattering Bonds with Irresistible Power
- Illuminate acetone’s unparalleled ability to dissolve an extensive range of substances, including various adhesives.
- Reveal the immense challenge posed by adhesives containing resilient polymers, and how acetone fearlessly infiltrates these intricate molecular chains to weaken their bonds.
- Emphasize how this formidable feat enables the easy eradication of adhesive residue.
Swift and Immaculate Triumph
- Celebrate acetone’s swift evaporation, leaving behind a mere whisper of residue, if any at all.
- Explain how this remarkable quality makes it an ideal choice for sensitive surfaces that demand rapid drying times, such as delicate fabrics or intricate electronics.
Handling the Invincible Acetone
- Highlight crucial safety precautions when utilizing acetone, including its highly flammable nature and the imperative need for a well-ventilated environment.
- Stress the significance of donning gloves and goggles to safeguard your skin and eyes from potential irritation.
Mastering the Art of Acetone Deployment
- Provide a step-by-step guide on utilizing acetone to eliminate adhesive residue.
- Encourage the application of a small quantity onto a pristine cloth or cotton ball, followed by gentle yet determined rubbing on the affected area.
- Mention that persistent or larger areas of residue may require multiple applications for complete eradication.
Section 6: Boundaries and Alternate Paths
- Acknowledge that acetone’s might may falter when confronted with particular materials or adhesives intentionally designed to resist solvents.
- Suggest exploring alternative methods or seeking professional assistance in such instances.
Goo Gone: A Commercial Product for Removing Sticky Residues
Say goodbye to the frustration of sticky residues with Goo Gone, the ultimate superhero in adhesive removal. Whether you’re dealing with leftover sticker gunk or stubborn label residue, Goo Gone is here to save the day. Let’s explore the extraordinary world of Goo Gone and discover why it’s the go-to commercial product for tackling even the stickiest situations.
Harnessing the Power of Citrus Oil:
Goo Gone’s secret weapon lies in its citrus oil formula. Derived from the peels of oranges and lemons, this superhero ingredient breaks down and dissolves sticky residues like no other.
Picture it – citrus oil penetrates the adhesive residue, weakening its bond with the surface it’s stuck to. With a simple wipe or rinse, that stubborn residue is banished without a trace.
Versatility for All Surfaces:
Goo Gone’s versatility is truly remarkable. It works wonders on a wide range of surfaces, from glass and plastic to metal and wood. Yes, even fabric. Of course, it’s always wise to test Goo Gone on a small area first, just to be safe.
But rest assured, this superhero product is gentle yet effective, ensuring you can bid farewell to sticky residues without worrying about damage.
The Perfect Blend for Cleaning Power:
Goo Gone doesn’t stop at citrus oil alone. Its powerful formula combines citrus oil with petroleum distillates and emulsifiers, resulting in an unbeatable cleaning blend. These additional ingredients work together to enhance Goo Gone’s cleaning power, effortlessly removing even the most stubborn adhesive residues.
Choose Your Weapon: Liquid, Spray, or Wipes.
Goo Gone understands that every hero has their preferred weapon of choice. That’s why they offer their remarkable product in various forms. Whether you opt for the versatile liquid form, the quick and easy spray, or the on-the-go convenience of wipes, Goo Gone has got you covered.
Unleash the Power of Goo Gone:
To maximize your Goo Gone experience, follow the instructions on the packaging. Simply apply Goo Gone directly to the adhesive residue, let it work its magic for a few minutes, and then wipe or rinse away. It’s that easy. No more sticky messes holding you back.
White Vinegar: A Natural and Gentle Option for Removing Adhesive Residue
Say goodbye to the frustration of sticky residue with the power of white vinegar. This versatile household ingredient is not only a staple in your pantry, but it also offers a natural and gentle solution for removing adhesive residue. In this informative guide, we’ll delve into the reasons why white vinegar is the ultimate choice for tackling sticky messes, explore effective usage techniques, and highlight its various benefits. Prepare to bid farewell to stubborn adhesives and revel in a clean, residue-free surface.
The Power of White Vinegar:
- Versatility at its Finest: White vinegar is a true hero in the realm of household cleaning, presenting itself as an invaluable asset when it comes to adhesive removal. Having a bottle of this multipurpose ingredient on hand is always a wise decision.
- Unleash the Acidic Power: The secret lies in the acidic nature of white vinegar, which works wonders when it comes to breaking down adhesive residue. By dissolving the sticky mess, it effortlessly prepares the surface for a seamless removal process without causing any harm.
Mastering White Vinegar for Adhesive Removal:
- Test Your Way to Success: Prior to diving into a full-scale adhesive removal project, it’s crucial to perform a test on a small, inconspicuous area. This precautionary step ensures that the vinegar won’t cause any damage or discoloration.
- The Vinegar Scrub Technique: Armed with a clean cloth or sponge, pour a small amount of white vinegar onto it and gently scrub the affected area. Witness how the vinegar effortlessly dismantles the adhesive residue. For more stubborn spots, allow the vinegar to sit for a few minutes before commencing with scrubbing.
- Rinse and Dry with Precision: After successfully scrubbing away the adhesive residue using vinegar, rinse the area thoroughly with water. Ensure that the surface is completely dry, eliminating any lingering vinegar scent and guaranteeing a residue-free finish.
The Advantages of White Vinegar:
Embrace Natural and Gentle Solutions: Unlike harsh chemical solvents, white vinegar stands as a natural and gentle alternative for adhesive removal. It’s a safer option that not only protects you but also the environment.
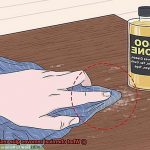
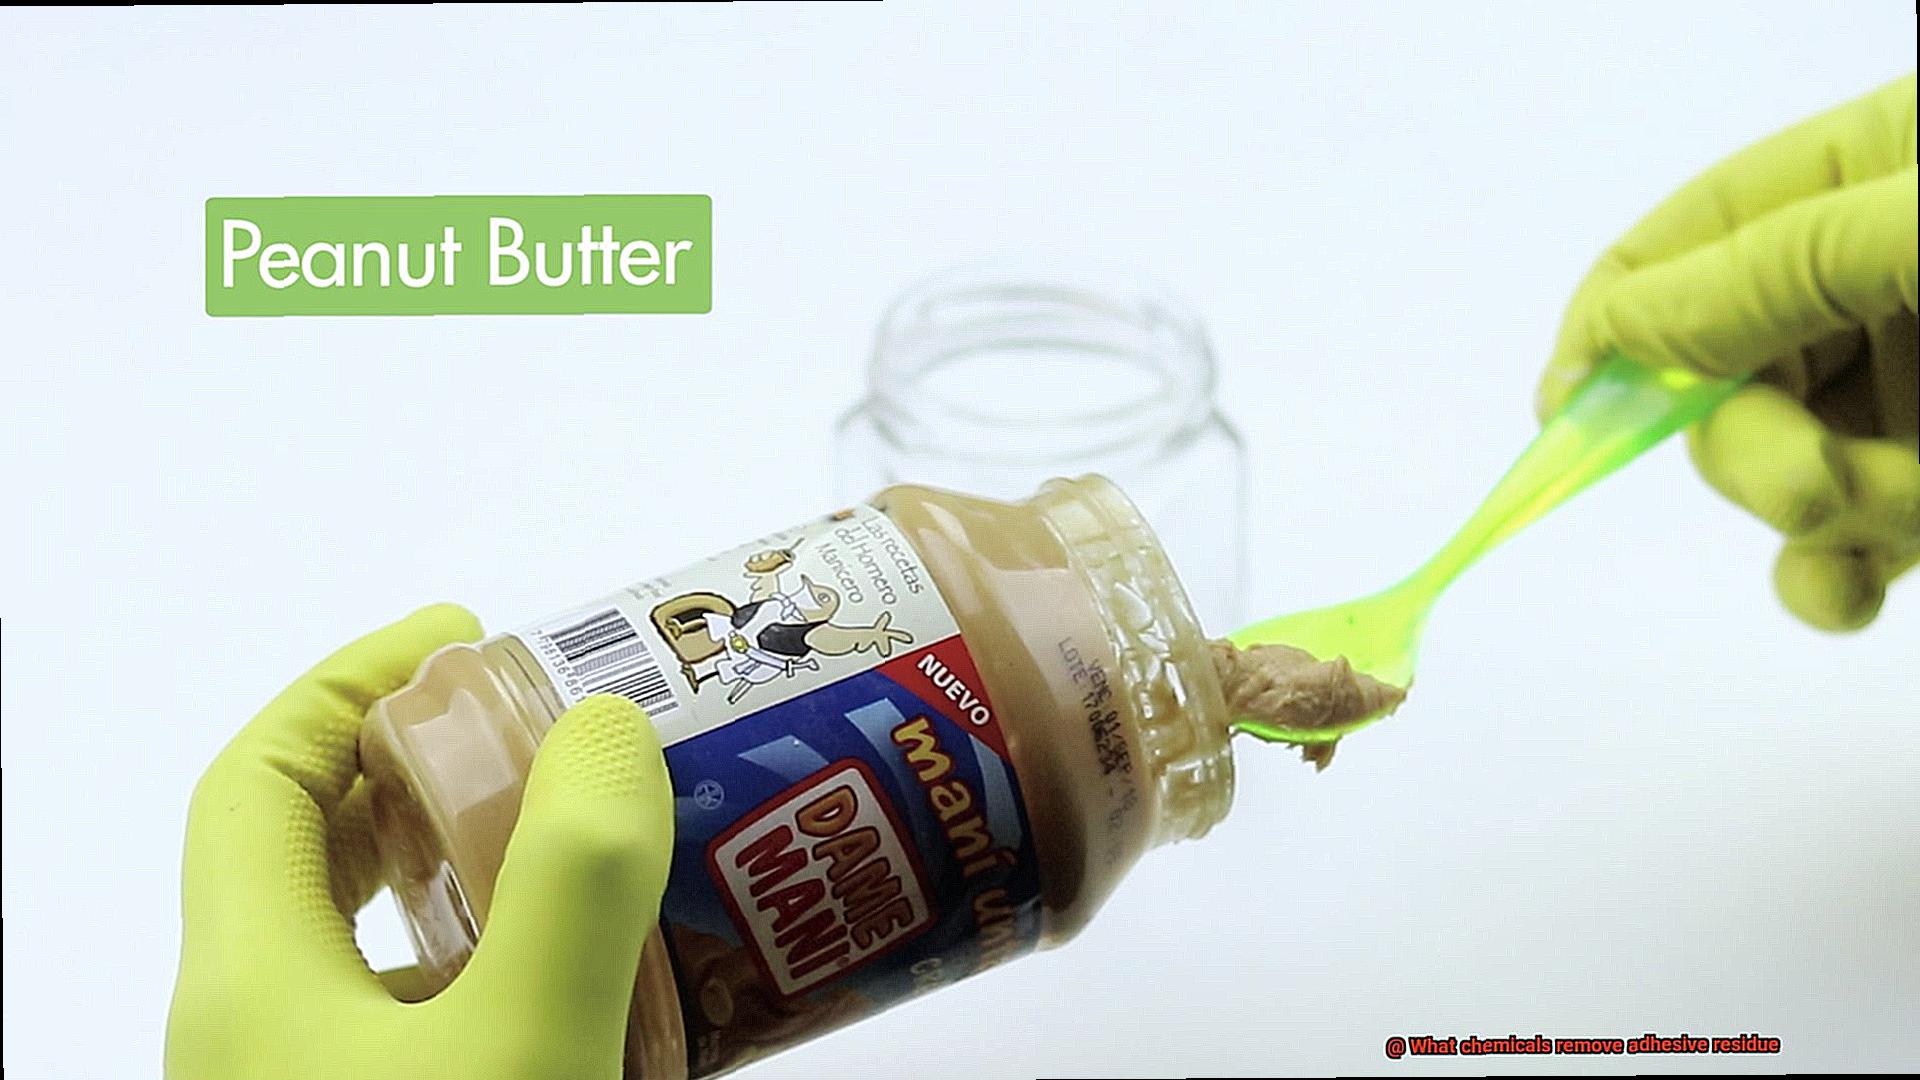
Vegetable Oil and Cooking Oil to Remove Adhesive Residue
Get ready to bid farewell to the sticky frustration of adhesive residue with the ultimate superheroes straight from your kitchen pantry – vegetable oil and cooking oil. These household staples are not just for whipping up tasty meals, but they possess incredible powers when it comes to tackling those stubborn adhesive messes. So, grab your apron and prepare to delve into the extraordinary world of oil-based adhesive removal.
What makes vegetable oil and cooking oil the dynamic duo for banishing adhesive residue, you may wonder? It all comes down to their remarkable properties. These oils contain special components that can break down the adhesive, effortlessly loosening and dissolving that pesky residue. Picture them as tiny crusaders, infiltrating the adhesive fortress and reducing its stickiness, making it a breeze to eliminate from surfaces.
Now, let’s get down to business and learn how to harness the power of vegetable oil and cooking oil to conquer adhesive residue. The battle plan is simple – pour, wait, and rub. Here’s a step-by-step guide:
Grab your trusty bottle of vegetable oil or cooking oil – any variety will do – and apply a small amount directly onto the adhesive residue. Consider it your warrior’s battle cry.
Allow the oil to sit on the adhesive for a few minutes, giving it ample time to work its magic. This is when our heroic oils embark on breaking down the adhesive’s defenses.
Armed with a soft cloth or sponge, channel your inner superhero strength and gently rub the area in circular motions. This action aids in lifting and removing the residue, unveiling the pristine surface beneath.
As you continue rubbing, behold as the adhesive starts dissolving and losing its sticky grip. It’s like witnessing our oils triumph over their arch-nemesis.
Persist in rubbing until every trace of the adhesive is vanquished, adding more oil if necessary. Our heroes will not rest until every last bit of residue is eradicated.
Once the battle is won and the residue is completely eliminated, it’s time to clean up the aftermath. Wash the surface with soap and water to remove any lingering oil and restore it to its original glory.
Before you unleash the powers of vegetable oil and cooking oil on all your surfaces, exercise caution. While these oils are generally safe for most surfaces, it’s always wise to test a small area first. This ensures that our mighty oils won’t cause any damage or discoloration.
Commercial Products such as WD-40 and Nail Polish Remover
Say goodbye to sticky situations with the dynamic duo of commercial products: WD-40 and nail polish remover. These versatile superheroes not only fix squeaky doors and give your nails a fresh coat of color, but they also have the power to defeat adhesive residue. Let’s dive into their world and discover how they can save the day.
First up, we have WD-40, the multi-purpose lubricant with a secret weapon. This magic spray contains a solvent called petroleum distillate that takes on adhesive residue head-on. When you unleash the power of WD-40 on that stubborn mess, it works like a superhero punch, weakening the bond between the adhesive and the surface. With a simple wipe, you can watch the residue vanish before your eyes. But beware, not all surfaces can handle this superhero’s might, so always test it in a small area first.
Next on our list is nail polish remover, the unsung hero with more tricks up its sleeve. Most nail polish removers contain acetone, a potent solvent that can dissolve various adhesives. When you apply a small amount of this wonder liquid to a cloth or cotton ball and gently rub the affected area, the adhesive residue surrenders without a fight. However, be cautious – this hero is strong and can potentially damage surfaces or irritate your skin.
But wait, there’s more. While WD-40 and nail polish remover steal the spotlight, don’t forget about other everyday household items that can also come to your rescue. Rubbing alcohol, vinegar, even cooking oil – they all have their own adhesive removal powers. They may not have flashy capes like WD-40 or nail polish remover, but they can still get the job done. So go ahead and experiment with different products and techniques to find your perfect solution.
Just like any superhero, WD-40 and nail polish remover should be used with caution. Follow the manufacturer’s instructions and take necessary safety precautions. Gloves and a well-ventilated area are your trusted sidekicks in this battle against adhesive residue.
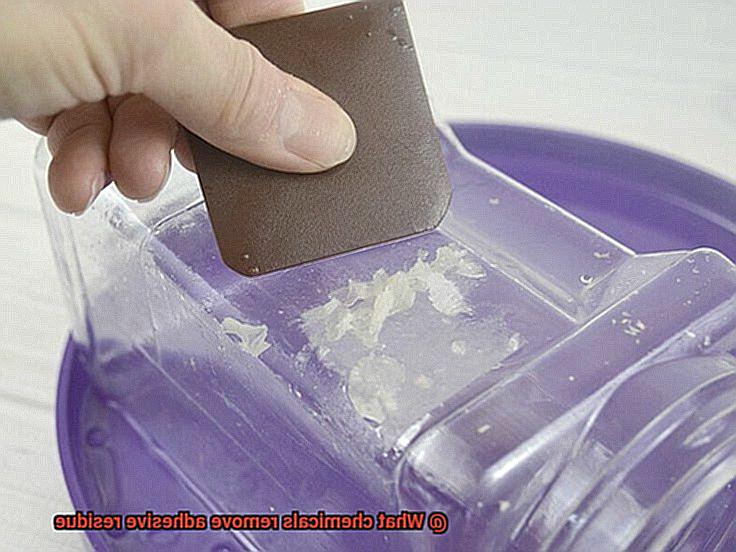
Test the Chemical on a Small, Inconspicuous Area First
Today, we embark on a vital quest to test chemicals on a small, inconspicuous area before unleashing their adhesive-removing powers on larger surfaces. This simple yet crucial step can rescue you from sticky situations and safeguard your cherished belongings. So, let’s delve into the world of testing and discover the wonders it holds.
First and foremost, why is it imperative to test any chemical on a minuscule, hidden spot? Well, my friend, different surfaces react differently to chemicals. What may be a superhero for one surface might transform into a vile villain for another. By conducting a test on a tiny area first, you can shield yourself from unwelcome surprises such as discoloration or damage.
Now, how does one undertake this testing process? Fear not, for it is as easy as 1-2-3. Take hold of your chosen chemical and apply a small droplet to the designated area. Allow it to settle for a few minutes while your watchful eyes remain vigilant for any adverse reactions. If the surface remains unscathed, devoid of distress signals, congratulations. You have obtained the coveted green light to proceed with using the chemical on the larger area.
Let us not overlook the wisdom of the manufacturer’s guidance. They are akin to adhesive removal gurus and may hold precious instructions for optimal results and safety. They might advise diluting the chemical or employing specific techniques – trust me, adhering to their counsel is an endeavor well worth your time.
Testing in a confined space also grants you the opportunity to evaluate the chemical’s prowess in eradicating adhesive residue. It would be disheartening to invest time and effort into a product that falls short of expectations, wouldn’t it? By testing on a small scale, you can identify any shortcomings or issues and adjust accordingly before committing to that larger surface.
Ah, but there is an additional boon to be reaped. Testing on a small area allows you to discern any unsavory odors or fumes associated with the chemical. Some superheroes may bring forth less-than-pleasant aromas, while others might even emanate toxic fumes (gulp.). It is far more prudent to be aware of these olfactory challenges before finding yourself trapped in an enclosed space with a noxious cloud.
2Ir8bPCtYSg” >
Conclusion
When it comes to getting rid of stubborn adhesive residue, there are a few chemicals that can come to the rescue.
These powerful substances have the ability to dissolve and break down even the toughest sticky messes. One such chemical is acetone, commonly found in nail polish remover.
Its strong solvent properties make it effective in removing adhesive residue from various surfaces. Another option is rubbing alcohol, which not only disinfects but also acts as a solvent for sticky substances.
And let’s not forget about good old-fashioned soap and water – sometimes a simple solution is all you need to tackle adhesive residue.