Do you find yourself frustrated by that pesky Q-Bond adhesive that just won’t budge? Or perhaps you made a little oopsie during a repair job and now you need to get rid of the excess Q-Bond. Well, fear not. I’m here to help. In this blog post, I’ll walk you through the best methods for removing Q-Bond, giving you all the steps, materials, and tools you need. Say goodbye to those annoying adhesive residues.
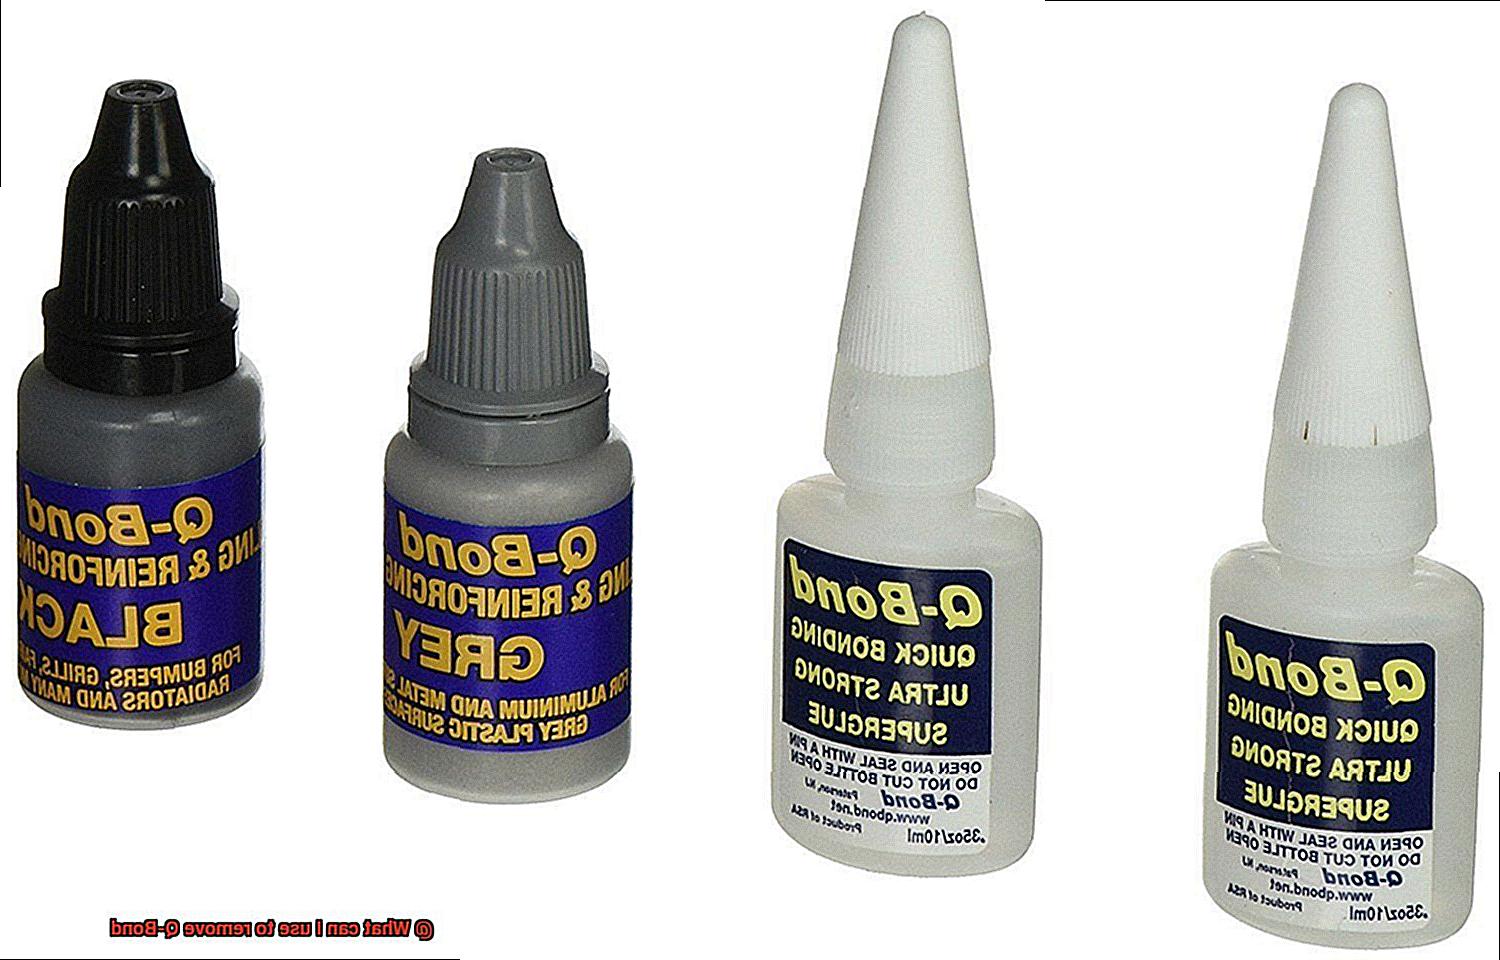
But before we jump into the nitty-gritty of removal, let’s quickly explore what Q-Bond actually is. It’s a popular adhesive that forms a super-strong bond on various materials like metal, plastic, rubber, and even ceramics. While it’s great for sticking things together, getting rid of the excess can be a bit of a challenge.
Luckily, there are several methods you can use to remove Q-Bond depending on the surface and amount of adhesive involved. Let’s start with a simple yet effective technique using stuff you probably already have lying around your house.
One of the easiest tools for Q-Bond removal is acetone, which is commonly found in nail polish removers. It works like magic because it dissolves the adhesive. First things first though – make sure the surface can handle acetone without any negative reactions. Once confirmed, soak a cloth or cotton ball with acetone and gently rub it over the affected area. The adhesive should start to dissolve, making it easy peasy to wipe away.
For larger areas or spots that are hard to reach, you might need to bring out the big guns – well, not really guns but rather a scraper or plastic putty knife. Carefully scrape off the softened Q-Bond while being mindful not to damage the surface or leave any scratches behind. If needed, repeat this process until every last bit of adhesive is gone.
Another option at your disposal is good old isopropyl alcohol, also known as rubbing alcohol. Simply apply a small amount onto a cloth or cotton ball and gently rub the Q-Bond. The alcohol weakens the bond, making it easier to remove. Again, feel free to use a scraper if necessary.
Remember, patience is key when dealing with Q-Bond removal. Take your time and be gentle to avoid any harm to the underlying surface. If you come across any stubborn spots, don’t panic. Just reapply the solvent and let it sit for a few minutes before giving the removal process another shot
What is Q-Bond?
Contents
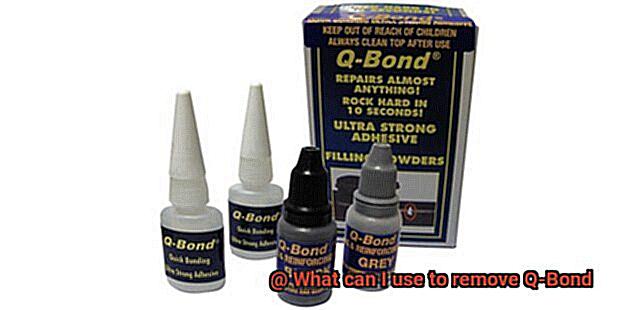
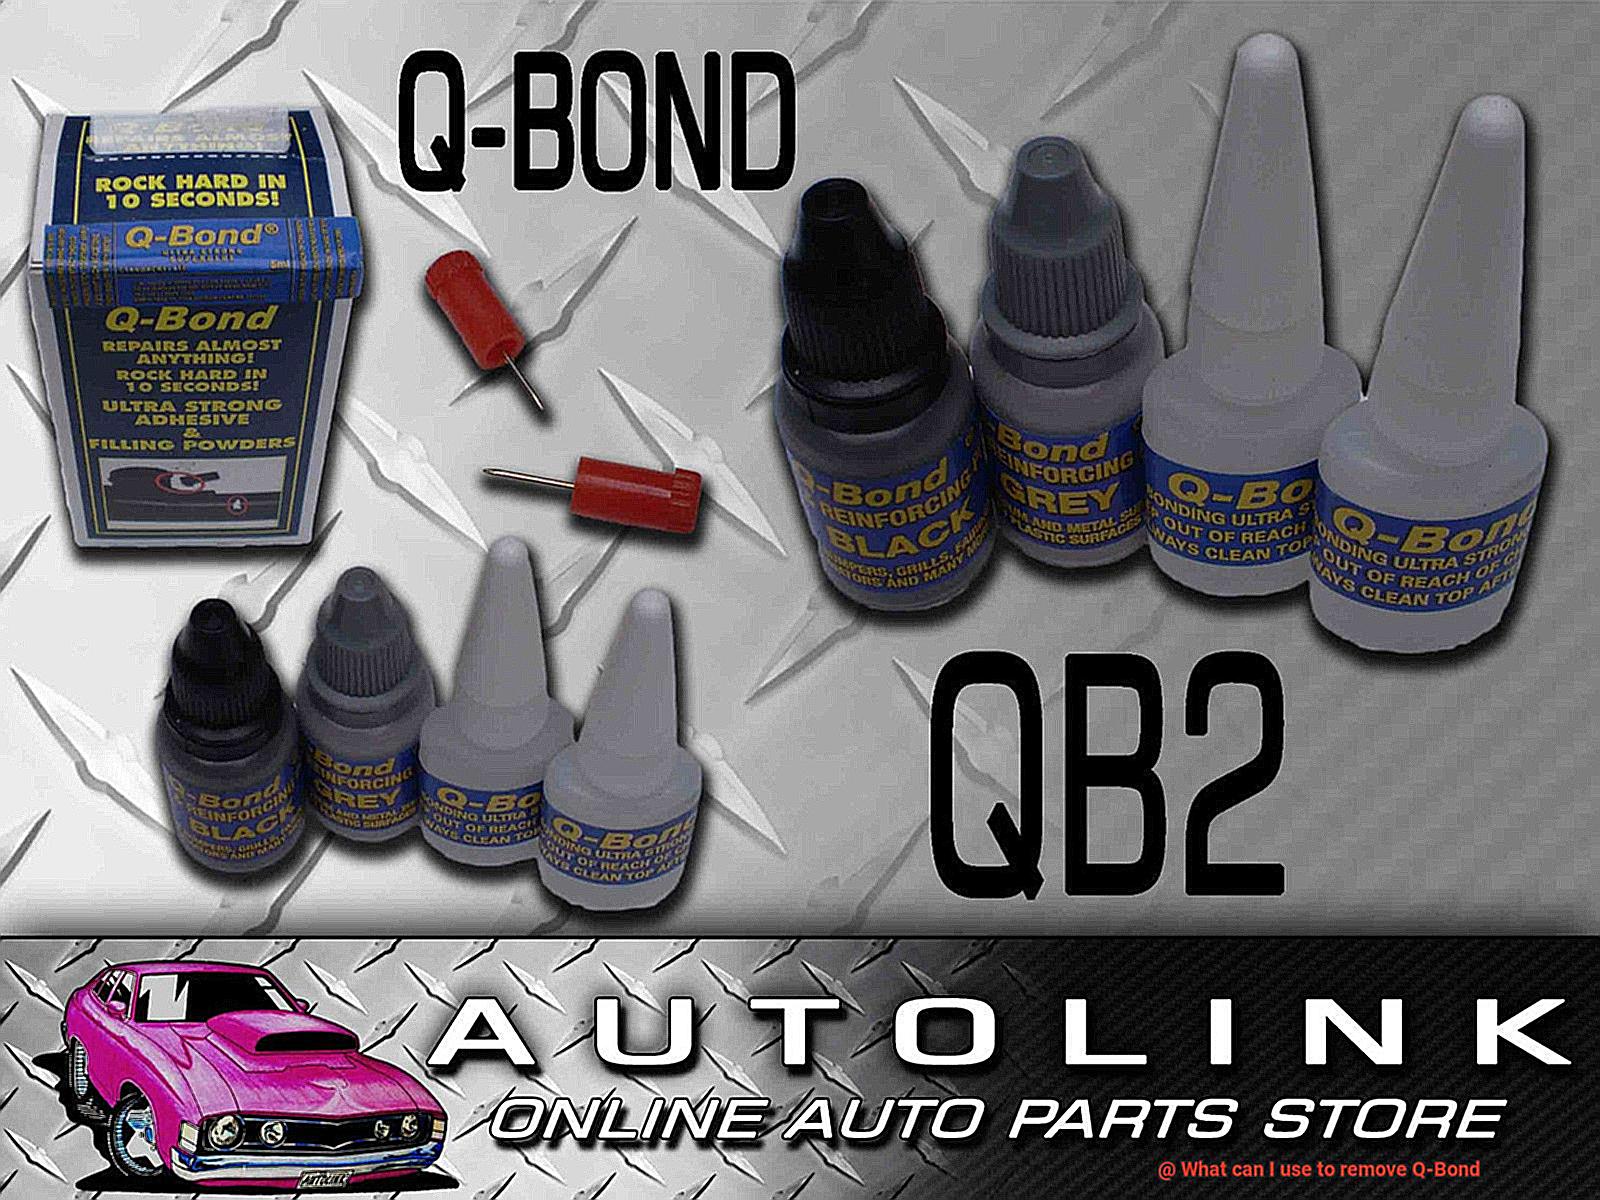
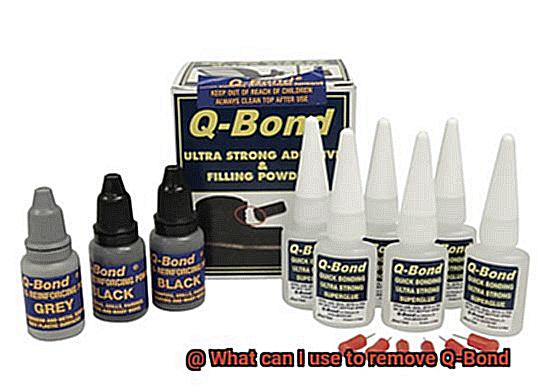
In the realm of adhesive solutions, Q-Bond reigns supreme as a dynamic and reliable option. This remarkable two-part system, comprising an adhesive and a powder activator, has become renowned for its unrivaled strength and durability. In this article, we will explore the multifaceted features of Q-Bond, its broad range of applications, and effective techniques for its removal.
Unmatched Versatility and Unyielding Strength:
Q-Bond’s foundation lies in its cyanoacrylate-based adhesive, which quickly dries to form a robust bond. From metal and plastic to wood and beyond, Q-Bond effortlessly tackles repairs across various materials. Its limitless versatility makes it an ideal choice for automotive repairs, household fixes, and even imaginative crafting projects.
Withstanding the Harshest Conditions:
The resilience of Q-Bond is a testament to its exceptional quality. It defies high temperatures, harsh chemicals, and impacts with unwavering fortitude, making it the go-to solution for repairs that face arduous conditions. Once cured, the bond forged by Q-Bond becomes an enduring shield that withstands the test of time.
Seamless Application Made Easy:
Applying Q-Bond is a breeze, thanks to its user-centric design. The two-part system allows for precise application, ensuring that the adhesive activates only when needed. Packaged conveniently in a compact container, complete with an applicator brush, Q-Bond simplifies the repair process by providing all necessary tools at your fingertips.
Safe and Effective Removal Techniques:
While renowned for its strength, there may be occasions when removing Q-Bond from a surface becomes necessary. Fortunately, there are several effective methods available. Acetone proves to be a reliable ally in this endeavor. Simply apply a small amount of acetone onto a cloth or cotton swab and gently rub the affected area until the adhesive begins to soften and loosen. Prior to use, it is prudent to test a small area with acetone to prevent any unintended damage.
In cases where acetone falls short, applying heat is another viable option. Utilize a hairdryer or heat gun set on low temperature and move it in a circular motion over the bonded area. As the adhesive softens, carefully scrape it off using a plastic scraper or your fingernail.
For those seeking specialized solutions, commercial adhesive removers formulated specifically for cyanoacrylate adhesives like Q-Bond are readily available. Following the instructions provided with the remover ensures optimal results.
Why Would You Need to Remove Q-Bond?
Glue, the magical substance that holds our world together, is a force to be reckoned with. But what happens when you need to part ways with a bonding superhero like Q-Bond? Fear not, my fellow glue enthusiasts. In this post, we’ll explore the reasons why you might need to remove Q-Bond and uncover the secrets to mastering its liberation. So grab your tools and let’s dive in.
Reasons to Remove Q-Bond:
Mistakes Happen:
Imagine this: you’re knee-deep into a DIY project when catastrophe strikes. You accidentally bond the wrong surfaces together or go overboard with Q-Bond. Don’t panic. Removing the excess or separating bonded items is crucial for fixing your adhesive faux pas.
Damage Control:
Over time, wear and tear can wreak havoc on your projects. If the bonded area becomes damaged or needs repairs, removing Q-Bond ensures proper fixing without compromising durability.
Maintenance Made Easy:
For projects requiring periodic maintenance or part replacement, easy disassembly is key. The ability to remove Q-Bond allows for hassle-free adjustments and replacements, ensuring your creation stands the test of time.
Methods for Q-Bond Removal:
Heat It Up:
Ignite your heat gun or trusty hairdryer. Applying heat softens the adhesive, making it easier to remove Q-Bond. Remember to exercise caution to avoid damaging the surface.
Mechanical Magic:
Sometimes old-fashioned elbow grease is all you need. Grab a sharp tool or sandpaper and carefully scrape away the adhesive until it relinquishes its hold. Patience and precision are essential to avoid accidental damage.
Chemical Solvents:
When heat and mechanical methods fall short, chemical solvents come to the rescue. Acetone or nail polish remover are popular choices. Apply the solvent to a cloth or cotton ball and gently rub the bonded area until the adhesive dissolves. Test the solvent on a small, inconspicuous area beforehand to ensure surface compatibility.
Combination Approach:
For stubborn Q-Bond, a combination of methods may be necessary. Start with heat to soften the adhesive, followed by scraping or solvent application for optimal results. Remember, patience is key.
How to Remove Q-Bond with Acetone
Q-Bond is a powerful adhesive that forms unbreakable bonds. But what if you need to remove it? Don’t worry, we’ve got you covered. In this comprehensive guide, we will walk you through the step-by-step process of removing Q-Bond using acetone, a potent solvent known for its ability to dissolve stubborn adhesives.
Test for Compatibility:
Before diving into the removal process, it is crucial to ensure that the surface you are treating can withstand acetone. Certain materials like plastics and painted surfaces can be damaged by acetone. To avoid any mishaps, test a small, hidden area first to determine compatibility.
Gather Your Materials:
To remove Q-Bond with acetone, gather the necessary materials. You will need a clean cloth or cotton ball and some acetone. It may also be helpful to have scraping tools such as a plastic scraper or toothbrush on hand for stubborn spots.
Apply Acetone:
Dampen your cloth or cotton ball with acetone and gently rub it onto the Q-Bond adhesive. The acetone will penetrate the adhesive, softening and loosening its grip.
Allow Time for Penetration:
Give the acetone a few minutes to work its magic. This will allow it to fully penetrate the adhesive, making it easier to remove.
Gentle Scraping:
Once the Q-Bond has softened, use a scraping tool like a plastic scraper or toothbrush to gently scrape away the adhesive. Be careful not to apply too much pressure or use sharp tools that could damage the surface underneath.
Repeat if Necessary:
If there are still traces of Q-Bond remaining, don’t fret. Simply repeat the process by applying more acetone and gently scraping until all signs of the adhesive have vanished.
Clean Thoroughly:
After removing the Q-Bond, be sure to clean the area thoroughly with soap and water to remove any residue left behind by the acetone. This will ensure a clean surface ready for any new adhesive or paint.
Moisturize and Protect:
If you’ve used acetone on your skin, it’s a good idea to moisturize and protect the area afterward. Acetone can be drying and irritating, so apply a gentle moisturizer to keep your skin happy.
Handle with Care:
Remember, acetone is flammable, so always use it in a well-ventilated area away from open flames or sparks. Take proper safety precautions to keep yourself and your surroundings safe.
How to Remove Q-Bond with Heat
Q-Bond is a powerful adhesive that can create strong bonds, but what if you need to remove it? Don’t worry, we’ve got you covered. In this article, we’ll explore the process of removing Q-Bond using heat. So grab your safety goggles and let’s dive in.
Gather Your Tools and Materials
Before you begin, make sure you have everything you need. You’ll need a heat gun or a hairdryer, a plastic scraper or credit card, and some rubbing alcohol or acetone for cleaning up afterwards.
Protect the Surrounding Surfaces
Safety first. To avoid any accidental damage, use aluminum foil or a heat-resistant material to shield the area around the bond. This will protect nearby objects from direct heat.
Apply Heat to the Bonded Area
Now it’s time to apply some heat. Turn on your heat gun or hairdryer and set it to a low or medium heat setting. Hold the device about 3-4 inches away from the bonded area and move it back and forth in a sweeping motion. The heat will soften the Q-Bond adhesive, making it easier to remove.
Gently Pry Apart the Surfaces
As you apply heat, you’ll notice the Q-Bond starting to soften and become more pliable. This is a good sign. Use a plastic scraper or credit card to gently pry apart the bonded surfaces. Be careful not to use too much force as you might damage the materials underneath.
Repeat if Necessary
If there are any stubborn spots where the adhesive is still holding on, focus the heat directly on those areas and gently scrape away the softened glue. Repeat this process until you are able to fully separate the bonded surfaces.
Clean Up Any Residue
Congratulations, you’ve successfully removed the Q-Bond. But wait, there might still be some residue left behind. No worries, just grab some rubbing alcohol or acetone and apply a small amount onto a clean cloth. Gently rub it over the affected area until the residue is gone.
Remember, when using heat to remove Q-Bond, always exercise caution. Follow the manufacturer’s instructions for any heat-generating devices and wear protective gloves if necessary. Work in a well-ventilated area and avoid inhaling any fumes that may be released during the process.
Commercial Adhesive Removers for Q-Bond
Bid farewell to the stubborn grip of Q-Bond adhesive with the assistance of commercial adhesive removers specifically designed for this purpose. These liquid miracles come in a variety of brands and formulations, offering a range of benefits and considerations to take into account.
One popular option is acetone, a powerful solvent that effectively breaks down and dissolves Q-Bond adhesive. However, it is important to note that acetone can be harsh on certain surfaces such as plastic or painted surfaces. Before diving in headfirst, it is recommended to perform a small test on an inconspicuous area to ensure compatibility.
For those seeking a milder alternative, isopropyl alcohol is the go-to solution. It works effectively on most surfaces without causing damage, making it a safer choice for delicate materials.
But wait, there’s more. Citrus-based solvents provide a refreshing twist to adhesive removal. Not only are they effective, but they also offer a pleasant scent, making the process a little more enjoyable. Another option worth exploring is mineral spirits. Known for their ability to dissolve tough adhesives, they leave no residue behind.
In addition to these general-purpose options, specialized adhesive removers formulated for specific types of adhesives are available. These targeted products provide optimal results without compromising the integrity of the surface.
Regardless of the adhesive remover you choose, it is essential to carefully follow the manufacturer’s instructions. Wear protective gloves and ensure proper ventilation in the area. After applying the remover, use a scraping tool or cloth to gently remove the softened adhesive. Once all traces of adhesive are gone, clean the area with soap and water to eliminate any residue left by the remover.
Mechanical Methods for Removing Q-Bond
We have an arsenal of mechanical methods at your disposal to help you break free from its unyielding grip.
First and foremost, let’s talk about scraping. This classic method involves using a trusty putty knife or scraper to gently scrape away the Q-Bond from the surface. Start with light pressure and gradually increase if necessary. But be careful not to damage the underlying material – we want to remove the glue, not create a whole new problem.
Next up, we have sanding. Grab some sandpaper or a sanding block and get ready to wear down that pesky Q-Bond. Start with a coarse-grit paper and work your way up to finer-grit ones until the glue is completely gone. Just remember, don’t go overboard with the sanding, especially if you’re dealing with delicate materials. We want to remove the glue, not rub away half of your project.
Heat can also be your ally in the battle against Q-Bond. Applying heat softens the glue, making it easier to scrape or sand off. A heat gun or hairdryer can do the trick, but tread carefully as excessive temperatures can damage certain materials.
If you’re looking for some fancy tools to aid in your mission, adhesive erasers or adhesive removers might be just what you need. These rubber-like blocks can be rubbed over the glue, causing it to ball up and detach from the surface – talk about satisfying.
Now, before you dive into these mechanical methods headfirst, let’s talk safety precautions. Protect those precious hands of yours with gloves and shield those peepers with some eyewear. And don’t forget about proper ventilation. No one wants to inhale dust particles while scraping or sanding away.
One last tip before we wrap things up – always test your chosen method on a small, inconspicuous area before going full force. We don’t want any unexpected surprises or unintentional damage, do we?
Safety Tips When Removing Q-Bond
Q-Bond, a super strong adhesive, can create an unyielding bond between surfaces. But, what if you find yourself in the position of needing to remove it? Removing Q-Bond can be a challenging task, but with the right safety precautions, you can successfully complete the job without any accidents or injuries. Here are five crucial safety tips to consider when removing Q-Bond.
Shield Yourself with Protective Gear
Before embarking on the Q-Bond removal process, take the necessary steps to protect yourself by donning the appropriate safety gear. Sturdy gloves will safeguard your hands from the potent glue remover and any chemicals involved. Safeguard your eyes against potential splashes with safety goggles, and a mask will act as a defense against harmful fumes or dust that may be present.
Prioritize Ventilation
During the Q-Bond removal process, solvents or other chemicals may be needed, which can emit noxious fumes. To avoid inhaling these harmful vapors, it is crucial to work in a well-ventilated area. Open windows to promote air circulation and consider using fans to ensure an ample supply of fresh air.
Study Product Instructions
Different glue removers may have specific instructions tailored to removing Q-Bond effectively. Take the time to thoroughly read and adhere to these instructions to ensure safe and efficient removal. Pay close attention to any warnings or precautions provided by the manufacturer.
Test in a Small Area
Before diving headfirst into applying glue remover on a large surface, it is wise to conduct a preliminary test in a small, inconspicuous area. This precautionary measure allows you to ascertain whether or not the product will cause damage or discoloration to the material you are working with.
Utilize Appropriate Tools
To remove Q-Bond without causing harm to the surface, it is crucial to employ the correct tools. Depending on the type of adhesive and surface, you may require scrapers, spatulas, or soft cloths. Ensure that you select tools that are suitable for your specific circumstances.
QD3ZRwBsJFk” >
Conclusion
If you find yourself needing to remove Q-Bond, there are a few options available to you. One effective method is to use acetone, which can be found in most nail polish removers. Simply apply a small amount of acetone to a cloth or cotton ball and gently rub it over the Q-Bond until it starts to dissolve. Be sure to work in a well-ventilated area and avoid getting acetone on your skin or eyes.
Another option is to use isopropyl alcohol, commonly known as rubbing alcohol. Like acetone, it can help break down the Q-Bond adhesive. Apply the alcohol to a cloth or cotton ball and carefully rub it onto the affected area until the bond begins to loosen.
If you prefer a more natural approach, you can try using lemon juice or vinegar. Both of these household items have acidic properties that can help weaken the Q-Bond adhesive. Simply soak a cloth or cotton ball in either lemon juice or vinegar and gently scrub the bonded area until the adhesive starts to come off.
In some cases, mechanical methods may be necessary for removing Q-Bond. You can try scraping away the adhesive using a plastic scraper or even your fingernail, being careful not to damage the surface underneath. If all else fails, sanding or filing down the bond may be required, but this should only be done on surfaces that can withstand such treatment.
Remember to always test any removal method on a small, inconspicuous area before applying it to the entire bonded surface. This will help ensure that there are no adverse effects or damage caused by the removal process.
In conclusion, when it comes to removing Q-Bond, there are several options available depending on your preference and resources. Whether you choose acetone, isopropyl alcohol, lemon juice, vinegar, or mechanical methods like scraping or sanding, always proceed with caution and prioritize safety.