Hey there, glue gurus. Ready to unlock the power of Krazy Glue and become a bonding boss? Whether you’re fixing, crafting, or creating, Krazy Glue is the adhesive superhero that’ll save the day.
What sets Krazy Glue apart from the rest? Well, its formula is like magic in a bottle. It forms an unbreakable bond on almost anything – plastic, metal, rubber, ceramics – you name it. Plus, it dries super fast and goes on clear, so your repairs will be practically invisible.
Now let’s dive into the juicy details of how to use Krazy Glue like a pro:
- Prep your space: Clean and dry the surfaces you want to bond. Get rid of any dirt or grease that could mess with the glue’s sticky powers.
- Less is more: Remember, a little dab of Krazy Glue goes a long way. Don’t go overboard with the application – we don’t want any messy mishaps.
- Stick ’em up: Once you’ve applied the glue, press those surfaces together firmly. Give it a few seconds for the bond to work its magic. But hold your horses. Don’t wiggle or jostle things around too soon – we need that bond to stay strong.
- Time to cure: While the initial bond happens in a flash, full strength takes about 24 hours. So don’t go Hulk-smashing anything until it’s fully cured.
- Store with care: After using Krazy Glue, clean off the tip and seal it tight as Fort Knox. Keep it in a cool spot away from extreme temperatures so it stays fresh for future projects.
And voila. You’re now armed with the knowledge to tackle any bonding challenge using Krazy Glue like a total pro. Oh, and one last thing – safety first. Put on some protective gloves to keep those hands glue-free.
Now go forth and conquer, glue masters.
Preparing the Surfaces for Bonding
Contents
To achieve strong and lasting bonds with Krazy Glue, proper surface preparation is essential. In this article, we will explore the importance of surface preparation and provide you with key tips to ensure successful bonding results.
Clean the surfaces:
Before applying Krazy Glue, thorough cleaning is crucial. Any dirt, dust, grease, or moisture on the surfaces can hinder the adhesive’s ability to form a strong bond. Use a mild detergent or solvent that is compatible with the materials being bonded. Ensure all surfaces are cleaned and completely dry before proceeding.
Remove old adhesive:
Residual adhesive can compromise the bonding process. To remove any remnants of old glue, use an appropriate adhesive remover or scraping tool. This step ensures a clean and optimal bonding surface.
Roughen smooth surfaces:
Smooth and shiny surfaces like glass or metal may not provide enough texture for effective adhesion. Lightly sand or roughen these surfaces using fine-grit sandpaper or a scouring pad. Exercise caution to avoid damaging the material while creating a textured surface.
Prime porous materials:
Certain porous materials, such as wood or fabric, benefit from priming prior to applying Krazy Glue. Priming helps seal pores and creates a better bonding surface. Follow manufacturer instructions and select a suitable primer for the specific material.
Ensure proper fit:
A tight fit between the parts being bonded maximizes contact area and enhances adhesion. Before applying Krazy Glue, ensure proper alignment without any gaps. If necessary, utilize clamps or other tools to hold the parts in place during curing.
Consider temperature and humidity:
Temperature and humidity greatly impact the bonding process and curing time of Krazy Glue. Adhere to manufacturer recommendations regarding ideal temperature and humidity ranges for optimal bonding. Extreme temperatures or high humidity levels can compromise adhesive effectiveness.
Applying Krazy Glue
You’ve got a project that needs some serious bonding power, and you’ve chosen Krazy Glue to get the job done. Well, you’re in for a treat because this little adhesive powerhouse is known for its super-strong bond and lightning-fast drying time. But before we dive into the nitty-gritty of applying Krazy Glue, let’s cover the basics to ensure you have the best results.
First things first, make sure the surfaces you’re bonding are clean and dry. Dirt, grease, or moisture can interfere with the glue’s effectiveness, so give those surfaces a good wipe down before you get started. Think of it like preparing a canvas for a masterpiece – cleanliness is key.
Now that your surfaces are prepped and ready to go, let’s talk about safety. Krazy Glue may be small but its fumes can pack a punch if you’re not careful. To avoid any irritation to your eyes, nose, or throat, it’s best to use this adhesive in a well-ventilated area. Open up those windows or turn on a fan, and you’ll be good to go.
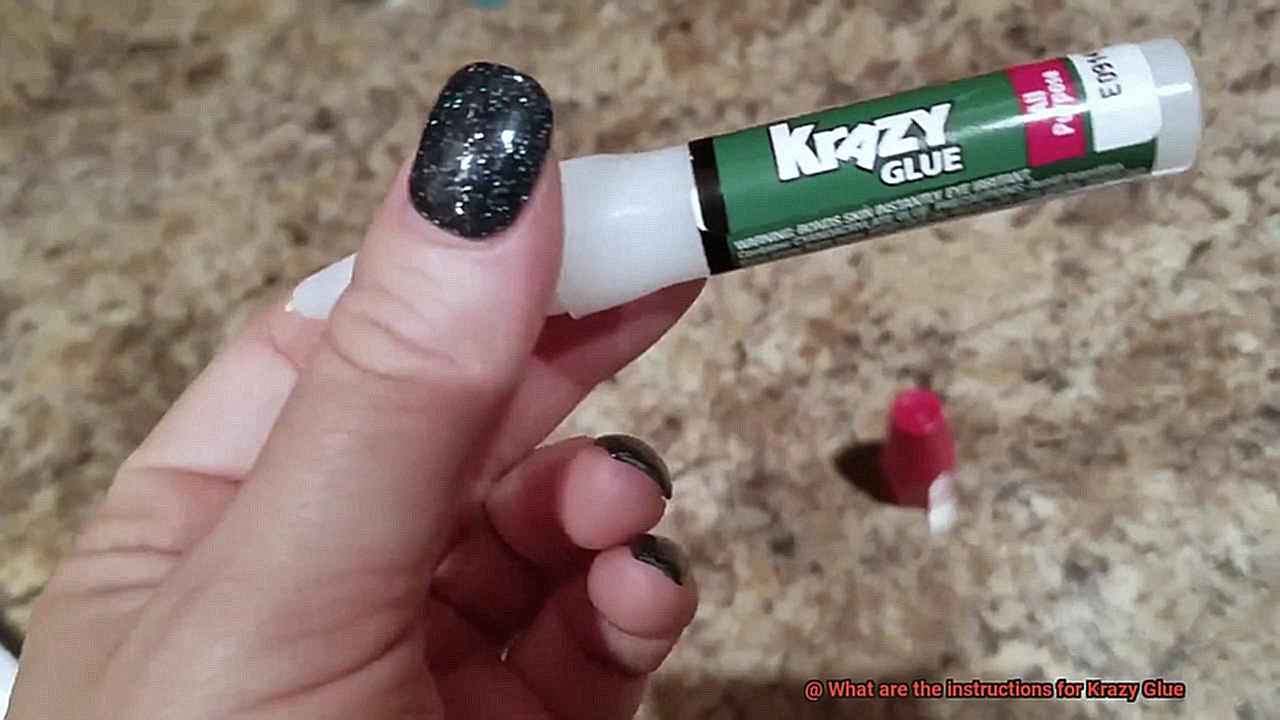
Okay, now it’s time to get down to business. Unscrew the cap of your Krazy Glue and take a look at the tip. If there’s any excess glue hanging around, wipe it off with a clean cloth or tissue. Remember, less is more with Krazy Glue – a small amount goes a long way.
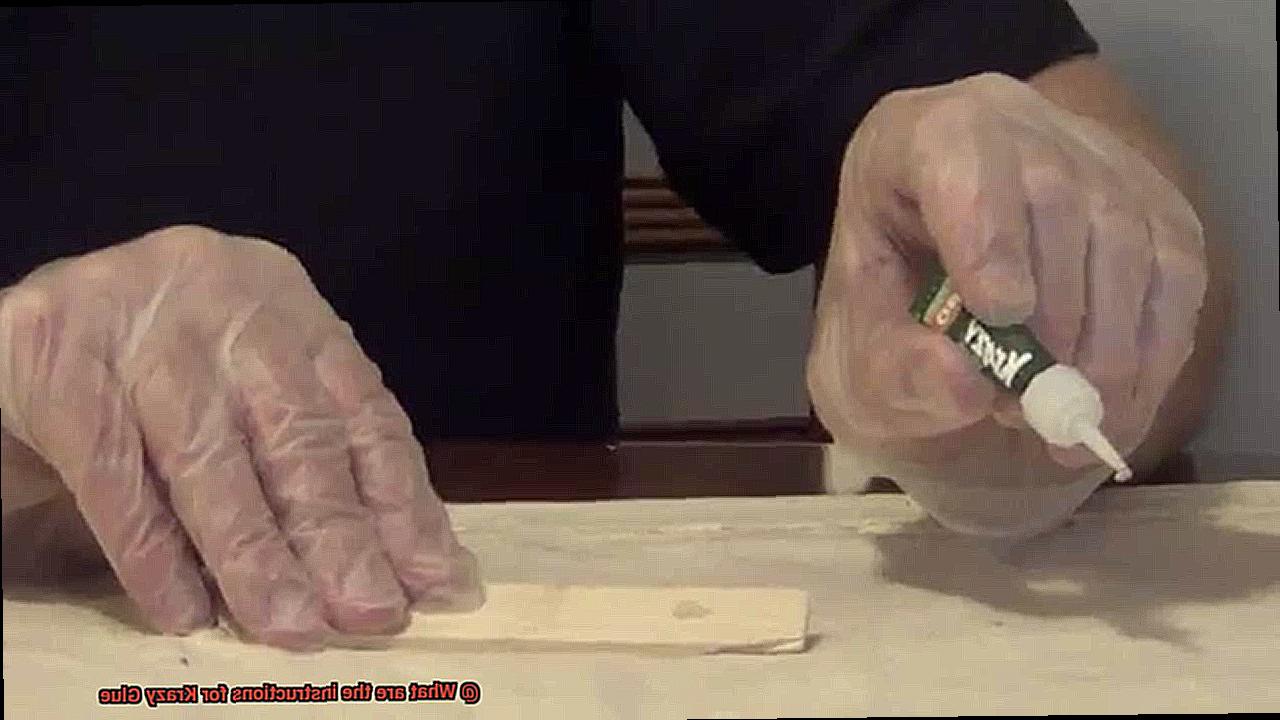
With your surfaces prepped and the glue ready to go, gently press them together. Hold them firmly for about 30 seconds to ensure a secure bond. This is not the time for multitasking or fidgeting – give those surfaces some undivided attention during this crucial bonding period.
Before we wrap things up, it’s important to note that Krazy Glue isn’t a one-size-fits-all solution. It’s not recommended for use on materials like foam, rubber, or glass. Always check the label or instructions provided with the glue for specific information on compatibility with different materials. We don’t want any surprises when it comes to your project.
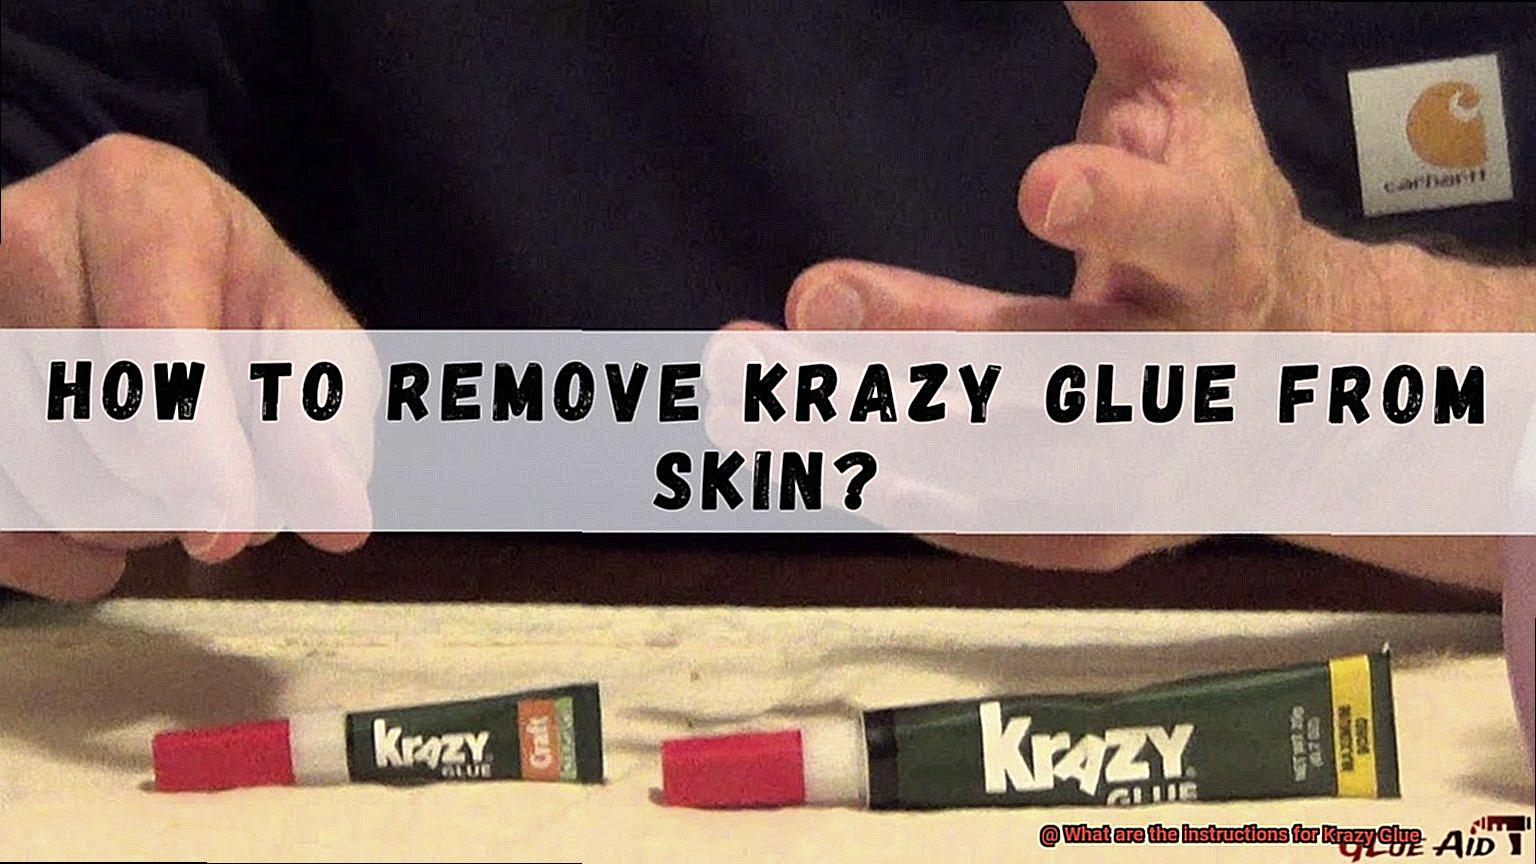
Now, accidents happen, so let’s be prepared. If you accidentally get Krazy Glue on your skin, don’t panic. Rinse the affected area with warm soapy water and gently peel or roll the skin apart. No yanking or pulling – we want to avoid any unnecessary skin damage. And if, heaven forbid, the glue gets in your eyes, flush them immediately with water for at least 15 minutes and seek medical attention. Safety first, always.
Pressing the Surfaces Together
Today, we embark on a journey into the intricacies of pressing surfaces together while using the legendary adhesive known as Krazy Glue. Prepare to unlock the secret to creating bonds so strong, they’ll make your DIY projects truly unbreakable. So don your safety gear and let’s dive right in.
Why Pressing Surfaces Together Matters:
Pressing surfaces together is not mere formality; it is the secret ingredient that ensures a bond capable of withstanding the test of time. When you press those surfaces together, you’re allowing Krazy Glue to seep into every nook and cranny, forging an unbreakable connection. Think of it as a warm embrace between two materials, permanently cementing their relationship.
The Right Amount of Pressure:
Now, let’s talk about pressure. No, not the pressure that comes from deadlines or daily life stressors, but rather the pressure needed for a successful glue job. The amount of pressure required may vary depending on the materials being bonded. For delicate materials like paper or fabric, a gentle touch will suffice. However, for sturdier materials like metal or wood, a firm and even pressure is necessary to fully unleash Krazy Glue’s remarkable potential.
Tips for Pressing Surfaces Together:
To ensure your bond is as tight as can be, consider utilizing clamps or heavy objects to hold the surfaces in place while the glue sets. This allows you to go hands-free and let gravity work its magic. Remember, once you’ve pressed those surfaces together, resist any temptation to move or disturb them while they dry. Patience is truly key.
Wait for It:
Ah, patience – the virtue that separates the glue masters from the novices. Waiting for Krazy Glue to fully dry before releasing the pressure is crucial for a successful bond. Do not rush the process; give it the time it needs to work its magic. Trust us, the end result will be worth every second of anticipation.
Troubleshooting:
In case your initial bond doesn’t meet your high standards, fear not. Apply more pressure and extend the waiting time to give Krazy Glue a chance to redeem itself. Remember, perseverance pays off in the world of gluing masterpieces together.
Suitable Materials for Krazy Glue
Today, we’re going to dive deep into the realm of this legendary adhesive and explore the magical materials it can bond together. So grab your DIY projects and get ready for an adhesive adventure.
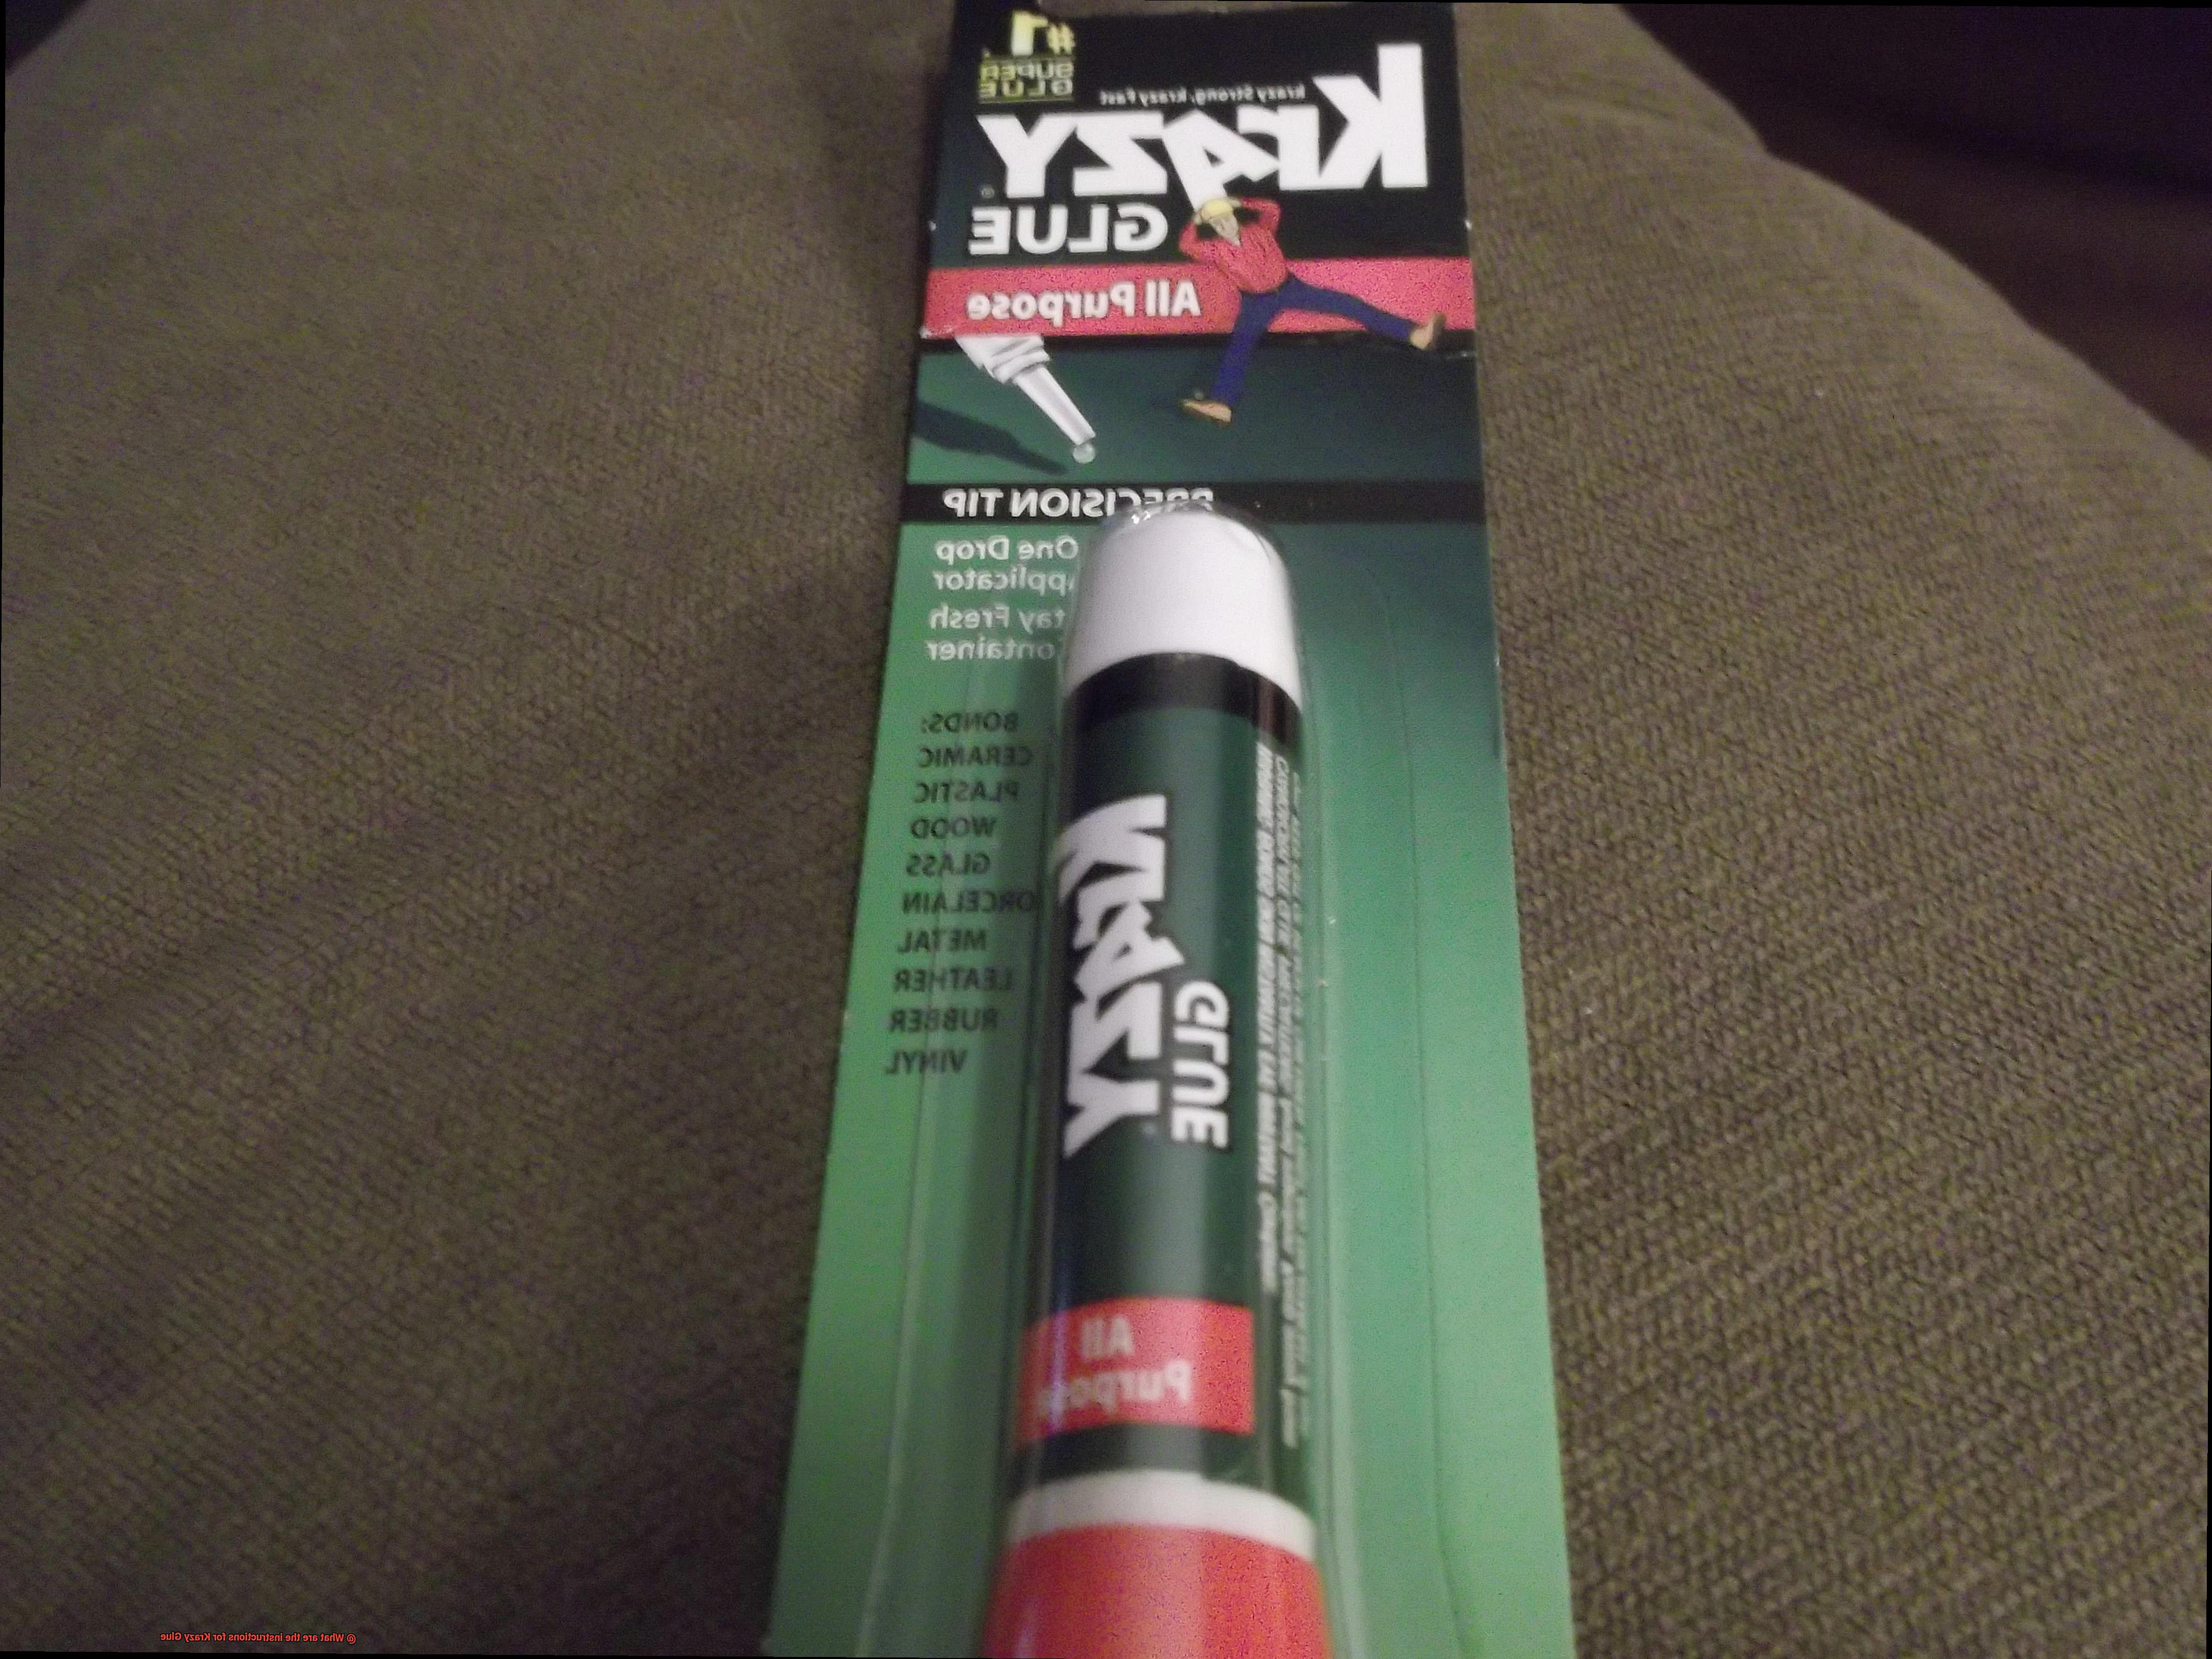
Let’s start with plastics, shall we? Krazy Glue is a rockstar when it comes to bonding different types of plastics. Whether you’re fixing a cracked toy or repairing a broken container, this glue has got your back. It works like a charm on polystyrene, polypropylene, and polyethylene – some of the most common plastics out there.
But wait, there’s more. Krazy Glue also has a thing for rubber. Say goodbye to loose shoe soles and torn rubber seals because Krazy Glue is here to save the day. It forms a strong bond on rubber items like shoes, gaskets, and seals, ensuring a repair that can withstand all the pressure and stretching you throw at it.
And let’s not forget about metals. Krazy Glue can bond aluminum, stainless steel, brass, and copper – making it perfect for fixing jewelry, small appliances, and even plumbing fixtures. With Krazy Glue by your side, your metal repairs will be as solid as a rock.
But that’s not all. Krazy Glue also works its magic on ceramics and porcelain. Whether you’re dealing with a broken ceramic vase or a teacup missing its handle, Krazy Glue is the answer. It forms a bond on these delicate materials that can withstand the test of time.
Now, before you go wild with your gluing adventures, let me give you a heads up. While Krazy Glue is an adhesive superhero, it may not play well with surfaces that have low surface energy, like certain types of silicone and Teflon. And if you’re thinking about gluing fabrics and textiles, think again. The glue might seep through the fibers and create a messy bond.
Curing and Maximum Strength
Curing and achieving maximum strength with Krazy Glue is essential for any successful DIY project or repair job. Let’s dive into the process and uncover the secrets to creating bonds that are both strong and durable.
Curing, the process of glue drying and hardening, is crucial to ensure the best results with Krazy Glue. The exact curing time may vary depending on factors like temperature, humidity, and the materials you are bonding. However, typically this adhesive cures within a few minutes. To achieve maximum strength, it is recommended to hold the bonded pieces firmly together for at least 30 seconds. This allows the glue to set and create a robust bond between surfaces. Remember, patience is key. Avoid any movement or stress on the bonded pieces until the glue has fully cured to prevent weakening of the bond during this critical period.
While Krazy Glue dries quickly, it’s important to note that it may take up to 24 hours to reach its maximum strength. So, give it ample time to cure before subjecting your project to excessive heat or moisture, as these factors can affect the curing process and compromise the bond.
Now let’s address some common issues that may arise during the gluing process. If you accidentally apply too much glue or excess glue seeps out from the bonded area, don’t panic. Grab a clean cloth or tissue and carefully wipe away the excess before it cures. This will ensure a clean and neat finish.
But what if you accidentally get some glue on your skin? Act quickly. Immediately rinse the affected area with warm soapy water. Avoid pulling or prying apart bonded skin as this can cause injury. If necessary, seek medical attention for professional assistance in removing the glue safely.
When working with porous materials like wood or fabric, try this little trick for better bonding: apply a thin layer of glue onto one surface and then press the surfaces firmly together. This technique allows for better penetration and bonding with porous materials.
Lastly, it’s worth mentioning that Krazy Glue is not suitable for use on certain materials such as foam, glass, or some plastics. Always refer to the product’s packaging or instructions for specific material compatibility information.
Accidental Skin Contact
Accidental skin contact with Krazy Glue can be a precarious predicament, but fear not. With a little know-how and the right approach, you can safely liberate your skin from this tenacious adhesive. So, don your superhero cape and let’s embark on an odyssey through the realm of glue removal.
First and foremost, it is crucial to maintain equanimity. Succumbing to panic will yield no benefits and may even exacerbate the situation. Instead, take a deep breath and follow these steps to emerge triumphant:
Refrain from succumbing to the urge to forcibly separate the glued skin. This rash action can inflict pain and potentially harm your delicate skin. Remember, steady and gradual wins the race.
Immerse the affected area in warm, soapy water for at least 15 minutes. Employ a mild dish soap or hand soap and gently submerge the glued skin. This will aid in loosening the bond between the glue and your precious skin.
While luxuriating in the soak, tenderly massage the glued area with your nimble fingers. This gentle manipulation can degrade the adhesive bond and facilitate the removal of the glue from your resilient skin.
Should immersion fail to entirely emancipate your skin from its sticky captor, it is time to unleash an acetone-based nail polish remover – a formidable weapon indeed. Apply a small quantity of nail polish remover onto a cotton ball or pad and delicately rub it over the clutched area. Exercise caution to avoid excessive pressure or vigorous scrubbing, as these actions might incite irritation upon your delicate dermis.
Remember, prevention is paramount. To evade future instances of accidental skin contact with Krazy Glue, contemplate donning gloves or employing barrier creams when handling this adhesive. And always remain mindful of where your hands wander while wielding glue – none desire glue on their visage or within their eyes.
If all else fails and you find yourself still ensnared in the predicament, do not hesitate to seek the counsel of a medical professional. These experts can proffer further guidance on how to safely eradicate the glue or suggest suitable treatments.
Sealing the Container After Use
Today, we delve into a crucial step in the Krazy Glue game: sealing the container after use. Although seemingly insignificant, this step holds immense importance. So buckle up, glue superheroes, as we uncover the reasons why sealing that glue container is a game-changer.
- Maintaining the Magic: Picture this – you crack open a fresh bottle of Krazy Glue and witness its adhesive powers in action. Mesmerizing, right? Well, sealing the container ensures that this magic lasts. By keeping air out of the equation, you prevent the glue from drying out and becoming as useless as a deflated balloon.
- Following the Instructions: Heroes always read the user manual. Each bottle of Krazy Glue comes with specific instructions on how to seal it properly. Wipe off any excess glue from the tip and replace the cap securely. Some bottles even flaunt fancy protective covers – remember to remove those before using your super glue.
- Smart Storage Solutions: Your Krazy Glue deserves a cozy home. Keep it upright on a stable surface to avoid accidental spills or leaks. Find a cool and dry place for it – direct sunlight and extreme temperatures are villains that can ruin your glue’s performance.
- Danger Signs: Just like Batman keeps an eye out for trouble, you need to be vigilant too. If you spot leaks or dried glue around the cap, it’s time for a replacement. Using a compromised container might lead to disappointment and sabotage your project – nobody wants that.
So my glue aficionados, seal that Krazy Glue container like a pro. Follow the manufacturer’s instructions, store it properly, and keep an eye out for signs of trouble. With these simple steps, your Krazy Glue will remain a superhero in the adhesive world. Stay sticky, my friends.
Sealing the container after use is crucial for maintaining the effectiveness and longevity of Krazy Glue. This adhesive’s power lies in its ability to form a strong bond when applied to surfaces. However, if the container isn’t sealed properly, the glue can dry out and become unusable.
To ensure a tight seal, follow the manufacturer’s instructions. Wipe away any excess glue from the tip and securely replace the cap. Some Krazy Glue products may have an additional seal or protective cover that needs to be removed before use.
Storing the container upright on a stable surface prevents accidental leaks or spills. A cool, dry place is ideal – avoid direct sunlight and extreme temperatures that could compromise the glue’s performance.
If you notice leaks or dried glue around the cap, it’s time for a replacement. Using a compromised container can lead to poor adhesive performance and ruin your project.
Removing Excess Glue
Removing excess glue can be a tricky task, but with the right knowledge and tools, it can be done quickly and effectively. In this passage, I will explain the process of removing excess glue in detail, from preparing the area to using the best methods for removal. I will provide step-by-step instructions on how to safely and efficiently remove all types of glue from any surface. Additionally, I will include tips on what to do if any residue remains after removal.
First and foremost, it is important to act quickly when dealing with excess glue. The longer the glue has time to dry and harden, the more difficult it will be to remove. So, as soon as you notice the excess glue, gather your supplies and get to work.
One popular method for removing excess glue is using acetone. Acetone is a solvent that can effectively break down the adhesive properties of many types of glue. However, it is important to note that acetone can damage certain surfaces like plastics or painted areas. To test if it’s safe to use acetone on a particular surface, apply a small amount to an inconspicuous area and observe how it reacts.
If it is safe to use acetone, you can proceed by applying a small amount onto a clean cloth or cotton swab. Gently rub the affected area with the acetone-soaked cloth, patiently repeating the process until the excess glue softens. Once softened, wipe away the glue with a clean cloth.
If acetone is not available or cannot be used on the surface, there are alternative methods you can try. One option is using nail polish remover that contains acetone as an active ingredient. Another option is creating a mixture of warm water and dish soap. Soak the affected area in this solution for a few minutes to help loosen the glue before attempting removal.
In some cases, mechanical means may be necessary to remove excess glue. For example, if the glue has dried on a hard surface like glass or metal, carefully scrape it off with a razor blade or scraper tool. However, exercise caution to avoid scratching or damaging the surface.
Once you have successfully removed the excess glue, it is important to check if any residue remains. If there is residue left behind, you can try using a mild adhesive remover specifically designed for the type of glue you are dealing with. Follow the manufacturer’s instructions for best results.
QthlA8A8G3s” >
Conclusion
Krazy Glue, the go-to adhesive for quick fixes and strong bonds. But do you know how to use it properly? Let me guide you through the instructions step by step.
First, make sure the surfaces you want to bond are clean and dry. Any dirt or moisture can weaken the glue’s effectiveness. So grab a cloth and wipe away any impurities.
Next, apply a small amount of Krazy Glue to one of the surfaces. Remember, a little goes a long way. A thin layer is all you need for a solid hold.
Now, press the two surfaces together firmly. Hold them in place for about 30 seconds to allow the glue to set. This is where the magic happens – that instant bond that Krazy Glue is known for.
But wait. Don’t be tempted to pull apart immediately. Give it some time to fully cure and strengthen. Wait at least 24 hours before subjecting your glued item to any stress or strain.
And there you have it – easy and effective instructions for using Krazy Glue. With just a few simple steps, you can fix broken objects or create new ones with confidence.
So go ahead, unleash your creativity and let Krazy Glue work its magic. Remember, always follow these instructions for best results.