Welcome to our blog post all about adhesives that stick to acrylic. Whether you’re a DIY enthusiast, a craft lover, or just someone trying to fix up some acrylic furniture, finding the perfect adhesive is key to getting the job done right.
Acrylic, also known as Plexiglas or Perspex, is a lightweight and tough thermoplastic that’s often used instead of glass. Its transparency and resistance to shattering make it super popular. But here’s the thing: finding an adhesive that sticks well without ruining the surface or making it all cloudy can be a real challenge.
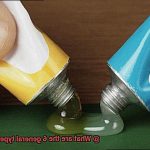
Luckily, there are a few types of adhesives that work like magic with acrylic. One option is solvent cement. This stuff chemically bonds the acrylic by dissolving its surface and fusing everything together. It’s strong and clear, which makes it perfect for big projects or joining sheets of acrylic.
Another great choice is cyanoacrylate, also known as super glue. This adhesive creates an instant bond by reacting with moisture in the air. It’s awesome for sticking small pieces of acrylic together but might not be the best for larger jobs.
If you want maximum flexibility, go for an epoxy adhesive made specifically for acrylic. These two-part wonders have a resin and a hardener that you mix together. Epoxy gives you a tough and durable bond that can handle temperature changes without turning yellow.
No matter which adhesive you choose, prepping your surfaces is crucial. Make sure to clean your acrylic really well with mild detergent and let it dry completely before applying any glue. And don’t forget to follow the instructions from the manufacturer when it comes to curing time and application techniques.
So there you have it. Picking the right adhesive is essential when working with acrylic surfaces. Solvent cement, cyanoacrylate (super glue), and epoxy made specifically for acrylic are some top choices. With proper prep work and application, you’ll get super strong bonds that won’t mess up the clarity or integrity of your acrylic project. Keep an eye out for more tips and tricks on working with acrylic in our future blog posts.
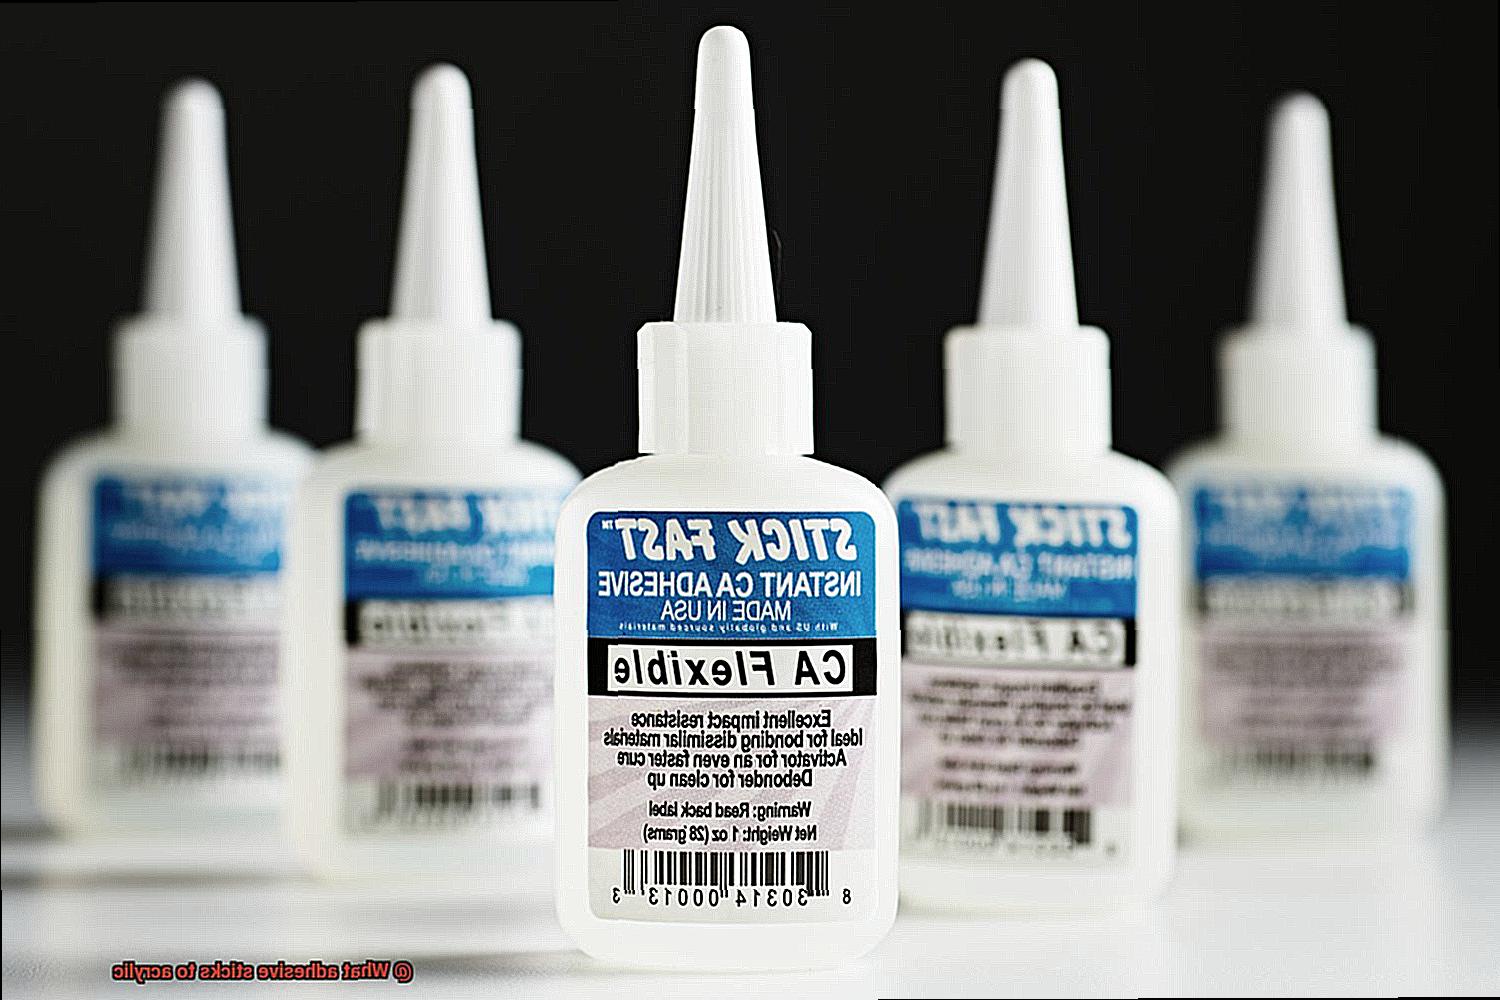
Cyanoacrylate (Super Glue): Overview and Advantages
Contents
- 1 Cyanoacrylate (Super Glue): Overview and Advantages
- 2 Epoxy: Overview and Advantages
- 3 Acrylic Cement: Overview and Advantages
- 4 Acrylic Tape: Overview and Advantages
- 5 Solvent-Based Adhesives: Overview and Advantages
- 6 Things to Consider When Choosing an Adhesive for Acrylic
- 7 Preparing the Surface for Bonding with an Adhesive
- 8 Testing the Adhesive Before Application
- 9 Conclusion
When it comes to bonding materials like acrylic, choosing the right adhesive is crucial for achieving a strong and durable bond. One adhesive that stands out for its fast-drying and high-strength properties is cyanoacrylate, commonly known as super glue. In this article, we will explore the overview and advantages of cyanoacrylate, including its rapid curing time, strong bonding strength, resistance to moisture and chemicals, and various applications.
Cyanoacrylate:
Cyanoacrylate is an adhesive renowned for its rapid curing time. Within seconds, it sets, making it a time-saving option for a wide range of applications. This adhesive comes in different viscosities, allowing users to choose the appropriate consistency based on their specific needs. In addition, cyanoacrylate forms an invisible bond, making it ideal for applications where aesthetics are important.
Advantages of Cyanoacrylate:
- Quick curing time: Cyanoacrylate sets within seconds, allowing for efficient and time-saving applications.
- Strong bonding strength: This adhesive provides a reliable bond that can withstand various stresses and forces.
- Resistance to moisture: Cyanoacrylate does not easily break down or lose its adhesive properties when exposed to water or humidity.
Comparing to other adhesives:
While cyanoacrylate offers many advantages, it is important to consider other adhesives when bonding acrylic. Epoxy adhesives are known for their high strength and durability, while acrylic cement chemically welds the pieces together.
Acrylic tape and solvent-based adhesives like methyl methacrylate (MMA) adhesives are also suitable options. However, adhesives containing solvents like acetone or toluene can damage acrylic.
Potential drawbacks:
It is important to note that cyanoacrylate adhesives may not bond well with all types of acrylic. Some acrylic surfaces may require pre-treatment or the use of specific primers to ensure proper adhesion. Additionally, cyanoacrylate may not be suitable for applications requiring flexibility or where large gaps need to be filled.
Epoxy: Overview and Advantages
Epoxy, the adhesive superhero, is ready to save the day. This versatile adhesive is a powerhouse in the world of bonding, offering a range of advantages that make it the go-to choice for countless applications. Let’s dive into the details and explore why epoxy is the ultimate adhesive for your needs.
First and foremost, epoxy boasts an incredible bonding strength that can withstand the toughest challenges. When you need materials to stick together securely, epoxy delivers with its unrivaled adhesive power. Whether you’re working on heavy-duty construction projects or intricate manufacturing tasks, epoxy ensures a bond that holds strong.
Epoxy’s versatility sets it apart from other adhesives. It can bond a wide range of materials, including metals, plastics, ceramics, and even wood. From building furniture to tackling DIY projects, epoxy has got your back, offering endless possibilities for your creative endeavors.
Another standout advantage of epoxy is its resistance to chemicals and solvents. It fearlessly faces exposure to harsh substances without losing its strength or integrity. If you’re working in a lab or an industrial setting where chemicals are part of the equation, epoxy is the reliable adhesive that won’t let you down.
Not only does epoxy excel in strength and versatility, but it also has a secret weapon – its ability to fill gaps and uneven surfaces. Thanks to its high viscosity, epoxy flows easily and fills in gaps between materials. This means you can achieve a strong bond even in areas where surfaces may not be perfectly smooth or flat. No more worries about tricky surfaces or precise alignment issues – epoxy saves the day.
But can epoxy handle the heat? Absolutely. This adhesive thrives in high-temperature environments without sacrificing its bonding strength or structural integrity. Whether you’re working on automotive projects or aerospace endeavors, epoxy remains steadfast and reliable.
Last but certainly not least, epoxy is like a shield against water and moisture. It resists the harmful effects of moisture, maintaining its strength and durability over time. Whether your project is indoors or outdoors, epoxy ensures that everything stays intact, no matter the humidity or moisture levels.
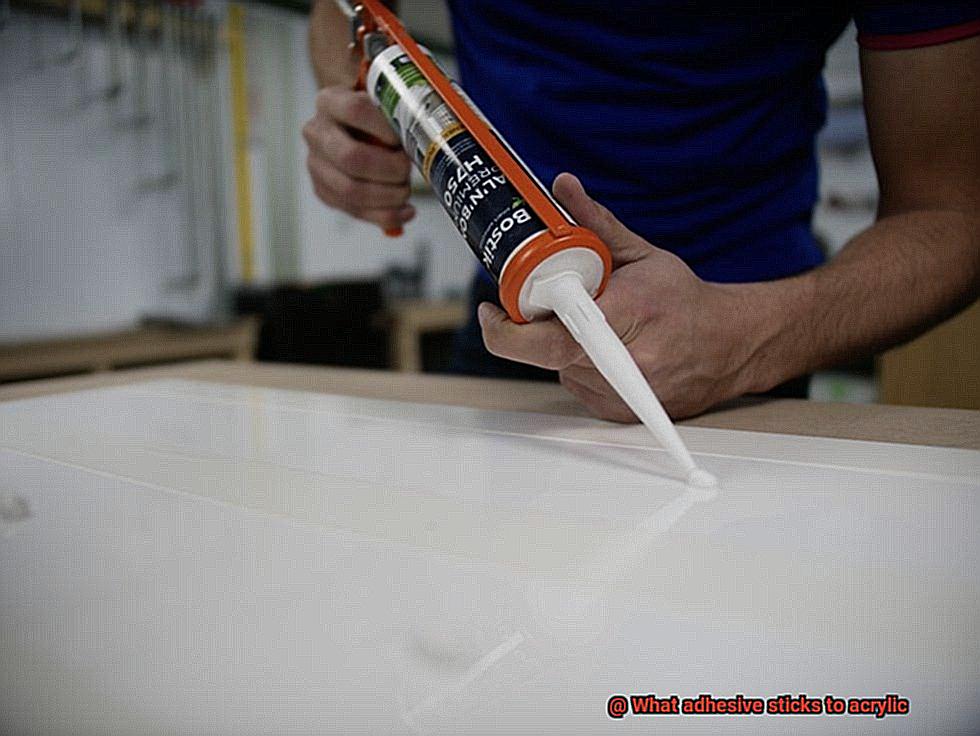
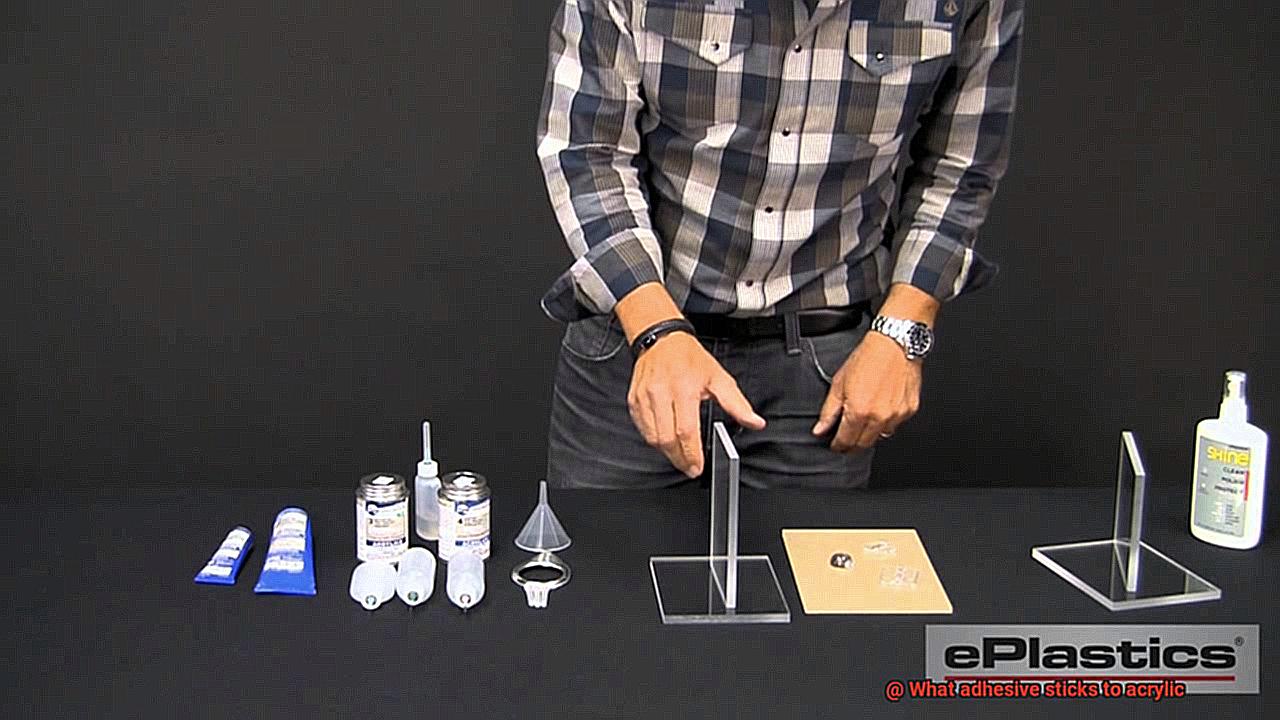
Acrylic Cement: Overview and Advantages
When it comes to bonding acrylic pieces, finding the right adhesive is crucial. Look no further than acrylic cement, the unsung hero of glues specifically designed for acrylic materials. Also known as acrylic glue, acrylic adhesive, or acrylic solvent cement, this liquid adhesive offers a range of advantages that make it a top choice for both DIY enthusiasts and professionals alike.
First and foremost, acrylic cement creates strong and durable bonds between acrylic pieces. By chemically melting the surfaces of the acrylic, the cement creates a fusion between them as it dries. This results in a bond that is as strong as the original acrylic material itself. No need to worry about weak joints or pieces coming apart.
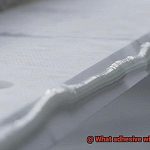
But it’s not just about strength – acrylic cement also excels in creating seamless joints. When applied correctly, it can create almost invisible joints, giving the appearance of a single solid piece. This makes it ideal for applications where aesthetics matter, such as crafts, model making, signage, and more. Say goodbye to visible glue lines and hello to a polished finished product.
Time is of the essence in many projects, and that’s where acrylic cement shines. It typically dries within minutes, allowing for quicker project completion. This is especially useful when working on time-sensitive projects or when you simply don’t want to wait around for the glue to dry. Get your project done faster and move on to the next one.
One of the standout features of acrylic cement is its transparency and clarity. It’s popular for bonding clear acrylic sheets because it maintains the visual appeal of the material without any visible glue lines. Your project will retain its transparency and look sleek and professional.
Not only does acrylic cement offer excellent resistance to moisture and weathering, but it also holds up against certain chemicals and solvents. This makes it suitable for both indoor and outdoor use. Whether you’re creating an outdoor sign or a bathroom fixture, you can trust that your bonded acrylic pieces will remain intact and strong even in challenging environments.
While acrylic cement is generally easy to use, it’s important to handle it with care. It typically contains volatile substances that may be harmful if inhaled or ingested. Work in a well-ventilated area, and always wear protective gloves and eyewear to ensure your safety.
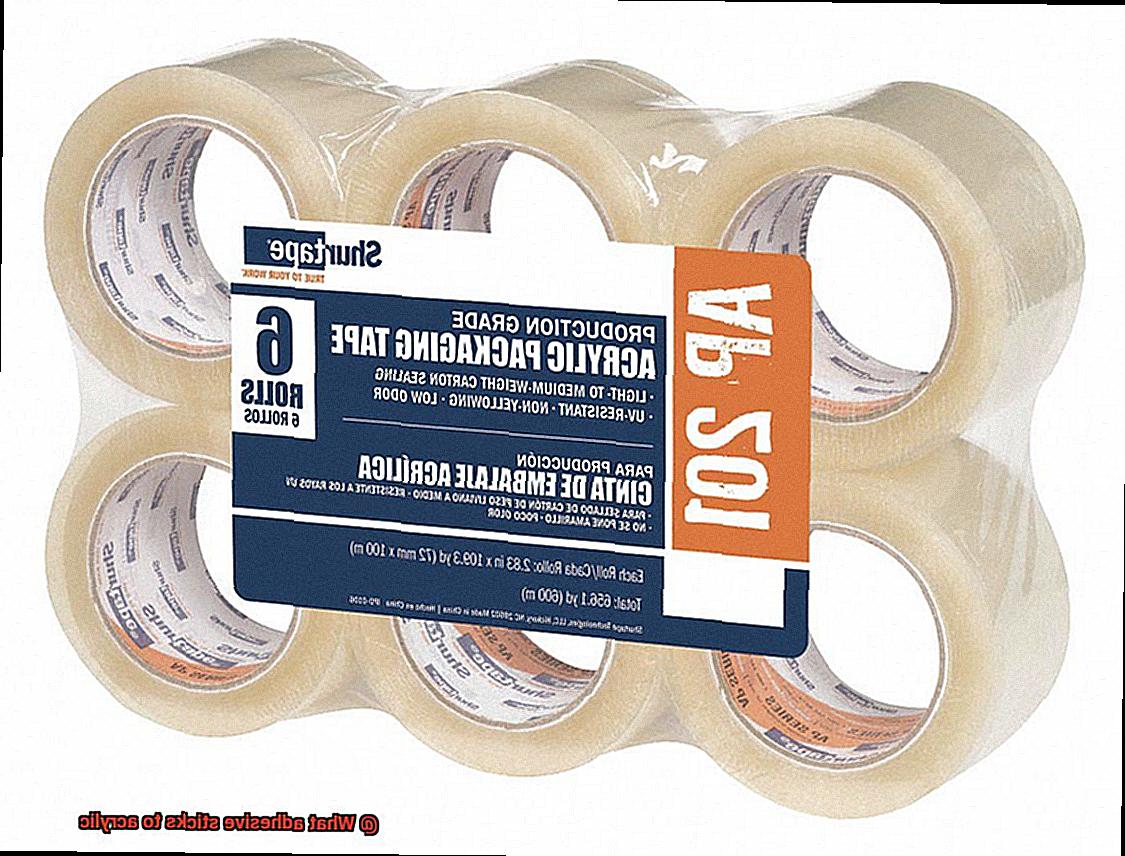
Acrylic Tape: Overview and Advantages
Acrylic tape, the superhero of adhesive tapes, is specifically designed to stick to acrylic surfaces and offers a multitude of advantages that make it the go-to choice for bonding acrylic materials.
First and foremost, let’s talk about its incredible bonding strength. Acrylic tape forms a strong and durable bond with acrylic surfaces, ensuring that your materials stay securely attached. Say goodbye to worrying about your project falling apart under stress or movement – acrylic tape can handle it like a boss.
But that’s not all – acrylic tape is also resistant to temperature changes and moisture. Whether you’re working on an indoor or outdoor project, this tape can withstand different environmental conditions without losing its adhesive properties. So whether it’s scorching hot, humid as a rainforest, or freezing cold, acrylic tape has got your back.
Now let’s talk about transparency. Unlike some other adhesives that leave behind unsightly glue lines, acrylic tape is typically clear or translucent. This means that it seamlessly blends in with the surface it’s applied to, making it perfect for bonding acrylic materials without marring their appearance. Who doesn’t love a clean and professional finish?
And here’s the cherry on top – acrylic tape is easy peasy to use. It usually comes in rolls or sheets, allowing for convenient cutting and customization according to your project needs. Plus, it has a peel-and-stick backing, so you can simply remove the protective liner and press it onto the desired surface. Easy as pie.
Oh, did I mention the UV resistance? That’s right – acrylic tape won’t yellow or degrade when exposed to sunlight over time. So if you’re working on outdoor projects or need long-term durability, this tape has got you covered.
Solvent-Based Adhesives: Overview and Advantages
Solvent-based adhesives are the superheroes of the adhesive world. Formulated with solvents that dissolve the adhesive and create an unbreakable bond, these adhesives are the answer to all your bonding needs.
Let’s dive into the advantages of solvent-based adhesives:
- Unbeatable Strength: When it comes to strength, solvent-based adhesives reign supreme. They can handle heavy loads and resist impacts like a champ. From signage to display cases to automotive parts, these adhesives ensure that your bonds stay intact for the long haul.
- Versatility at Its Best: Solvent-based adhesives aren’t limited to bonding acrylic alone. They can bond a wide range of substrates like wood, metal, glass, and plastics. Say goodbye to the hassle of using multiple adhesives for different materials.
- Weatherproof Wonder: These adhesives are tough cookies when it comes to temperature and moisture resistance. They can handle extreme temperatures without losing their grip, making them perfect for hot and cold environments. Plus, they have excellent resistance to moisture, so you can trust them to hold up even in humid conditions. If you’re looking for an adhesive that can withstand the elements, look no further.
- Speedy Solutions: Time is money, and solvent-based adhesives get it. They cure relatively quickly, meaning faster production times and increased efficiency. In an industrial setting where every second counts, these adhesives are a game-changer.
While solvent-based adhesives offer numerous benefits, it’s important to handle them with caution. The solvents used in these adhesives can emit strong odors and pose flammability risks. So make sure to work in a well-ventilated area and take proper safety measures.
Things to Consider When Choosing an Adhesive for Acrylic
Choosing the right adhesive for your acrylic project requires careful consideration of several factors. To ensure a strong, durable, and visually appealing bond, keep the following key points in mind:
- Compatibility: Acrylic can be sensitive to certain chemicals and solvents, so it’s crucial to choose an adhesive specifically designed for use with acrylic. Look for labels like “acrylic adhesive” or “suitable for use with acrylic” to avoid damaging or weakening the surface.
- Bond Strength: Consider the level of strength needed for your project. Look for adhesives that offer high bond strength to ensure longevity and reliability, especially if your project will be subject to stress or pressure.
- Transparency: Acrylic is known for its transparency, so choose an adhesive that dries clear without leaving visible residue. Specially formulated adhesives are available that won’t interfere with the visual appeal of your acrylic creation.
- Application Method: Liquid adhesives provide flexibility and precise application, while tapes or sheets can be convenient for larger surface areas. Choose the method that suits your project’s needs and requirements.
- Cure Time: Consider your project timeline when choosing an adhesive. Some adhesives require longer cure times, while others offer quick bonding. Additionally, certain adhesives may need additional curing steps, such as exposure to heat or UV light, for maximum bond strength.
- Environmental Factors: Evaluate the conditions your adhesive will be exposed to. Different adhesives have varying resistance properties, such as moisture resistance, temperature resistance, or chemical resistance. Choose an adhesive that can handle the specific challenges it will face.
- Safety and Health: Prioritize safety when working with adhesives. Look for adhesives labeled as non-toxic or low VOC to minimize health hazards. Always read and follow the instructions carefully and test the adhesive on a small inconspicuous area before applying it to the entire surface.
Preparing the Surface for Bonding with an Adhesive
Just like finding the perfect partner, preparing the surface for adhesive is crucial for a strong and long-lasting relationship. In this guide, we’ll walk you through the essential steps to get your surface prepped and ready for a flawless bond.
Step 1: Cleanse and Purify
Before diving into the bonding process, give your surface a gentle cleanse. Grab a soft cloth, mild soap or detergent, and warm water. Wipe away any dirt, dust, or grease that may hinder the bond. Harsh chemicals and abrasive materials are a no-no as they can scratch or damage your precious piece.
Step 2: Dry it Out
Moisture can be a real buzzkill when it comes to bonding. Ensure your surface is completely dry before moving forward. Use a lint-free cloth or let it air dry naturally – just don’t rush it. Patience is key here.
Step 3: Embrace Texture
Smooth surfaces can be slippery for adhesives. To make them feel more at home, lightly sand your surface using fine-grit sandpaper. A circular motion will do the trick. Be careful not to go overboard and damage your masterpiece.
Step 4: Banish Residue
Let’s make sure there are no unwanted guests at this bonding party. Grab a lint-free cloth dampened with isopropyl alcohol and wipe down the surface. This will remove any remaining residue or particles that could spoil the bond.
Step 5: Adhesive-Specific Steps
Pay close attention to your chosen adhesive’s instructions. Some may require additional steps for optimal bonding. Solvent-based adhesives, for example, might need a primer or activator to enhance adhesion. Follow the manufacturer’s guidance to ensure success.
Step 6: Match Made in Heaven
Not all adhesives are created equal. Look for adhesives specifically formulated for your surface material. These gems have unique properties that create a strong bond without damaging or discoloring your masterpiece. It’s like finding your perfect match.
Step 7: Test the Waters
Before diving into bonding, perform a compatibility test on a small, inconspicuous area of your surface. This will help you spot any potential issues before committing to the whole project. Safety first.
Testing the Adhesive Before Application
When it comes to gluing acrylic, testing the adhesive before application is a critical step to guarantee a strong and flawless bond. The smooth surface of acrylic poses challenges for adhesion, making it essential to select the right adhesive and evaluate its performance characteristics. By following a few simple steps, you can ensure a reliable and long-lasting bond between acrylic and the adhesive.
Bonding Strength:
- Choose an adhesive specifically designed for acrylic to ensure optimal bonding strength.
- Apply a small amount of adhesive between two pieces of acrylic and follow the manufacturer’s instructions regarding curing time and pressure.
- After the recommended curing time, gently attempt to separate the two acrylic pieces.
- If the bond is strong and difficult to break, it indicates that the adhesive is suitable for acrylic.
Clarity:
- Opt for an adhesive that dries clear without leaving any visible residue or discoloration.
- Apply a small amount of adhesive onto a piece of acrylic and allow it to dry according to the manufacturer’s instructions.
- Inspect the dried adhesive for cloudiness or discoloration, as this can affect the transparency of the acrylic.
- If the adhesive maintains its clarity and transparency, it can be considered suitable for use.
Flexibility and Durability:
- Select an adhesive that can withstand expansion and contraction of acrylic due to temperature changes or external forces.
- Perform a flexibility test by applying the adhesive onto a piece of acrylic and subjecting it to bending and twisting motions.
- If the bond remains intact without cracking or detachment, it indicates good flexibility and durability.
Resistance to Moisture and Chemicals:
- Choose an adhesive that can withstand exposure to water, cleaning solutions, or other chemicals in various applications.
- Apply the adhesive onto a piece of acrylic and expose it to water or a chemical solution for a specific period.
- Examine the bond for signs of weakening or failure, as this indicates the adhesive’s resistance to moisture and chemicals.
3KzZDi-aXD4″ >
Conclusion
When it comes to finding an adhesive that sticks to acrylic, there are a few options to consider.
One popular choice is cyanoacrylate adhesive, also known as super glue. This powerful adhesive forms a strong bond with acrylic surfaces, ensuring a secure and long-lasting hold.
Another option is epoxy resin, which not only bonds well with acrylic but also provides added strength and durability. If you’re looking for a more flexible adhesive, consider using a solvent-based adhesive like methyl methacrylate (MMA).
Whichever adhesive you choose, make sure to properly clean and prepare the acrylic surface before applying it for the best results.