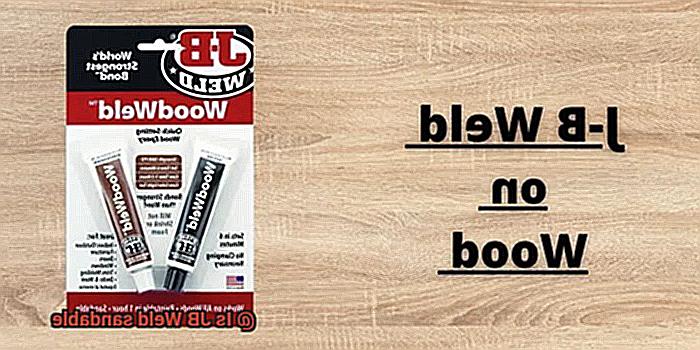
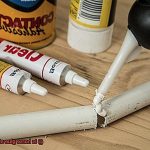
Welcome to our blog post, where we’re tackling a burning question for all you DIY enthusiasts: Is JB Weld sandable?
If you’ve ever wielded this mighty epoxy adhesive, you know its unrivaled strength and versatility. But when it comes to putting the finishing touches on your project, sanding can make or break the final result.
Today, we’re diving deep into the sandability of JB Weld, exploring whether it’s a breeze to sand down for that flawlessly smooth finish. Whether you’re a seasoned pro or just embarking on your DIY journey, we’ve got the answers you need to achieve that picture-perfect project.
So grab your sandpaper and let’s get down to business.
Is JB Weld Sandable?
Contents
You’ve just completed a project using JB Weld, and now you’re ready to achieve that flawless finish. But can JB Weld be sanded? Absolutely. In this comprehensive guide, we will explore the world of sanding JB Weld, uncovering the step-by-step process, necessary tools, and expert tips and tricks to help you achieve professional results.
Step 1: Patience is Key – Full Curing:
Before diving into sanding, exercise patience. Allow JB Weld to fully cure for approximately 24 hours. Rushing the process may yield subpar results and risk damaging your project.
Step 2: Selecting the Right Tools:
To effectively sand JB Weld, specialized tools are essential. A rotary tool with abrasive attachments offers quick and efficient material removal. For more intricate tasks, diamond files or sanding pads embedded with diamond particles provide precise control.
Step 3: Safety First:
Protect yourself by wearing goggles and a mask to shield your eyes and lungs from particles generated during the sanding process. Additionally, work in a well-ventilated area to ensure proper air circulation.
Step 4: Coarse Grit for a Solid Start:
Begin sanding with coarse-grit sandpaper (e.g., 60 or 80 grit) to eliminate excess adhesive or rough areas. Employ circular or back-and-forth motions for an even finish.
Step 5: Progress to Finer Grits:
Switch to finer-grit sandpapers like 120 or 220 grit as you move forward to achieve a smoother surface. Take your time and be patient with each pass to get closer to that coveted flawless finish.
Step 6: Wet Sanding for an Ultra-Smooth Surface:
To minimize dust production and obtain an ultra-smooth finish, consider wet sanding. Wet the sandpaper or use a damp sponge to lubricate the surface, which also prevents clogging.
Expert Tips and Tricks:
- Take breaks during sanding to allow the epoxy to cool down and prevent damage.
- Maintain consistent pressure while sanding to avoid uneven surfaces.
- Inspect your work frequently to ensure progress in the right direction.
- For intricate or hard-to-reach areas, utilize smaller tools like dental picks or emery boards.
Benefits of Sanding JB Weld
Today, we embark on an exciting journey that will unravel the mysteries behind the benefits of sanding JB Weld. Prepare to be amazed as we delve into the realm of flawless finishes, improved adhesion, jaw-dropping aesthetics, and precision fitting.
Smooth as Silk – The Power of Sanding
JB Weld, renowned for its strength and durability, sometimes leaves rough and uneven areas. However, sanding JB Weld can transform these imperfections into a smooth surface, perfect for painting or finishing. Its magical touch creates a canvas so refined that it’s impossible to resist running your fingers over it.
Adhesion Perfection – A Key Advantage
Sanding before painting allows for better adhesion of coatings, ensuring a long-lasting and professional-looking result. By leveling out any imperfections, sanding creates an even surface that paint can cling to like a devoted lover, guaranteeing a flawless and enduring bond.
Aesthetics That Wow – The Beauty of Sanding
Say goodbye to unsightly protrusions and uneven edges caused by excess adhesive. Sanding JB Weld removes these blemishes, leaving you with a repair that seamlessly blends into the surrounding area. It’s like watching a master painter turn smudges into strokes of genius.
Precision Matters – Fitting and Alignment
When working on projects demanding precise fitting or alignment, sanding JB Weld is your secret weapon. By smoothing down any excess adhesive or uneven edges, you ensure a perfect fit and alignment of parts. It’s like watching puzzle pieces fall effortlessly into their rightful places.
Safety First – Protect Yourself
Remember to prioritize safety when sanding JB Weld. Wear protective goggles or glasses and use a dust mask or respirator to safeguard your eyes and lungs from debris. Let not the beauty of sanding blind you to the importance of protecting yourself, for only then can you fully enjoy the wonders it brings.
How to Prepare for Sanding JB Weld
If you’re working on a project that involves using JB Weld, you may be wondering how to achieve a smooth and polished finish. In this post, we will guide you through the steps necessary to prepare for sanding JB Weld, ensuring the best results.
Step 1: Allow JB Weld to Cure Completely
Before you begin sanding, ensure that the JB Weld has fully cured according to the manufacturer’s instructions. Curing times can vary, so it’s crucial to refer to the specific product guidelines. Rushing this step can lead to less effective sanding and potentially damage the JB Weld.
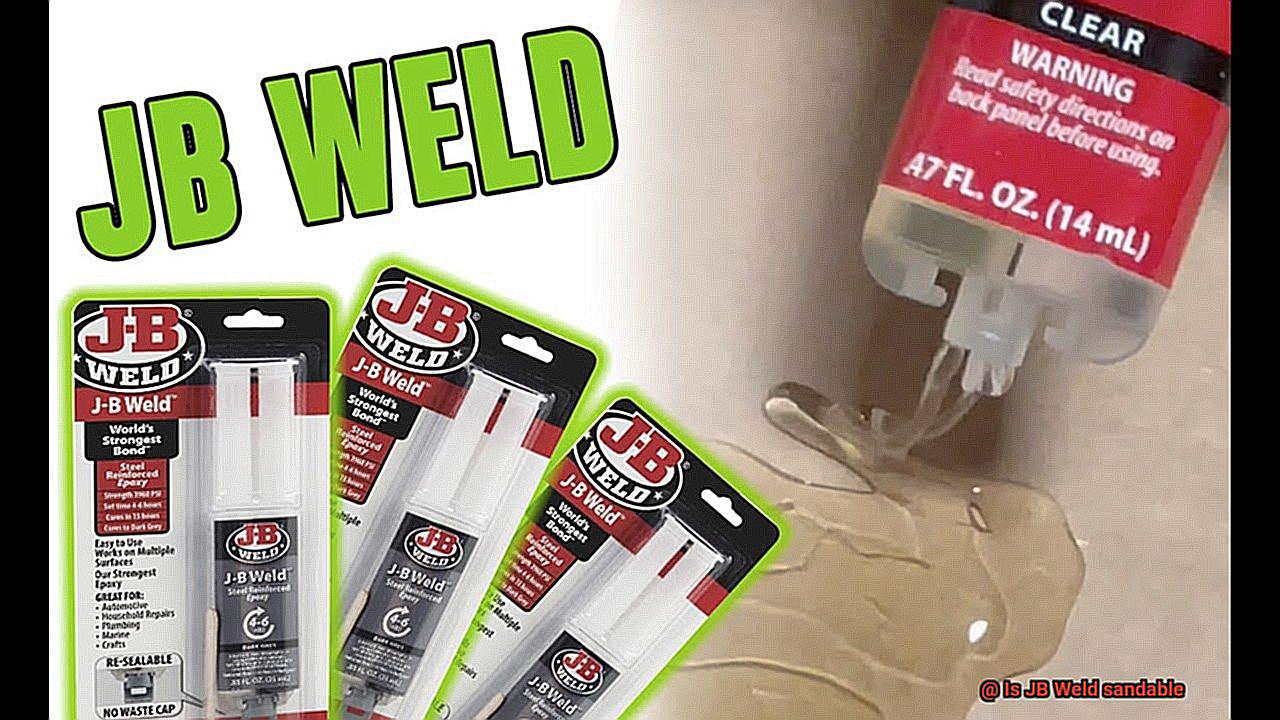
Step 2: Gather Your Tools and Materials
To prepare for sanding, gather the necessary tools and materials. You will need sandpaper of different grits, ranging from coarse to fine, a sanding block or pad for stability, safety goggles, and a dust mask to protect yourself from airborne particles. Having these items ready will make the process smoother and safer.
Step 3: Clean the Surface
Before starting the sanding process, clean the surface of the JB Weld. Use a mild detergent solution or a specialized cleaner to remove any dirt, dust, or oils that may be present. Ensure that the surface is completely dry before proceeding.
Step 4: Start with Coarse Grit Sandpaper
Begin sanding with a coarse-grit sandpaper (around 80-100 grit) to remove any high spots or imperfections in the JB Weld. Apply even pressure and use long, sweeping motions for a consistent finish. Be cautious not to over-sand or apply excessive pressure, as this can result in uneven surfaces or damage.
Step 5: Gradually Use Finer Grits
Once you achieve a smooth surface with the coarse-grit sandpaper, switch to finer grits (around 220-240 grit) to refine the surface further. Work your way up through the grits, using lighter pressure each time, until you reach the desired level of smoothness. This gradual process ensures a professional-looking result.
Step 6: Clean the Surface and Inspect
After sanding, thoroughly clean the surface again to remove any dust or debris. Wipe it with a clean cloth or use compressed air to blow away remaining particles. Periodically inspect the surface with your fingers to check for any rough spots that may require additional sanding.
Step-by-Step Guide to Sanding JB Weld
JB Weld is renowned for its strength and durability, but there may come a time when you need to sand it down to achieve a smooth and even surface. Sanding JB Weld can be a bit challenging due to its hardness, but with the right tools and techniques, you can achieve professional-looking results. In this comprehensive step-by-step guide, we’ll walk you through the process of sanding JB Weld, from gathering the necessary materials to achieving a smooth and polished finish.
Step 1: Gather the necessary materials
To effectively sand JB Weld, gather the following materials:
- Sandpaper of various grits (coarse to fine)
- Spray bottle or lubricant for wet-sanding
- Damp cloth or sponge for cleaning
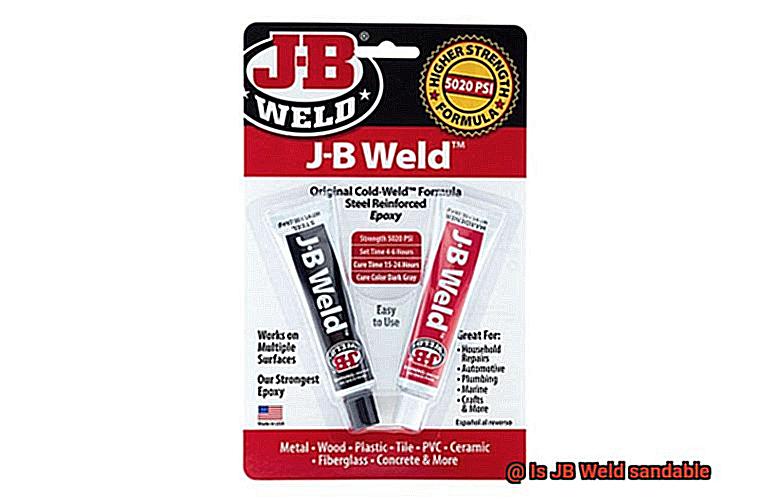
Step 2: Ensure full curing
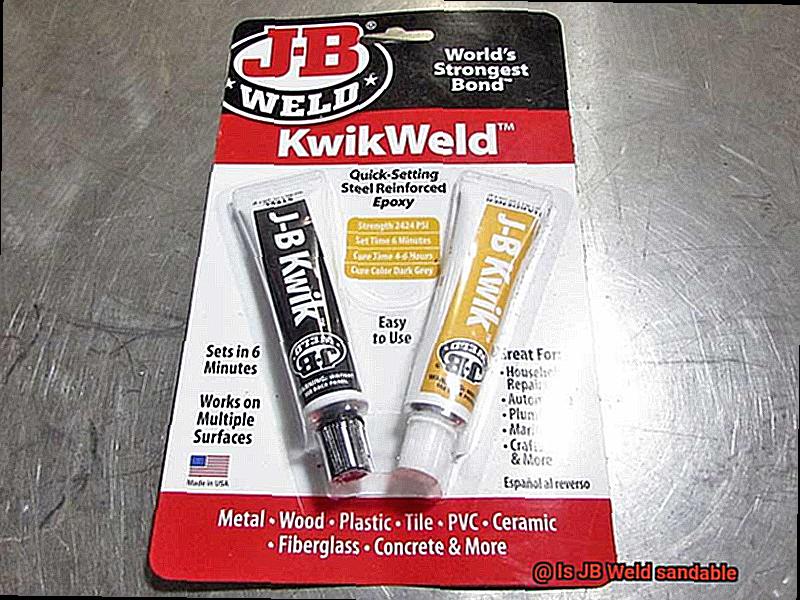
Before you begin sanding, ensure that the JB Weld is fully cured. This typically takes around 24 hours, but it’s always best to consult the manufacturer’s instructions for specific curing times. Attempting to sand uncured JB Weld can result in a messy and uneven finish.
Step 3: Start with coarse-grit sandpaper
Use a coarse-grit sandpaper, such as 80 or 100, to remove any high spots or excess material. Apply even pressure and move the sandpaper in a back-and-forth motion. Avoid using excessive force, as this may damage the surrounding area or create grooves in the JB Weld.
Step 4: Progress to finer grits
As you progress with sanding, switch to finer grits of sandpaper, such as 240 or 320. This helps achieve a smoother finish and removes any visible scratches left by the coarse-grit sandpaper. Regularly clean the sanded area to prevent dust and debris from interfering with the sanding process.
Step 5: Wet-sanding for a polished look
To achieve an even smoother finish, wet-sand the JB Weld. Wet-sanding involves using water or lubricant on the sandpaper to minimize friction and prevent clogging. Keep the sandpaper and the surface wet at all times by using a spray bottle or dipping the sandpaper in water or lubricant frequently.
Step 6: Finishing touches
As you reach the final stages of sanding, switch to the finest grit of sandpaper, such as 400 or 600. This will give the JB Weld a smooth and polished appearance. Take your time and pay attention to detail to achieve the desired finish.
Step 7: Thoroughly clean the sanded area
After sanding, thoroughly clean the sanded area to remove any residue or particles. Use a damp cloth or sponge to wipe away any dust or debris. This will ensure a clean surface for further finishing or painting.
Tips for Sanding JB Weld Successfully
Achieving a smooth and professional finish is essential, and following the right techniques can make all the difference. In this comprehensive guide, we’ll share valuable insights and step-by-step instructions to ensure your sanding process is a breeze. Let’s dive in.
Start with Coarse Sandpaper:
To begin sanding JB Weld, reach for coarse grit sandpaper such as 80 or 100. This rougher paper will swiftly remove any excess material, putting you on the fast track to a flawlessly smooth surface.
Utilize a Sanding Block:
For an even and consistent sanding process, trade in your bare hand for a sanding block. The added control and pressure provided by the block will yield superior results, giving you that professional finish you desire.
Embrace Circular Motions:
Instead of monotonous back-and-forth strokes, opt for circular motions when sanding JB Weld. This technique prevents unsightly grooves or scratches on the surface, delivering a seamlessly smooth result.
Gradually Transition to Finer Grits:
After your initial round of sanding with coarse grit sandpaper, gradually progress to finer grits like 220 or 320. This ensures any remaining imperfections are smoothed away, leaving you with a pristine surface.
Experiment with Wet Sanding:
Unlock the secret of wet sanding when working with JB Weld. Simply wet the sandpaper with water or a lubricant to reduce friction and prevent clogging. This game-changing technique guarantees controlled and ultra-smooth sanding.
Regularly Inspect the Surface:
As you sand, take frequent breaks to inspect the surface and gauge your progress towards achieving the desired result. This prevents over-sanding or removing too much material, ensuring a professional finish every time.
Safety Precautions When Sanding JB Weld
Sanding JB Weld is a gratifying process that can transform rough patches into flawlessly smooth surfaces. However, it is crucial to prioritize safety and take necessary precautions to ensure your well-being during the process. In this article, we will discuss in detail the safety measures you should follow when sanding JB Weld.
Protective Gear:
Wear safety goggles or glasses to shield your eyes from flying debris that may be generated while sanding.
Use a dust mask or respirator to prevent inhalation of harmful dust or fumes that may be produced during the sanding process.
Consider wearing gloves to protect your hands from potential cuts or abrasions caused by sharp edges or rough surfaces.
Ventilation:
Work in a well-ventilated area or use a dust collection system to minimize airborne particles and reduce respiratory irritation. Proper ventilation is essential for maintaining a healthy and safe working environment.
Curing Time:
Allow the JB Weld to fully cure according to the manufacturer’s instructions before sanding. Premature sanding can result in an uneven surface and weaken the adhesive bond.
Tool Safety:
Handle sandpaper and abrasive tools with care, following the manufacturer’s recommendations for proper usage and maintenance. Always ensure that the tools are in good condition and free from any defects that could cause accidents or injuries.
Be mindful of your grip and pressure while sanding to avoid slipping or applying excessive force, which can lead to accidents or damage to the workpiece.
Surface Protection:
Cover or protect nearby sensitive equipment or objects with plastic sheets or drop cloths to prevent dust contamination.
Clean-up:
Thoroughly clean the work area after sanding using a damp cloth or vacuum cleaner with a HEPA filter to remove dust and residue. Proper clean-up not only ensures a safe environment but also helps maintain the longevity of your tools and equipment.
Common Mistakes to Avoid When Sanding JB Weld
Sanding JB Weld can transform rough patches into flawlessly smooth surfaces, but it’s important to avoid common mistakes that can lead to subpar finishes. In this article, we will explore the key mistakes to avoid when sanding JB Weld, ensuring that your project achieves a professional-looking finish.
Mistake #1: Using the wrong type of sandpaper:
One mistake to avoid is using the wrong grit sandpaper. Coarse-grit sandpaper can cause deep scratches and compromise the adhesive’s integrity. Instead, use a fine-grit sandpaper, such as 220 or higher, for optimal results. This ensures a smooth surface without damaging the JB Weld.
Mistake #2: Applying too much pressure:
JB Weld is known for its strength, but applying excessive pressure while sanding can result in an uneven surface or even chip off the adhesive. To avoid this mistake, use a light touch and let the sandpaper do the work. Applying even pressure across the surface ensures a consistent finish without compromising the integrity of the JB Weld.
Mistake #3: Not allowing enough curing time:
Patience is key when sanding JB Weld. Rushing into sanding before it’s fully cured can result in a rough and uneven surface. Allow around 24 hours for JB Weld to fully cure, but adjust this time based on temperature and humidity. Giving it ample time to cure before proceeding with sanding ensures a smooth and flawless finish.
Mistake #4: Neglecting to clean the surface:
Before sanding, thoroughly clean the surface to remove dust, debris, or grease that can interfere with the sanding process. Use a degreaser or rubbing alcohol to ensure the surface is free from any contaminants. This step is crucial for achieving a smooth finish without any imperfections.
Mistake #5: Rushing through the sanding process:
Taking your time and being patient during the sanding process is essential for a polished finish. Start with a coarse-grit sandpaper to remove imperfections gradually, and gradually move to finer grits. This gradual approach ensures that you achieve a smooth surface without compromising the JB Weld.
etIDCHEzMqM” >
Also Read: Will Acetone Remove JB Weld? – The Welding Guru
Conclusion
In conclusion, the answer to the burning question “Is JB Weld sandable?” is a resounding yes. You can unleash your creativity and achieve flawlessly smooth finishes on your DIY projects by sanding JB Weld. It’s not just possible, it’s essential.
By following a step-by-step process and using the right tools and techniques, you can transform rough patches into surfaces so refined that they’re irresistible to touch. Sanding JB Weld offers a multitude of benefits that will elevate your projects to new levels.
Improved adhesion, flawless aesthetics, precision fitting, and enhanced durability are just some of the advantages of sanding JB Weld. Say goodbye to paint peeling off or looking unprofessional – sanding ensures better paint adhesion for long-lasting results that impress. It also eradicates any unsightly protrusions or uneven edges caused by excess adhesive, seamlessly blending repairs into their surroundings.
When working on projects demanding precise fitting or alignment, sanding JB Weld is your secret weapon. Achieve perfect fits and alignments of parts with ease. The satisfaction of seeing everything come together seamlessly is unparalleled.
Safety should always be a priority when sanding JB Weld. Protect yourself with goggles and masks while working in a well-ventilated area. Take breaks to allow the epoxy to cool down and inspect your work frequently for professional-grade results.
Patience is key throughout the sanding process. Gradually transition from coarse-grit sandpaper to finer grits for optimal results. For an ultra-smooth surface, consider wet-sanding – it’s like gliding your fingers over silk. Don’t forget to regularly clean the sanded area to remove dust and debris that could mar your masterpiece.
With these tips in mind, you can confidently tackle any project involving JB Weld knowing that you possess the knowledge and skills to achieve picture-perfect finishes. So grab your trusty sandpaper and get ready to elevate your DIY projects with beautifully sanded JB Weld.

