We all know that finding the perfect adhesive for our projects can be a game-changer. And when it comes to joining and repairing plastic parts, JB Weld Plastic Bonder is definitely a top contender. But here’s the burning question: can you sand it?
If you’ve ever wielded an adhesive in your crafty hands, you understand the importance of sanding. It’s like magic that smooths rough edges, banishes imperfections, and gives your project that polished finish. So, let’s dive into the world of JB Weld Plastic Bonder and find out if it’s sandable.
In this blog post, we’ll explore the ins and outs of JB Weld Plastic Bonder to help you make an informed decision for your next project. We’ll break down its composition, talk about why sanding is crucial in DIY projects, and even share some nifty sanding techniques that work like a charm with this adhesive.
So whether you’re a pro at wielding glue guns or just starting out on your creative journey, keep reading to discover if JB Weld Plastic Bonder is truly sandable. Get ready to take your crafts to new heights by achieving flawlessly smooth finishes with this versatile adhesive.
Now grab your safety goggles and let’s get down to business – because with JB Weld Plastic Bonder in hand, there’s no limit to what you can create.
What is JB Weld Plastic Bonder?
Contents
- 1 What is JB Weld Plastic Bonder?
- 2 Can JB Weld Plastic Bonder Be Sanded?
- 3 What Type of Sandpaper Should Be Used?
- 4 Ensuring Proper Curing Time for JB Weld Plastic Bonder
- 5 Sanding Techniques for JB Weld Plastic Bonder
- 6 Safety Precautions When Sanding JB Weld Plastic Bonder
- 7 Further Smoothing and Polishing After Sanding
- 8 Factors to Consider When Sanding JB Weld Plastic Bonder
- 9 Conclusion
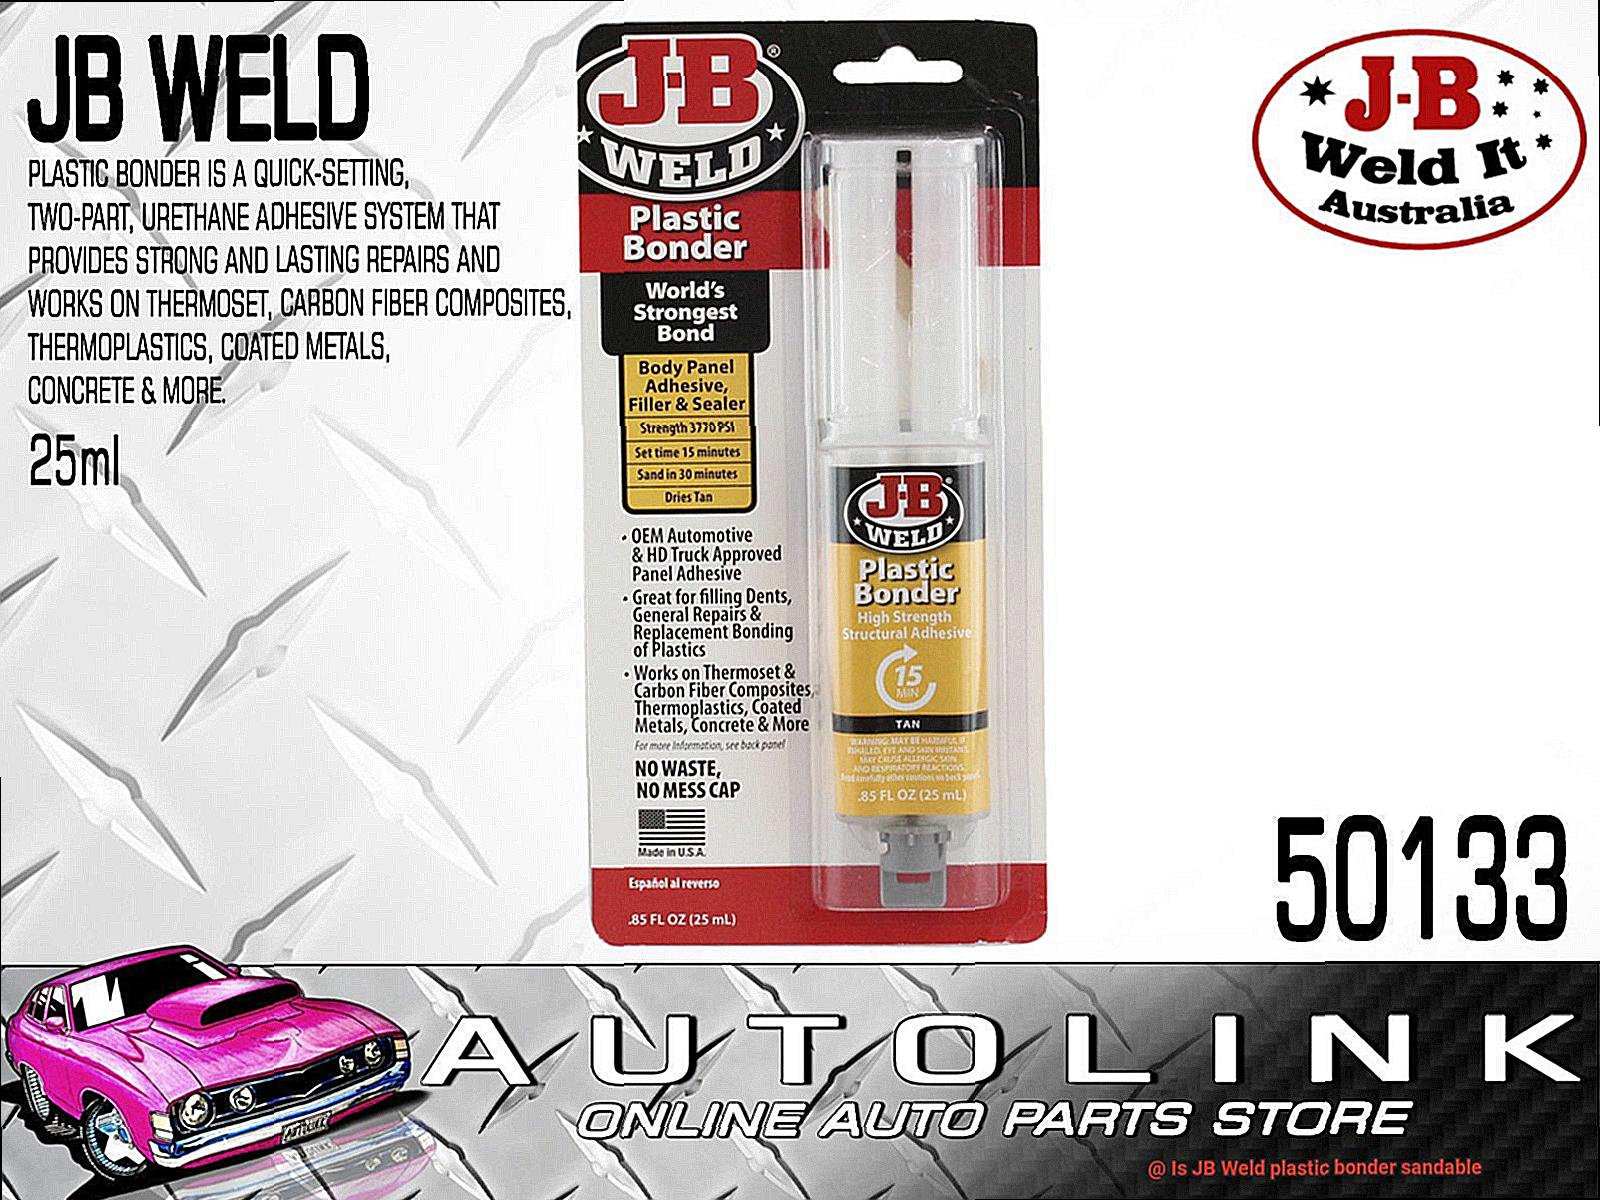
When it comes to repairing plastic surfaces, there’s one adhesive that stands head and shoulders above the rest: JB Weld Plastic Bonder. Renowned for its strength, durability, and ability to withstand even the harshest conditions, this versatile adhesive is the go-to choice for professionals and DIY enthusiasts alike. In this article, we will explore the features of JB Weld Plastic Bonder and how it can be effectively used for various plastic repair projects.
Features and Benefits:
- Versatility: JB Weld Plastic Bonder is designed to bond a wide range of plastics, including ABS, PVC, polycarbonate, and more. This means it can be used for an array of applications, from automotive repairs to household fixes.
- Durability: Once cured, JB Weld Plastic Bonder creates an unbreakable bond that can withstand moisture, heat, and most common solvents. No matter what challenges your repairs face, this adhesive ensures they will stand the test of time.
- Easy Application: Using JB Weld Plastic Bonder is a breeze. Simply mix the two-part epoxy in equal parts and apply it to the surfaces you want to bond. The adhesive sets quickly, usually within 15-30 minutes, allowing you to complete your project efficiently.
- Resistance to Harsh Conditions: Whether it’s extreme temperatures or exposure to chemicals, JB Weld Plastic Bonder can handle it all. It is suitable for both indoor and outdoor applications where the bonded plastic may face various environmental factors or stress.
Using JB Weld Plastic Bonder:
- Surface Preparation: Before applying JB Weld Plastic Bonder, ensure that the surfaces are clean and free from any contaminants or debris. Thoroughly clean them with a suitable solvent to guarantee a strong bond.
- Mixing: Combine equal parts of the resin and hardener on a clean surface or disposable container until they are thoroughly blended.
- Application: Apply the mixed adhesive to the surfaces you want to bond, ensuring even coverage. Use clamps or other suitable methods to hold the parts together until the adhesive sets.
- Curing: JB Weld Plastic Bonder reaches full strength within 24 hours. However, it is recommended to allow at least 4-6 hours before subjecting the bonded plastic to any stress or load.
Sanding JB Weld Plastic Bonder:
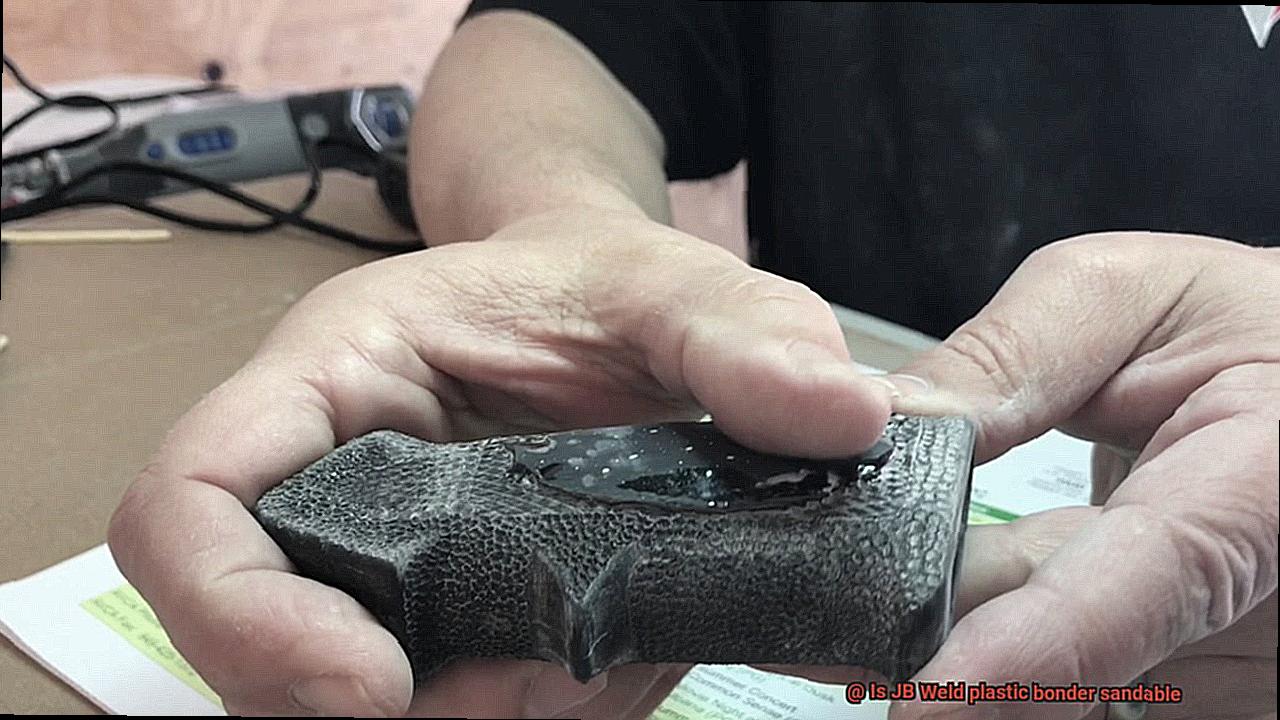
JB Weld Plastic Bonder can be sanded once it has fully cured. Here are some key points to keep in mind:
- Use fine-grit sandpaper (220 grit or higher) to avoid damaging the surface.
- Begin with light pressure and gradually increase if necessary.
- Always wear appropriate safety gear, such as gloves and eye protection, when sanding.
- After sanding, you can further polish or smooth the surface using finer grit sandpaper or polishing compounds if desired.
Can JB Weld Plastic Bonder Be Sanded?
Fear not, for JB Weld Plastic Bonder is here to save the day. This remarkable two-part epoxy adhesive is specifically designed for bonding and repairing plastic surfaces. But what happens after the repair? Can JB Weld Plastic Bonder be sanded to achieve that smooth, seamless finish? Let’s dive in and find out.
The Sanding Process:
Once you’ve applied JB Weld Plastic Bonder and allowed it to fully cure (usually within 15-24 hours), it’s time to bring out the sandpaper. But before we delve into the nitty-gritty of sanding, let’s discuss the tools you’ll need:
- Coarse-grit sandpaper (80 or 120 grit): This robust sandpaper will help remove any excess adhesive and tackle larger imperfections or rough edges.
- Fine-grit sandpaper (220 or 320 grit): As we progress, this finer grit will assist in smoothing the surface and achieving a seamless finish.
Now that our tools are ready, keep these essential tips in mind while sanding JB Weld Plastic Bonder:
- Embrace patience: Rushing through the process can lead to uneven surfaces or damage to the surrounding plastic. Take your time, as precision is key.
- Apply gentle pressure: Avoid compromising the bond or creating dips in the repaired area by using light pressure while sanding.
- Embrace the wet sanding technique: Wetting the sandpaper or using water during the process helps minimize dust and heat buildup, resulting in a cleaner and more controlled sanding experience.
Achieving that Flawless Finish:
Begin with the coarse-grit sandpaper to address major imperfections or excess adhesive. Work in small circular motions, gradually moving across the repaired area. Once you’re satisfied with the results, it’s time to level up. Switch to the finer-grit sandpaper and repeat the process, focusing on attaining a smooth and seamless finish. Don’t forget to keep the sandpaper wet for optimal results.
Post-Sanding Cleanup:
After sanding, it’s essential to clean the surface with a mild detergent and water. This step ensures that any sanding residue is removed, allowing for proper adhesion if additional coats of JB Weld Plastic Bonder are required.
A Word of Caution:
While JB Weld Plastic Bonder can be sanded, excessive sanding may weaken the bond and compromise the repair. Striking a balance between achieving a smooth finish and maintaining the integrity of the bond is crucial. Remember, we want our repairs to last.
What Type of Sandpaper Should Be Used?
Well, get your sandpaper ready because we’re about to dive into the world of sanding. When it comes to sanding JB Weld Plastic Bonder, it’s all about finding the right grit for the job. So, let’s break it down and discover which sandpaper superhero will save the day.
First up, we have our fine-grit sandpaper. This is the go-to choice for achieving that smooth finish you’re after. With grit sizes ranging from 220 to 400, this sandpaper is like a gentle breeze, delicately removing imperfections without damaging that strong bond you’ve created. It’s perfect for those precise touch-ups and preparing the surface for painting or further finishing.
But what if you’re dealing with more stubborn imperfections? That’s where medium-grit sandpaper comes in. With grit sizes between 80 and 120, this sandpaper means business. It removes material at a faster rate, making it suitable for those more aggressive sanding needs. Just remember to tread lightly and be careful not to go overboard and weaken that bond you’ve worked so hard to create.
Now, if you find yourself facing a heavy-duty task or a particularly stubborn imperfection, it might be time to bring out the big guns – coarse-grit sandpaper. With grit sizes below 80, this sandpaper is not for the faint of heart. It’ll remove material like nobody’s business, but be warned – it may leave behind a more noticeable texture on the sanded surface. If you decide to go down this route, just be prepared to put in some extra work to achieve that smooth finish you desire.
Remember, when it comes to sanding JB Weld Plastic Bonder, caution and care are key. Apply too much pressure or use the wrong grit, and you could end up damaging your adhesive or the surrounding areas. So, start with a less aggressive approach and gradually increase the sandpaper grit if needed.
In the end, the type of sandpaper you choose will depend on your specific requirements and desired results. Fine-grit sandpaper is generally recommended for that smooth finish, while medium-grit sandpaper can tackle more aggressive sanding needs. And if you’re feeling adventurous, coarse-grit sandpaper might be the answer to your heavy-duty tasks.
But wait, there’s more. Did you know that there are different types of sandpaper backing? That’s right. Sandpaper can come with either a paper backing or a cloth backing. Paper-backed sandpaper is more common and is suitable for most applications. It’s affordable, easy to use, and works well on most surfaces. Cloth-backed sandpaper, on the other hand, is more durable and flexible. It’s perfect for sanding curved or irregular surfaces and can withstand more pressure and heat. So, consider the backing material when choosing your sandpaper as well.
Ensuring Proper Curing Time for JB Weld Plastic Bonder
Get ready to immerse yourself in this adhesive adventure and discover the secrets to achieving a strong and durable bond. So, don your lab coats and let’s dive in.
First and foremost, let’s talk about why curing time is essential. Picture this: you’re baking a cake. You can’t just take it out of the oven halfway through and expect it to be moist and delicious, right? Well, the same principle applies to JB Weld Plastic Bonder. Curing is when the adhesive fully hardens and reaches its maximum strength. Rushing this step would be like trying to eat that half-baked cake – it’s just not going to turn out quite right.
Now, let’s delve into the nitty-gritty details. Curing time depends on a few factors, starting with temperature. At room temperature (around 70°F or 21°C), JB Weld Plastic Bonder typically needs approximately 15-24 hours to cure fully. However, keep in mind that colder temperatures can slow down the curing process, while warmer temperatures can speed it up. So, finding that sweet spot is crucial for optimal results.
The thickness of the adhesive layer also plays a role in curing time. Thin layers tend to cure faster, while thicker layers require more time. If you need to fill gaps or build up thickness, avoid slapping on one thick layer – instead, apply multiple thin layers. Allow each layer to cure before adding the next, ensuring a solid bond throughout.
Humidity is another factor to consider. High humidity levels can slow down curing, while low humidity can speed it up. To create a controlled environment with moderate humidity levels, you can use dehumidifiers or humidifiers as needed. Maintaining consistent humidity will help ensure consistent curing results.
During the curing process, it’s crucial to avoid disturbing or stressing the bond. Treat it like a delicate flower that needs time to grow. Securely hold or clamp the parts until the adhesive is fully cured, allowing it to develop its maximum strength. Your patience will be rewarded with a bond that can withstand the test of time.
Once JB Weld Plastic Bonder is fully cured, it’s sanding time. Before you grab your sandpaper, remember to wait for the recommended curing time. Sanding too soon can result in a gummy residue that clogs up your sandpaper and leaves an uneven surface. Patience is key here.
When it comes to sanding, choose your sandpaper wisely. Fine-grit sandpaper works great for gently removing imperfections without compromising the bond. Medium-grit sandpaper tackles stubborn flaws, while coarse-grit sandpaper is perfect for heavy-duty tasks. Just remember to proceed with caution and gradually increase grit if needed.
After sanding, ensure that you clean the sanded area thoroughly before applying any additional coatings or finishes. This step is essential to remove any dust or debris that could mar your hard work.
Sanding Techniques for JB Weld Plastic Bonder
In our previous section, we delved into the wonders of JB Weld Plastic Bonder and its remarkable bonding capabilities. Now, let’s explore the art of sanding this versatile adhesive to achieve a smooth and seamless finish that would make any DIY project proud. Get ready to uncover the secrets to flawless sanding techniques.
Step 1: Patience is Key
Before diving into the sanding process, ensure that your JB Weld Plastic Bonder has fully cured. Remember, curing time can vary depending on environmental factors like temperature and humidity. As a rule of thumb, it’s best to wait at least 24 hours before venturing into the sanding realm.
Step 2: Gather Your Arsenal

To embark on your sanding adventure, you’ll need some essential tools. Grab sandpaper of various grits, ranging from coarse to fine. Coarse grits like 80 or 120 will help remove excess adhesive, while finer grits such as 220 or 320 will aid in achieving a smoother surface.
Step 3: Safety First.
Before commencing your sanding journey, don’t forget to gear up. Protect your precious eyes with safety glasses and shield your lungs from dust particles with a trusty dust mask. Safety should always be a top priority.
Step 4: The Coarse Adventure Begins
Now it’s time to put that coarse grit sandpaper to work. Employing gentle circular motions and even pressure, start removing any excess JB Weld Plastic Bonder. Remember not to go overboard with force, as we want to preserve the integrity of the plastic surface.
Step 5: Smooth Operator
With the excess adhesive removed, transition to a finer grit sandpaper. Continue using circular motions and applying even pressure across the entire bonded area. Take your time and marvel as the surface becomes smoother with each pass.
Step 6: Wet-Sanding: A Game-Changer
For an extra touch of finesse, consider wet-sanding. By using water or a lubricant like soapy water, you reduce friction and prevent the sandpaper from clogging up. Wet-sanding is particularly effective when working with plastic surfaces, leaving you with a buttery smooth finish.
Step 7: Cleanliness is Next to Flawlessness
After your sanding journey, clean off any residue left behind by using a damp cloth or sponge. This step ensures a pristine surface for further finishing touches or painting.
Step 8: Test and Perfect
Take a moment to admire your handiwork, but before moving on to the next phase, test the sanded area. This will help identify any imperfections that might require further attention before proceeding with final touches.
Safety Precautions When Sanding JB Weld Plastic Bonder
If you’re here, it means you’re ready to conquer the world of sanding and achieve that flawless finish with JB Weld Plastic Bonder. Before we dive into the nitty-gritty, let’s talk about an essential aspect often overlooked – safety precautions. After all, protecting yourself is just as important as creating a masterpiece. So, grab your safety goggles and let’s get started.
Personal Protective Equipment (PPE):
To ensure your safety while sanding JB Weld Plastic Bonder, it is crucial to wear the appropriate personal protective equipment (PPE). This includes:
- Safety goggles or a face shield: Shield those precious eyes from any flying debris or particles that may come loose during sanding.
- Dust mask or respirator: Breathe easy while keeping those pesky dust particles at bay. Your lungs will thank you.
Ventilation:
Working in a well-ventilated area is paramount when sanding JB Weld Plastic Bonder. Take these steps to ensure proper ventilation:
- Open those windows or doors: Let fresh air flow through your workspace and help disperse any dust particles that may be present.
- Set up a fan or work outside if possible: Improve air circulation and maintain a comfortable working environment.
Glove Up:
Protecting your hands from direct contact with the adhesive and potential skin irritation or allergic reactions is crucial. Wear chemical-resistant gloves while sanding JB Weld Plastic Bonder. Not only will they shield your hands, but they will also provide a better grip on your sanding tools.
Power Tool Safety:
When using power tools like an orbital sander or electric drill with sandpaper attached, always prioritize safety:
- Maintain a firm grip on the tool: Avoid accidents by ensuring you have full control over the equipment.
- Let the tool do the work: Applying excessive pressure can lead to accidents or damage to the surface. Allow the power tool to do its job.
Dress for Success:
Pay attention to your attire to minimize potential hazards:
- Remove loose clothing and accessories: Anything that could get caught in the sanding equipment should be removed.
- Tie back long hair: Keep those luscious locks out of harm’s way by tying them back or covering them.
Dust Collection:
To maintain a clean workspace and minimize the spread of fine particles, consider these measures:
Proper Dust Disposal:
After sanding, it is crucial to dispose of the dust safely and efficiently:
- Use a damp cloth or vacuum with a HEPA filter: Collect dust using a damp cloth or vacuum cleaner to prevent it from dispersing into the air.
- Seal and dispose: Place the collected dust in a sealed bag or container before disposing of it properly.
Further Smoothing and Polishing After Sanding
After sanding with JB Weld plastic bonder, it’s time to explore the steps of further smoothing and polishing. In this section, we will dive into techniques that can help you achieve a flawless finish on your plastic surfaces.
First and foremost, consider the material you’re working with. JB Weld plastic bonder is specifically designed for plastic surfaces, so it’s crucial to choose the right polishing method. Let’s explore a couple of techniques that can help you achieve that professional-looking smoothness and shine.
One popular method is using a plastic polish or compound. These specially formulated products are designed to remove imperfections and restore that glossy look to plastic surfaces. To get started, apply a small amount of the polish or compound onto your project. Using circular motions, gently rub it in, focusing on areas where imperfections may still be visible. Go section by section for better control and attention to detail.
Another technique you can try is wet sanding. This involves using a fine-grit sandpaper and water as a lubricant to gently sand the surface of your project. Soak the sandpaper in water until fully saturated, fold it in half, and start sanding with gentle pressure and circular motions. Keep the surface wet by periodically dipping the sandpaper in water.
As you wet sand, a slurry will form on the surface, helping to remove any remaining imperfections. Rinse the surface periodically to assess your progress, and make sure to thoroughly dry it before moving on.
To further enhance the smoothness and polish, consider applying a plastic sealant or wax. These products not only protect the plastic surface but also provide an extra glossy finish. Follow the manufacturer’s instructions and ensure even coverage over the entire project.
Factors to Consider When Sanding JB Weld Plastic Bonder
Then, it’s time to dive into the exciting world of smoothing and polishing with JB Weld Plastic Bonder. Whether you’re a seasoned DIY enthusiast or just starting out, there are several factors to consider when sanding JB Weld Plastic Bonder to achieve that professional-looking smoothness and shine.
Firstly, it’s important to know the type of plastic you’re working with. Different types of plastics have different properties and may require different sanding techniques. Understanding the specific type of plastic will help determine the appropriate sanding method. Is it ABS, PVC, or polyethylene?
Next, proper surface preparation is key. Before sanding, make sure to thoroughly clean the surface and remove any contaminants or loose particles. This ensures that the sanding process is effective and allows the JB Weld Plastic Bonder to bond securely to the plastic surface. Use a mild detergent and water solution or a dedicated plastic cleaner for best results.
When it comes to choosing the right sandpaper, grit size matters. Coarser grits, such as 80 or 120, are suitable for rough shaping and removing larger imperfections. Finer grits, like 220 or 320, are used for smoothing and refining the surface. Start with a coarser grit and gradually move to finer grits for optimal results. Remember to use wet/dry sandpaper if you prefer wet sanding.
As for the sanding technique, use light pressure and make smooth, even strokes. Avoid applying excessive pressure, as it can damage the plastic or remove too much material. Sand in a circular or back-and-forth motion, following the contours of the surface for an even finish. Consider using a sanding block or sponge for better control.
It’s also important to be mindful of heat generation during sanding. Excessive heat can soften or melt the JB Weld Plastic Bonder, compromising its integrity. Take breaks during sanding to allow the surface to cool down and avoid using high-speed tools that generate excessive heat. Hand sanding is often recommended for better control and heat management.
Safety precautions should never be overlooked. Wear protective gear such as safety goggles and a dust mask to protect yourself from airborne particles. Ensure proper ventilation in the work area to minimize exposure to dust and fumes. Consider working outdoors or in a well-ventilated space if possible.
Once you’ve completed the sanding process, you can further enhance the smoothness and shine of your project by using a plastic polish or compound. Apply a small amount onto the surface and gently massage it in with circular motions. Alternatively, wet sanding with fine-grit sandpaper and water can also be an effective technique. Keep the surface wet and periodically rinse to assess your progress.
To add that final touch of elegance and protection, consider applying a plastic sealant or wax. These products not only protect the plastic surface but also give it an extra layer of radiant glossiness.
C51aJCZyr1g” >
Conclusion
Yes, JB Weld plastic bonder is indeed sandable.
This versatile adhesive allows you to achieve a smooth and seamless finish on your plastic projects. With its sanding capabilities, you can easily shape and refine the bond to perfection.
Whether you’re repairing a cracked bumper or creating a custom plastic piece, JB Weld plastic bonder gives you the flexibility to sand away any imperfections and create a flawless result.