Sanding wood can be a daunting task, especially when you’re not sure whether to wet or dry sand. It’s a question that has sparked heated debates among woodworkers for ages. Some swear by wet sanding, while others believe that dry sanding is the way to go. But which technique reigns supreme? The answer isn’t as clear-cut as you might think.
In this blog post, we’ll delve into the pros and cons of both methods and give you all the information you need to make an informed decision. Let’s start with wet sanding – it yields a smoother finish and generates less dust, making it ideal for those who value aesthetics and cleanliness. On the other hand, dry sanding is typically faster and more convenient, perfect for those who are short on time.
But wait, there’s more. We’ll also explore some of the drawbacks of each method – such as the risk of damaging your wood during wet sanding or overheating during dry sanding. And if that wasn’t enough, we’ll share some expert tips to help you achieve stellar results regardless of which approach you choose.
Whether you’re a seasoned woodworking pro or just starting out, this blog post is a must-read. So grab your favorite beverage and get ready to discover the best way to sand wood for your next project.
Benefits of Dry Sanding
Contents
- 1 Benefits of Dry Sanding
- 2 Disadvantages of Dry Sanding
- 3 Benefits of Wet Sanding
- 4 Disadvantages of Wet Sanding
- 5 Factors to Consider When Choosing Between Wet or Dry Sanding
- 6 Preparation Before Starting to Sand Wood
- 7 Step by Step Guide for Wet and Dry Sanding
- 8 Tips for Finishing Wood After Sanding
- 9 Conclusion
As a woodworker, you know that sanding is an essential part of the process. But have you considered the benefits of dry sanding? Let’s explore why this method is preferred by many DIY enthusiasts and professionals alike.
Firstly, dry sanding creates less mess compared to its wet counterpart. Wet sanding can create a slurry that is difficult to clean up and can leave behind residue that may affect the final finish. On the other hand, dry sanding produces less dust and debris, making cleaning up a breeze.
In addition to being cleaner, dry sanding allows for better control and precision. The lack of water makes it easier to see the surface being sanded, allowing for more accurate work. This is especially important when dealing with intricate designs or details.
Not only is dry sanding cleaner and more precise, but it’s also faster than wet sanding. Without the need to wait for wood to dry, you can move from one step to the next without delay. This can save a significant amount of time, particularly on larger projects or those with multiple layers of sanding required.
Another benefit of dry sanding is its compatibility with certain finishes or coatings. Water-based finishes may be negatively impacted by wet sanding, causing them to become cloudy or hazy. Dry sanding eliminates this issue and allows for a smoother finish overall.
Disadvantages of Dry Sanding
It’s time to rethink your sanding technique. While dry sanding has been a traditional method for years, it has several disadvantages that could compromise the quality of your work. Let’s delve into why dry sanding may not be the best option for your next project.
Firstly, let’s talk about the elephant in the room – dust. Dry sanding produces a lot of it, and inhaling dust particles can cause severe respiratory problems like asthma, bronchitis, and even lung cancer. Protecting your health should always be a top priority when working on your passion project.
Next up, scratches. Dry sanding can leave unsightly scratches or gouges on the wood surface, especially if you’re using a coarser grit sandpaper. These scratches could result in uneven staining or finishing, leading to a suboptimal final product that doesn’t meet your expectations.
Clogging is yet another issue with dry sanding. The sandpaper tends to get clogged quickly, reducing its effectiveness and requiring frequent replacements. This inconvenience adds up to the cost of your project and could slow down your progress.
Heat generation is also a significant concern with dry sanding. Friction between the sandpaper and the wood surface generates heat, which can cause the wood to burn or become discolored, particularly on softer woods like pine or spruce. No one wants their hard work to get ruined by heat damage.
Lastly, dry sanding is not recommended for wood treated with glue or resin since it can gum up the abrasive material and render it useless. Now imagine ruining your sandpaper by using it on unsuitable surfaces. That’s time and money wasted.
Benefits of Wet Sanding
It’s time to switch to the smoother, safer, and more efficient technique of wet sanding. As a seasoned professional in the benefits of wet sanding, I can tell you that this technique offers a range of advantages compared to dry sanding.
Firstly, wet sanding eliminates dust. Dry sanding can create a messy cloud of dust that coats every surface in your workspace and poses a health risk. In contrast, wet sanding uses water or a lubricant to keep the surface of the wood moist, preventing dust from becoming airborne. This makes wet sanding a much cleaner process than dry sanding.
Secondly, wet sanding produces a smoother finish. The water or lubricant used during wet sanding helps to lubricate the surface of the wood, making it easier to sand away scratches and imperfections. This results in a velvety smooth finish that is free from scratches and rough spots. Plus, you can achieve the desired level of smoothness with fewer abrasive materials and less time.
Thirdly, wet sanding is gentler on the wood than dry sanding. Dry sanding can generate heat as the abrasive material grinds against the surface of the wood. This heat buildup can damage the wood and cause it to warp or crack. Wet sanding helps to keep the surface of the wood cool, reducing the risk of damage.
Additionally, wet sanding gives you greater control over your work. The water or lubricant provides a transparent layer that enables you to see where you’ve sanded and what areas need more attention. Wet sanding also allows you to work on curved surfaces more easily as it reduces friction between the abrasive material and the wood.
Finally, wet sanding is versatile and suitable for different types of surfaces such as paint, metal, plastic, and glass. It helps to achieve a better adhesion of paint or coatings as it removes contaminants and creates a smooth surface for the application.
Disadvantages of Wet Sanding
If you’re looking for a way to sand your wood without creating a lot of dust, you may be considering wet sanding. While this technique does have some benefits, such as producing a smoother finish and being gentler on wood, it’s essential to weigh these advantages against the potential disadvantages.
One major disadvantage of wet sanding is that it can raise the grain of the wood. The water used in the process can cause the wood fibers to swell, which leads to a fuzzy or rough surface. This issue is especially pronounced for softer woods like pine or cedar. To avoid this problem, it’s crucial to use fine-grit sandpaper and sand in a circular motion.
Another drawback of wet sanding is that it requires more time and effort than dry sanding. Because the water makes the sandpaper less effective, it takes longer to remove the same amount of material. Additionally, holding onto slippery wet wood can make the sanding process more challenging.
Wet sanding can also be quite messy, leaving behind a slurry of sawdust and debris that can be challenging to clean up once it dries. This issue is even more problematic if you’re working on a large project or in a confined space.
Finally, wet sanding can be more expensive than dry sanding due to the additional materials required. Water and sandpaper are both necessary for wet sanding, which can drive up costs for larger projects.
Factors to Consider When Choosing Between Wet or Dry Sanding
Sanding wood is an art form, and choosing the right technique can make all the difference in achieving a perfect finish. The age-old question of whether to wet sand or dry sand is a common one among woodworking enthusiasts. While personal preference plays a role in the decision, there are several factors to consider when making this choice.
The first consideration is the type of wood being sanded. Woods like oak and mahogany can produce harmful dust when sanded dry, making wet sanding the safer option. Wet sanding helps keep dust particles down and prevents them from getting into the air, protecting both your health and your workspace.
Next, consider the level of abrasiveness required for your project. Wet sanding is generally less abrasive than dry sanding, which means it may take longer to achieve a smooth finish. However, if you’re working on a delicate project that requires a gentle touch, wet sanding is ideal.
The type of finish being applied is another factor to consider. If you’re applying a water-based finish, wet sanding helps prepare the surface for better adhesion. Conversely, if you’re using an oil-based finish, dry sanding may be more appropriate to remove any excess oil from the surface.

Personal preference and convenience also play a role in choosing between wet or dry sanding. Dry sanding may be more convenient if you have limited space or access to water. However, some woodworkers prefer one method over the other due to their skill level or available equipment.
Preparation Before Starting to Sand Wood
Hold on a second, before you dive in, let’s talk about preparation. Properly preparing the wood surface is crucial to achieving a smooth and even finish.
Start by wiping down the surface with a cloth to remove any loose debris. This will ensure that you don’t end up sanding dirt and dust into the wood. Next, use a scraper or sandpaper to remove any old finishes or coatings that may be present. A sharp scraper or coarse sandpaper should do the trick, but be gentle to avoid damaging the wood.
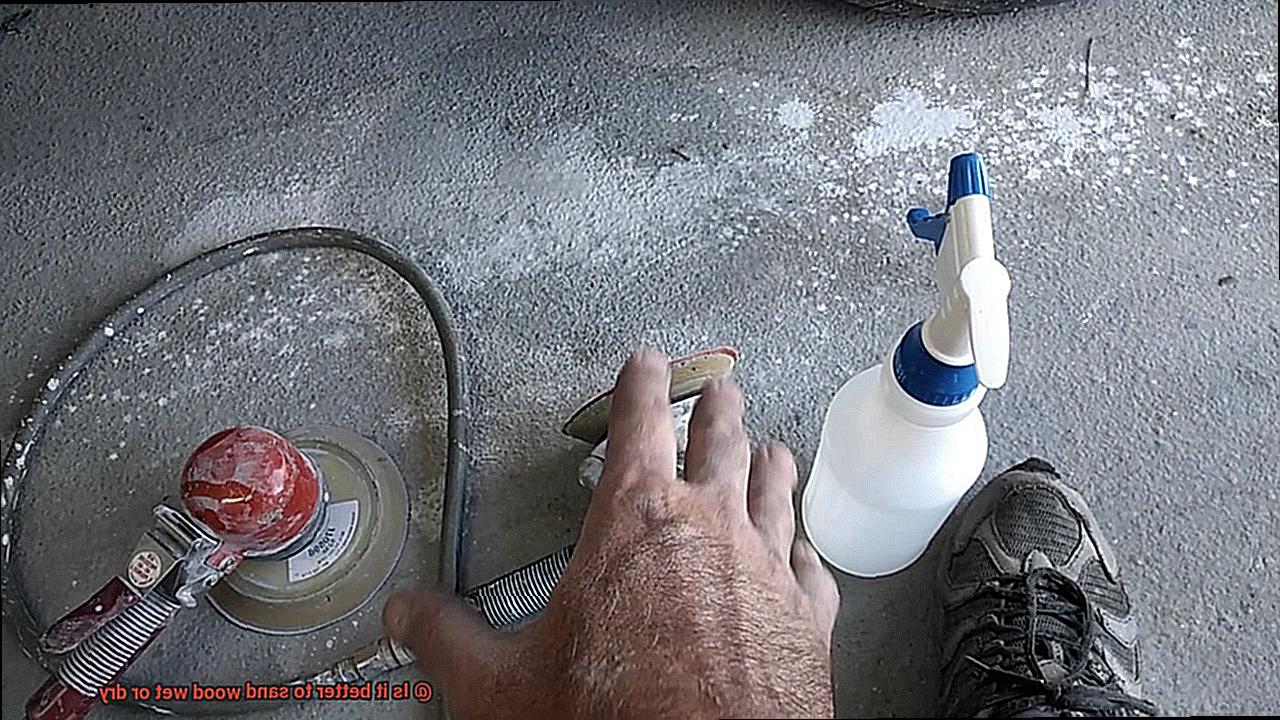
Now, the big question – wet or dry sanding? Wet sanding involves using water or a lubricant to reduce friction and prevent dust from becoming airborne. Dry sanding, on the other hand, involves sanding without any liquid or lubricant. The choice depends on the type of wood and desired finish.
For hardwoods, wet sanding can produce a smoother finish with fewer scratches. It also reduces airborne dust, making it safer for those in the area. However, wet sanding can cause swelling in certain types of wood and may not be effective for removing deep scratches or stains. In contrast, dry sanding is often used for softwoods and allows for more control over material removal. It is also effective for removing deeper scratches and stains.
Regardless of whether you choose wet or dry sanding, make sure to use proper safety precautions. Dry sanding produces more dust which can be harmful if inhaled. Wear protective gear such as a mask and goggles to minimize exposure.
Step by Step Guide for Wet and Dry Sanding
Sanding is an essential step to achieve the desired outcome. There are two primary methods of sanding wood: wet sanding and dry sanding. Each method has its pros and cons, and the choice depends on the type of wood and the desired outcome.
Dry sanding is the most common method of sanding wood. It is perfect for removing rough spots, old finishes, or shaping and sculpting wood. To get started with dry sanding, select the appropriate grit sandpaper for your project. Lower grits (like 60) are coarser and remove more material, while higher grits (like 220) are smoother and better for finishing. Always sand in the direction of the wood grain to avoid scratches or uneven surfaces. Using a block can help you keep the sandpaper flat, resulting in a smooth surface. Additionally, changing the sandpaper frequently ensures that you have a sharp abrasive surface that removes material efficiently.
On the other hand, wet sanding is ideal for smoothing out surfaces and creating a polished finish. It is also a safer option for those with respiratory issues since it helps prevent dust from getting into the air. Before you start wet sanding, prepare your workspace accordingly so that you can work comfortably with water without causing damage to surrounding areas. Choose your lubricant – either water or a specific lubricant designed for wet sanding – and have enough on hand to keep the surface wet throughout the process. As with dry sanding, select the appropriate grit sandpaper for your project and always sand in the direction of the wood grain. Keeping the surface wet with your chosen lubricant throughout the process helps to remove material efficiently.
Once you’ve finished sanding, rinse off any remaining lubricant or debris and allow the wood to dry completely before moving on to the next step. Remember to prioritize safety when sanding by wearing protective gear like gloves and goggles to prevent injuries and working in a well-ventilated area.
Tips for Finishing Wood After Sanding
If you want your wood project to stand out, don’t overlook the importance of finishing it properly after sanding. By following these five tips, you can achieve a stunning and durable finish.
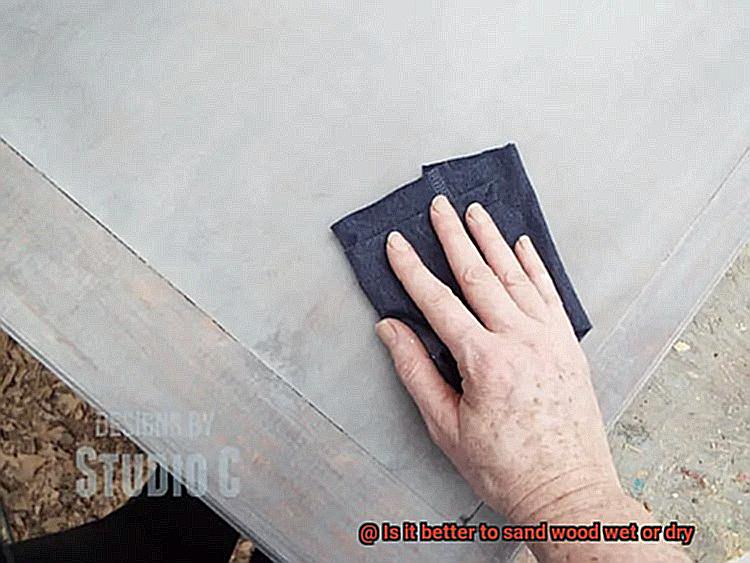
Thoroughly Clean the Wood
After sanding, it’s crucial to remove all dust and debris from the surface. A soft-bristled brush or tack cloth can help you get rid of any particles that may have accumulated.
Choose the Right Finish
Different types of finishes have different properties and drying times. Take into account the wood species and the intended use of the finished product to select the best finish for your needs.
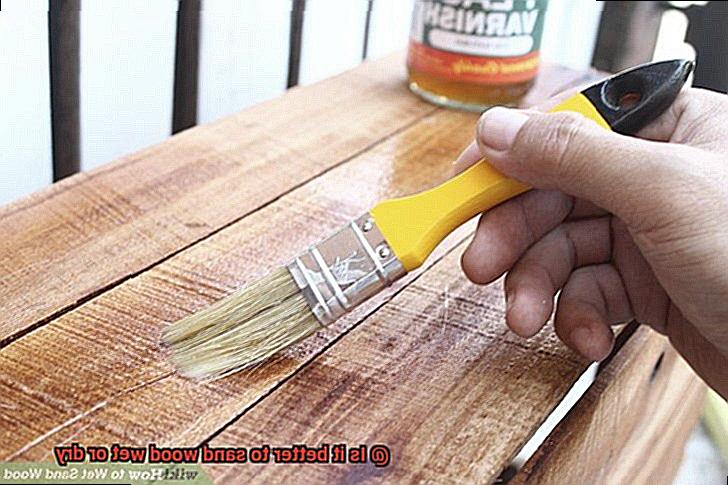
Apply the Finish Evenly
Whether you use a brush or a sprayer, make sure to apply the finish in thin and even coats. This will prevent drips, bubbles, and uneven spots that can compromise the final appearance.
Sand Between Coats
While it may seem counterintuitive, sanding between coats of finish is essential to achieving a smooth and professional-looking surface. Use a fine-grit sandpaper to remove any bumps or roughness before applying each new layer.
Allow Enough Drying Time
Patience is key when it comes to finishing wood after sanding. Don’t rush the process and wait for each coat of finish to dry completely before sanding or applying another coat. This will ensure optimal adhesion and durability.
NjvfXHJhmag” >
Conclusion
As we’ve seen, the choice between wet sanding and dry sanding is not a simple one. Each method has its own set of benefits and drawbacks that depend on various factors like the wood type, desired finish, and personal preference.
Dry sanding may be faster and more convenient, but it can generate a lot of dust and cause scratches or heat damage to your wood. On the other hand, wet sanding can yield a smoother finish with less dust, but it requires more time and effort and can raise the grain of your wood.
To achieve a flawless result when sanding wood, proper preparation is key. This involves removing any debris or old finishes from the surface before selecting the appropriate grit sandpaper for your project. Remember to always sand in the direction of the wood grain to avoid creating unsightly scratches or uneven surfaces.
It’s also crucial to wear protective gear like gloves and goggles during the process to prevent injuries.
Finishing your sanded wood properly is equally important for achieving an impressive and long-lasting result. Thoroughly cleaning the surface from any dust or debris, choosing the right finish for your needs, applying it evenly in thin coats, sanding between coats with fine-grit paper, and allowing ample drying time are all essential steps.
Whether you’re an experienced woodworking pro or just starting out, understanding these techniques’ pros and cons can help you make an informed decision when deciding whether to wet or dry sand your next project.