Thinking about using Gorilla Glue spray adhesive to tackle your drooping headliner?
Well, you’re not the only one grappling with this pesky problem. Sagging headliners are a common headache for car owners everywhere, and finding a reliable fix can be quite the challenge.
That’s why we’re here to dive deep into the pros and cons of using Gorilla Glue spray adhesive for your headliner. With its reputation for mighty sticking power, Gorilla Glue might seem like the knight in shining armor your headliner needs.
But before you reach for that trusty spray can, let’s examine some crucial factors: how easy is it to apply? Could it potentially cause damage?
Strap in and join us on this journey as we uncover whether Gorilla Glue spray adhesive is truly a hero or just another false hope for your sagging headliner.
Advantages of Using Gorilla Glue Spray Adhesive
Contents
- 1 Advantages of Using Gorilla Glue Spray Adhesive
- 2 Disadvantages of Using Gorilla Glue Spray Adhesive
- 3 Factors to Consider When Choosing an Adhesive for Headliner
- 4 Types of Headliner Materials and Their Compatibility with Gorilla Glue
- 5 How to Test the Adhesive Before Applying It To Headliner
- 6 Professional Assistance or Specialized Tools Required for Replacing a Damaged Headliner
- 7 Conclusion
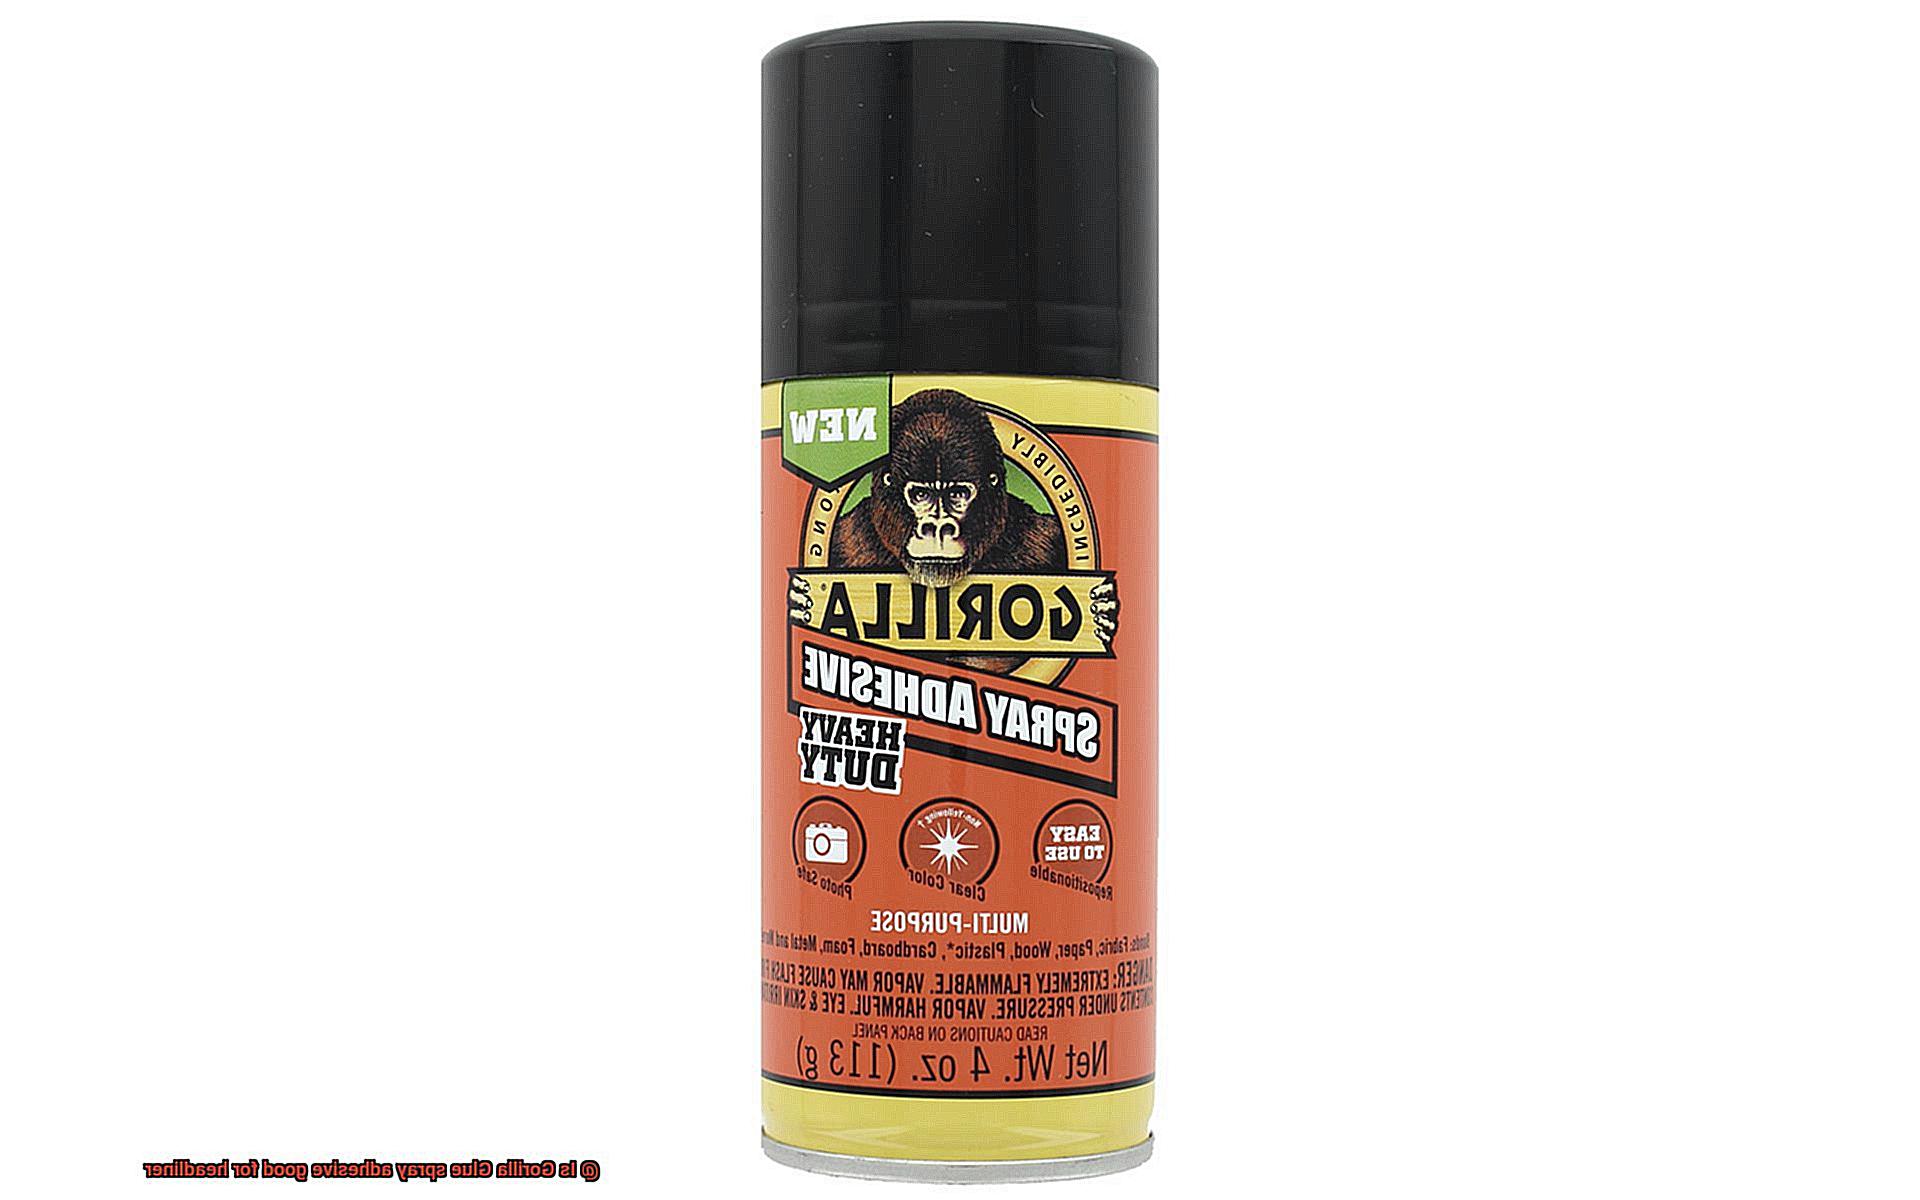
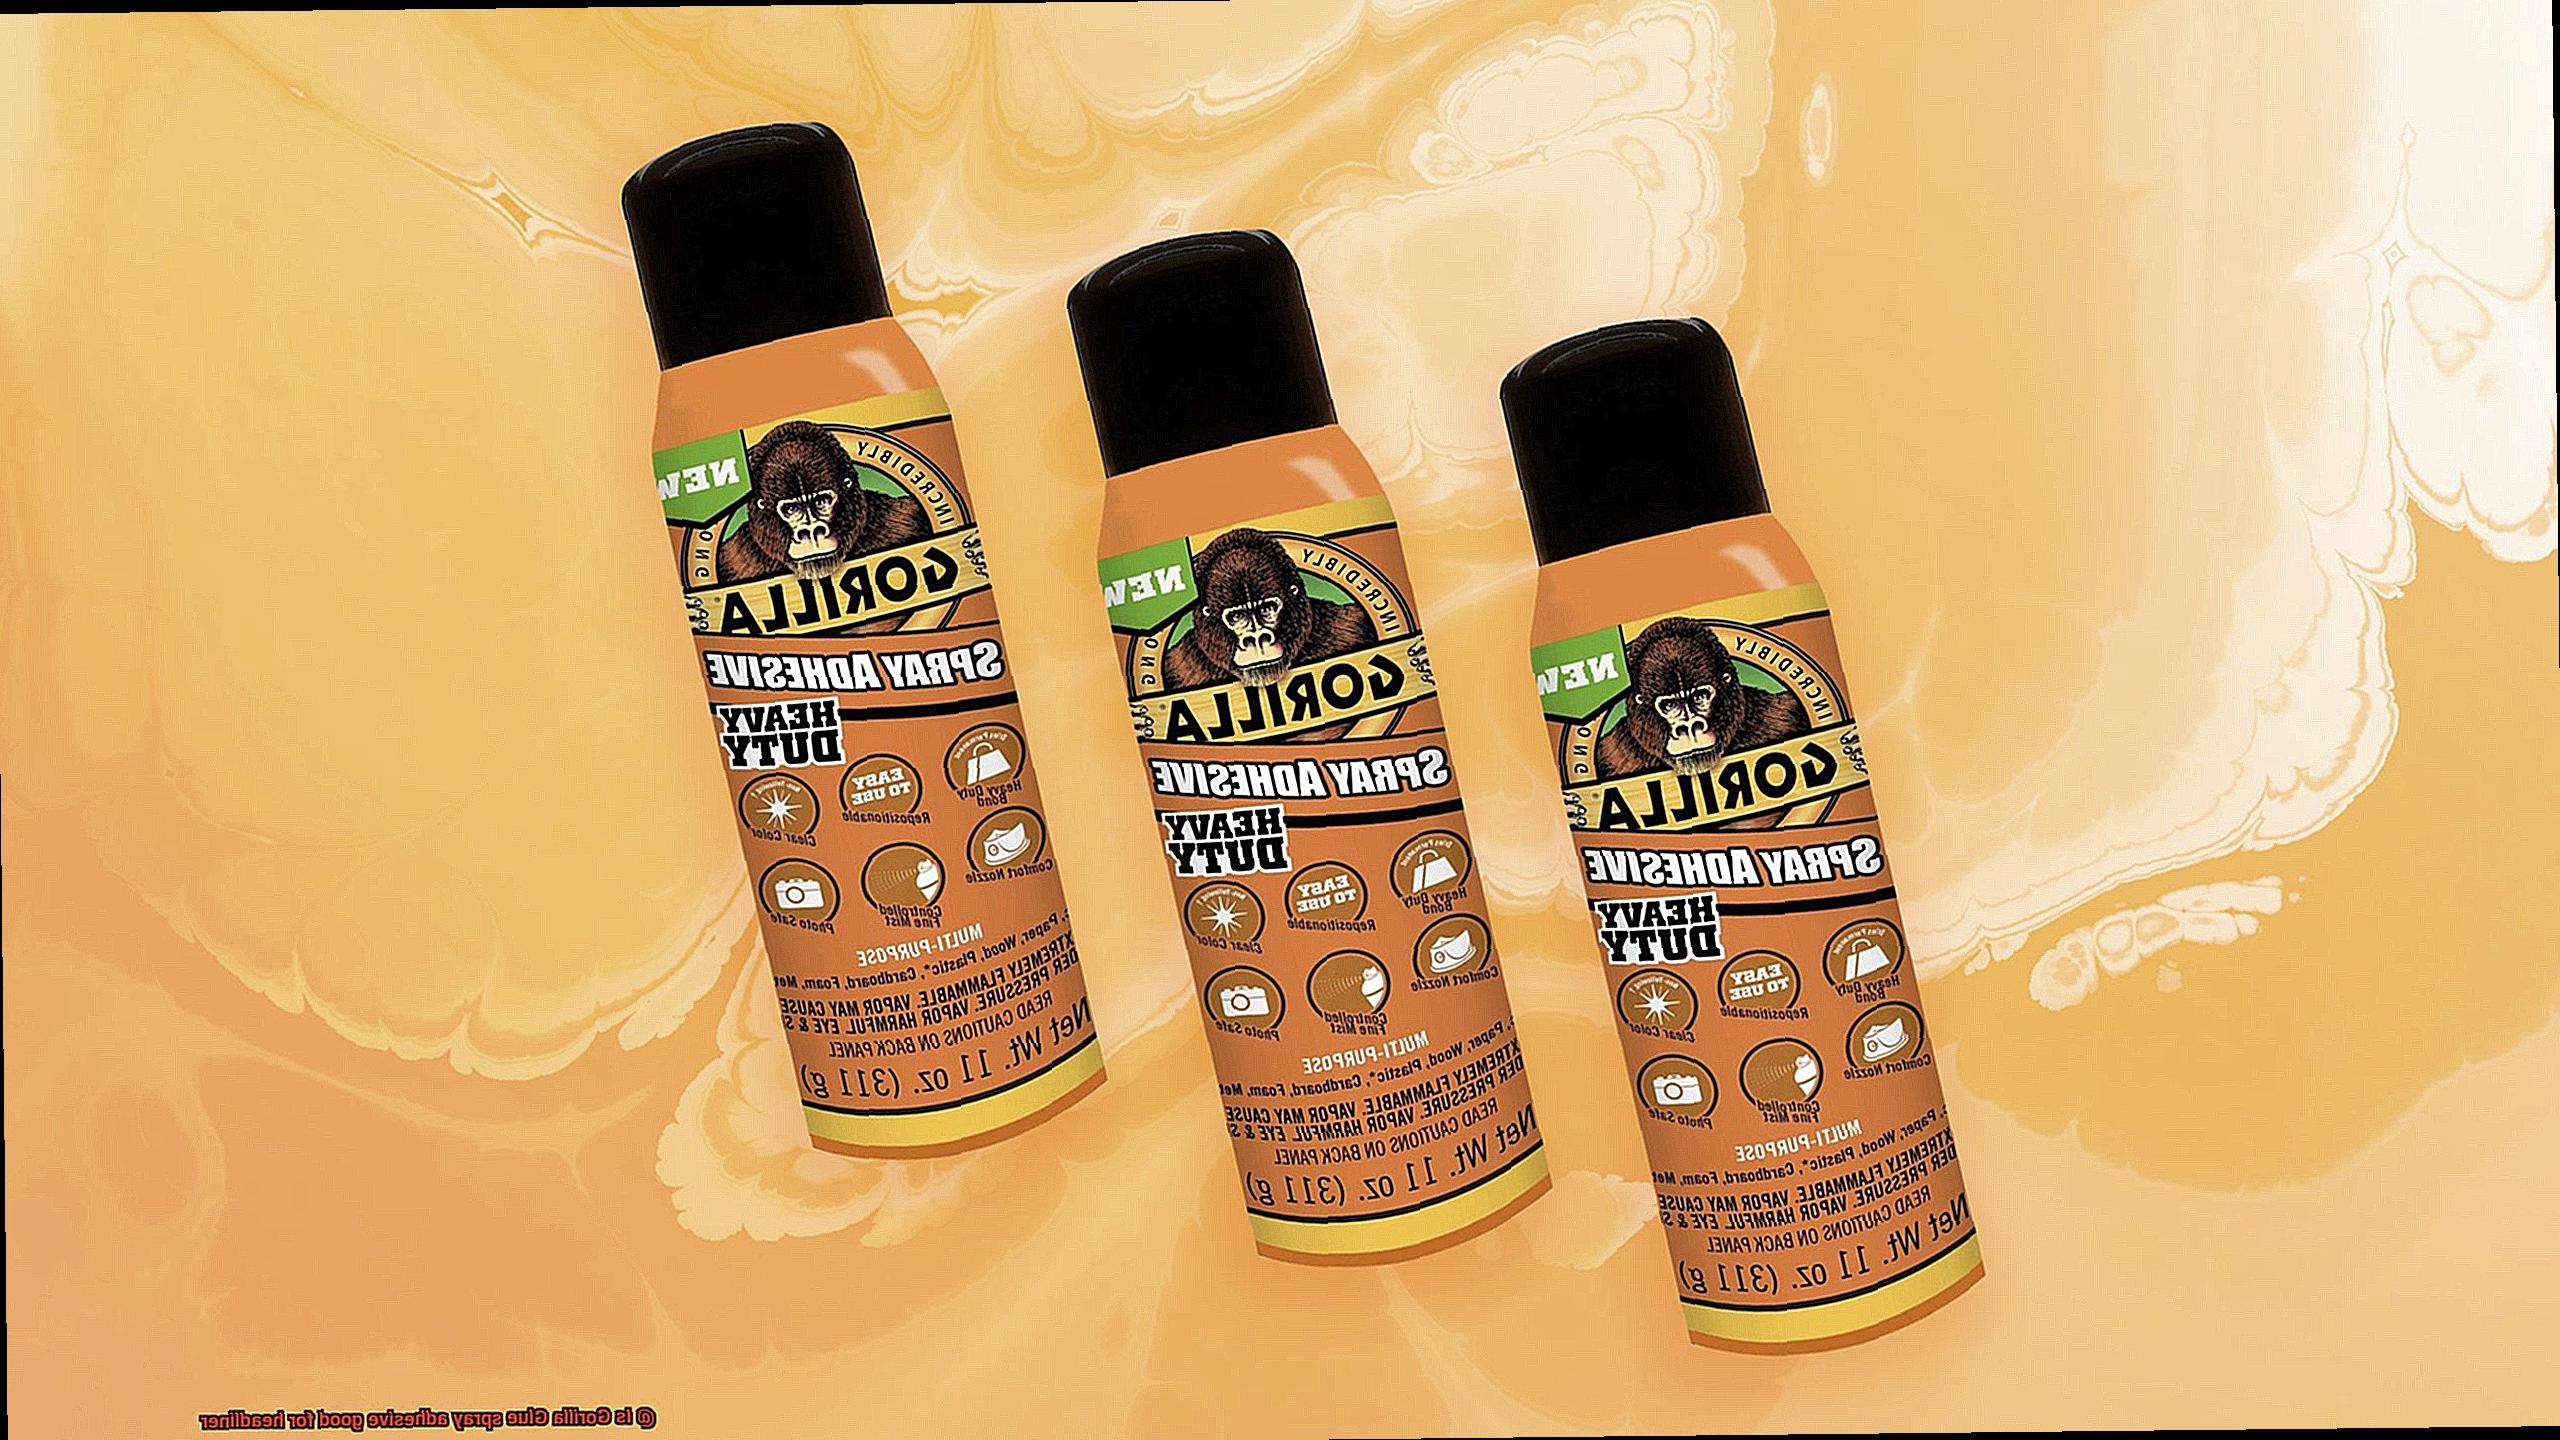
When it comes to securing various materials in DIY projects, Gorilla Glue spray adhesive stands out as a top choice. With its strong bond and versatility, this adhesive offers numerous advantages for a wide range of applications.
In this article, we will explore the benefits of using Gorilla Glue spray adhesive, highlighting its exceptional bonding properties, ease of use, versatility, fast-drying formula, moisture and temperature resistance, and durability.
Advantages of Gorilla Glue Spray Adhesive:
Exceptional Bonding Properties:
Gorilla Glue spray adhesive is renowned for its strong bond. It creates a durable connection that can withstand the test of time and various conditions such as heat, humidity, and vibrations. Whether you’re working on a woodworking project or repairing household items, this adhesive ensures a secure and long-lasting bond.
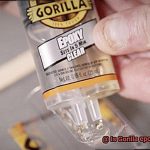
Easy Application:
The spray application of Gorilla Glue spray adhesive makes it incredibly easy to use. The even distribution of the adhesive allows for full coverage on the surface area, ensuring a strong bond throughout. This user-friendly feature simplifies the application process, making it convenient for both professionals and DIY enthusiasts.
Versatility:
One of the major advantages of Gorilla Glue spray adhesive is its versatility. It can be used on various materials commonly found in DIY projects, such as fabric, foam, vinyl, wood, metal, and more. This eliminates the need for multiple adhesives, saving time, effort, and money.
Fast-Drying Formula:
Gorilla Glue spray adhesive boasts a fast-drying formula. Once applied, it quickly sets and bonds the materials together. This rapid drying time reduces waiting periods and allows for faster completion of projects. Whether you’re working on crafts or repairs, this advantage ensures efficiency and productivity.
Moisture Resistance:
Gorilla Glue spray adhesive is resistant to moisture, making it ideal for projects that may be exposed to spills or high humidity levels. This feature prevents the adhesive from deteriorating over time, ensuring that your projects remain securely bonded and intact.
Temperature Resistance:
Another advantage of Gorilla Glue spray adhesive is its ability to withstand extreme temperatures. Whether it’s hot or cold, this adhesive maintains its strength and grip, providing a reliable bond that won’t weaken or fail under changing environmental conditions. This makes it perfect for outdoor projects or items that are exposed to varying temperatures.
Durability:
Gorilla Glue spray adhesive is highly durable. Once applied, it can withstand repeated use and does not easily deteriorate or weaken over time. This durability ensures that your projects remain intact and long-lasting, without the need for frequent reapplication.
Disadvantages of Using Gorilla Glue Spray Adhesive
When considering using Gorilla Glue spray adhesive for your headliner installation or repair project, it’s important to be aware of the potential drawbacks. While this adhesive may seem like a superhero solution, there are several disadvantages to using Gorilla Glue spray adhesive that you should consider.
Firstly, controlling the application of Gorilla Glue spray adhesive can be challenging. The spray nozzle releases the adhesive in a wide and uneven pattern, making it difficult to apply the glue precisely where you need it. This can result in messy and uneven glue lines, ultimately affecting the overall appearance of your headliner.
In addition, Gorilla Glue spray adhesive has a strong and unpleasant odor. This is due to the presence of chemicals like isocyanate, which can irritate the respiratory system and cause allergic reactions in some individuals. To minimize exposure to these potentially harmful chemicals, it’s crucial to use the adhesive in a well-ventilated area and wear proper protective equipment, such as a mask.
Unlike some other adhesives specifically designed for headliners, Gorilla Glue spray adhesive lacks heat resistance. This means that if your headliner is exposed to high temperatures, such as during hot weather or when parked under direct sunlight, the glue may lose its bond. As a result, your headliner could sag or even detach entirely—a problem that you definitely want to avoid.
Furthermore, Gorilla Glue spray adhesive has a limited repositioning time. Once applied, the glue sets quickly, making it difficult to adjust the position of your headliner or correct any wrinkles or bubbles. If precision is crucial for your project, other adhesives may offer a longer repositioning time, providing you with more flexibility during installation.
Lastly, removing Gorilla Glue spray adhesive can be quite challenging. It forms a strong bond that can be tough to break without damaging the headliner material. This can make future repairs or replacements a headache, as you may end up causing further damage in the process.
Factors to Consider When Choosing an Adhesive for Headliner
Choosing the right adhesive for your headliner may not be the most thrilling task, but it is a critical step in ensuring a successful installation. After all, the last thing you want is for your headliner to start sagging or detaching after all your hard work. So, let’s dive into the factors you should consider when selecting an adhesive for your headliner.
First and foremost, you need to consider the compatibility of the adhesive with the material of your headliner. Headliners can be made of fabric, foam, or vinyl, so it’s essential to choose an adhesive that is specifically designed for bonding the material used in your headliner. Using the wrong adhesive can lead to poor adhesion or even damage to the headliner material.
Next, you need to think about the strength and bonding power of the adhesive. Your headliner is subjected to constant movement, vibrations, and temperature changes inside your vehicle, so you need an adhesive that can withstand these conditions without deteriorating over time. A strong adhesive will ensure that your headliner remains securely in place without any sagging or detachment.
Drying time is another crucial factor to consider. Nobody wants to wait around for hours for their adhesive to dry. Choosing an adhesive with a shorter drying time can be beneficial as it allows for faster installation and reduces the risk of accidental movement or displacement during the bonding process.
The ease of application is also important, especially if you plan on installing the headliner yourself. Some adhesives come in spray cans, while others require manual application using brushes or rollers. Choose an adhesive that suits your preferred method of application and ensures a smooth and hassle-free installation.
Odor and VOC emissions should not be overlooked either. Some adhesives emit strong odors or contain volatile organic compounds (VOCs), which can be harmful when inhaled in enclosed spaces like vehicles. Look for an adhesive that is low in VOC emissions and has minimal or no odor to ensure a safer installation process and eliminate any unpleasant smells in your vehicle.
Consider the compatibility of the adhesive with temperature and humidity conditions. Vehicles experience various temperature and humidity levels, so it’s important to choose an adhesive that can withstand these conditions. Some adhesives may lose their bonding strength or become brittle in extreme temperatures, while others may not withstand high levels of humidity.
Lastly, think about the longevity and durability of the adhesive. You want an adhesive that provides a long-lasting bond and can resist factors like sunlight exposure, moisture, and daily wear and tear. Choosing an adhesive with excellent durability will ensure that your headliner remains securely attached for an extended period, minimizing the need for frequent repairs or replacements.
Types of Headliner Materials and Their Compatibility with Gorilla Glue
Have you ever wondered what holds the fabric or material in place on the roof of your car? It’s called a headliner, and it adds both insulation and style to your vehicle’s interior. But when it comes to attaching or repairing a headliner, choosing the right adhesive is crucial. In this article, we will explore the different types of headliner materials and their compatibility with Gorilla Glue spray adhesive.
Fabric Headliners: The Classic Choice
Fabric headliners are commonly found in older vehicles, and they are usually made of a woven fabric material. If you have a fabric headliner, you’re in luck. Gorilla Glue spray adhesive is generally compatible with fabric materials, making it an excellent choice for bonding your headliner to the car’s interior roof. Just make sure to apply the adhesive evenly and allow sufficient drying time before reattaching the headliner.
Vinyl Headliners: Durability at Its Best
Vinyl headliners are often used in newer vehicles due to their durability and easy maintenance. If you have a vinyl headliner, you can rely on Gorilla Glue spray adhesive to provide a strong bond between the vinyl material and the car’s interior roof. However, it’s always a good idea to test the glue on a small, inconspicuous area first to ensure that it doesn’t damage or discolor the material.
Foam Headliners: Handle With Care
Foam headliners consist of a foam material that provides insulation and cushioning. While Gorilla Glue spray adhesive is known for its strong bond, it may not be the best choice for bonding foam headliners. The adhesive can potentially dissolve or eat away at the foam material, causing damage. It is important to consider alternative adhesives specifically designed for foam materials to ensure a secure bond without compromising the integrity of the headliner.
Suede Headliners: A Luxurious Touch
Suede headliners offer a luxurious look and feel to the interior of your vehicle. However, Gorilla Glue spray adhesive may not be the ideal choice for bonding suede headliners. The adhesive can potentially leave visible residue or damage the delicate texture of the suede material. It is recommended to use adhesives specifically designed for suede or consult a professional for suitable alternatives.
How to Test the Adhesive Before Applying It To Headliner
Choosing the right adhesive for your headliner project is crucial to ensure a secure and long-lasting bond without causing any damage. Testing the adhesive before application is an essential step to determine its compatibility with the headliner material. In this guide, we will discuss how to properly test adhesive before applying it to a headliner.
Understanding Headliner Materials:
Before testing adhesive, it’s important to have a good understanding of the materials typically used in headliners. Headliners are commonly made of fabric or foam material that provides insulation and adds aesthetic appeal to the vehicle’s interior. Different adhesives may react differently with these materials, so it’s important to choose one that won’t harm or compromise the integrity of the headliner.
Selecting a Test Area:
Choose a small, inconspicuous area on the headliner to perform the adhesive test. This can be a corner or edge where any potential damage or discoloration won’t be noticeable. Testing in an inconspicuous area allows you to evaluate the adhesive’s performance without affecting the overall appearance of the headliner.
Cleaning the Surface:
Thoroughly clean the selected test area using a mild detergent and water solution. Remove any dirt, debris, or previous adhesive residue that may interfere with the bonding process. Ensure that the surface is completely dry before proceeding with the adhesive test.
Applying the Adhesive:
Follow the instructions provided by the adhesive manufacturer for proper application. Use a small brush or applicator to apply a thin layer of adhesive to the test area. Ensure that the adhesive is evenly applied and covers the entire area.
Allowing Sufficient Drying Time:
Give the adhesive enough time to dry according to the manufacturer’s instructions. This is important as different adhesives have varying drying times depending on factors such as temperature and humidity. Avoid touching or disturbing the test area during this drying period to allow for proper bonding.
Assessing Bonding Strength:
After the recommended drying time has elapsed, assess the bonding strength of the adhesive by gently pulling at the test area. If the adhesive holds firmly and does not easily detach from the headliner, it indicates good bonding strength. However, if the adhesive easily peels off or shows signs of weak adhesion, it may not be suitable for use on your headliner.
Checking for Residue or Discoloration:
Carefully examine the test area for any signs of residue or discoloration left by the adhesive. If the adhesive leaves behind a sticky residue or causes discoloration on the headliner material, it may not be suitable for use as it can affect the appearance and integrity of the headliner.
Professional Assistance or Specialized Tools Required for Replacing a Damaged Headliner
Replacing a damaged headliner in a car is not a task that should be taken lightly. It requires professional assistance or specialized tools to ensure a seamless and long-lasting replacement. Headliners are typically made of fabric or foam-backed material that is attached to the interior roof of a vehicle, but removing and replacing them involves more than just tearing out the old one and slapping in a new piece of fabric.
To properly replace a headliner, it is often necessary to dismantle various components of the car’s interior, including the seats, trim panels, and overhead console. This requires a certain level of expertise and knowledge to avoid causing any damage to these components.
That’s why it is recommended to seek professional assistance for individuals who are not experienced in automotive upholstery work or do not have the necessary tools and equipment.
Automotive upholstery professionals have the expertise and experience to handle headliner replacement efficiently and effectively. They know how to disassemble the necessary components without causing any damage and can ensure that the new headliner is properly installed. In addition to their expertise, professionals may also have access to specialized tools that are specifically designed for headliner removal and installation.
These specialized tools can make the job easier and reduce the risk of damaging other interior components during the process. Some commonly used tools for headliner replacement include trim removal tools, panel removal tools, and adhesive applicators. Trim removal tools are used to safely remove trim pieces without causing any scratches or damage to the surrounding areas.
Panel removal tools are designed to remove panels without damaging the clips or fasteners that hold them in place. Adhesive applicators, such as spray guns or foam brushes, are used to apply adhesive evenly and smoothly to ensure proper adhesion of the new headliner material.
Conclusion
To sum up, Gorilla Glue spray adhesive can be a dependable choice for fixing a drooping headliner. But before you make a decision, it’s crucial to weigh the pros and cons.
Gorilla Glue spray adhesive offers numerous advantages. It boasts exceptional bonding properties that ensure a strong and enduring hold. Applying it is a breeze, thanks to its user-friendly design. Plus, it’s versatile and works well with various materials commonly found in DIY projects. With its fast-drying formula, you won’t have to wait around for hours. And don’t worry about moisture or temperature – this adhesive can handle them like a champ.
However, there are downsides to using Gorilla Glue spray adhesive on headliners. The wide and uneven spray pattern makes controlling the application tricky. Its potent odor and chemical composition might lead to respiratory irritation or allergic reactions. When faced with high temperatures, this adhesive may not hold up as well as expected. Also, keep in mind that once it sets, repositioning becomes nearly impossible without risking damage to your headliner material.
When selecting an adhesive for your headliner project, consider several factors: compatibility with the material used in your headliner, strength of bonding power, drying time, ease of application, odor and VOC emissions, compatibility with temperature and humidity conditions, as well as longevity and durability.
If you’re replacing a damaged headliner, it’s wise to seek professional help or use specialized tools specifically designed for this task. Automotive upholstery experts possess the necessary skills to efficiently tackle the job while minimizing potential harm to other interior components.
In conclusion: Gorilla Glue spray adhesive can be an effective solution for fixing sagging headliners if used wisely.