Picture this: you’re knee-deep in a project, glue gun in hand, when suddenly disaster strikes. A splash of water lands on your creation, threatening to unravel all your hard work. Cue the panic. Will your trusty Gorilla Glue hold up under the pressure? Will it laugh in the face of water and keep everything intact? Fear not, my friend, because today we’re about to embark on a deep dive into the world of Gorilla Glue to answer that burning question: is it okay with water?
Whether you’re a seasoned DIY guru or just a casual crafter, knowing how your adhesive reacts to water can mean the difference between triumph and tragedy. In this blog post, we’re going to explore the wild world of Gorilla Glue and see if it can survive the watery challenges thrown its way. So grab a chair, get comfortable, and let’s uncover the secrets of this adhesive powerhouse.
Water Resistance of Gorilla Glue
Contents
- 1 Water Resistance of Gorilla Glue
- 2 The Polyurethane Component in Gorilla Glue
- 3 Gorilla Glue Clear: A Water-Resistant Variant
- 4 Preparing the Surface for Maximum Bond Strength
- 5 Alternatives to Gorilla Glue for Wet Applications
- 6 Pros and Cons of Using Gorilla Glue with Water
- 7 How to Use Gorilla Glue with Water Safely
- 8 Conclusion
Gorilla Glue, a beloved adhesive in the DIY world, is known for its strength and versatility. But what about its water resistance? Does it hold up under wet conditions? Let’s dive into the topic and unveil the truth about Gorilla Glue’s water resistance.
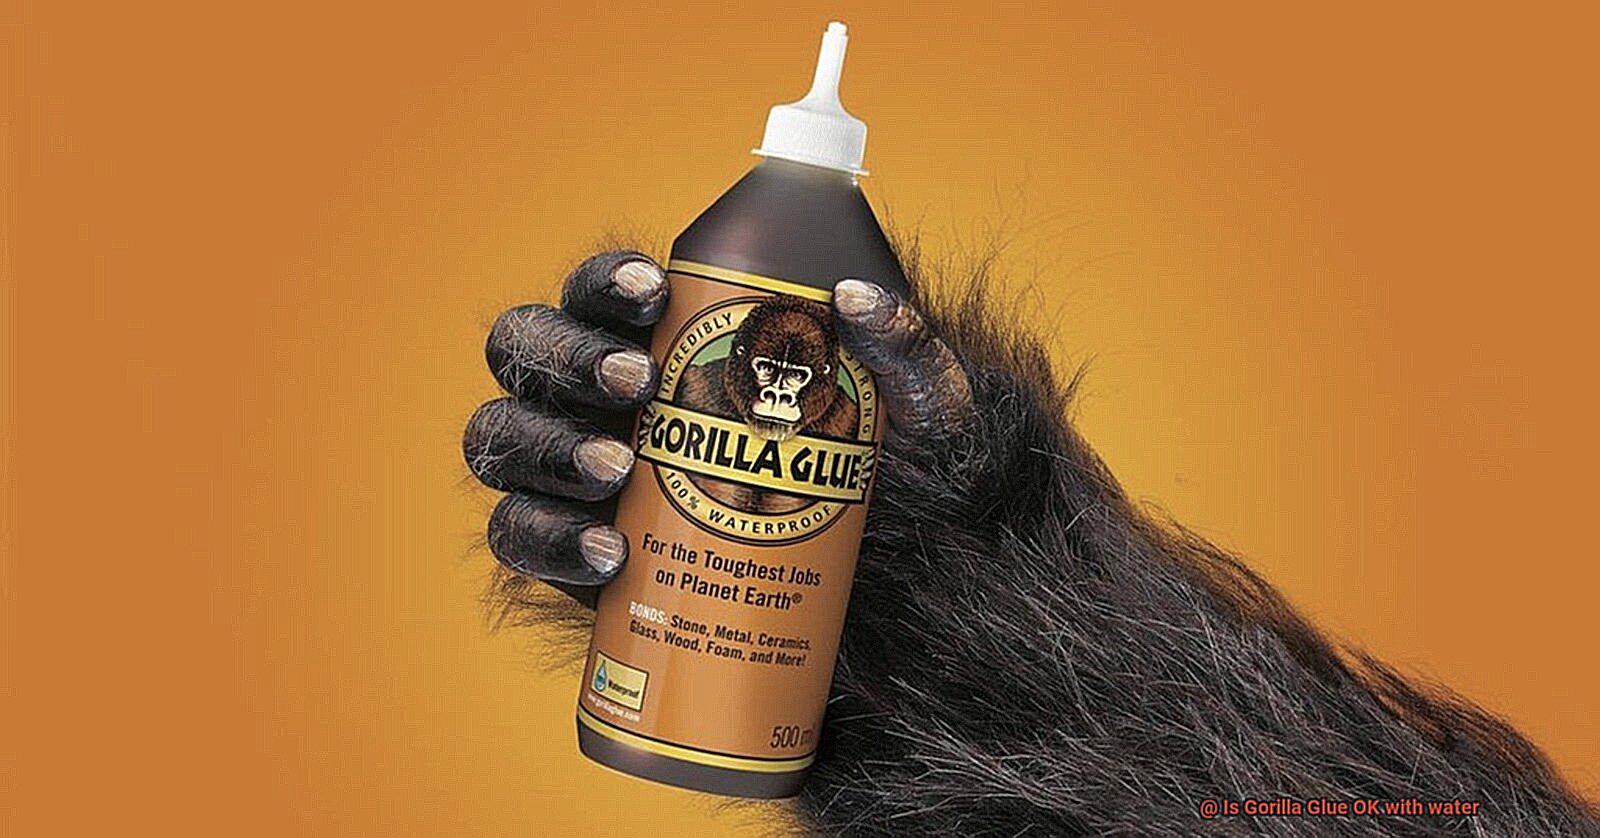
Gorilla Glue is a polyurethane-based adhesive that forms a robust bond by reacting with moisture. This unique property allows it to expand and fill gaps, creating an airtight seal. While Gorilla Glue is considered water-resistant, it falls short of complete waterproofness. It can withstand some exposure to water without compromising its bond strength, but prolonged immersion or heavy rainfall may pose challenges.
The specific type of Gorilla Glue being used also affects its water resistance. For instance, Gorilla Wood Glue is specifically designed to resist water better than the original formula. Additionally, proper surface preparation plays a vital role in maximizing bond strength and water resistance. Clean, dry surfaces free from dirt or grease are essential.
To enhance the water resistance of Gorilla Glue, there are several professional tips you can follow. First, clamp or secure glued objects during curing to maintain pressure on the bond and prevent gaps. Second, applying a waterproof sealant or coating after curing provides an extra barrier against water infiltration. Lastly, consider using Gorilla Glue Clear, a variation specifically designed to resist water.
However, it’s crucial to note that extreme temperatures, exposure to chemicals, and prolonged water contact can all affect the bond strength and water resistance of Gorilla Glue. If constant exposure to water is required for your project, it may be worth exploring other adhesives specifically designed for waterproof applications.
The Polyurethane Component in Gorilla Glue
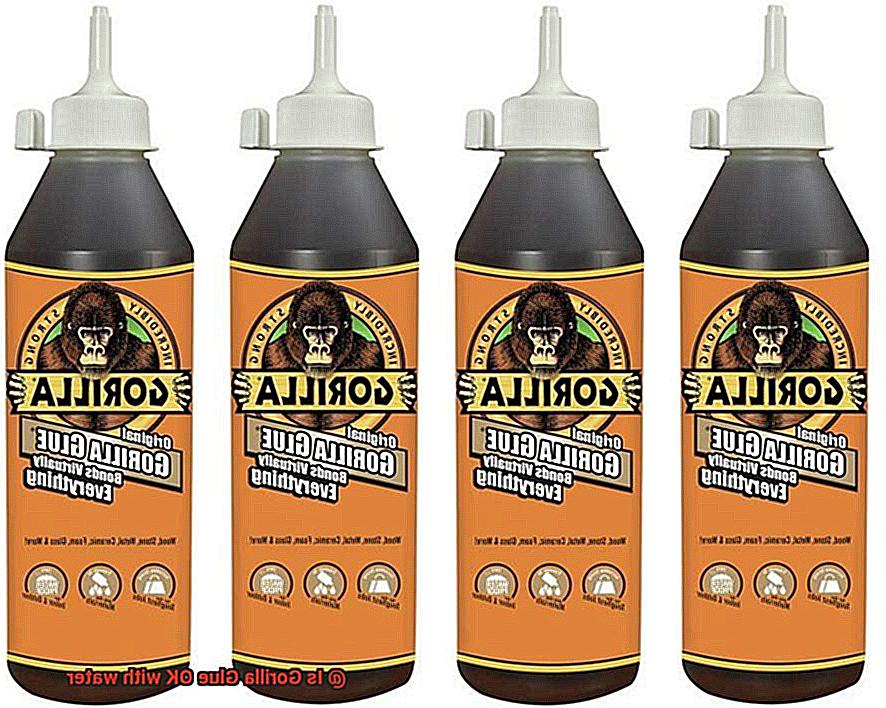
Prepare to embark on a fascinating journey into the realm of Gorilla Glue, where we uncover the extraordinary powers of its polyurethane component. Brace yourself as we dive into the science behind its water resistance and other remarkable features.
The Mighty Polyurethane:
Polyurethane is a versatile polymer known for its exceptional strength and durability. In Gorilla Glue, it is the secret ingredient that sets it apart from other adhesives.
Defying the Water Gods:
The unique chemical structure of polyurethane forms a tight network that repels water, ensuring water resistance in Gorilla Glue. When water comes into contact with this hydrophobic glue, droplets bead up and roll off the surface, protecting the bond from moisture intrusion.
Filling the Gaps:
Gorilla Glue’s polyurethane component has impressive expansion and gap-filling capabilities. Upon contact with moisture, it expands and fills gaps, creating a watertight seal. This expansion not only seals out water but also reinforces the bond, enhancing its strength.
Limits of its Powers:
While Gorilla Glue is resistant to water, continuous exposure to water may cause some degradation over time. It is important to understand the limitations of its water resistance and differentiate between occasional exposure and prolonged immersion.
Conclusion:
As we wrap up our exploration of Gorilla Glue’s polyurethane component, we marvel at its ability to stand strong against water’s relentless attempts to break bonds. With its hydrophobic nature, gap-filling capabilities, and exceptional durability, Gorilla Glue is a reliable companion for all your adhesive needs – especially when occasional encounters with moisture are expected.
Gorilla Glue Clear: A Water-Resistant Variant
When it comes to a glue that can conquer the elements, Gorilla Glue Clear stands out as a top contender. This remarkable variant of the original Gorilla Glue is specially formulated to be water-resistant, making it the perfect choice for any project, whether it’s indoors or outdoors.
The first thing that catches your eye with Gorilla Glue Clear is its transparency. Unlike its brownish-colored predecessor, this variant dries clear, rendering it practically invisible once dry. This feature makes it ideal for applications where you want the adhesive to seamlessly blend in, like bonding glass or other transparent materials.
However, what truly sets Gorilla Glue Clear apart is its exceptional water resistance. While the original Gorilla Glue may weaken or even lose its bond strength when confronted with water, Gorilla Glue Clear can withstand intermittent exposure without a hitch. It’s important to note that extended exposure to water may eventually diminish the adhesive’s strength over time, so submerging bonded items for prolonged periods is best avoided.
The versatility of Gorilla Glue Clear is yet another feather in its cap. It can seamlessly adhere to a wide range of materials, including wood, metal, glass, ceramics, and even stone. Whether you’re restoring a shattered vase or constructing an outdoor masterpiece, this glue has got you covered.
To ensure optimal results with Gorilla Glue Clear, proper surface preparation is key. Cleanliness is paramount – surfaces should be dry and free from any grease or oil residue. Applying the glue in thin layers and utilizing clamps or heavy objects to hold the bonded surfaces together until the glue dries will ensure a robust and long-lasting bond.
Once fully cured, Gorilla Glue Clear demonstrates its true adaptability. It can be painted over and even sanded down for a smooth finish if desired. This makes it an excellent choice for all your creative and DIY endeavors.
Preparing the Surface for Maximum Bond Strength
In this post, we will explore the crucial steps required to prepare your surface for success. Whether you’re a DIY enthusiast or a professional, these tips will help you achieve outstanding results.
Step 1: Cleanliness is Key
Before applying Gorilla Glue, ensure your surface is spotless. Eliminate any dirt, dust, or grease that could hinder the bonding process and weaken the final bond. A simple wipe down with a clean cloth or a mild detergent and water solution will do the trick.
Step 2: Dry It Out
Remember, moisture isn’t your glue’s best friend. Allow your surface ample time to air dry or speed up the process with a drying agent. A completely dry surface is crucial for optimal bond strength, as water can compromise the adhesive properties.
Step 3: Smooth Operator
For porous or rough-textured surfaces, consider lightly sanding them to create a smooth and even foundation. This step enhances contact between the glue and the material, resulting in a stronger bond. Conversely, materials like metal or plastic with smooth surfaces may benefit from slight roughening using sandpaper or an abrasive material to provide better grip for the glue.
Step 4: Consider Temperature and Humidity
Gorilla Glue performs best in a controlled environment. Extreme temperatures or high humidity can negatively impact the curing process and weaken bond strength. Aim for a temperature range of 60-77°F (15-25°C) and humidity levels between 40-60% to ensure optimal results. Remember, a happy glue is a strong glue.
Step 5: Follow the Instructions
Don’t forget to read and follow the instructions provided by Gorilla Glue for proper application and curing. Each product may have specific guidelines for surface preparation and application techniques. By adhering to these instructions, you’ll maximize bond strength and increase the longevity of your project.
Alternatives to Gorilla Glue for Wet Applications
Say goodbye to water woes and hello to adhesive success. When it comes to wet applications, Gorilla Glue may not be your best bet. But fear not, we have some fantastic alternatives that will keep your project afloat and watertight.
First on our list is the rockstar of wet bonding: epoxy resin. This two-part adhesive is a true champion in water-filled conditions. Whether you’re tackling a marine project or diving into something underwater, epoxy resin will have your back. It forms an unbreakable bond that can withstand even the choppiness of the high seas.
Next up is polyurethane glue, also known as PU glue or “super glue.” This water-resistant wonder can handle damp conditions like a champ. Not only does it bond well in moist environments, but it also expands as it cures, expertly filling any gaps or voids in the material being bonded. It’s like sealing the deal with a waterproof hug.
If you prefer the sleekness of silicone, then silicone adhesive should be your go-to choice. This adhesive not only forms a strong bond but also boasts fantastic resistance to water and moisture. For plumbing projects or anything that requires sealing in wet environments, silicone adhesive will be your trusty waterproof companion.
But wait, there’s more. Ceramics or glass projects require specialized adhesives like cyanoacrylate (super glue) or UV-curing adhesives. These glues are specifically designed to handle moisture with ease and provide a bond so strong it’ll make your project shine like never before.
Before diving headfirst into selecting the perfect alternative, there are a few key considerations to keep in mind. First and foremost, think about the materials you’ll be bonding. Different adhesives work better with certain materials, so choose one that’s compatible.
Also, consider the expected exposure to water. Will your project be constantly submerged or just lightly splashed? This will help determine the level of water resistance your adhesive needs.
Lastly, think about how durable you need the bond to be. Some projects require a bond that can withstand extreme conditions, while others just need a temporary fix. Keep this in mind when selecting your alternative to Gorilla Glue.
Remember, always follow the manufacturer’s instructions for optimal results. Proper surface preparation and curing times are essential for achieving the strongest bond possible.
Pros and Cons of Using Gorilla Glue with Water
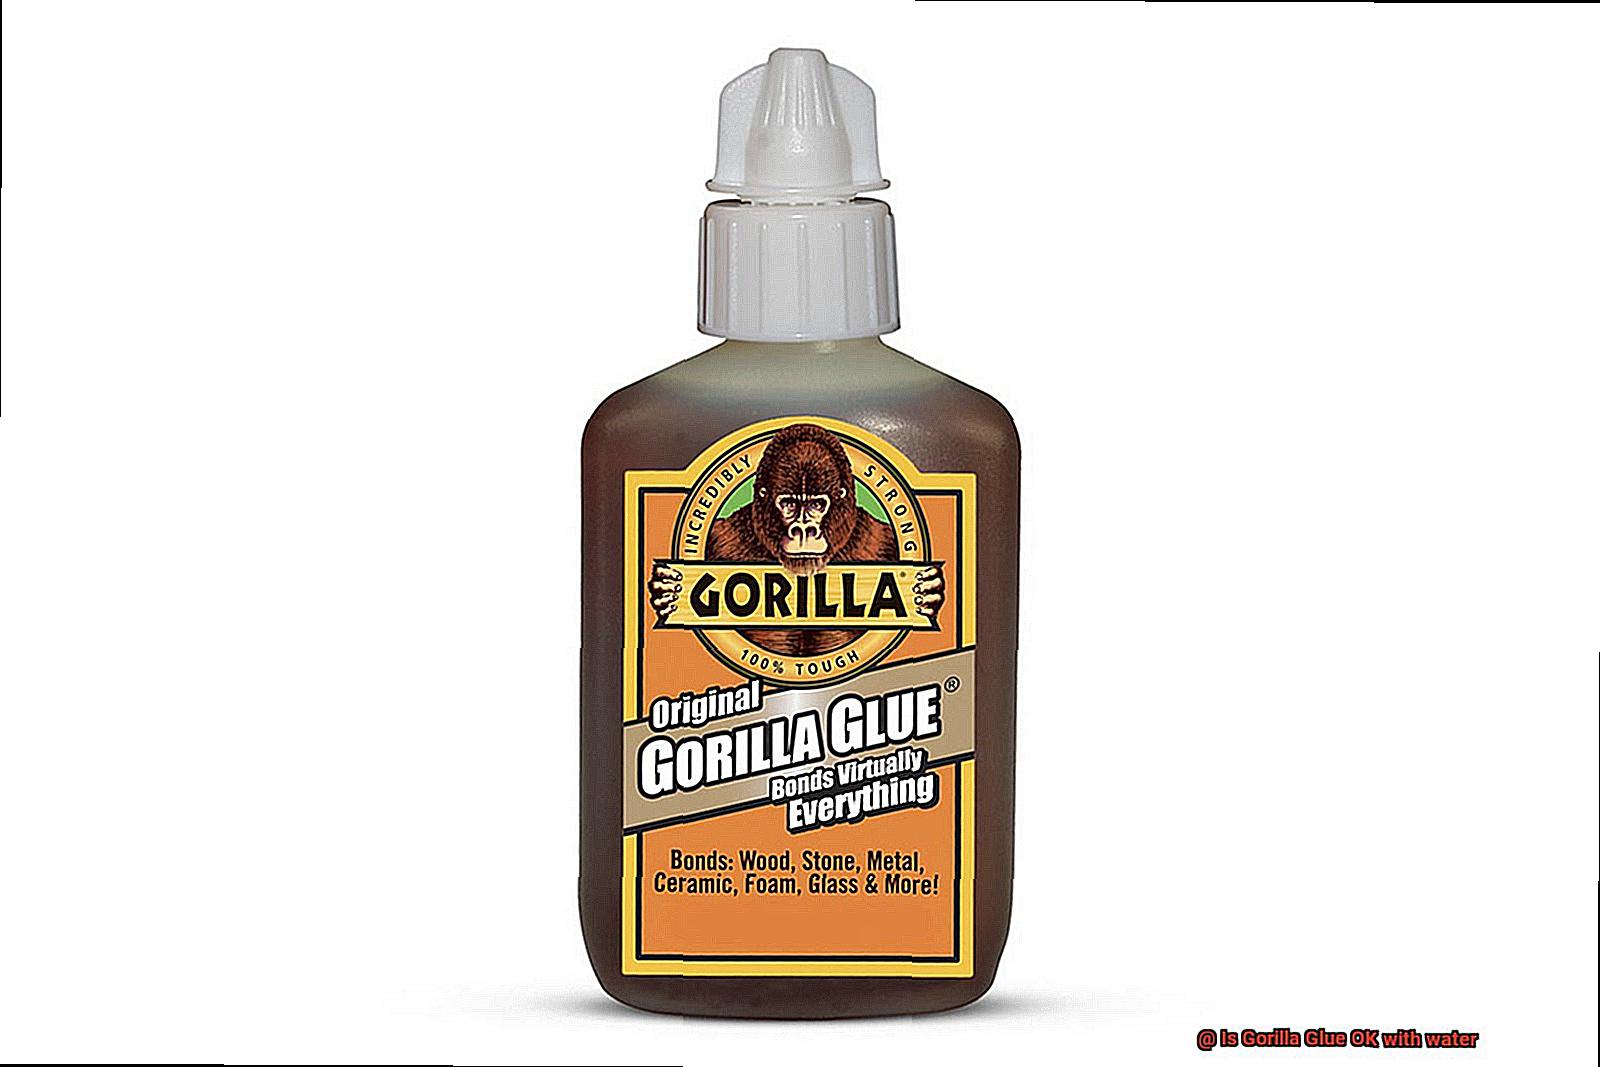
Gorilla Glue is a versatile and strong adhesive that is frequently used for woodworking, crafts, and repairs. One intriguing feature of Gorilla Glue is its ability to be activated with water, which offers both advantages and disadvantages. This article will explore the pros and cons of using Gorilla Glue with water.
Advantages:
- Stronger bond: When Gorilla Glue comes into contact with water, it expands and creates a foam-like substance that fills gaps and provides extra support. This feature is particularly beneficial for projects with uneven surfaces or gaps that require filling.
- Easier application: The presence of water helps spread the glue evenly and enables better penetration into porous materials. Consequently, this results in a more secure and durable bond.
- Longer working time: The water slows down the curing process of the glue, allowing users more time to make adjustments or reposition their materials before the bond becomes permanent. This flexibility is especially valuable for intricate projects that demand precision and careful alignment.
- Easy cleanup: Any excess glue that spills onto surfaces can be easily wiped away with a damp cloth before it dries completely. This eliminates the need for harsh chemicals or scraping to remove dried glue.
Disadvantages:
- Weakened bond strength over time: The presence of water can weaken the bond strength of Gorilla Glue over time, particularly with prolonged exposure to moisture.
- Compatibility issues: Certain materials, such as metal or specific plastics, may not react well to the expansion caused by the glue when activated with water. It is crucial to test a small area first to ensure compatibility and avoid potential damage.
- Messy application process: If not applied carefully, the expanding foam-like substance can overflow or seep out from the bonded area. This can create challenges in cleaning up and may require additional effort to remove excess glue.
- Extended curing time: The extended working time provided by using Gorilla Glue with water may not be suitable for time-sensitive projects or when working with non-porous materials that require a quicker bond.
How to Use Gorilla Glue with Water Safely
If you’re wondering whether it’s possible to use Gorilla Glue with water, the answer is yes. However, using Gorilla Glue with water requires caution and proper techniques. In this guide, we will explore how to safely use Gorilla Glue with water for your DIY projects. Let’s dive in.
Preparation is Key:
To ensure a successful bond, start by thoroughly cleaning and drying the surfaces you plan to glue. Use a mild detergent or rubbing alcohol to remove any dirt, grease, or moisture. A dry surface will help the glue adhere properly and maintain its strength.
Roughen the Surfaces:
For better adhesion, roughen the surfaces using sandpaper or a wire brush. This creates a better bonding surface for the glue to grip onto, ensuring a stronger bond.
Apply the Glue:
Squeeze a small amount of Gorilla Glue onto one of the surfaces. Remember, a little goes a long way. Use a brush or disposable applicator to spread the glue evenly, covering the entire surface.
Join and Secure the Surfaces:
Press the two surfaces firmly together and hold them in place for at least a few minutes. Adding clamps or weights can provide extra pressure and ensure a secure bond. This step is crucial for creating a strong connection between the surfaces.
Remove Excess Glue:
Immediately wipe away any excess glue with a damp cloth or sponge. It’s important to remove excess glue before it dries, as it can be challenging to remove once cured.
Allow Sufficient Curing Time:
After bonding, allow the glue enough time to cure fully before exposing it to water or moisture. Curing time can vary depending on factors such as temperature and humidity, so refer to the manufacturer’s instructions for specific guidance.
ycLnwJ2Tfec” >
Also Read: Is Gorilla Super Glue Waterproof?
Conclusion
In conclusion, Gorilla Glue is no stranger to water. It’s like a superhero with a water-resistant cape, capable of withstanding some exposure without losing its bond strength. But don’t mistake it for Aquaman – prolonged immersion or heavy rainfall can make it stumble.
The type of Gorilla Glue you choose also plays a role in its water resistance. Gorilla Wood Glue takes the crown when it comes to resisting water, surpassing the original formula.
But fear not. There are professional secrets to boost Gorilla Glue’s water resistance. Clamp those glued objects during curing to keep the pressure on and prevent any sneaky gaps from forming. Apply a waterproof sealant or coating after curing for an extra layer of defense against water infiltration. And if you really want to take it up a notch, try Gorilla Glue Clear – specifically designed to battle the wet elements.
However, be warned. Extreme temperatures, chemicals, and prolonged water contact can all weaken Gorilla Glue’s bond strength and water resistance. If your project requires constant exposure to H2O, it might be wise to explore other adhesives that specialize in waterproof applications.
All in all, Gorilla Glue is a trusty sidekick for countless projects but should tread carefully in wet environments. Remember: proper surface preparation and following the manufacturer’s instructions are vital for achieving peak bond strength and maximizing its ability to resist water infiltration.

