Joining wood and metal surfaces requires the perfect adhesive. Enter Gorilla Glue, a powerhouse in the adhesive world, known for its unmatched strength and adaptability. But here’s the million-dollar question: can Gorilla Glue really be trusted to bond wood and metal together?
In this blog post, we’ll dive into the pros and cons of using Gorilla Glue in this specific situation, uncovering the secrets behind its effectiveness and exposing any potential pitfalls.
So, if you’re itching to finish that DIY project, stick around to find out whether Gorilla Glue is your knight in shining armor for wood-to-metal connections or if you should proceed with caution.
What is Gorilla Glue?
Contents
In the realm of adhesive solutions, one name stands above the rest – Gorilla Glue. Revered for its unparalleled strength and exceptional versatility, this polyurethane-based adhesive has become an indispensable tool for DIY enthusiasts and professionals alike. In this article, we will explore the key features that make Gorilla Glue so remarkable, from its robust bonding capabilities to its unique foaming action. Discover why this adhesive reigns supreme in the world of bonding.
Unleashing the Strength:
Gorilla Glue’s claim to fame lies in its unrivaled bonding strength. With an extraordinary ability to withstand heavy loads and extreme conditions, it ensures a bond that endures the test of time. Whether you’re repairing a broken chair leg or constructing a wooden masterpiece, Gorilla Glue provides the strength you need for any project.
The Magic of Foaming Action:
What sets Gorilla Glue apart is its remarkable foaming action. Upon contact with moisture, this adhesive expands and fills gaps or irregularities in the surfaces being bonded. Not only does this create a stronger bond, but it also maximizes the surface area of contact between materials, resulting in an even more powerful hold.
Water-Resistant Reliability:
Gorilla Glue fearlessly faces moisture head-on. Once fully cured, it becomes water-resistant, making it suitable for both indoor and outdoor applications. However, keep in mind that while it can withstand exposure to moisture, continuous water immersion or underwater usage is not advised.
Versatility at Its Finest:
In the world of adhesives, versatility is key – and Gorilla Glue delivers. It effortlessly adheres to both porous and non-porous surfaces, making it compatible with an extensive range of materials. From wood and metal to stone and fabric, Gorilla Glue is the adhesive solution for any project. Its reliable and long-lasting bond knows no boundaries.
Different Forms for Different Needs:
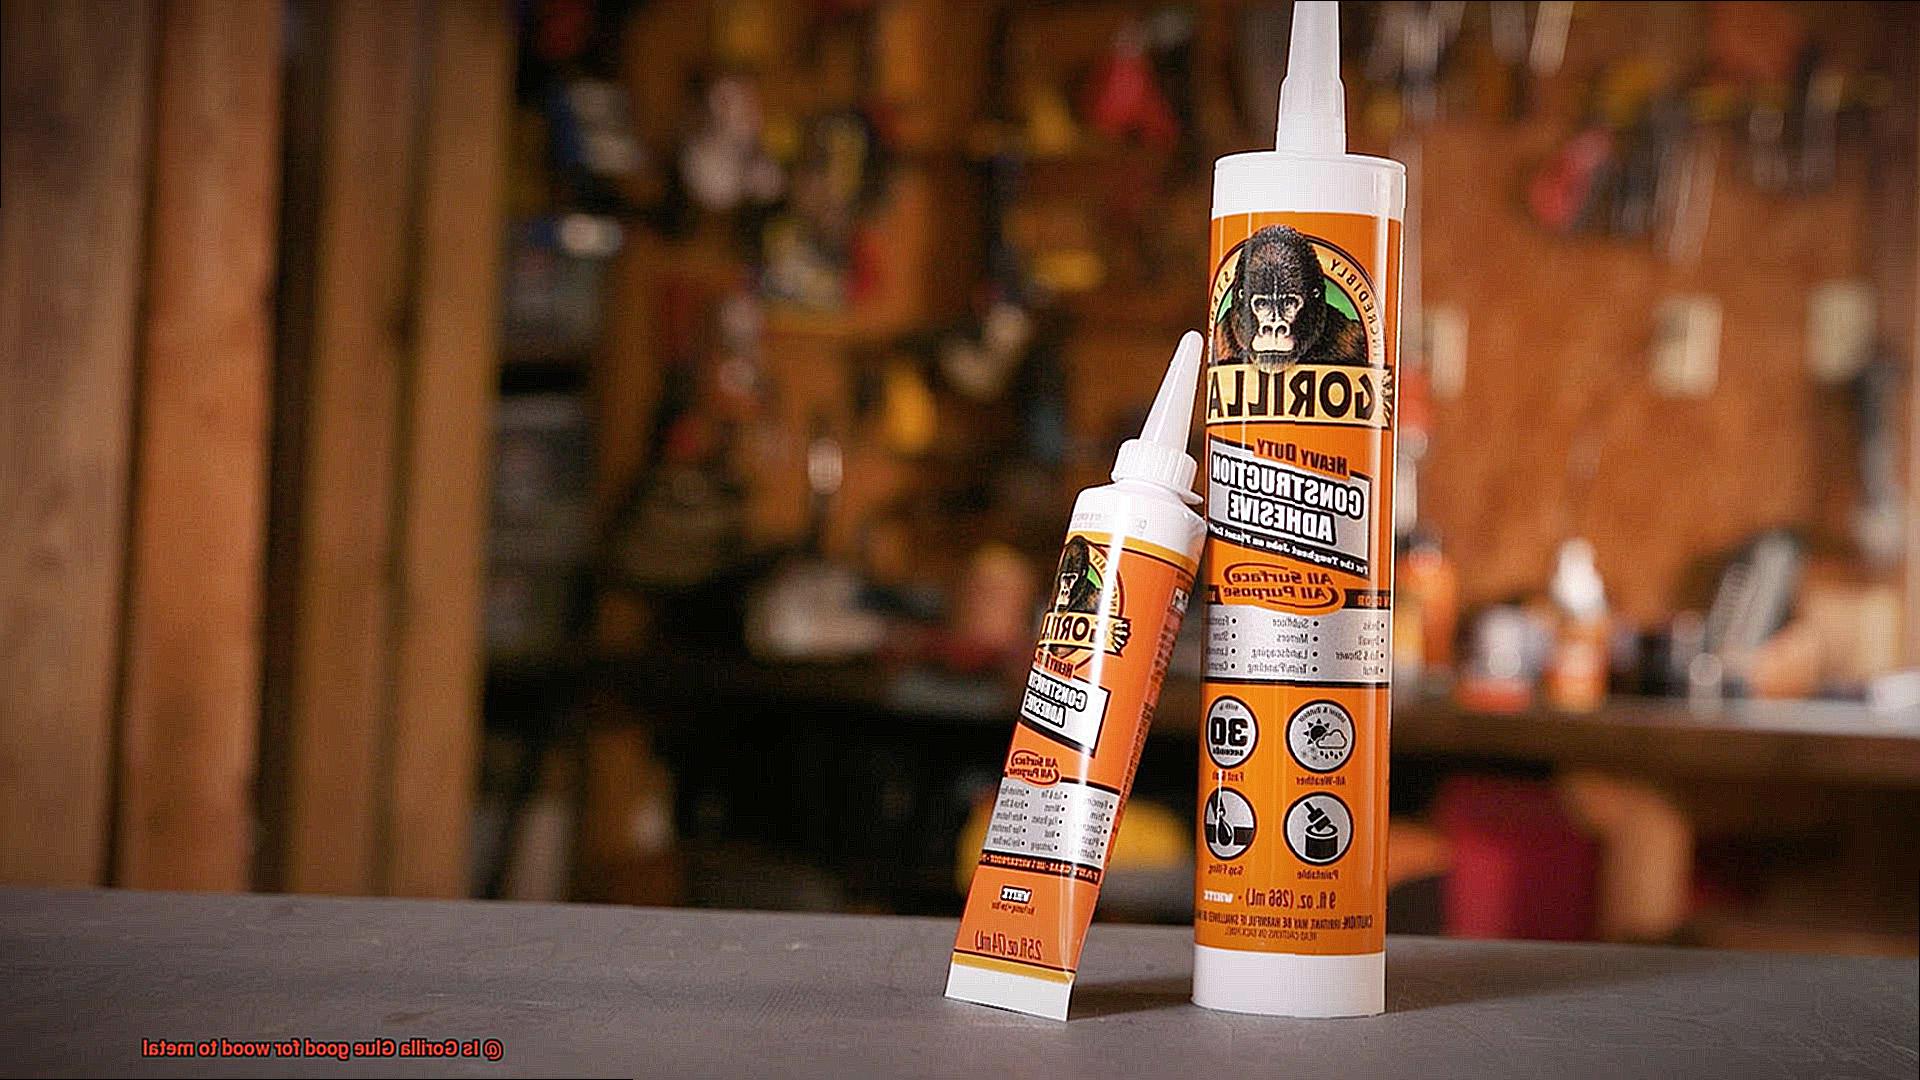
Recognizing that one size does not fit all, Gorilla Glue offers a range of adhesive forms to cater to diverse needs. The original Gorilla Glue comes in a liquid form, requiring moisture to activate its foaming action. For smaller projects demanding instant bonding, there’s Gorilla Super Glue – a fast-drying variant that gets the job done in no time.
Can Gorilla Glue Bond Wood to Metal?
Get ready to embark on an exciting journey as we unravel the mysteries of Gorilla Glue and explore its potential in bonding wood to metal. Can this mighty adhesive conquer the challenge of joining these two contrasting materials? Let’s find out.
The Science Behind Gorilla Glue:
Prepare to be amazed by the moisture-activated polyurethane formula that gives Gorilla Glue its superpowers. This adhesive expands while curing, creating a bond of Herculean strength. However, it’s important to note that Gorilla Glue is primarily designed for porous surfaces like wood, stone, and foam. So, can it triumph over the non-porous surface of metal?
Surface Preparation: A Key to Success:
Listen closely, my adhesive comrades. Before you embark on your wood-to-metal bonding quest, meticulous surface preparation is crucial. Cleanliness is paramount – banish all dust, grease, and contaminants that dare to hinder adhesion. For an extra grip, embrace the power of sanding to create a rough texture.
Application Technique: Precision and Finesse:
Mastering the art of Gorilla Glue application requires finesse. Remember this mantra: less is more. Excessive glue usage leads to unwanted foaming and messiness. Instead, apply a thin and even layer of glue to one surface before pressing them together with confidence.
Securing the Bond: Strength in Unity:
To ensure an unyielding connection between wood and metal, gather your clamps and securing methods. These loyal companions prevent any chance of movement or separation during the curing process, resulting in a bond that even the mightiest forces cannot break.
Metal Matters: Considerations for Success:
Ah yes, my adhesive apprentices, let us not forget that different metals may possess low surface energy or pesky coatings that challenge adhesion. Fear not. In such cases, prime your metal or seek out specialized adhesives for metal bonding to achieve the best results.
Project-Specific Considerations:
Listen to the wisdom of the adhesive gurus, my friends. Gorilla Glue is not invincible against constant moisture or extreme temperatures. Take heed of the manufacturer’s instructions and assess your project’s unique needs before proceeding.
Conclusion:
In conclusion, Gorilla Glue showcases promising potential in bonding wood to metal, but success depends on factors like surface preparation, application finesse, and the type of metal involved. Remember, it’s always wise to test a small area first, but when used correctly and under suitable conditions, Gorilla Glue can wield its adhesive magic, uniting wood and metal in an unbreakable bond.
Benefits of Using Gorilla Glue for Wood-Metal Bonding
This versatile adhesive is a powerhouse when it comes to creating a strong and durable bond between these two materials. Join us as we explore the benefits of using Gorilla Glue for wood-metal bonding and discover why it’s a favorite among professionals and DIY enthusiasts.
Unbreakable Bond:
Gorilla Glue forms an unyielding bond between wood and metal, capable of withstanding heavy loads and vibrations. Say goodbye to worries about your project falling apart under pressure.
Gap-Filling Perfection:
No need to fret over slight gaps or irregularities between wood and metal surfaces. Gorilla Glue fills in these gaps, ensuring a solid bond even on uneven or irregular surfaces. It’s the perfect solution for seamless connections.
Weatherproof Wonder:
Once cured, Gorilla Glue becomes resistant to moisture, temperature changes, and other environmental factors. Whether your project is indoors or outdoors, this glue can handle it all. Rain or shine, your wood-metal bond remains intact.
Lightning-Fast Curing Time:
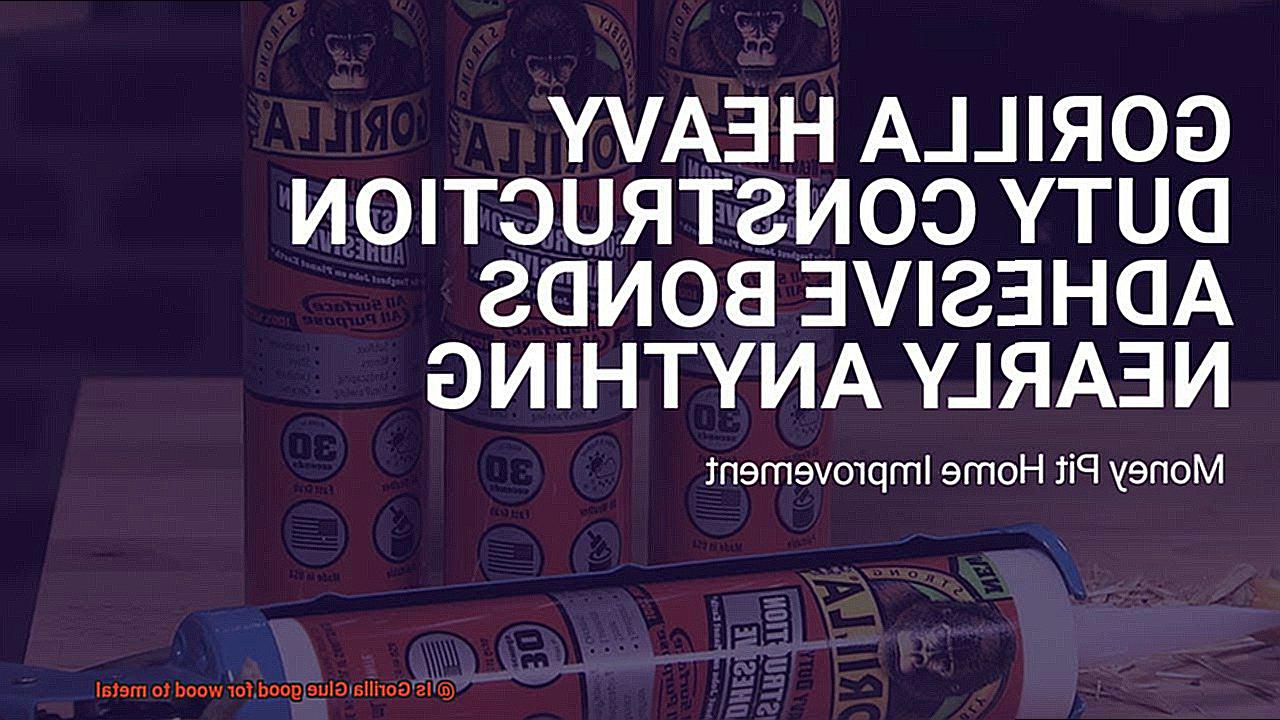
With a curing time of 1-2 hours for setting and full cure achieved within 24 hours, Gorilla Glue allows for quicker completion of projects compared to other adhesives with longer curing times. Get the job done in no time.
Versatility at its Finest:
Gorilla Glue works wonders on various wood and metal surfaces, including hardwoods, softwoods, stainless steel, aluminum, and more. From delicate woodworking to heavy-duty metalworking, this adhesive is your go-to solution.
No Clamps Needed:
Save time and effort during the bonding process. Gorilla Glue has excellent initial tackiness, eliminating the need for clamps in many situations. Simply apply the glue and watch it work its magic.
Unwavering Durability:
Once fully cured, Gorilla Glue forms a bond that can withstand impact and frequent use. Your wood-metal connection will remain intact, even under the most demanding conditions. Trust in the strength of Gorilla Glue.
Easily Accessible and Affordable:
Gorilla Glue is readily available in most hardware stores and online, making it easily accessible to everyone. Plus, it won’t break the bank, offering excellent value for your money. Quality and affordability combined.
How to Prepare the Surfaces for Bonding
Get ready for a strong and durable bond by following these steps to prepare your surfaces like a pro using Gorilla Glue. With proper surface preparation, your bond will withstand the test of time.
Step 1: Clean the Surfaces
Before anything else, give those wood and metal surfaces a thorough cleaning. Just like cleaning your room before a big party, it’s important to remove any dust, dirt, or grease that can interfere with a strong bond. Use a mild detergent or solvent suitable for your materials and scrub away any contaminants. Make sure those surfaces are squeaky clean.
Step 2: Sanding for Success
Now it’s time to roughen things up a bit. We’re not talking about starting a sandstorm, but a little sanding goes a long way. For the wood, grab some fine-grit sandpaper and gently sand in the direction of the grain.
This will remove any existing finish or coating and expose fresh wood fibers. As for the metal, use sandpaper or steel wool to create a slightly roughened surface. Think of it as giving your surfaces a friendly handshake before they become best friends.
Step 3: Primer Power (optional)
Sometimes, we need an extra boost to make things stick. That’s where primer comes in. It’s like a superhero that enhances the bond between wood and metal. Check the instructions or ask an expert if using a primer is necessary for your specific materials. With primer, your bond will be stronger than ever.
Step 4: Apply Gorilla Glue
Now it’s showtime. Grab that bottle of Gorilla Glue and follow the instructions carefully. Apply a thin, even layer of glue on both the wood and metal surfaces that will be joined together. Remember, a little goes a long way. Too much glue can lead to a messy situation.
Step 5: Clamp and Secure
Once the glue is applied, it’s time to bring the wood and metal together in a tight embrace. Use clamps or any other suitable means to hold them in place while the glue works its magic. Just like a warm hug from a friend, this pressure helps the bond develop its full strength. Give it some time to cure, following the recommended drying time provided by Gorilla Glue.
Step 6: Clean Up Excess Glue (if necessary)
Gorilla Glue is known for its incredible strength, but sometimes it can’t help but overflow with excitement. Before the glue dries completely, grab a damp cloth or sponge and clean up any excess glue that may have escaped during the bonding process. Leave no trace behind.
Application Tips for Maximum Adhesion
Gorilla Glue, renowned for its remarkable strength, is a go-to adhesive for bonding different materials, including wood and metal. To unlock the full potential of this powerful adhesive and achieve maximum adhesion in your wood to metal projects, we’ve curated a comprehensive guide with expert tips that will elevate your bonding game to new heights.
Clean and Prepare the Surfaces:
Before embarking on the bonding journey, it’s crucial to ensure that both the wood and metal surfaces are pristine. Banish any dirt, dust, or grease by unleashing the cleaning power of a mild detergent or rubbing alcohol. By starting with clean surfaces, you pave the way for an unyielding bond that won’t be compromised by pesky contaminants.
Roughen Up the Surfaces:
To provide Gorilla Glue with an ideal playground for adhesion, it’s time to unleash your inner craftsman and roughen up those surfaces. Gently sanding both the wood and metal surfaces with a fine-grit sandpaper imparts a textured landscape that offers the glue an irresistible grip. Remember to wipe away any lingering sanding residue before proceeding to apply the glue.
Apply a Thin Layer of Glue:
In the enchanting world of Gorilla Glue, less is truly more. Coat both the wood and metal surfaces with a whisper-thin layer of this magical adhesive. Embrace your inner artist and employ a brush or applicator to ensure an even distribution of glue across the surfaces. Vigilance is key here – resist the temptation to go overboard, as excess glue can lead to a messy bonding process.
Clamp Firmly for a Tight Bond:
After gracefully applying the glue, it’s time to embrace the power of pressure and secure that bond with unwavering strength. Join the wood and metal surfaces together firmly, ensuring that they are aligned perfectly. Enlist the assistance of clamps or weights to exert the necessary pressure for a tight bond that will withstand the test of time. Keep your masterpiece clamped for at least one hour, following Gorilla Glue’s specific instructions for optimal curing time.
Work in Ideal Conditions:
Creating a bonding masterpiece requires a harmonious environment. Your workshop should be a well-ventilated sanctuary with temperatures between 70°F and 80°F (21°C and 27°C). Beware of the lurking dangers of high humidity, as it can extend drying time and compromise the integrity of your bond. By working in ideal conditions, you set the stage for a flawless bonding performance.
Curing Time and Clamping Pressure
Today, we embark on a deep dive into the realm of wood to metal bonding with Gorilla Glue. Our journey will revolve around two critical factors that can make or break your bond – curing time and clamping pressure. So grab your favorite adhesive and prepare to unlock the secrets of a flawless connection.
Curing Time: The Power of Patience
Before you rush into testing the strength of your Gorilla Glue bond, remember this – patience is truly a virtue. Curing time refers to the period it takes for the glue to fully dry and establish its unwavering grip. While Gorilla Glue typically sets in 24 hours, several factors can influence this timeframe.
- Temperature: The heat is on. Higher temperatures generally accelerate curing, while colder environments slow down the process. Keep an eye on the temperature in your workspace to optimize your curing time.
- Humidity: Believe it or not, even moisture levels play a role in curing time. Higher humidity can extend drying, so be mindful of the air’s moisture content.
- Adhesive Layer Thickness: Think thin. The thickness of your adhesive layer impacts curing time. Thicker applications require additional time to achieve optimal strength.
Remember, rushing the curing process compromises the bond’s integrity. So sit back, relax, and give your Gorilla Glue bond the time it needs to reach its full potential.
Clamping Pressure: Squeeze it Tight.
Now that we’ve covered curing time, let’s delve into clamping pressure. Picture this – you’re forging an unbreakable union between wood and metal. How do you ensure both surfaces stick together like lifelong friends? Enter clamping pressure.
Applying moderate to high clamping pressure during curing is essential for a robust bond. Why? Clamping holds those surfaces tightly, allowing the adhesive to work its magic evenly.
But how much pressure is enough? The answer depends on the materials you’re bonding. For wood to metal applications, moderate to high clamping pressure is generally recommended. This ensures sufficient contact between adhesive and surfaces, creating a bond capable of withstanding serious stress.
Don’t Forget the Extras:
Now that you grasp the importance of curing time and clamping pressure, let’s explore a few additional tips to enhance your wood to metal bond with Gorilla Glue.
- Surface Preparation: Before bonding, prepare your surfaces properly. Sanding or roughening the wood and metal improves adhesion, giving your bond an extra boost.
- Primers: For an ironclad connection, consider using a primer designed for wood to metal bonding. This additional step further fortifies the bond and ensures its longevity.
Avoiding Excessive Stress Until Fully Cured
You’ve successfully bonded your wood to metal using Gorilla Glue, the go-to adhesive for its strength and versatility. Now, let’s dive into an important step that often gets overlooked: avoiding excessive stress until the glue is fully cured.
Why is this step so crucial? Well, let’s explore the science behind it. Gorilla Glue requires sufficient time to cure and reach its maximum strength. Applying excessive stress on the joint before it is fully cured can weaken the bond and jeopardize the connection between the wood and metal surfaces. In simpler terms, it could lead to a subpar bond that may fail prematurely.
To ensure a rock-solid bond that withstands the test of time, here are some essential tips to follow:
- Follow the instructions: The curing time for Gorilla Glue can vary depending on factors like temperature, humidity, and the materials being bonded. Always refer to the product label or instructions for the recommended curing time. Don’t rush the process.
- Keep it undisturbed: During the curing process, resist the urge to test the bond or subject it to any movements or stress. Allow the glue to cure undisturbed for optimal results. Patience is key here.
- Remove clamps and pressure tools: While clamps or pressure-applying tools may be necessary during the initial stages of bonding, make sure to remove them once the glue has set. This will prevent any unnecessary stress on the joint and ensure a strong connection.
- Wipe away excess glue: Gorilla Glue expands as it cures, so be mindful of any overflow or squeeze-out. Before it dries completely, wipe away any excess glue using a damp cloth or sponge. This will not only help achieve a clean bond but also enhance its visual appeal.
Remember, when in doubt, consult the manufacturer or seek professional guidance. By adhering to these practices, you’ll ensure a strong and durable bond that stands the test of time.
1BmQgg5dM3U” >
Also Read: Will Gorilla Glue damage rubber?
Conclusion
In conclusion, Gorilla Glue is indeed a reliable adhesive for bonding wood to metal.
Its strong and durable formula ensures a secure and long-lasting connection between these two materials. Whether you’re working on a DIY project or a professional construction job, Gorilla Glue provides the strength and reliability you need.
With Gorilla Glue, you can trust that your wood-to-metal bond will withstand the test of time.

