Got a project that involves sticking plastic to wood? Well, you’re in luck because we’re about to dive into the wild world of Gorilla Glue. This adhesive has earned quite the reputation for its crazy-strong bonding power and all-around usefulness. But is it really the glue you need to bring plastic and wood together?
In this article, we’ll explore the upsides and downsides of using Gorilla Glue for this sticky situation. By uncovering its superpowers and potential pitfalls, we’ll give you the lowdown on whether it’s worth slapping some Gorilla Glue on your plastic-wood combo.
So, if you’re itching to find out if this glue is a match made in adhesive heaven or just a recipe for disaster, keep reading and get ready for an adhesive adventure like no other.
Advantages of Gorilla Glue
Contents
- 1 Advantages of Gorilla Glue
- 2 Factors to Consider When Bonding Plastic to Wood
- 3 Preparing Surfaces for Bonding with Gorilla Glue
- 4 Applying Gorilla Glue for Optimal Results
- 5 Clamping the Materials Together for Maximum Strength
- 6 Curing Time and Final Bond Strength
- 7 Alternative Adhesives for Plastic to Wood Bonding
- 8 Conclusion
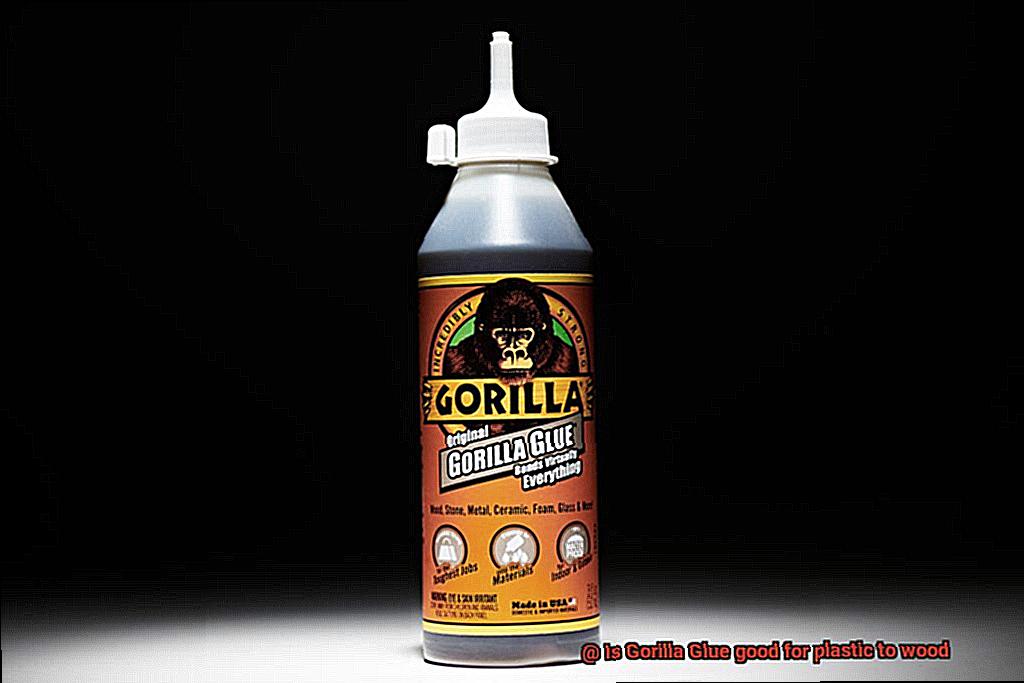
When it comes to glue, the market offers countless options, but one adhesive stands out for its exceptional performance: Gorilla Glue. With its strong bond and versatility, Gorilla Glue has become a go-to choice for DIY enthusiasts and professionals alike. In this article, we will explore the numerous advantages of Gorilla Glue and why it should be a staple in every toolbox.
Versatility:
Gorilla Glue’s most notable advantage is its ability to bond different materials together. Whether you’re working on a woodworking project or repairing a broken plastic item, this adhesive can tackle the task with ease. Its versatility makes it a versatile tool for any project.
Strength and Durability:

One of the key advantages of Gorilla Glue is its incredible strength. Once cured, this adhesive forms a bond that can withstand heavy loads and impact, making it suitable for various applications. Whether you’re fixing furniture or crafting intricate models, Gorilla Glue ensures a long-lasting and reliable bond that won’t let you down.
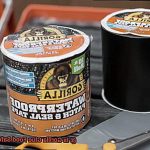
Waterproof:
Another advantage of Gorilla Glue is its waterproof nature. This means you can confidently use it for both indoor and outdoor projects without worrying about moisture affecting the bond. From building outdoor furniture to repairing water-damaged items, Gorilla Glue provides excellent resistance against water, ensuring your projects stay intact even in wet conditions.
Gap-Filling Ability:
Gorilla Glue expands as it cures, allowing it to fill gaps and create a strong bond even on uneven surfaces. This feature makes it ideal for projects that require precise alignment or have irregular shapes. No matter the complexity of your project, Gorilla Glue ensures a seamless and robust connection that leaves no room for weakness.
Temperature Resistance:
With its ability to withstand temperature changes, Gorilla Glue is perfect for projects exposed to extreme heat or cold. Whether you’re repairing a cracked ceramic mug or fixing a wooden handle on a hot pan, Gorilla Glue remains steadfast, ensuring your creations stand the test of time in any climate.
Easy to Use:
Gorilla Glue is user-friendly and requires minimal preparation. Simply apply the adhesive directly to the surfaces that need to be bonded, and you’re good to go. Its quick-drying formula allows you to proceed with your project without lengthy waiting times, saving you valuable time and effort.
Factors to Consider When Bonding Plastic to Wood
When it comes to bonding plastic to wood, there are several important factors to consider. Let’s explore these factors in detail to ensure a successful and durable bond.
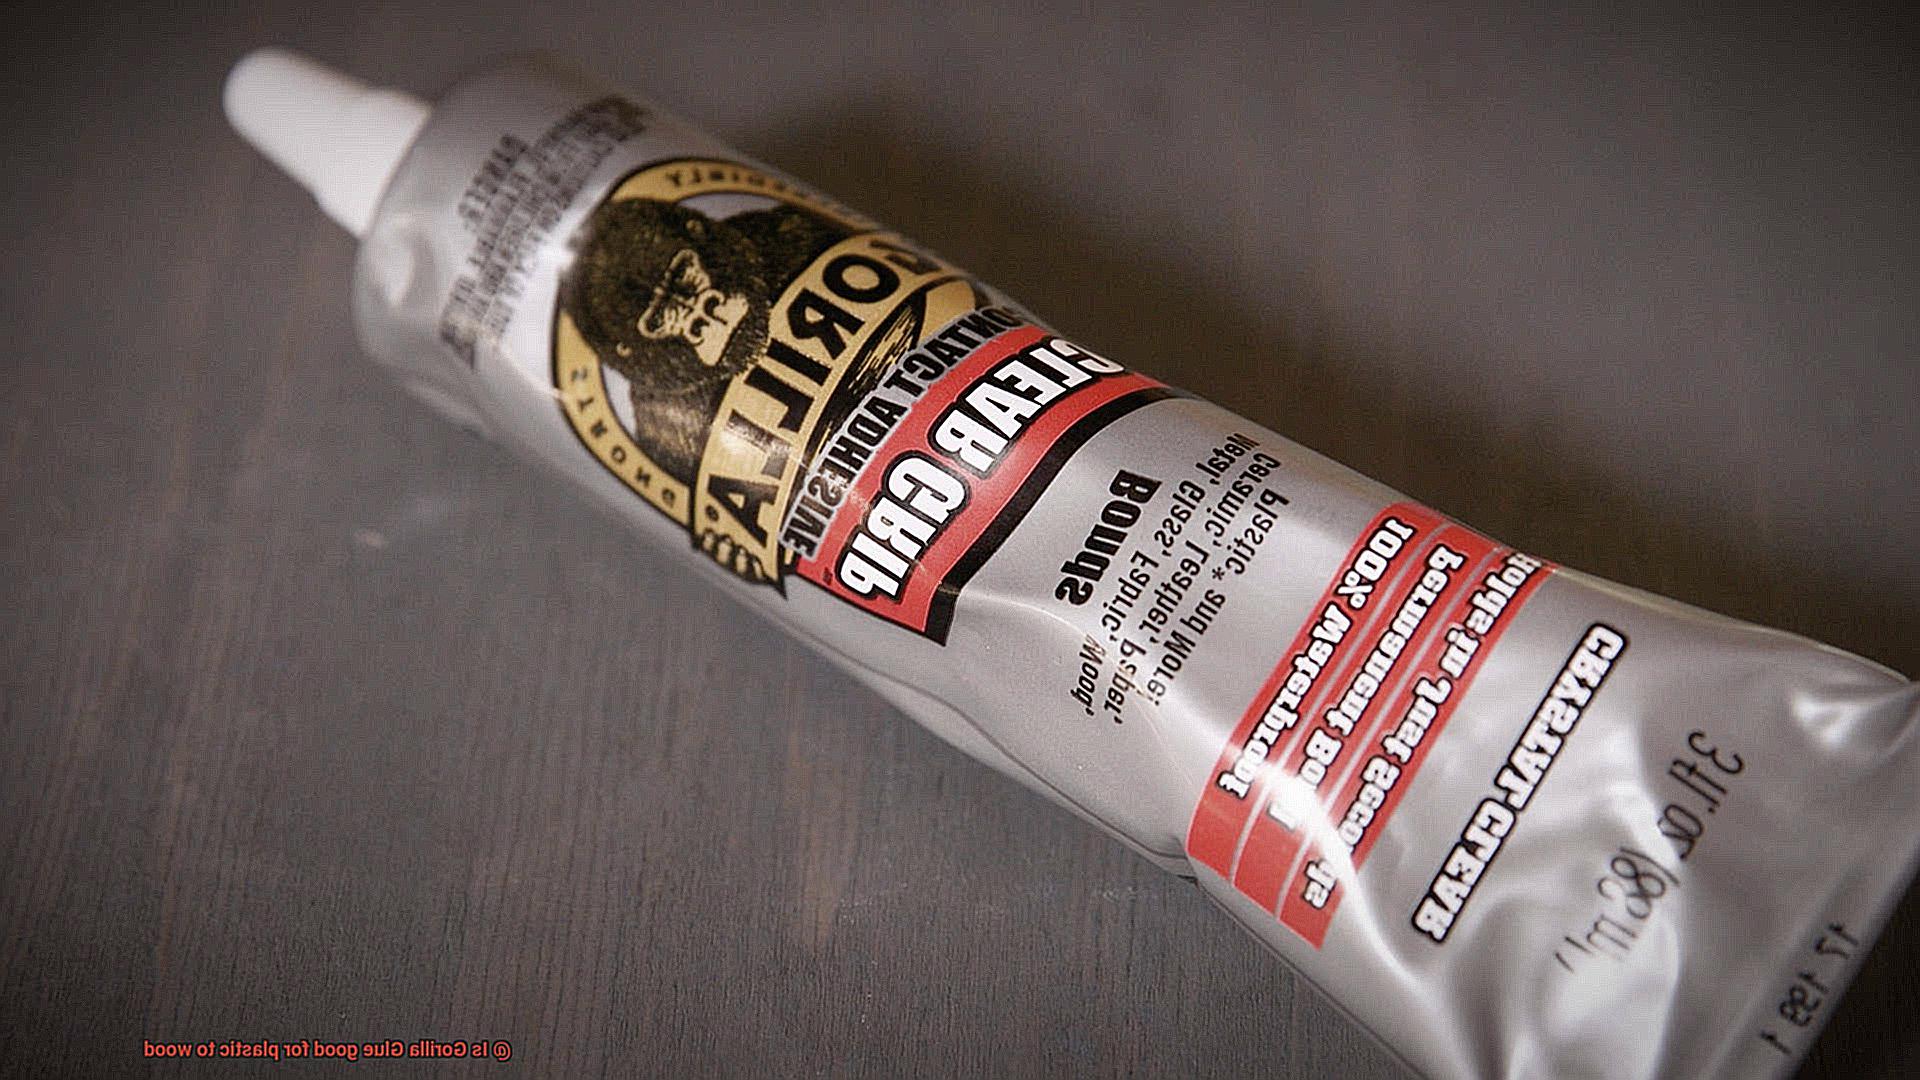
- Compatibility: Not all adhesives are suitable for bonding plastic to wood. Choose an adhesive that is specifically designed for this purpose. Gorilla Glue, with its polyurethane formula, is an excellent option as it creates a strong bond by expanding into the pores of both materials.
- Surface Preparation: Properly preparing the surfaces is crucial for a successful bond. Ensure that both the plastic and wood surfaces are clean, dry, and free from any dirt or contaminants. If working with plastic, lightly sanding or roughening the surface can improve adhesion. For wood surfaces, make sure they are smooth and free from loose fibers or debris.
- Application Method: Apply the adhesive in thin layers on both surfaces being bonded. This allows for better penetration and ensures an even distribution of the adhesive. Clamping the two materials together during the curing process applies pressure and eliminates any gaps.
- Curing Time: Be patient. Gorilla Glue requires moisture to cure properly. Follow the manufacturer’s instructions regarding curing time and conditions. It is generally recommended to wait at least 24 hours before subjecting the bond to any stress or load.
- Environmental Factors: Consider the temperature and humidity levels during bonding. Extreme temperatures or high humidity can compromise the bond, so make sure they are within the recommended range specified by the manufacturer.
- Long-term Durability: While Gorilla Glue is known for its strength and durability, it’s always a good idea to test the bond in a small, inconspicuous area before applying it to a larger surface. This way, you can evaluate the bond’s strength and suitability for your specific plastic and wood materials.
Preparing Surfaces for Bonding with Gorilla Glue
Finding the perfect adhesive to join plastic and wood can be a challenge. Fortunately, Gorilla Glue is like the ideal dance partner, creating a strong and long-lasting bond. But before you embark on this love story, it’s crucial to prepare the surfaces properly. In this article, we’ll guide you through the steps to ensure a connection that stands the test of time.
Step 1: Cleanliness is Key
To create a strong bond, begin by thoroughly cleaning both the plastic and wood surfaces. Dirt, dust, grease, or other contaminants can interfere with the bonding process. Use a mild detergent or soap with warm water to gently clean the surfaces. Rinse them thoroughly and allow them to dry completely before proceeding to the next step.
Step 2: Roughen it Up
Once the surfaces are clean and dry, it’s time to roughen them slightly to enhance adhesion. Lightly sand the surfaces using fine-grit sandpaper. The goal is not to remove excessive material but to create a rough surface that allows the glue to bond effectively. After sanding, wipe away any dust using a clean cloth or compressed air.
Step 3: Apply Gorilla Glue Sparingly
Now that your surfaces are prepped, it’s time to apply Gorilla Glue. Remember, less is more. Apply a small amount of glue onto one of the prepared surfaces. Gorilla Glue expands as it cures, so applying an excessive amount can lead to messy overflow. Spread the glue evenly over the surface using a brush, spreader, or even your finger.
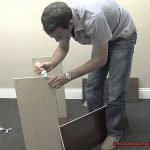
Step 4: Bring Them Together
After applying the glue, firmly press the two surfaces together. If necessary, apply clamping pressure to ensure a tight bond. The glue will start to bond within minutes, but complete curing may take up to 24 hours. Exercise patience and let the bond develop its strength.
Step 5: Remove Excess Glue and Allow for Full Cure
Once the surfaces are bonded, remove any excess glue that has squeezed out. Gently scrape it away with a sharp tool or sand it once it has dried. Finally, allow the bonded surfaces to cure completely before subjecting them to any stress or load. This will ensure a robust and durable bond.
Applying Gorilla Glue for Optimal Results
Look no further than Gorilla Glue, the adhesive that can make your plastic-to-wood bonding dreams come true. But before you dive headfirst into your project, it’s important to know the proper techniques for applying Gorilla Glue to achieve optimal results.
One of the key factors for a successful bond is cleanliness. Just like tidying up before a hot date, you need to ensure that the surfaces you’re bonding are clean and free from any dirt or grease. Grab a clean cloth or use a mild detergent solution to wipe away any grime and get those surfaces sparkling.
Now here’s a trick: lightly dampen the surfaces with water. Gorilla Glue needs moisture to activate its curing process and form a strong bond. But remember, less is more – excessive moisture can weaken the bond, so don’t go overboard.
Once your surfaces are prepped and ready, it’s time to apply the glue. But hold your horses. Use Gorilla Glue sparingly and evenly on one of the surfaces. This glue expands as it cures, so a little goes a long way. Don’t be tempted to slather it on – messy results and a compromised bond may be in your future.
Now for the magic moment: press those surfaces together firmly. You can use clamps or weights to ensure proper contact and pressure during the curing process. And speaking of curing, follow Gorilla Glue’s instructions for clamping time – they know their stuff.
After the initial bonding, any excess glue can be wiped away with a damp cloth or scraped off while it’s still wet. Trust me, it’s easier to deal with when it’s wet rather than waiting for it to dry.
But here’s the deal – patience is a virtue. Give Gorilla Glue at least 24 hours to fully cure before subjecting your masterpiece to any stress or load. You want that bond to be as strong as possible, right?
And if any spills or drips happen along the way, clean them up immediately. Gorilla Glue forms a strong and permanent bond once it dries, and trying to remove it later can be a real pain.
But hey, before you get too carried away, remember that not all plastics and woods are compatible with Gorilla Glue. Test it out on a small area first to make sure it’s a match made in adhesive heaven.
Clamping the Materials Together for Maximum Strength
When it comes to bonding plastic to wood, Gorilla Glue is a reliable and popular choice. However, achieving maximum strength and a secure bond requires proper clamping techniques. Here are the key steps to follow:
Choose the Right Clamps:
- Select adjustable clamps to control pressure.
- Ensure they are suitable for plastic and wood without damaging materials.
Clean the Surfaces:
- Thoroughly clean both plastic and wood surfaces.
- Use a clean cloth or mild detergent to remove dirt, dust, and grease.
Apply Gorilla Glue:
- Apply a thin, even layer of Gorilla Glue to one material.
- Avoid using excess glue that can squeeze out and weaken the bond.
Align and Clamp:
- Press plastic and wood firmly together, aligning them correctly.
- Position clamps strategically along the glued area for even pressure.
Gradually Tighten:
- Gradually tighten clamps, applying steady pressure.
- Avoid over-tightening to prevent excess glue squeeze-out.
Follow Curing Time:
- Refer to product instructions for specific curing times.
- Leave clamps in place for recommended time to allow full bonding.
Inspect and Remove Excess Glue:
- After curing, remove clamps and inspect the bond.
- Carefully remove any excess glue using a blade or sandpaper.
Curing Time and Final Bond Strength
When it comes to bonding plastic to wood, the relationship between curing time and final bond strength is a crucial one. Curing time refers to the period it takes for the adhesive to fully set and reach its maximum bond strength. In the case of Gorilla Glue, a popular adhesive for this task, patience is key.
Gorilla Glue typically requires a minimum of 24 hours of curing time to achieve its full potential. However, for those who want to play it safe and ensure the strongest bond possible, giving it a solid 48 hours is highly recommended. This extra time allows the glue to fully cure and create an unbreakable bond that can withstand all sorts of stress and pressure.
But what if you’re in a hurry or dealing with less than ideal weather conditions? Here’s the deal: colder temperatures and high humidity can slow down the curing process. So, if you find yourself in a chilly or damp environment, it’s wise to give Gorilla Glue some extra time to work its magic.
Now, let’s talk about why Gorilla Glue is worth the wait. Once this adhesive cures, it forms an unyielding bond that can handle extreme temperatures and is resistant to water. It’s like having a superhero sidekick on your DIY project. Whether you’re working on an indoor or outdoor project, Gorilla Glue has got you covered.
However, before you start Hulk smashing your plastic and wood materials together, there are a couple of things to keep in mind. First, always follow the manufacturer’s instructions regarding curing time and application techniques. They know their glue better than anyone else. Second, it’s essential to test a small area or consult the manufacturer’s guidelines to ensure compatibility with your specific materials.
Alternative Adhesives for Plastic to Wood Bonding
Today, we are diving deep into the realm of plastic to wood bonding and exploring some incredible alternatives to the tried-and-true Gorilla Glue. Brace yourselves, because we have a lineup of heroes ready to save the day.
First up, let’s meet the mighty epoxy adhesives. These bad boys are known for their exceptional strength and durability. By combining a resin and hardener, you activate this adhesive power duo before applying it to your surfaces. Epoxy adhesives are resistant to water, heat, and chemicals, making them perfect for both indoor and outdoor projects.
Next on our list of champions is polyurethane glue. This versatile adhesive reacts with moisture in the air or on the surfaces being bonded, expanding and creating an unbreakable bond. Brands like Titebond and DAP have got you covered in this department. Polyurethane glues can adhere to various materials, including porous and non-porous surfaces, making them a reliable choice. They’re also resistant to heat, water, and chemicals – perfect for projects that may face tough conditions.
If speed is what you need, look no further than cyanoacrylate glue. Also known as super glue or CA glue, it cures rapidly when exposed to moisture, forming an instant bond. CA glues are renowned for their high strength and versatility, making them suitable for a range of materials, including plastic and wood. Just double-check the manufacturer’s recommendations to ensure compatibility with your specific plastic.
Last but not least, let’s talk about our specialty adhesives. These heroes are specially formulated for bonding plastic to wood, offering unique properties tailored to this task. Whether you need an adhesive for acrylic plastics or something flexible enough to handle movement or expansion, there’s a specialty adhesive out there just waiting to meet your needs.
ycLnwJ2Tfec” >
Also Read: Does Gorilla Glue Work on Plastic?
Conclusion
In conclusion, Gorilla Glue reigns supreme when it comes to bonding plastic to wood. Its versatility, strength, and durability make it an excellent choice for any project. Not to mention, its waterproof nature ensures that your bond will withstand the test of time, no matter if it’s indoors or outdoors.
To achieve optimal results with Gorilla Glue, there are a few key factors to consider. First and foremost, proper surface preparation is essential. Thoroughly cleaning and slightly roughening the surfaces will enhance adhesion and guarantee a solid bond. When applying the glue, remember that less is more – a sparing and even application on one surface is all you need. Then, firmly press the two surfaces together for a connection that can handle heavy loads and impacts like a champ.
During the curing process, clamping the materials together is crucial for maximum strength. Choose clamps that won’t damage your precious plastic or wood and gradually tighten them to distribute pressure evenly – over-tightening is a big no-no.
Patience is key when working with Gorilla Glue – give it at least 24 hours to cure properly. But if you want ultimate bond strength, wait 48 hours before putting any stress on your newly bonded plastic-wood duo. And don’t forget to test a small area or consult the manufacturer’s guidelines before tackling larger surfaces.
While Gorilla Glue is undoubtedly reliable, there are other adhesive options available for this task. Epoxy adhesives, polyurethane glue, cyanoacrylate glue (super glue), and specialty adhesives all have their unique properties tailored to different needs.
Ultimately, the choice between Gorilla Glue and its alternatives depends on your project requirements. Consider factors such as material compatibility, desired bond strength and durability, environmental conditions, and ease of use when making your decision.