Picture this: you’ve spent hours crafting a masterpiece, whether it’s a quilt fit for a queen or a delectable dish that would make Gordon Ramsay proud. But then, disaster strikes. Your hard work starts to unravel, leaving you feeling like all your efforts were in vain. It’s enough to make even the most seasoned sewist or culinary genius shed a tear. So, let’s dive into the burning question: is basting spray permanent?
If you’re new to the sewing or quilting scene, you might be scratching your head at the mention of “basting spray.” Don’t worry; we’ve got your back. Basting spray is a nifty adhesive product that has taken the craft and cooking world by storm. It holds fabric layers together or keeps ingredients in place without the need for pesky pins or thread. But here’s what we really want to know: does it stand the test of time?
In this blog post, we’ll take a deep dive into the captivating realm of basting spray and uncover its true permanence. We’ll separate fact from fiction, revealing whether this adhesive wonder lives up to its long-lasting claims. So, if you’ve been itching to try basting spray or have already incorporated it into your creative endeavors, stay tuned to find out if this convenient tool is truly as permanent as it claims.
Join us as we unveil the reality behind this hotly debated topic and explore the various factors that can influence how long basting spray holds up. By the end of our journey together, you’ll have a crystal-clear understanding of whether this adhesive lifesaver is your project’s knight in shining armor or just a temporary fix.
So buckle up and get ready for an eye-opening exploration into whether basting spray truly earns its “permanent” title.
Is Basting Spray Permanent?
Contents
In the world of sewing and quilting, basting spray often takes center stage as a go-to adhesive solution. However, a lingering question remains: can this versatile tool withstand the test of time? In this comprehensive exploration, we will delve into the realm of basting spray, uncover its purpose, and debunk the notion of its permanence.
Understanding Basting Spray:
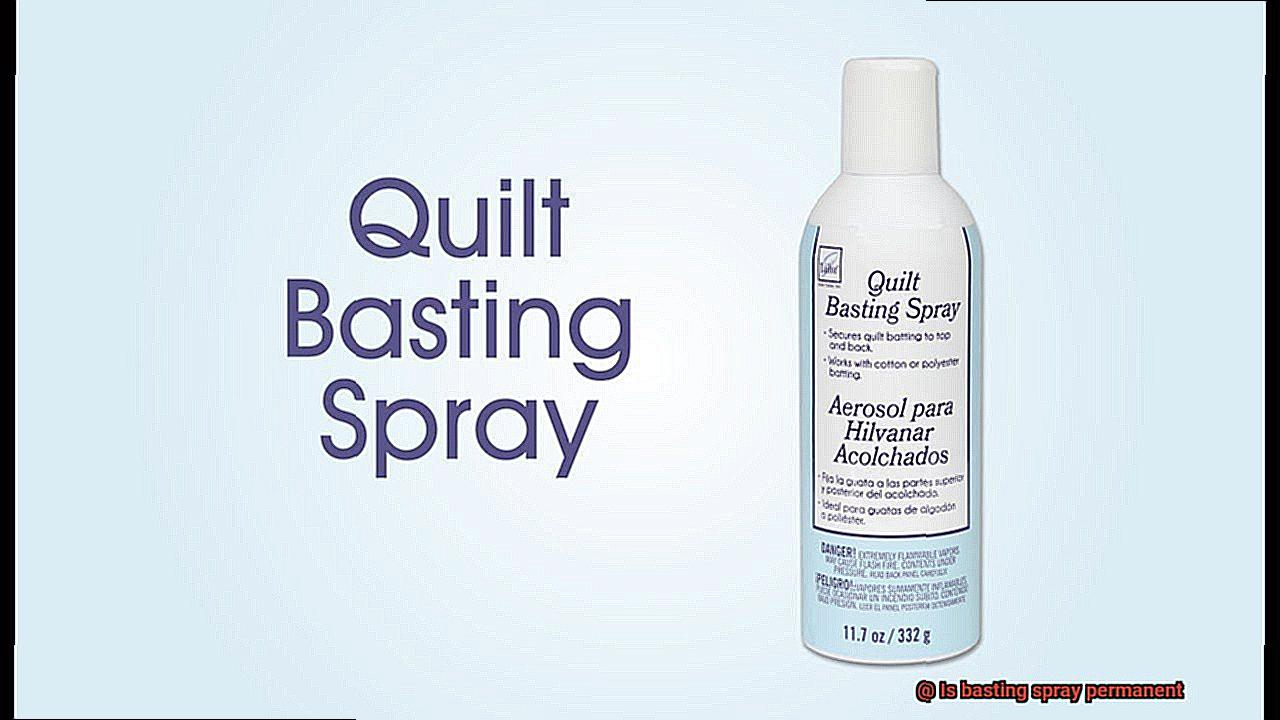
Basting spray, known by many as temporary adhesive spray, is a multifaceted tool cherished by sewers and quilters alike. Its primary function lies in temporarily holding fabric layers together during the stitching process. Unlike its permanent counterparts, basting spray allows for effortless repositioning and adjustment of fabric layers without leaving behind any sticky residue.
The Transient Nature:
A defining characteristic of basting spray is its gentle transience. While it provides a robust bond between fabric layers during sewing, it is deliberately designed to be easily removable once the project is completed. This feature proves particularly invaluable when working with delicate or expensive fabrics that could succumb to damage caused by residual adhesives.
The Limitations of Permanence:
Despite its prowess during the sewing process, basting spray falls short when it comes to permanence. Here are a few reasons why:
- Durability: Basting spray lacks the fortitude to endure repeated washing or heavy use over an extended period. For projects requiring a permanent bond between fabrics, alternatives such as fabric glue or fusible webbing offer superior longevity.
- Weakening over Time: Exposure to heat or moisture can gradually erode the adhesive strength of basting spray. To ensure your creation stands the test of time, it is wise to explore more resilient and lasting options.
Advantages of Using Basting Spray
This adhesive superhero can revolutionize your sewing and quilting projects, offering a range of advantages that will save you time, improve accuracy, and provide versatility. Let’s explore the benefits of using basting spray and why it should be an essential tool in every crafter’s toolkit.
Advantage 1: Time-saving Efficiency
Basting spray swoops in to rescue you from the tedious task of pinning or tacking fabric layers together. With just a few sprays, you can effortlessly secure your materials, saving valuable minutes (or even hours.) that can be better spent on perfecting your stitches or exploring new design ideas. Say goodbye to endless pin pricks and hello to more time for creativity.
Advantage 2: Precise and Flawless Results
Traditional basting methods can lead to fabric shifting or misalignment, resulting in wonky stitches or distorted patterns. Basting spray creates a firm bond between fabric layers that withstands the test of time. No more worries about slipping fabrics or uneven tension – basting spray ensures your pieces stay put, allowing you to focus on achieving flawlessly precise results.
Advantage 3: Versatility for Every Project
Basting spray is a chameleon in the world of adhesives, adapting to suit various sewing and quilting endeavors. Whether you need temporary hold or crave a permanent bond, basting spray has got you covered. Simply choose the appropriate product for your project, and voila. You can easily remove the spray with washing or dry cleaning for temporary projects, or enjoy long-lasting adherence for those that demand permanence. The versatility of basting spray opens a world of creative possibilities.
Advantage 4: Fabric-friendly and Gentle
Delicate fabrics and snaggable materials require a gentle touch. Traditional basting methods can leave unsightly holes or marks that mar the beauty of your creations. Fear not, for basting spray is a fabric-friendly ally. It securely holds layers together without causing any damage, ensuring your projects retain their pristine appearance. Bid farewell to worries about tearing or snagging precious fabrics – basting spray keeps your masterpieces intact while still providing a strong hold.
Disadvantages of Using Basting Spray
Basting spray has gained popularity among sewers and quilters for its convenience and time-saving benefits. However, before reaching for that can of basting spray, it’s important to consider the potential drawbacks. In this article, we will explore the disadvantages of using basting spray, from residue and staining to potential health risks and damage to sewing machines. Let’s dive into the sticky truth.
Residue on fabric:
- Basting spray can leave behind a sticky residue on fabric.
- Delicate or expensive fabrics are particularly susceptible to damage from this residue.
- Additional cleaning or washing may be required, adding extra steps to your project.
Staining:
- Colored or tinted basting sprays may lead to staining on the fabric.
- These stains can be challenging to remove and can ruin the overall appearance of your project.
- It’s important to test the spray on a small inconspicuous area before applying it to the entire fabric.
Potential health risks:
- Basting sprays contain chemicals and solvents that can pose health risks if not used properly.
- The strong fumes emitted by these chemicals can be harmful if inhaled over an extended period.
- To minimize health risks, always use basting spray in a well-ventilated area and follow the manufacturer’s instructions.
Limited repositioning:
- Basting spray quickly adheres the fabric together, making it difficult to reposition or adjust pieces.
- Traditional basting methods like pins or thread offer more flexibility for making changes or corrections during the sewing process.
Sewing machine needle damage:
- Basting spray can leave a sticky residue on sewing machine needles.
- This residue can lead to issues such as skipped stitches or thread breakage.
- Troubleshooting and fixing sewing machine problems can result in extra time and effort, as well as potential cost for replacing damaged needles.
Cost:
- Basting sprays can be more expensive compared to traditional basting methods like pins or thread.
- Frequent use of basting spray can add up over time, increasing overall sewing expenses.
How to Apply and Remove Basting Spray
Basting spray might just be your new best friend. This temporary adhesive takes the hassle out of basting, providing a secure hold without the need for pins or time-consuming thread stitches. In this guide, we’ll walk you through the simple process of applying and removing basting spray, ensuring smooth and stress-free projects every time.
Preparing for Success:
Before diving into the world of basting spray, make sure your work surface is clean and dust-free. Lay out your fabric layers, ensuring they’re wrinkle-free and ready to be bonded together.
To achieve the best results, cover your work area with a protective layer such as a plastic sheet or newspaper to prevent any overspray from damaging surfaces. Additionally, work in small sections at a time to ensure the spray does not dry too quickly before you have a chance to position and smooth out the fabric layers.
Applying Basting Spray:
Give your can of basting spray a good shake to ensure the adhesive is properly mixed. Hold the can about 10-12 inches away from the fabric and spray a light, even coat onto one layer. Remember, less is more. Too much adhesive can make your fabric stiff and difficult to work with.
When applying basting spray, it is important to work quickly and efficiently. Start by spraying a light, even mist over the area where the fabric layers need to be held together. Take care not to overspray, as this can result in an overly strong bond that may be challenging to remove later on.
Patience is Key:
Allow the basting spray to dry for a few minutes before moving forward with stitching or quilting. This short wait time allows the adhesive to set and provide a stronger hold. Just remember, basting spray is temporary and may lose its effectiveness over time, so use it within a reasonable timeframe after application.
While waiting for the basting spray to dry, you can take this time to double-check the alignment of your fabric layers and smooth out any wrinkles or bubbles. Use your hands or a clean cloth to gently press down on the fabric, ensuring a secure bond between the layers.
The Removal Process:
When it’s time to bid farewell to the basting spray, removing it is a breeze. Start by gently peeling apart the fabric layers from one corner or edge. Apply gentle pressure as you separate the layers, and watch as the adhesive releases easily, leaving no residue behind.
Removing basting spray is a delicate process. Begin by lifting one corner of the fabric and slowly peeling it away from the other layers. Take care not to pull too forcefully, as this may cause damage or leave sticky residue behind. If you encounter any resistance, stop and apply more pressure to gently separate the layers.
Alternatives to Basting Spray for a More Permanent Bond
Are you tired of relying on basting spray for a temporary hold in your sewing projects? Yearning for a more permanent bond that can withstand the test of time? Fear not, for we have uncovered a treasure trove of alternatives that will revolutionize your fabric bonding game. From fusible webbing to fabric glue and even good old-fashioned hand basting stitches, these alternatives offer durability, precision, and reliability like never before. Say goodbye to basting spray and unlock the secrets of a more permanent bond.
Fusible Webbing: The Heat-Activated Wonder
If you seek an adhesive that can stand the test of time, look no further than fusible webbing. This thin adhesive sheet is activated by heat and creates a secure bond between fabrics. Perfect for appliqué work, fusible webbing ensures your creations endure the ravages of time without so much as a wrinkle. Simply place it between fabric layers, apply heat with an iron, and watch as your fabrics fuse together into an unbreakable union.
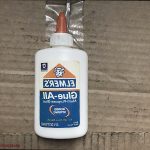
Fabric Glue: The Mighty Savior
When it comes to bonding fabrics, fabric glue is a force to be reckoned with. Specially designed for this purpose, fabric glue provides a strong and durable hold that can withstand washing and dry cleaning. Its clear drying formula ensures an invisible bond that won’t leave any unsightly marks. Ideal for smaller projects or areas that require precision bonding, fabric glue is the superhero your sewing arsenal needs.
Sewing Pins or Clips: The Trusty Allies
Sometimes, traditional methods are the best choice. Enter sewing pins or clips – reliable alternatives that offer stability and convenience without the need for temporary adhesives. Particularly useful when working with thicker or heavier fabrics that may not adhere well to sprays, these trusty allies strategically hold your fabric in place as you stitch your way to perfection.
Double-Sided Tape: The Quick Fix Extraordinaire
For those seeking a quick and easy bonding solution, double-sided tape is the answer to your prayers. This versatile adhesive can be applied between fabric layers, providing either a temporary or permanent bond. Its simplicity makes it ideal for small or intricate projects where precision is paramount. Bid farewell to basting spray and embrace the simplicity and efficiency of double-sided tape.
Hand Basting Stitches: The Craftsmanship at its Finest
If you prefer a more hands-on approach, hand basting stitches are the epitome of craftsmanship. This technique involves using a needle and thread to temporarily hold fabrics together before sewing.
Hand basting allows for greater control and precision in positioning fabrics, ensuring the perfect alignment before committing to permanent stitches. Once the final stitching is complete, simply remove the basting stitches and revel in your masterpiece.
Tips for Working with Basting Spray
This game-changing temporary adhesive helps hold fabric layers together before stitching. But how do you use it effectively? Don’t worry, we’ve got you covered with these comprehensive tips for working with basting spray.
Prepare Your Work Surface:
Before diving into your project, ensure your work surface is clean and debris-free. This allows the adhesive to stick properly to the fabric, ensuring a secure hold when you’re ready to stitch.
Test on Scrap Fabric:
To avoid any surprises, test the basting spray on a scrap piece of fabric first. This way, you can see how it works with your specific fabric and practice your technique before applying it to your actual project.
Work in a Well-Ventilated Area:
Basting spray can have a strong odor, so it’s essential to work in a well-ventilated area. Open up those windows or use a fan to help dissipate the fumes and keep the air fresh.
Hold Can at the Recommended Distance:
Follow the manufacturer’s instructions on how far to hold the can when applying basting spray. This ensures even coverage and prevents overspray, keeping your project looking flawless.
Spray Lightly and Evenly:
When applying basting spray, less is more. Use a light touch and spray evenly across the fabric. This prevents the adhesive from seeping through or making your fabric stiff, keeping it soft and pliable.
Allow Time for Drying:
After applying basting spray, give it some time to dry before moving forward with your project. This ensures that the adhesive sets fully and holds your fabric layers securely.
Remove Excess Residue:
If you notice any excess residue from the basting spray on your fabric, don’t worry. You can easily remove it using a gentle adhesive remover or rubbing alcohol. Just make sure to test these products on a small, inconspicuous area of the fabric first to avoid any damage.
Store Properly:
To prolong the shelf life of your basting spray, store it in a cool, dry place and tightly seal the cap after each use. This prevents the adhesive from drying out or becoming less effective over time.
Common Mistakes to Avoid When Using Basting Spray
Imagine this scenario: you’re in the midst of a thrilling quilting or sewing project, reaching for your trusty basting spray to secure those fabric layers in place. But hold on. Are you making any of these common mistakes? Fear not, my friend. In this article, we’ll dive into the top blunders to avoid when using basting spray, ensuring that your projects remain flawless and frustration-free.
Read the Instructions:
Let’s start with the fundamentals – always read the instructions. Each brand of basting spray may have specific guidelines for application and removal. Take a few precious moments to acquaint yourself with these instructions, guaranteeing optimal results.
Avoid Over-Spraying:
When it comes to basting spray, less is more. Applying excessive amounts can lead to sticky residue and compromise the final quality of your project. Instead, opt for a light, even layer that provides optimal hold without unnecessary buildup.
Allow Ample Drying Time:
Patience, my friend, is paramount. Basting spray requires sufficient drying time before pressing fabric layers together. Rushing this process can result in inadequate adhesion and unwanted shifting during sewing or quilting. Grant it the time it deserves.
Spray Smartly:
Say goodbye to spraying basting spray directly onto the fabric. Instead, spray it onto a piece of paper or temporary adhesive film, then transfer it onto the fabric. This technique prevents overspray and ensures an even application.
Protect Your Surroundings:
Don’t let your basting spray wreak havoc on your carefully curated workspace. Prioritize protecting your area by using a protective sheet or masking tape to shield nearby objects from accidental overspray. Trust me; you’ll thank yourself later.
Properly Remove the Spray:
Once your project is complete, don’t forget to remove the basting spray properly. Some sprays are designed to be temporary and can leave a residue if not promptly removed. Follow the manufacturer’s instructions, which may involve washing or dry cleaning the fabric.
Sve3h7Pi6c4″ >
Conclusion
The use of basting spray in sewing projects has become increasingly popular. Many people wonder if this adhesive is permanent or if it will wash away over time. The answer to this question depends on the specific type of basting spray used and how it is applied.
Some basting sprays are designed to be temporary and will wash out completely when the project is laundered. These types of sprays are often used for quilting or other projects where the adhesive is only needed temporarily to hold fabric layers together during the sewing process.
On the other hand, there are also permanent basting sprays available that are specifically formulated to provide a long-lasting bond. These sprays are commonly used in upholstery or home decor projects where a strong and durable hold is required.
It’s important to carefully read the instructions on the specific brand and type of basting spray you are using to determine its permanence. Additionally, testing a small area before applying the spray to your entire project can help ensure that it will meet your needs.
In conclusion, while some basting sprays are temporary and will wash out, others are designed to be permanent and provide a strong bond.