Are you struggling to remove glue from your hair extensions?
The sticky residue left behind can be a nightmare to deal with, causing discomfort and frustration. But fret not – we’re here to help.
In this blog post, we’ll guide you through the process of removing glue from hair extensions safely and efficiently. First things first, it’s crucial to understand the importance of removing glue from your hair.
Leaving it on for too long can lead to scalp irritation and even hair loss. So, let’s get started on how to remove it properly.
There are several methods you can use, including natural oils or commercial dissolvers. However, it’s essential to handle your hair with care when removing the glue to avoid any damage.
In this post, we’ll provide you with expert tips on how to remove glue from your hair extensions correctly. We’ll also share cost-effective and straightforward ways that make the process hassle-free.
So, let’s start now.
Gathering the Necessary Supplies
Contents
Before starting the process, make sure you have all of the essential items on hand.
Removing glue-in hair extensions can be a lengthy process, but with the right tools and techniques, it can be done safely and effectively. To effectively remove glue from hair extensions, you will need rubbing alcohol, coconut oil, cotton balls, a wide-tooth comb, and a clarifying shampoo.
Rubbing alcohol is the hero that saves the day by dissolving the glue and making it easier to remove. Coconut oil is like a soothing balm that moisturizes the hair and scalp while also helping to loosen the glue.
Cotton balls are used to apply rubbing alcohol and coconut oil to your hair with smoothness. A wide-tooth comb gently combs through your hair while separating the extensions from natural hair.
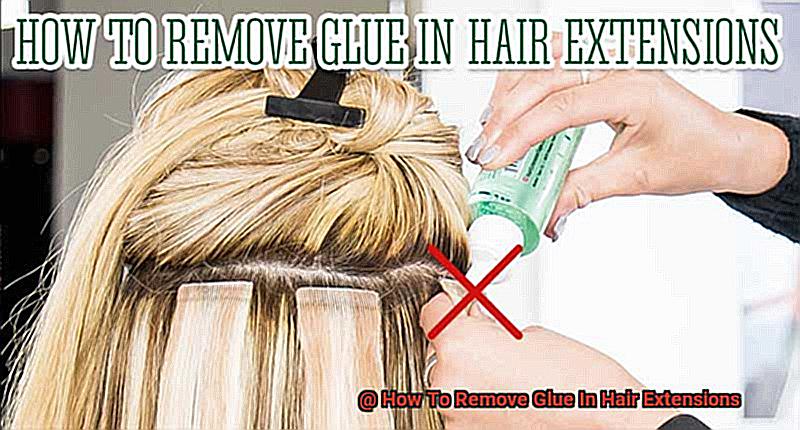
Finally, a clarifying shampoo removes any remaining debris and thoroughly cleanses your hair. It’s important to point out that not all glue removers are safe for use on hair extensions.
Opt for natural remedies such as rubbing alcohol and coconut oil to avoid damaging your hair. Gather all of these items and have them within reach before starting the removal process.
This will make the process more convenient and cost-effective. In addition, it is also recommended to work in a well-lit area with ample space to maneuver around.
To start removing your extensions, use a rat-tail comb to gently loosen the weft from your hair. Be careful not to pull too hard or tug at the hair as this may cause injury or breakage.
Use pliers to gently pull the extension away from your hair when the weft is loosened. Apply rubbing alcohol with a cotton ball or applicator to the glue bonding area.
Allow the solution to sit for several minutes or as directed by the package’s instructions. This will help break down the glue and make it easier to remove.
Use a wide-tooth comb to gently tease away any remaining glue residue as the bond remover has had time to work. Be patient and take care not to damage or pull at your hair.
After all of the glue has been removed, it’s crucial to thoroughly wash and condition your hair.
Loosening the Weft from the Hair
In this segment, we’ll be discussing the important step of loosening the weft from the hair.
The weft plays a crucial role in protecting your natural hair while removing your extensions. Fortunately, there are several effective methods for loosening the weft that you can try.
One popular method is using an oil-based product such as coconut oil or olive oil. These oils work by breaking down the glue, making it easier to remove.
Simply apply a generous amount of oil to the weft and massage it into the hair. Let it sit for about 30 minutes before gently pulling on the weft to see if it has loosened.
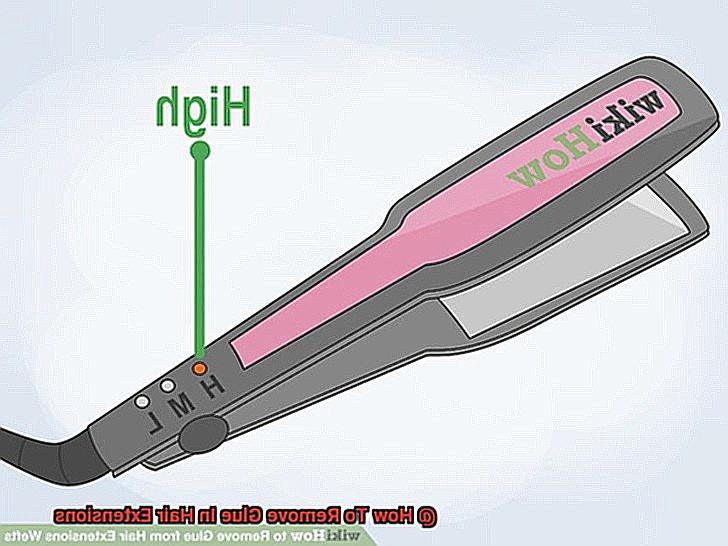
It’s like adding butter to warm toast – the oil lubricates and softens the glue. Another method involves using heat to soften the glue between the weft and natural hair.
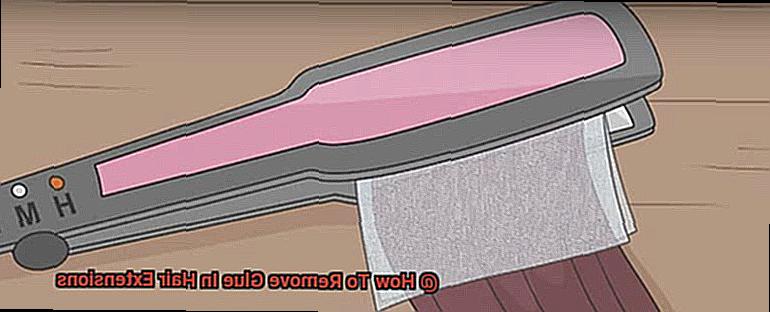
This can be done by using a flat iron or hair straightener. Place a small section of the weft between the plates of a flat iron and hold it there for about 10 seconds.
Then, gently pull on the weft to see if it has loosened. It’s like using a blowtorch on an ice cube – the heat melts the glue and makes it much easier to remove.
A third option is using a special glue remover made specifically for removing extensions. These products are designed to break down glue without causing damage to your natural hair.
Apply the glue remover to the weft and let it sit for about 10 minutes before gently pulling on the weft to see if it has loosened. It’s like opening a treasure chest – once you crack down the glue, you’ll find your natural hair underneath.
Before starting the removal process, use a wide-tooth comb to break your extensions from your hair.
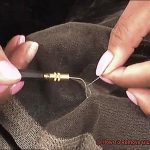
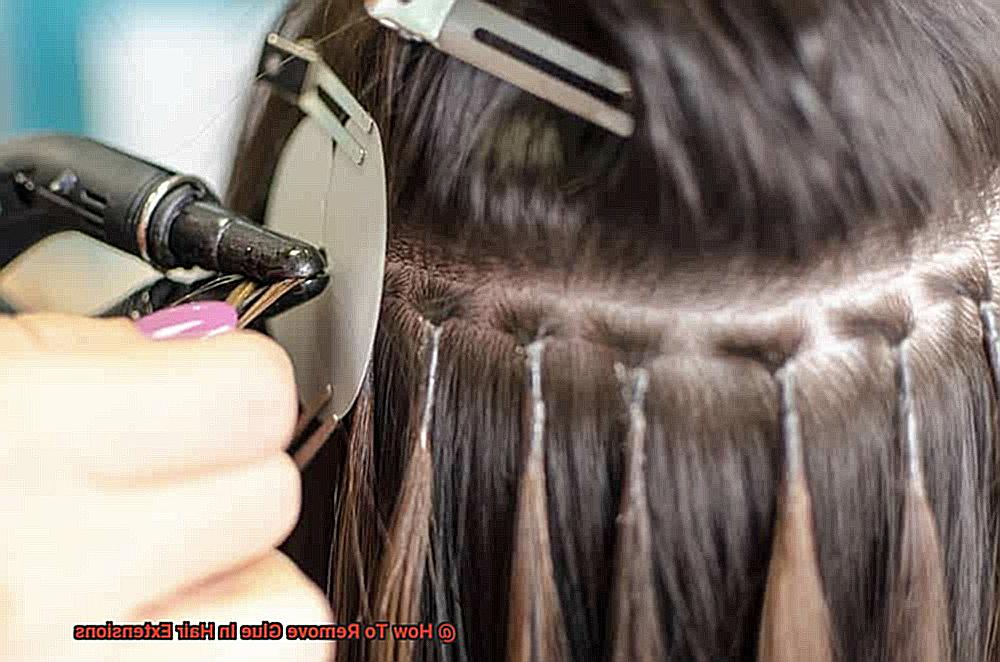
Pulling Away the Extension with Pliers
Removing glue-in hair extensions can be a daunting task, but with the proper tools and techniques, it can be a breeze.
Let’s dive into the steps involved in removing the extension with pliers, as well as the precautions to take while doing so.
The first step is to ensure that your pliers are thoroughly cleaned and sanitized to avoid any infections or damage to your natural hair.
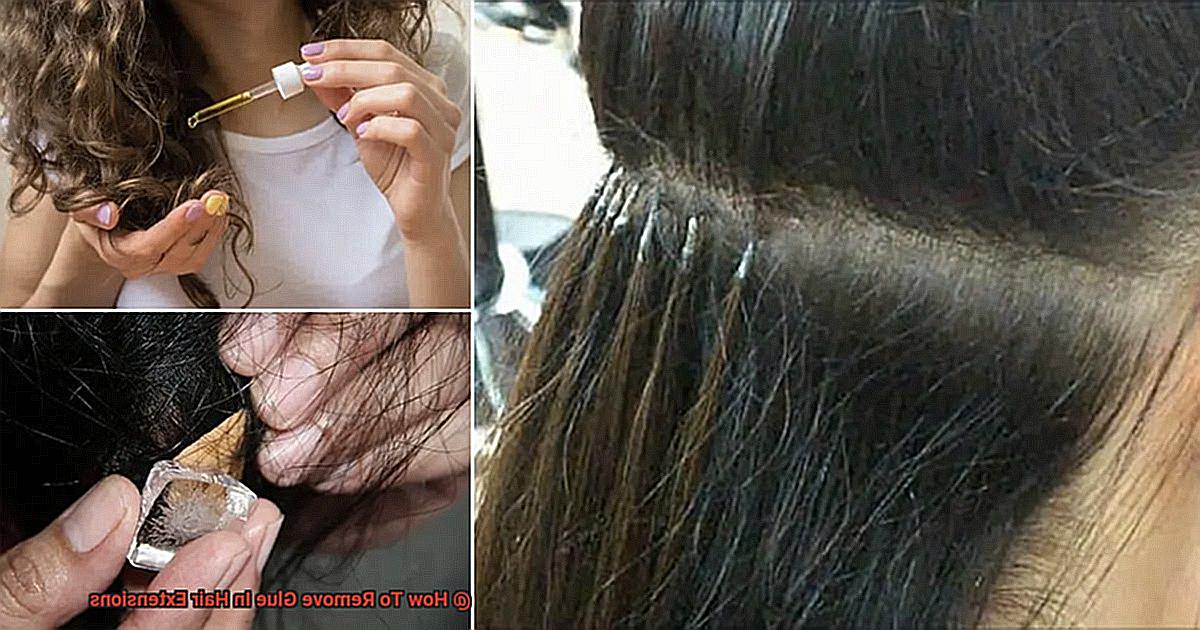
Additionally, it’s crucial to work slowly and carefully to prevent pulling out any of your natural hair along with the extension. To begin, locate the base of the extension where it is attached to your natural hair.
With the pliers, gently grip the base of the extension and apply slight pressure to loosen it from your natural hair. Gradually increase pressure until the extension starts coming away from the natural hair.
Keep in mind that this method may cause some discomfort or even pain if the glue has been applied too close to your scalp. If you experience any discomfort or pain, don’t hesitate to stop immediately and try a different removal method or seek professional help.
So, pulling away the extension with pliers can be an effective way of removing glue-in hair extensions.
However, it requires patience, care, and caution to prevent any damage or discomfort.
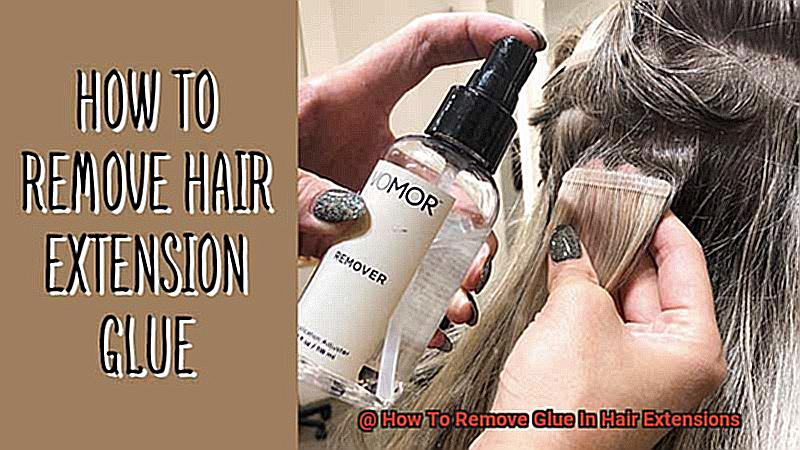
Applying Bond Remover Solution
In this section, we’ll be discussing the vital step of applying bond remover solution.
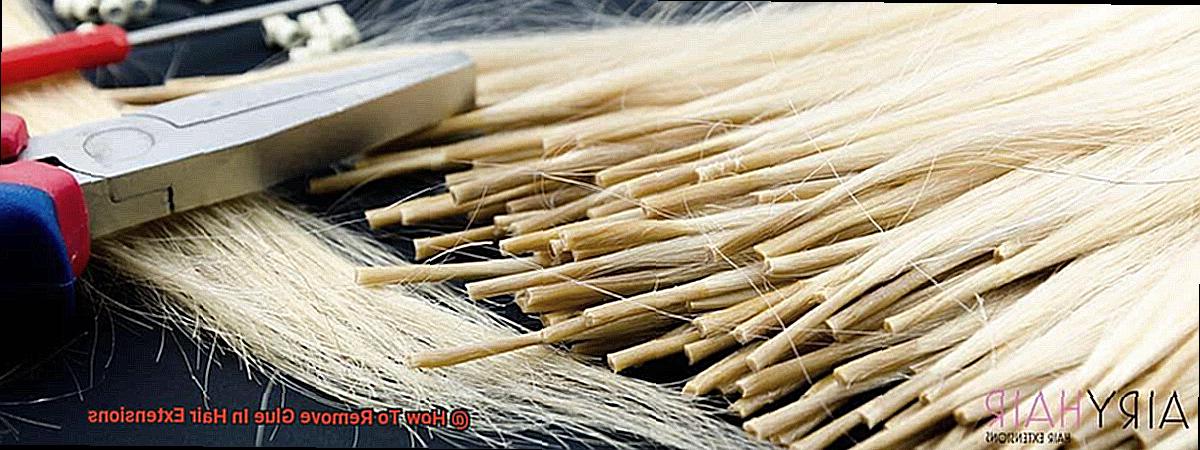
Choosing a high-quality bond remover system specifically designed for hair extensions is crucial.
Don’t rush this step and risk damaging your extensions or natural hair. Invest in a top-quality product that will get the job done effectively and safely.
Once you have your trusty bond remover kit, part your hair and apply a small amount of solution directly onto each glue joint. To ensure even distribution, use a cotton swab or applicator brush.
Be careful not to get any solution on your natural hair as it can cause damage. Gently massage the bond remover solution into each bond using your fingers or a comb.
This will help break down the adhesive and dissolve the glue. Give it time to work its magic by letting it sit for 10-15 minutes or as directed by the manufacturer.
During this time, you may notice the glue beginning to loosen and dissolve, like watching a time-lapse of a puzzle coming apart. When the bond remover has had time to work, it’s time for the moment of truth: gently pull apart the extension from your natural hair using pliers or your fingers.
Take it slow and be extra cautious not to cause any damage. If you run into any resistance or difficulty removing the extensions, don’t panic.
Apply more bond remover solution and let it sit for an additional 5-10 minutes before trying again. In conclusion, applying bond remover solution is a critical step in safely removing glue-in hair extensions.
Teasing Apart Any Remaining Glue Residue
Removing hair extensions can be a challenging task, especially when you’re dealing with stubborn glue residue.
Firstly, it’s essential to have a fine-toothed comb on hand.
This comb will be your trusty sidekick in the battle against any pesky glue residue. To prevent pulling or tugging on your natural hair, use a fine-toothed comb during this step.
To break down any remaining glue, use a clarifying shampoo after soaking your hair in oil.
Apply the shampoo generously with your fingers and let it sit for a few minutes to penetrate the glue thoroughly.
When searching for any lingering glue residue, start at the bottom of the extension and work your way up slowly.
Take your time and be patient since this step may take longer than previous ones.
Avoid pulling or yanking the comb if it gets tangled to prevent damage to both your natural hair and the extension. It’s crucial to pay particular attention to every inch of your hair while removing the glue residue.
Be thorough in your search for any areas where glue may have accumulated. After removing all traces of glue residue, rinse your hair thoroughly with warm water and apply a deep conditioner to restore any moisture that may have been lost during the removal process.
Washing and Conditioning the Hair
Washing and conditioning your hair before removing glue-in hair extensions is like giving your hair a spa day before a tough workout.
It’s all about getting your hair hydrated, relaxed, and ready for the challenge ahead. To start, wet your hair thoroughly and apply a generous amount of conditioner to the roots and lengths.
As you massage the conditioner into your hair, you’ll feel the stress melting away. The conditioner softens the glue, making it easier to remove later.
After a few minutes, rinse out the conditioner gently with warm water. Be careful not to handle your hair roughly as this can cause damage to both your natural hair and extensions.
Once you’ve rinsed out all the conditioner, towel dry your hair gently, taking care not to rub or pull on the extensions. Now comes the time to send in your troops to battle the glue.
You can use a specialized glue remover or soak the extensions in oil or conditioner to loosen the glue. Whatever method you choose, take it slow and steady to avoid damaging your natural hair.
After all of the glue has been removed, wash and condition your hair again to remove any remaining residue and ensure that it’s clean and healthy. Think of this as a victory parade for your troops – celebrating their success and making sure they’re taken care of after the battle.
Your hair will thank you for it by being strong and healthy after the extensions are out.
1MiKFHD8SDQ” >
Conclusion
Removing glue from hair extensions can seem like a daunting task, but with the right tools and techniques, it can be done safely and efficiently.
It’s crucial to know how to remove glue from your hair because leaving it on for too long can lead to scalp irritation and even hair loss. So, before you start the process, make sure you have all the essential items such as rubbing alcohol, coconut oil, cotton balls, a wide-tooth comb, and clarifying shampoo.
Cutting your extensions is just the beginning; loosening the weft from your natural hair is a vital step in removing glue-in extensions. You can use an oil-based cream or heat to soften the glue between the weft and natural hair.
A bond remover solution is also necessary for successfully removing glue-in hair extensions. However, dealing with any remaining glue residue requires patience and more patience.
Use a fine-tooth comb during this step to avoid pulling or tugging on your natural hair. To ensure that your natural hair remains healthy and strong throughout this process, washing and conditioning your hair before and after removing glue-in hair extensions is crucial.
With these expert tips and tricks at hand, you can achieve stunning results without damaging your natural locks.