Ready to dive into the wonderful world of false eyelashes? Get ready for a journey that will take your lashes from “meh” to mesmerizing without the hassle of tweezers. Whether you’re a makeup newbie or just want to try something new, this guide is here to make your lash dreams come true.
No more struggling with those pesky tweezers – we’ve got a hands-on approach that guarantees flawless results every time. Prepare to be amazed at how easy it can be to achieve show-stopping lashes that will have heads turning wherever you go.
In this ultimate guide, we’ll walk you through each step like your personal beauty guru. We’ll spill all the insider secrets, from picking the perfect lashes for your desired look to applying and securing them like a pro. And the best part? This technique works for everyone, no matter your skill level or tools on hand.
So get ready to unleash your inner lash enthusiast and discover the art of applying falsies without tweezers. With dedication and a little practice, you’ll be rocking stunning lashes effortlessly in no time. Are you excited? Because we sure are. Let’s dive right in and make those eyes pop like never before.
What You Need To Apply False Eyelashes Without Tweezers
Contents
- 1 What You Need To Apply False Eyelashes Without Tweezers
- 2 How To Measure and Trim False Lashes for a Perfect Fit
- 3 Applying the Glue to the Lash Band
- 4 Applying the Lashes with Your Fingers
- 5 Securing the Lashes with Pressure
- 5.1 Step 1: Prepare Your Natural Lashes
- 5.2 Step 2: Choose a High-Quality Adhesive
- 5.3 Step 3: Let the Adhesive Become Tacky
- 5.4 Step 4: Gently Press the Lashes onto Your Lash Line
- 5.5 Step 5: Apply Pressure Along the Lash Line
- 5.6 Step 6: Be Patient and Allow Drying Time
- 5.7 Step 7: Remove Excess Adhesive
- 5.8 Step 8: Mascara Application (Optional)
- 5.9 Step 9: Allow Adhesive to Fully Cure
- 6 An Alternative Method: Using a Cotton Swab or Toothpick as an Applicator
- 7 Practice Makes Perfect
- 8 Conclusion
Applying false eyelashes without tweezers is not only possible but also a skill that can be mastered with the right tools and techniques. With these steps, you’ll be able to achieve stunning results and effortlessly enhance your natural beauty.
First and foremost, prepare your natural lashes by curling them and applying mascara if desired. This creates a base for the false lashes to adhere to and ensures a more seamless blend.
Next, measure and trim the false lashes to fit your eye shape. Hold them against your lash line and gradually trim them from the outer edge to avoid cutting off too much. Remember, it’s better to start with longer lashes and trim them gradually for a perfect fit.
Now it’s time to apply the adhesive. Gently squeeze a thin line of lash adhesive along the band of the false lashes and wait for a few seconds until it becomes tacky. This ensures better adherence and longevity.
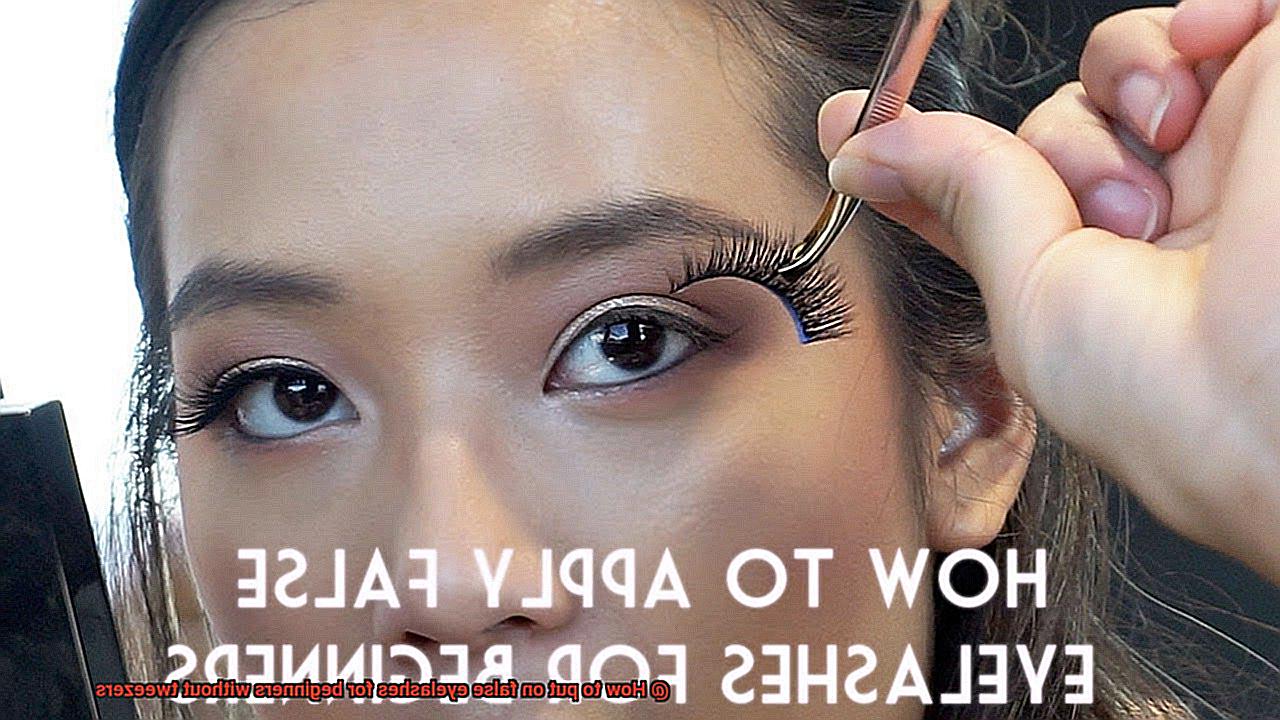
If you prefer not to use tweezers, clean fingers can be an excellent alternative for precise application. Carefully grab the false lashes in the middle with your index finger and thumb, positioning them close to your natural lash line.
Secure the lashes by starting from the center of your lash line and pressing down gently on both ends of the false lashes using your fingertips or a cotton swab. This ensures they are properly aligned and firmly in place.
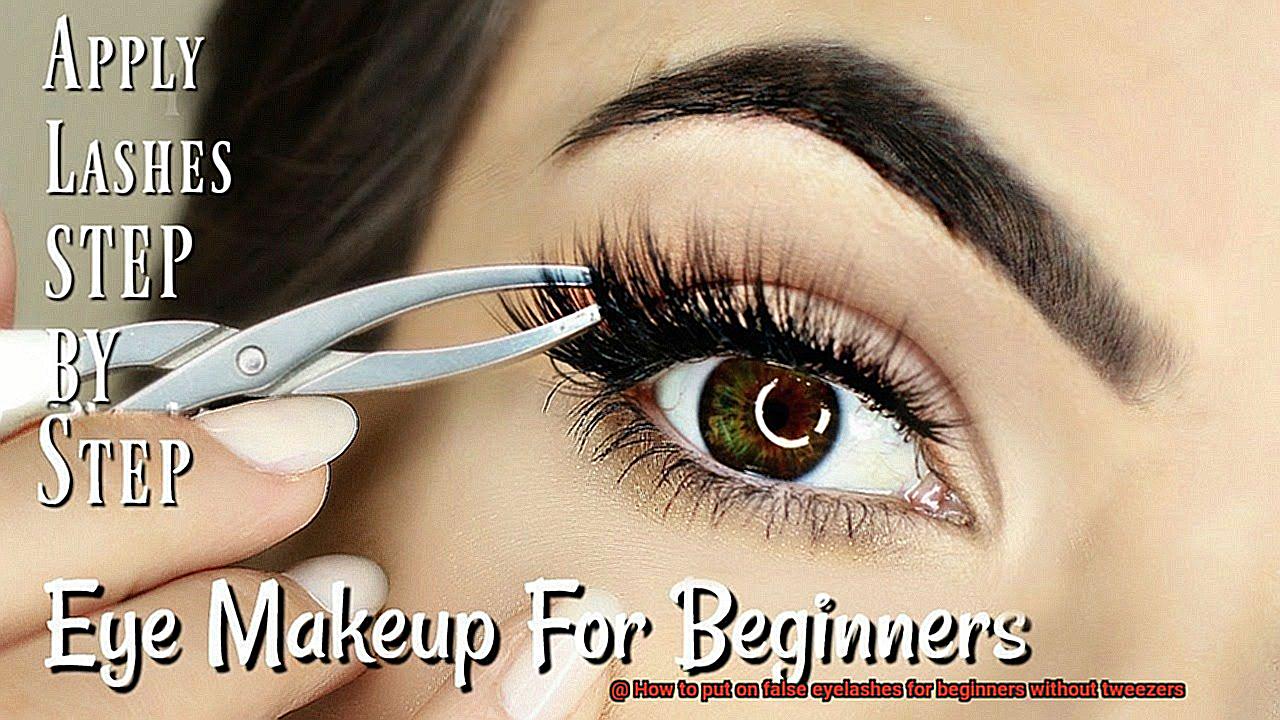
For a more seamless look, you can blend your natural lashes with the falsies using mascara. Once the adhesive has dried completely, apply another coat of mascara to further enhance the blend.
How To Measure and Trim False Lashes for a Perfect Fit
False lashes can transform your eye makeup, but to achieve a natural and comfortable look, it’s important to measure and trim them for a perfect fit. In this comprehensive guide, we’ll take you through the step-by-step process of measuring and trimming false lashes, ensuring they seamlessly blend with your natural lashes.
Why Measure and Trim False Lashes?
Measuring and trimming false lashes is crucial for several reasons. Firstly, properly fitting lashes enhance the shape of your eyes without appearing too long or wide. They create a natural look that enhances your overall makeup. Secondly, a perfect fit ensures that the lashes rest comfortably on your lash line, preventing any discomfort throughout the day.
Ill-fitting lashes can cause irritation and make it difficult to wear them for extended periods. Lastly, trimming the lashes allows you to customize the width and length to suit your unique eye shape, giving you a personalized and flawless look.
Step 1: Measure against Your Natural Lash Line
To begin, hold the false lash strip against your natural lash line. The strip should start just above the inner corner of your eye and end at or slightly beyond the outer corner. This will help you determine if the lashes need trimming.
Step 2: Trim the Excess Length
Using small scissors or nail clippers, carefully trim the excess length from the outer edge of the false lashes. It’s better to cut small sections at a time rather than cutting too much at once. Remember, you can always trim more if needed. This step ensures that the lashes are the perfect length to enhance your eye shape.
Step 3: Check the Fit
Place the trimmed lash strip against your natural lash line again to check if it fits properly. It should align with the inner and outer corners of your eyes without poking into your inner corner or extending beyond the outer corner. This step ensures that the lashes are the right size for your eyes, creating a seamless blend.
Step 4: Trim Width if Necessary
In addition to length, it’s important to trim any excess width from the false lashes to ensure a comfortable fit. Hold the lashes against your natural lash line and determine if any excess width extends beyond your eye shape. If so, trim small sections from the inner and/or outer corners until they fit snugly against your lash line. This step ensures that the lashes sit comfortably on your eyes without lifting or poking.
Step 5: Achieve a Seamless Blend
To achieve a seamless blend between your natural and false lashes, use an eyelash curler to curl both sets of lashes together before applying mascara. This will help create a cohesive look and ensure that the false lashes blend seamlessly with your natural ones. Curling the lashes together creates a unified appearance.
Applying the Glue to the Lash Band
Applying the glue to the lash band is a crucial step in achieving a flawless and long-lasting false eyelash application. It requires precision and careful attention to detail. Here’s a step-by-step guide on how to apply the glue properly, without the need for tweezers.
First, measure and trim the false lashes to fit your natural lash line. This step ensures a comfortable fit and prevents any discomfort or irritation. Once trimmed, choose the right glue for your preferences and eye makeup style. Whether you opt for clear or black glue, make sure it suits your desired look.
Before applying the glue, prepare a clean surface to work on. Squeeze a small amount of glue onto the back of your hand or a disposable palette. Avoid using too much glue as it can create a mess and hinder proper adherence.
Using a small, thin brush or applicator, carefully apply a thin layer of glue along the lash band. Start from one end and work your way to the other, ensuring even coverage. Take care not to apply too much glue, as it can lead to an untidy appearance or discomfort.
Allow the glue to dry for a few seconds until it becomes tacky. This step is essential as it helps the lashes stick better to your lash line and prevents them from sliding around during application.
Now it’s time to position and secure the lashes. Hold them with your fingers or use a pair of tweezers if preferred. Place them as close to your natural lash line as possible, starting from the inner corner of your eye. Gently press down along the lash line, securing the lashes in place.
Pay extra attention to the outer corners of your eyes, as they tend to lift more easily. Hold them down for a few seconds to ensure they adhere properly.
If you find that certain areas of the lash band are not sticking well, you can apply a bit more glue along the lash band or use a toothpick to add a small amount of glue directly to the problem area. However, be cautious not to use too much glue, as it can create a messy look or cause discomfort.
Once the lashes are in place, allow them to dry completely before applying mascara or any other eye makeup. This will prevent smudging or clumping, ensuring a seamless and natural look.
When it’s time to remove the false lashes, do so gently by starting from the outer corner and working your way inward. Avoid pulling or tugging on the lashes, as this can damage both your natural lashes and the false ones.
Applying the Lashes with Your Fingers
Applying false eyelashes with your fingers is a convenient and effective technique, especially for beginners or those who find tweezers difficult to handle. With a few simple steps and the right materials, you can achieve a stunning lash look without any special tools.
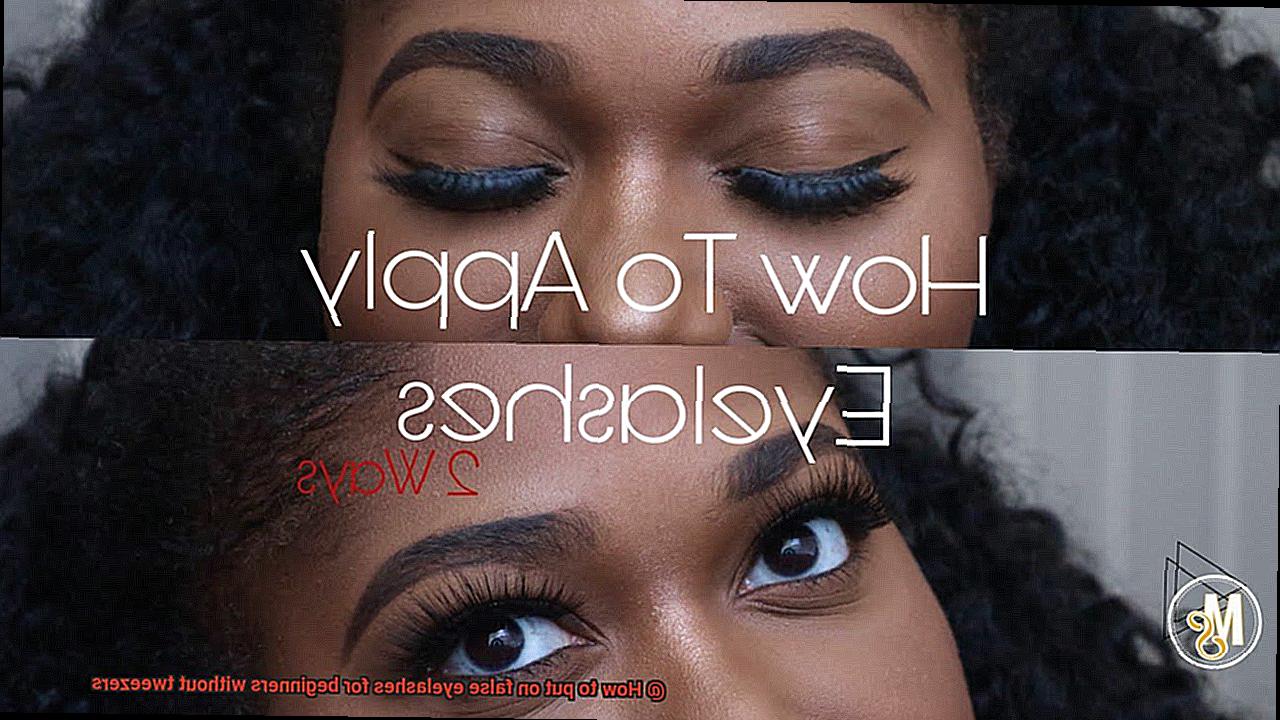
First, ensure that your hands are clean to avoid transferring dirt or oil onto the lashes. This will help maintain their quality and ensure a seamless application. It’s also important to curl your natural lashes with an eyelash curler and apply mascara as a base. This creates a solid foundation for the false lashes to blend in seamlessly.
To start, delicately remove the false lashes from their packaging, holding them by the band rather than the delicate lashes themselves. This prevents any damage and maintains their shape.
Next, apply a thin layer of lash glue along the band of the false lashes, ensuring both ends are covered. Wait for about 30 seconds for the glue to become tacky. This step is crucial as it allows the glue to adhere properly to your natural lashes.
Using your fingers, gently place the false lashes as close to your natural lash line as possible, starting from the outer corner and working inwards. A mirror can be helpful for precision and guidance.
Press down on the lashes gently to secure them in place, using a cotton swab or the back of a clean spoon if you need more precision. This ensures proper adhesion and longevity.
Allow the glue to dry completely before applying any makeup on top of the lashes. This step guarantees that the lashes stay in place throughout the day or evening.
When removing the false lashes, gently peel them off from the outer corner toward the inner corner. Use a cotton swab soaked in makeup remover to dissolve any remaining glue on your natural lashes.
Securing the Lashes with Pressure
When it comes to applying false eyelashes, securing them with pressure is a crucial step in ensuring they stay put throughout the day. Properly securing false lashes not only enhances your eyes but also boosts your confidence. To achieve this, follow these steps using the research gathered:
Step 1: Prepare Your Natural Lashes
Before applying false eyelashes, it’s important to prepare your natural lashes properly. Use a gentle eye makeup remover to cleanse your lashes thoroughly, ensuring they are clean and free from any mascara or oils. This will create a clean surface for the false lashes to adhere to.
Step 2: Choose a High-Quality Adhesive
Selecting a high-quality lash adhesive is essential for a secure hold. Look for an adhesive that dries clear and holds the lashes securely in place. Apply a thin layer of adhesive along the band of the false lashes, making sure to use just enough to create a strong bond without making a mess.
Step 3: Let the Adhesive Become Tacky
Allow the adhesive to become tacky before applying the false lashes. This usually takes about 30 seconds. Waiting for the adhesive to reach this stage ensures better adhesion and reduces the likelihood of the lashes slipping or coming loose.
Step 4: Gently Press the Lashes onto Your Lash Line
Starting from the inner corner of your eye, carefully press the false lashes onto your natural lash line. Work your way outwards, ensuring that the entire band is securely attached. Take your time to ensure proper alignment and placement of the lashes.
Step 5: Apply Pressure Along the Lash Line
To ensure a secure hold, apply gentle pressure along the entire length of the lashes using your fingertips or a clean cotton swab. This helps the adhesive bond with your natural lashes and prevents any gaps or lifting. Be sure to press firmly but gently to avoid discomfort or damage to your natural lashes.
Step 6: Be Patient and Allow Drying Time
After applying the lashes and applying pressure, be patient and avoid any sudden movements that could cause the lashes to shift or come loose. Allow the adhesive to fully dry before moving on to the next step. This will ensure that the lashes stay in place for an extended period without any issues.
Step 7: Remove Excess Adhesive
If you notice any excess adhesive seeping out from the lash band, use a pair of tweezers or a clean cotton swab to carefully remove it. This will give your lashes a more seamless look and prevent any discomfort or irritation.
Step 8: Mascara Application (Optional)
Once the lashes are securely in place, you can use a small amount of mascara to blend your natural lashes with the falsies. However, be cautious not to apply too much mascara as it can weigh down the false lashes and make them more prone to falling off. Use a gentle hand and apply sparingly.
Step 9: Allow Adhesive to Fully Cure
Give the adhesive some time to fully cure before touching or rubbing your eyes. This will ensure that the false lashes stay in place for an extended period without any issues. Avoid any activities that may compromise the adhesive’s hold, such as excessive rubbing or exposure to excessive moisture.
An Alternative Method: Using a Cotton Swab or Toothpick as an Applicator
Using a cotton swab or toothpick as an alternative method for applying false eyelashes offers a unique approach that allows for better control and precision during application. This method is especially beneficial for those who struggle with using tweezers or find traditional applicators too cumbersome.
By utilizing a cotton swab or toothpick, you can achieve more accurate placement and ensure a seamless blend between your natural lashes and the false ones.
One advantage of using a cotton swab or toothpick is the ability to customize the applicator’s shape. By selecting a cotton swab with a pointed tip or gently pulling some of the cotton off one end, you can create a more precise tool for applying lash adhesive. This pointed tip allows for greater accuracy when applying the glue along the lash band, ensuring it is evenly distributed without any excess.
Another advantage of this alternative method is the increased control it provides. The slim design of a cotton swab or toothpick allows for steady hands and better maneuverability, making it easier to position the lashes as close to your natural lash line as possible. Additionally, the pointed tip enables you to focus on specific areas, such as the ends of the lash band that tend to lift more easily.
When using a cotton swab or toothpick as an applicator, it is important to take your time and work in small sections. This will ensure precise application and prevent any mishaps. Additionally, practicing with inexpensive lashes before moving on to more expensive ones will help you perfect your technique without wasting valuable resources.
Safety is always a priority when working near your eyes, so it is essential to be cautious when using a cotton swab or toothpick as an applicator. Avoid poking or scratching the eye area to prevent any injuries or discomfort.
To remove the false lashes applied with this alternative method, gently peel them off starting from the outer corner and working towards the inner corner. If you encounter any resistance, use an oil-based makeup remover to help loosen the adhesive.
Practice Makes Perfect
When it comes to applying false eyelashes without tweezers, practice is key. Whether you’re a beginner or looking to perfect your technique, dedicating time to practice will help you achieve flawless results. Here are some tips and techniques to guide you on your journey towards becoming a pro:
- Choose the right glue: To ensure a long-lasting and seamless application, select a lash adhesive that is waterproof, dries clear, and suits your needs.
- Prepare your lashes: Before applying the glue, cleanse your natural lashes to remove any oils or mascara residue. This will enhance the adhesion and longevity of your false lashes.
- Apply a thin layer of glue: Using a brush or cotton swab, distribute a thin layer of adhesive evenly along the lash band. Avoid excessive glue, as it can cause clumps or make the lashes challenging to apply.
- Let the glue become tacky: Allow the adhesive to dry for a few seconds until it becomes slightly sticky. This will make it easier to adhere the lashes accurately without slippage or sliding during application.
- Start from the inner corner: Begin by placing the false lashes on the inner corner of your eye, as close to your natural lash line as possible. Gently press down with your fingertips to secure them in place.
- Work towards the outer corner: Continue applying the lashes along your natural lash line towards the outer corner of your eye. Take your time and ensure each lash is properly aligned and adhered for a seamless look.
- Adjust if necessary: Use a clean cotton swab to make minor adjustments or press the lashes down further for a better fit. Be gentle to avoid discomfort or displacement.
- Let it dry: Give the adhesive a few minutes to fully dry and set before applying any makeup or mascara. This will prevent smudging or shifting of the lashes.
- Practice, practice, practice: Remember that practice is essential for mastering this skill. Don’t be discouraged if your initial attempts are not perfect. Keep practicing and experimenting with different techniques until you find what works best for you.
7_TpzMiR5dY” >
Conclusion
Putting on false eyelashes can be a daunting task, especially for beginners who don’t have tweezers. But fear not, because there are alternative methods that you can use to achieve those glamorous lashes.
One simple technique is to use your fingers instead of tweezers. Start by applying a thin layer of lash adhesive along the band of the false lashes. Then, gently grasp the lashes between your thumb and index finger, positioning them as close to your natural lash line as possible. Press down lightly to secure them in place.
Another option is to use a clean cotton swab or Q-tip to apply the adhesive and position the lashes. Simply dip one end of the cotton swab into the adhesive and carefully spread it along the band of the false lashes. Then, using the dry end of the cotton swab, press down on the lashes to attach them to your natural ones.
If you find it challenging to handle the lashes with your fingers or a cotton swab, you can also try using an angled eyeliner brush. Dip the brush into the lash adhesive and then gently sweep it along the band of the false lashes. Using the same brush, carefully position and press down on the lashes for a secure hold.
Remember, practice makes perfect when it comes to putting on false eyelashes without tweezers. Don’t get discouraged if it takes a few tries to get it right – just keep practicing and soon enough you’ll be a pro at achieving that flawless lash look.
In conclusion, even without tweezers, there are various techniques you can try to put on false eyelashes as a beginner. Whether using your fingers, a cotton swab, or an angled brush, with practice and patience, you’ll be able to achieve stunning results that will make your eyes pop.

