Ready to transform your space with stunning new tiles?
Choosing the right ones is important, but it’s the adhesive that holds them in place that really makes or breaks your tile installation. Once those tiles are secure, you might be itching to clean up and enjoy your fresh new look.
But hold on. Before you break out the mop and bucket, give that adhesive some time to set.
Trust me, a little patience now will ensure a beautiful and long-lasting tile job that will make all your friends jealous.
General Guidelines for Tile Adhesive Curing Times
Contents
- 1 General Guidelines for Tile Adhesive Curing Times
- 2 Factors Affecting Adhesive Curing Times
- 3 Tips for Keeping the Installation Area Free from Foot Traffic and Heavy Objects
- 4 Avoiding Excessive Moisture During the Curing Process
- 5 Cleaning Newly Installed Tiles
- 6 Drying the Tiles After Cleaning
- 7 Applying Sealants or Grouting After Drying
- 8 Special Considerations for Natural Stone Tiles
- 9 Conclusion
Proper curing of tile adhesive is crucial for ensuring a strong bond between the tiles and the substrate, which ultimately determines the longevity and durability of your tiled surfaces. By following some general guidelines for tile adhesive curing times, you can ensure a successful and long-lasting tile installation.
Minimum Curing Time:
Most tile adhesives require a minimum of 24 hours before any cleaning or grouting should commence. This allows the adhesive to fully dry and create a strong bond with the surface. It is important to follow the manufacturer’s instructions specific to the adhesive you are using, as different adhesives may have varying curing times.
Extended Curing Time:
Some adhesives may require longer curing times, particularly in colder or more humid conditions. It is crucial to follow the manufacturer’s recommendations to ensure proper adhesion. Rushing the process can result in loosening or displacement of the tiles.
Avoid Foot Traffic and Heavy Loads:
During the curing period, it is vital to prevent any foot traffic or heavy objects from disturbing the adhesive bond. Be patient and refrain from cleaning or mopping the tiles until they are fully cured. This ensures that the adhesive has enough time to set and harden properly.
Moisture Protection:
Excessive moisture exposure can hinder proper curing of the adhesive. Avoid water contact or wetting of tiles until the recommended curing time has passed. This includes avoiding excessive humidity levels during the curing process.
Gentle Cleaning Methods:
Once the recommended curing time has elapsed, you can proceed with cleaning the tiles using mild cleaning solutions or warm soapy water. Harsh chemicals or abrasive tools should be avoided as they could damage the tiles or compromise the adhesive bond.
Air Dry Before Grouting or Sealing:
After cleaning, allow the tiles to air dry completely before applying sealants or grouting. This ensures that any residual moisture is eliminated and that the adhesive has fully cured. Applying grout or sealants too soon can disrupt the curing process and weaken the bond.
By following these general guidelines and considering the specific recommendations of the adhesive manufacturer, you can ensure a strong bond and enjoy your beautifully tiled surfaces for years to come. If in doubt, consult with a professional tile installer or contact the adhesive manufacturer for guidance tailored to your specific project.
Factors Affecting Adhesive Curing Times
The curing time of adhesive is influenced by various factors that can significantly affect the strength and durability of the bond. In this article, we will explore the science behind adhesive drying, shedding light on the key factors that determine curing times. Armed with this knowledge, you can ensure successful bonding in your projects.
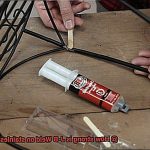
Adhesive Type:
Different adhesives have distinct curing properties. Super glue, for instance, is engineered for rapid curing within minutes, making it ideal for quick repairs. Conversely, epoxy adhesives may require hours or even days to fully cure. Choosing the right adhesive for your specific application and adhering to the manufacturer’s instructions regarding curing times are critical.
Temperature and Humidity:
The environment plays a vital role in adhesive curing. Higher temperatures expedite the process, while lower temperatures slow it down. Similarly, high humidity prolongs curing times, while low humidity accelerates them. Working within the recommended temperature and humidity range specified by the adhesive manufacturer ensures optimal results.
Substrate Material:
The material on which you apply the adhesive affects its drying time. Porous materials like wood or concrete may absorb some of the adhesive, resulting in slower curing. Non-porous materials such as glass or metal may impede air circulation, impacting curing times as well. Understanding your substrate material’s characteristics helps you choose the right adhesive and adjust your expectations regarding drying times.
Adhesive Layer Thickness:
The thickness of the adhesive layer is a critical factor influencing drying time. Thicker layers require more time for the adhesive to dry and harden throughout, leading to longer curing times compared to thin layers. Applying the adhesive evenly and following the manufacturer’s recommended thickness guidelines are essential for timely and effective curing.
Application Method:
How you apply the adhesive can affect its drying time. Uneven application or using excessive amounts may result in slower drying and curing. Following the manufacturer’s instructions regarding application techniques ensures proper and timely curing.
Mixing Ratio:
Certain adhesives require mixing before application. It is crucial to adhere to the recommended mixing ratios provided by the manufacturer. Deviating from these ratios can lead to improper curing and significantly impact drying times. Accurate measuring and thorough mixing are key to achieving optimal curing results.
Ventilation:
Adequate ventilation during the curing process is essential for proper air circulation and the removal of fumes or off-gassing from the adhesive. Insufficient ventilation can prolong curing times and compromise bonding quality. Working in a well-ventilated area or using fans and open windows enhances air circulation, expediting the drying process.
Curing Conditions:
Curing conditions significantly impact adhesive drying time. Exposing the adhesive to direct sunlight or extreme temperatures during curing can lead to undesired effects such as cracking or incomplete curing. Adhering to the curing conditions specified by the adhesive manufacturer ensures optimal curing outcomes.
Tips for Keeping the Installation Area Free from Foot Traffic and Heavy Objects
A flawless and durable tile installation requires attention to detail, and one crucial aspect is keeping foot traffic and heavy objects away from the installation area during the tile adhesive curing process. This practice is vital to ensure a strong bond between the tiles and the surface. In this essay, we will explore the importance of this practice and provide essential tips for safeguarding your tile installation.
Cordoning off the Installation Area
To prevent accidental foot traffic, cordon off the installation area using caution tapes or barricades. These visual cues serve as a clear warning, indicating that the area is off-limits until the adhesive has fully cured. Communicate with everyone involved, emphasizing the significance of staying away from the area during the curing process.
Steer Clear of Heavy Objects
Avoid placing heavy objects on freshly laid tile adhesive as they can cause indentation or unevenness, compromising the quality of your tile installation. Remove any unnecessary items from the installation area before starting the adhesive application process to eliminate any risk of accidental damage.
Temporarily Protecting the Installation Area
In unavoidable circumstances where foot traffic or movement near the installation area is necessary, provide temporary protective measures. Use plywood sheets or similar materials to create a temporary pathway that allows people to walk without directly stepping on the adhesive. Ensure these protective measures are securely placed and do not shift during use.
Educate Everyone Involved
Clear communication is key when it comes to protecting your tile installation. Educate everyone involved about the importance of avoiding unnecessary movements near the installation area. Remind them not to drag heavy objects across the floor or walk on areas where adhesive has been freshly applied.
Providing clear instructions and guidelines will help minimize potential damage and ensure a successful tile installation.
Regular Inspection and Maintenance
Regularly inspect and maintain the installation area to keep it free from foot traffic and heavy objects. Check for signs of disturbance or damage, addressing them promptly. If necessary, reapply adhesive in affected areas or take appropriate measures to repair any damages. This proactive approach will help you maintain the integrity of your tile installation.
Avoiding Excessive Moisture During the Curing Process
Just as a seedling needs proper care to grow into a healthy plant, your tile adhesive needs protection from excessive moisture during the curing process to ensure a strong and long-lasting bond between the tiles and the surface. In this blog post, we’ll explore the importance of avoiding excessive moisture during the curing process and provide practical tips to keep your tile installation safe and secure.
The Impact of Excessive Moisture:
Excessive moisture can have several negative effects on the curing process and the overall quality of your tile installation:
- Prolonged Curing Time: Excessive moisture significantly extends the curing time of tile adhesive. This can lead to project delays, frustrating both homeowners and contractors alike.
- Weak Bonding: Moisture weakens the bond between tiles and the substrate, increasing the risk of cracked or loose tiles. A weak bond compromises the integrity of the installation and may require costly repairs in the future.
- Potential Risks: Excess moisture creates an ideal environment for mold and mildew growth. This not only compromises the aesthetics of your installation but also poses health risks to occupants of the space.
Tips to Avoid Excessive Moisture:
To avoid these issues, follow these practical tips:
- Proper Ventilation: Ensure good air circulation in the installation area to aid in drying out the adhesive efficiently. This prevents moisture from getting trapped within the adhesive. Open windows, use fans, or consider using dehumidifiers to promote drying.
- Humidity Control: Monitor and control humidity levels in the room during curing. High humidity slows down the drying process of adhesive. Use dehumidifiers or fans to reduce humidity levels and promote faster curing.
- Temperature Regulation: Follow manufacturer guidelines for optimal temperature requirements during curing. Extreme temperatures can either slow down or speed up the drying process, affecting bond strength. Maintain a moderate temperature range for the best results.
- Sealing Potential Sources of Moisture: Thoroughly inspect and seal any leaks or cracks in walls or floors before installing tiles. Water intrusion compromises the adhesive bond and leads to long-term issues. Addressing these issues beforehand ensures a moisture-free environment for curing.
- Waterproofing Membrane or Primer: Apply a waterproofing membrane or primer to create an additional barrier against moisture penetration, protecting the adhesive from potential issues. This extra layer adds a protective shield to your installation.
- Follow Manufacturer’s Guidelines: Respect the recommended drying time provided by the manufacturer. Rushing the cleaning process before the adhesive has fully cured weakens the bond and may result in reinstallation in the future. Patience during curing is key to a successful installation.
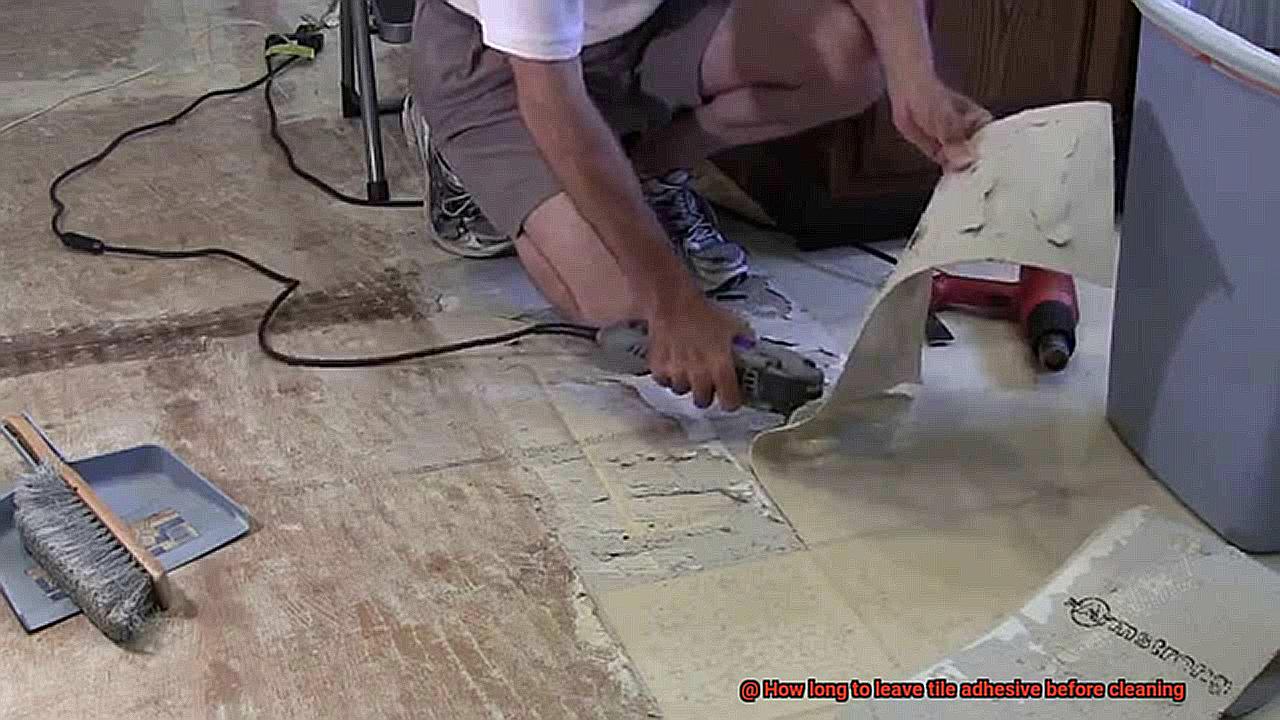
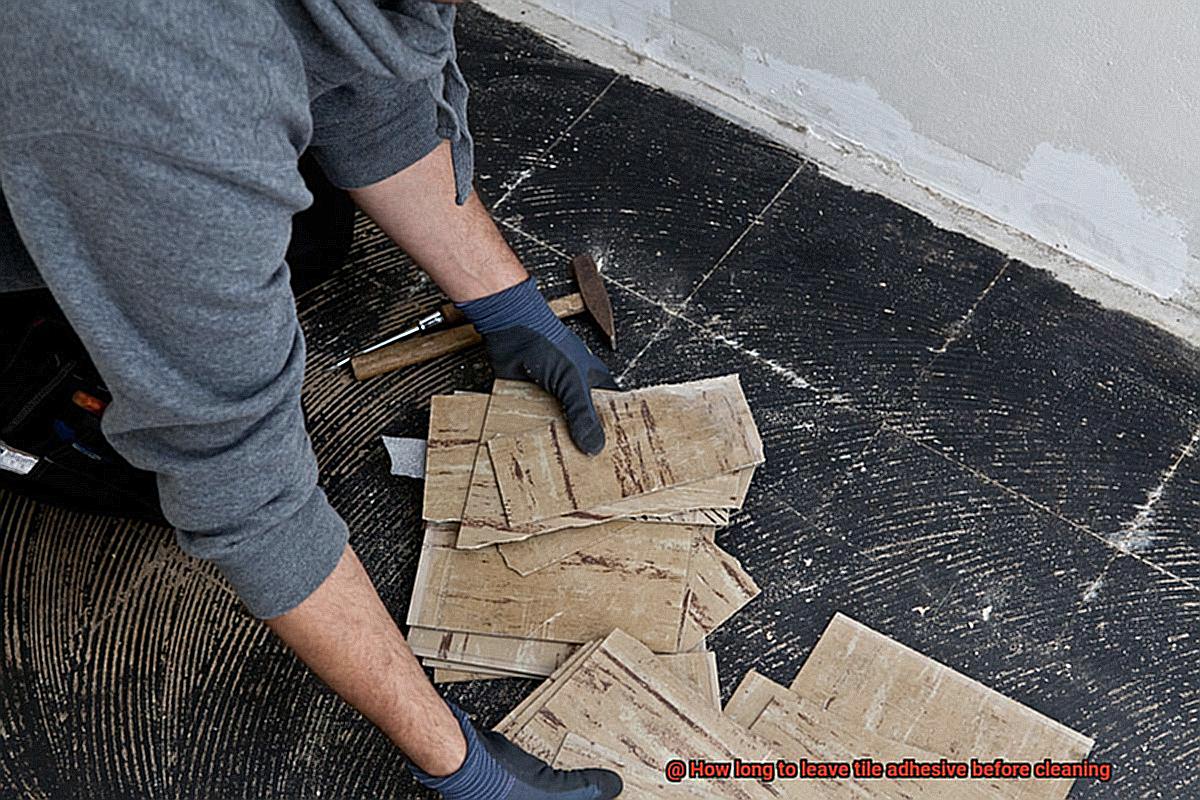
Cleaning Newly Installed Tiles
Now that the hard part is done, it’s time to give them a little TLC and make sure they stay pristine for years to come. Cleaning newly installed tiles is an essential step in the installation process, as it helps remove any excess adhesive, grout, or dirt that may have accumulated during the installation. So, grab your cleaning supplies and let’s get started.
First things first, before you dive into the cleaning process, it’s crucial to allow the tile adhesive to fully cure. Patience is key here. The curing time can vary depending on the type of adhesive used and the manufacturer’s instructions. Follow these instructions carefully to ensure the adhesive sets properly.
Typically, tile adhesive needs at least 24 to 48 hours to cure before you can start cleaning. However, it’s always a good idea to wait a bit longer, especially for larger or heavier tiles. Give it a solid 72 hours to allow for a stronger bond between the tiles and the substrate. Trust me, this extra time will pay off in the long run.
While waiting for the adhesive to cure, avoid any foot traffic or excessive moisture on the newly installed tiles. Don’t disrupt that curing process and compromise the bond between your beautiful tiles and their sturdy surface.
Once the tile adhesive has fully cured, roll up your sleeves and start cleaning. Remove any visible debris or loose grout using a soft brush or a vacuum cleaner with a brush attachment. Be gentle during this process to avoid damaging the tiles or grout lines.
Now prepare a cleaning solution. Mix warm water with a mild detergent specifically designed for tile cleaning. Avoid harsh chemicals or abrasive cleaners as they can damage the tiles’ surface. We want to keep those tiles looking brand new, don’t we?
Dip a soft sponge or mop into the cleaning solution and gently scrub the tiles in a circular motion. Pay close attention to grout lines and any stubborn stains or residues. Remember, patience is key here too. Don’t rush the process, take your time, and let that cleaning solution work its magic.
After giving your tiles a good scrub, rinse away any remaining detergent residue. Thoroughly rinse the tiles with clean water to ensure no traces of the cleaning solution are left behind. We don’t want any dull film ruining the shine of those beautiful tiles.
Once rinsed, use a clean microfiber cloth or mop to dry the tiles completely. This step is important to prevent water spots or streaks from forming on the surface. Give those tiles a good buffing to make them sparkle.
Now that you’ve completed the cleaning process, inspect your tiles for any missed spots or stubborn stains. If necessary, repeat the cleaning process in those areas. You want every corner of your tile installation to be spotless.
Remember, different types of tiles may have specific cleaning requirements. Natural stone tiles, for example, may require specialized cleaners and sealers to protect their unique characteristics. Always refer to the manufacturer’s recommendations or consult with a professional for specific cleaning instructions for your tile type.
Drying the Tiles After Cleaning
Your space now boasts beautiful tiles that add elegance and charm. However, before you embark on the cleaning process, it’s crucial to remember one vital step: drying the tiles after cleaning. This simple yet essential task guarantees a strong and durable bond between the tiles and the surface they adorn, ensuring their longevity.
So why is it so imperative to dry the tiles after cleaning? Let’s delve into the details.
First and foremost, allowing the tiles ample time to dry ensures that the adhesive cures properly. This curing process is vital for creating a solid bond between the tiles and their installation surface. Without adequate drying time, the adhesive may not fully set, leading to potential issues like loose or displaced tiles in the future.
Now that we understand why drying is crucial, let’s explore how to do it effectively. Here’s a comprehensive overview of the process:
- Follow manufacturer instructions: Different adhesives have varying drying times, so it’s important to adhere to the guidelines provided by the manufacturer. They offer specific recommendations based on factors such as adhesive type, temperature, humidity levels, and tile size.
- Wait at least 24 hours: As a general rule of thumb, wait at least 24 hours before placing weight or pressure on the tiles. This allows the adhesive sufficient time to cure properly, preventing potential damage or displacement.
- Ensure proper ventilation: Promote evaporation by ensuring good airflow and ventilation in the room. Open windows or use fans to circulate air effectively, expediting the drying process.
- Rapid-setting adhesives: Some adhesives cure quickly, even within a few hours. However, it’s still advisable to wait for a minimum of 24 hours before subjecting the tiles to stress or cleaning, even with rapid-setting adhesives.
- Check for dryness: To ensure adequate drying, assess both the surface of the tiles and the adhesive underneath. The surface should feel dry to the touch, leaving no residue or smudges on your fingers. Lifting a corner of a tile helps evaluate if the adhesive has fully set.
Remember, patience is key when drying tiles after cleaning. Rushing compromises installation integrity and may lead to future problems. When in doubt, err on the side of caution and allow for extra drying time.
Applying Sealants or Grouting After Drying
Applying sealants or grouting after the tile adhesive has dried is a crucial step in the tiling process. This step ensures a polished look and long-lasting results. So, why is it so important to wait for the adhesive to dry? Let’s dive into the details.
The drying time for tile adhesive can vary based on factors like adhesive type, temperature, humidity, and tile size. Following the manufacturer’s instructions is key here. They know what’s best for their product. Generally, most adhesives require at least 24 hours of drying time, but it’s best to give it 48 to 72 hours to be safe.
But why wait? Applying sealants or grouting too soon can lead to disaster. If the adhesive hasn’t fully cured and hardened, it can easily be disturbed during the application process. This can cause tiles to shift or even crack over time. To avoid this nightmare scenario, it’s important to make sure the adhesive is dry and ready.
To check if the adhesive is dry, look for signs of moisture or tackiness on the tiles. If they feel damp or sticky, give it more time. Waiting for proper drying time ensures a stronger bond between the tiles and prevents future issues.
Once your tiles are dry and ready, it’s time to apply sealant or grout. Apply the sealant evenly in thin layers, covering all grout lines and tile edges. This will protect your tiles from water, stains, and dirt. Allow the sealant to dry before exposing your tiles to water or heavy traffic.
For grouting, make sure the adhesive has fully cured before proceeding. Apply the grout using a grout float, pressing it into the gaps between the tiles. Remove any excess grout with a damp sponge, being careful not to disturb the freshly applied grout. Allow the grout to cure completely before using harsh cleaning agents or exposing it to excessive moisture.
Some tile adhesives come with built-in sealants or are designed for specific tile types, like waterproof adhesives for wet areas. In these cases, additional sealants may not be necessary. Always refer to the product specifications and recommendations for best results.
Special Considerations for Natural Stone Tiles
The allure of natural stone tiles is undeniable, but their beauty and longevity require special considerations in terms of adhesive, cleaning, and maintenance. In this comprehensive guide, we will delve into the essential tips and tricks that will empower you to handle and care for your natural stone tiles with confidence.
Adhesive:
- Allow Adequate Drying Time: To establish a robust bond between the tiles and the surface, it is crucial to allow the adhesive to dry and set for at least 24 hours. Temperature, humidity, and adhesive type can influence drying time, so consult the manufacturer’s instructions for precise guidance.
- Opt for Suitable Adhesive: Natural stone is more delicate compared to other tile types, necessitating the use of a flexible adhesive specifically designed for natural stone installation. This precautionary measure prevents potential damage that may arise from using incompatible adhesives.
Cleaning:
- Prioritize Testing: Before applying any cleaning products, it’s paramount to conduct a test on a small, inconspicuous area of the tiles. This preliminary assessment ensures that the product is safe to use and will not cause unsightly discoloration or perpetual damage.
- Steer Clear of Acidic or Abrasive Cleaners: Acidic or abrasive cleaners can mar the surface of natural stone tiles by etching or scratching them. Instead, embrace mild detergents or pH-neutral cleaners specifically formulated for natural stone to maintain their pristine appearance.
Maintenance:
- Embrace Regular Sweeping and Vacuuming: By habitually sweeping or vacuuming your natural stone tiles, you effectively rid them of dirt and debris that have the potential to mar their surface with unsightly scratches.
- Swift Spill Cleanups: Immediate response to spills is vital to prevent them from penetrating the porous surface of the tiles. Swiftly blot the spill with a clean cloth or paper towel. Stubborn stains can be tackled by creating a paste using baking soda and water. Apply it to the affected area, leave it overnight, and gently rinse it off the next day.
- Shield Against Heat and Moisture: Protect your natural stone tiles from thermal shock and potential cracks by refraining from placing hot pans or dishes directly on their surface. Additionally, ensure the proper sealing of the tiles to guard against water penetration, particularly in moisture-prone areas such as bathrooms and kitchens.
1SkngealNRU” >
Conclusion
When it comes to tile adhesive, patience is key. You might be eager to clean up the mess and admire your newly tiled surface, but rushing the process can lead to disastrous results. So, how long should you leave tile adhesive before cleaning? Well, it depends on a few factors.
Firstly, you need to consider the type of adhesive you’re using. Different adhesives have different curing times, so it’s important to read the manufacturer’s instructions carefully. Some adhesives may require just a few hours to set, while others might need a full 24 hours or even longer.
Secondly, the temperature and humidity of your environment play a role in the drying time of the adhesive. Warmer temperatures and lower humidity levels generally speed up the curing process, while cooler temperatures and higher humidity can slow it down. So, if you’re working in a chilly basement or during a rainy season, be prepared for a longer wait.
Lastly, the size and thickness of your tiles also affect how long you should leave the adhesive before cleaning. Larger or thicker tiles exert more pressure on the adhesive as they are being installed, which means they may require additional time to set properly.
Now that we’ve considered these factors, let’s talk about why it’s crucial to give your tile adhesive ample time to dry before cleaning. Firstly, premature cleaning can disrupt the bonding process between the tiles and the substrate. This can result in loose or uneven tiles that may crack or come loose over time.
Additionally, cleaning too soon can cause damage to both your tiles and grout lines. The moisture from cleaning products can seep into the uncured adhesive and weaken its bond with both surfaces. This not only compromises the integrity of your installation but also makes it more susceptible to stains and discoloration.
So how long should you wait? As a general rule of thumb, it’s best to wait at least 24 hours before attempting to clean tile adhesive. However, it’s always wise to consult the specific instructions provided by the adhesive manufacturer for the most accurate drying times.
In conclusion, patience is indeed a virtue when it comes to tile adhesive. Taking the time to allow it to fully cure before cleaning will ensure a strong and long-lasting bond between your tiles and substrate. So resist the temptation to rush, sit back, and let the adhesive work its magic.