Whether you’re tackling a school project, getting crafty with a DIY masterpiece, or simply sticking things together for fun, knowing how long to let Elmer’s glue dry is key to nailing those perfect results. This trusty adhesive has been the go-to choice for countless creative minds over the years, thanks to its unrivaled versatility and effectiveness.
But here’s the deal: giving it enough time to dry properly is absolutely crucial if you want a bond that can withstand anything and avoid any sticky situations (pun intended). In this post, we’re going to dive deep into the recommended drying time for Elmer’s glue, explore some factors that might affect it, and dish out a few tips and tricks to make sure your glue performs at its best.
So buckle up and get ready to master the art of patience when it comes to Elmer’s glue drying time.
What is Elmer’s Glue?
Contents
Elmer’s Glue, a renowned brand of adhesive, is the go-to choice for crafting, woodworking, and school projects. This versatile glue is a white, non-toxic adhesive that dries clear, making it perfect for a multitude of applications. With its strong bonding capabilities and reliable performance, Elmer’s Glue has become a staple in the crafting world.
The secret behind Elmer’s Glue lies in its main ingredient: polyvinyl acetate (PVA). This synthetic polymer forms a robust bond when it dries, ensuring that your projects hold together securely. What sets Elmer’s Glue apart is its water-based formula, allowing for easy cleanup with just water. This makes it safe to use for children, making it the ideal choice for school projects and crafts.
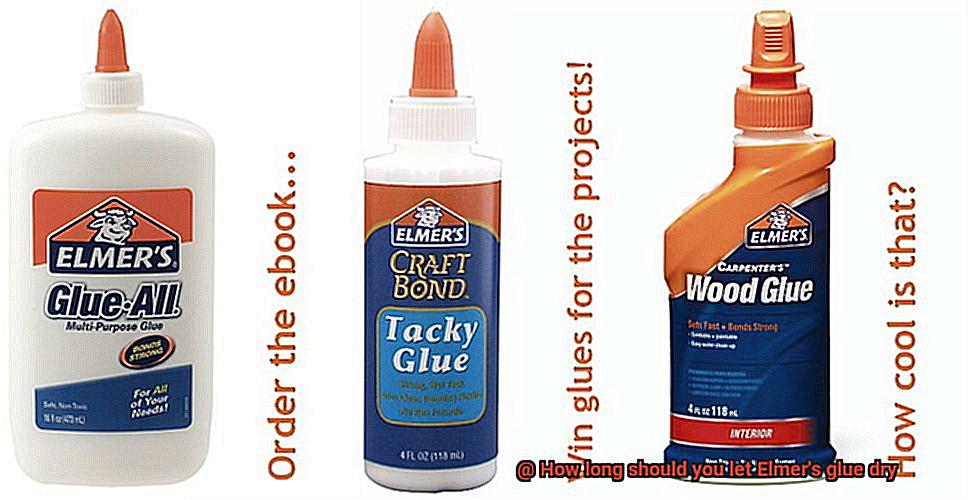
Elmer’s Glue offers different formulations to cater to various needs. The most common type is the standard white glue, which is excellent for general-purpose bonding. It boasts a thick consistency that ensures effortless application and provides a strong hold once dried. Whether you’re working on paper crafts or repairing household items, the standard white glue is a reliable option.
For projects where aesthetics are essential, Elmer’s offers the transparent clear glue. This variant dries invisibly, making it perfect for applications where the adhesive needs to be discreet. Clear glue is commonly used in scrapbooking and paper crafts where maintaining the visual appeal is crucial.
In addition to these options, Elmer’s offers specialty glues such as wood glue and multipurpose glue. Wood glue is specifically designed for bonding wood surfaces together, enduring the stresses commonly encountered in woodworking projects. On the other hand, multipurpose glue can bond various materials like fabric, leather, ceramics, and more.
Elmer’s Glue goes beyond its adhesive properties; it can also be used as a sealant or protective coating. Applying it to porous surfaces such as paper or cardboard can help prevent them from absorbing moisture or becoming brittle, enhancing their longevity.
Factors Affecting the Drying Time of Elmer’s Glue
Elmer’s glue, the go-to adhesive for various projects, is subject to multiple factors that influence its drying time. To achieve optimal drying times and guarantee successful project completion, it is crucial to comprehend these influential elements.
Firstly, different types of Elmer’s glue have varying drying times. Regular white glue, School Glue, and Super Glue contain distinct formulations and chemical compositions, leading to differences in drying time. It is essential to be aware of these variations when selecting the appropriate type of glue for a specific project.
Secondly, temperature and humidity levels in the environment significantly impact drying time. Higher temperatures and lower humidity levels expedite the drying process, while colder temperatures and higher humidity levels slow it down. Therefore, considering these factors is crucial for effective project planning.
Moreover, the thickness of the glue application affects drying time. Thicker layers of glue require a longer drying period compared to thin layers. For faster drying, it is recommended to apply thin and even layers of glue.
In addition, the porosity of the substrate influences drying time. Porous materials like wood or fabric absorb more moisture from the glue, resulting in an extended drying time. Conversely, non-porous surfaces like glass or metal facilitate faster drying due to less absorption.
Furthermore, adequate air circulation around the glued area plays a vital role in expediting the drying process. Ensuring sufficient airflow in the room or utilizing fans can significantly speed up drying time.
Lastly, the materials being bonded together can affect drying time as well. Some materials have a higher affinity for moisture absorption, causing the glue to take longer to dry. It is crucial to consider material compatibility and adjust expectations accordingly.
General Guidelines for Drying Time
When it comes to using Elmer’s glue, understanding the general guidelines for drying time is essential for successful project completion. Here are some key points to keep in mind:
- Different Types of Glue: Elmer’s glue comes in various variants, such as white glue, clear glue, wood glue, and fabric glue. Each type may have slightly different drying times, so it’s crucial to refer to the specific instructions provided by the manufacturer. This will ensure optimal drying and bonding.
- Thickness of Application: The thickness of the glue layer plays a significant role in drying time. Thicker applications will naturally take longer to dry compared to thin, even layers. To ensure proper drying, it is recommended to apply multiple thin layers rather than one thick layer. This allows each layer to dry effectively before the next one is applied.
- Environmental Conditions: The environment in which you are working can greatly affect the drying time of Elmer’s glue. Factors like temperature, humidity, and air circulation all play a role. In general, warmer temperatures and lower humidity levels promote faster drying. So, if you’re working on a project that requires quick drying, try to work in a well-ventilated area with controlled temperature and humidity.
- Techniques and Tools: If you’re in a hurry and need to expedite the drying process, there are a few techniques you can try. Using a fan or a hairdryer on a low heat setting can help accelerate drying time. However, be cautious not to use excessive heat as it can cause the glue to bubble or warp.
- Patience is Key: Even after the recommended drying time has passed, the glue may still feel slightly tacky or not fully cured. In such cases, it is best to exercise patience and allow additional time for complete drying before handling or applying stress to the glued object. Rushing this step may compromise the bond and result in a less durable outcome.
Temperature and Humidity Levels
Temperature and humidity levels are critical factors that significantly impact the drying time of Elmer’s glue. Understanding these variables is essential for obtaining optimal results when using this adhesive.
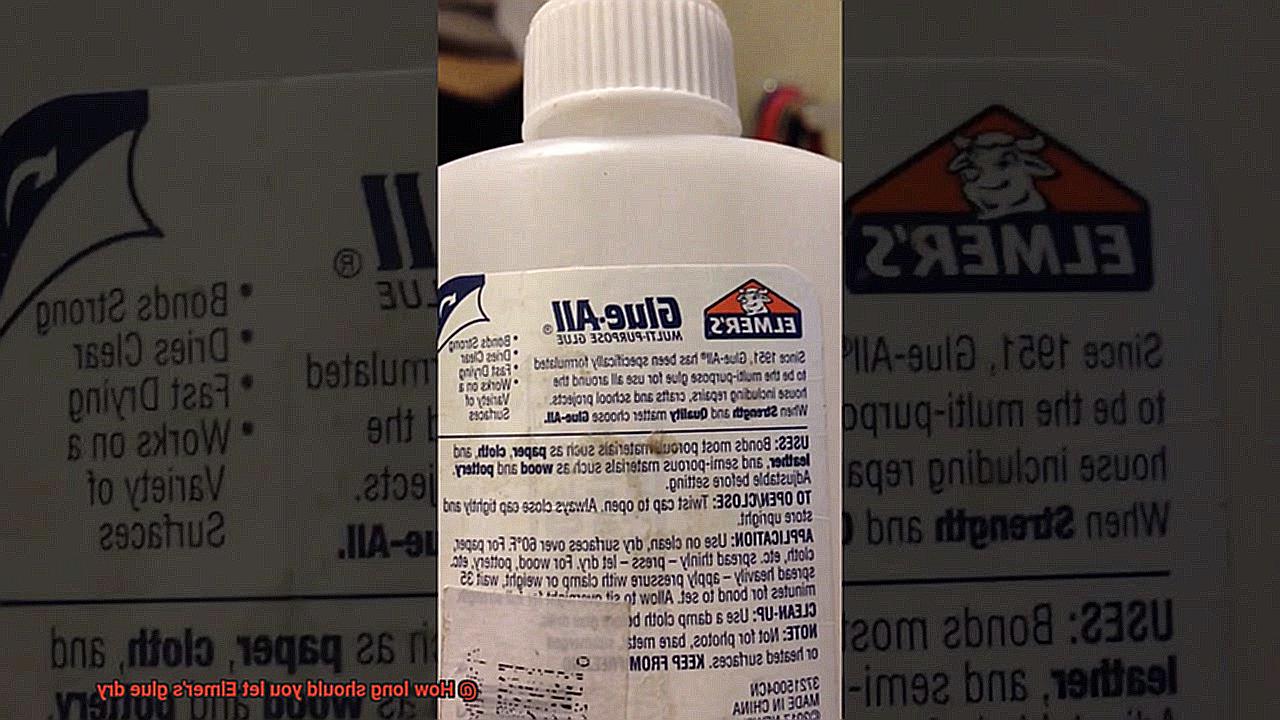
Temperature is a key factor in the drying process of Elmer’s glue. The recommended temperature for efficient drying is around 70°F (21°C). This moderate temperature allows the glue to cure at a balanced pace, ensuring even drying without compromising its strength. However, it is crucial to avoid excessively high temperatures as they can cause the glue to dry too quickly, resulting in a weak bond. On the other hand, lower temperatures can prolong the drying time and may require additional time to achieve a strong attachment. Consistently maintaining a temperature within the recommended range is crucial for optimal drying.
Humidity levels also play a significant role in the drying process of Elmer’s glue. The ideal relative humidity level is around 50%. This balanced humidity allows for proper evaporation without making the glue too brittle or weak. High humidity levels slow down the evaporation process, making it more challenging for the glue to dry efficiently. Excess moisture in the air hinders the glue from losing its water content, resulting in prolonged drying times. Conversely, low humidity accelerates the drying process as there is less moisture in the air for the glue to contend with. However, extremely low humidity levels can cause excessive drying, potentially resulting in a weaker bond.
To ensure optimal drying conditions for Elmer’s glue, it is important to monitor and control both temperature and humidity levels within the recommended ranges. This can be achieved by using temperature-controlled environments or employing additional measures such as dehumidifiers or humidifiers as needed.
By understanding how temperature and humidity affect Elmer’s glue’s drying time, users can achieve strong and reliable bonds. Following the recommended guidelines and considering the specific instructions provided by the manufacturer for different types of glue will help ensure successful adhesive applications. It is important to note that these recommendations primarily apply to standard white and clear Elmer’s glue, and different variants or specialty glues may have slightly different drying requirements. Therefore, referring to the specific instructions provided by the manufacturer is always recommended for accurate drying times and conditions.
Appearances Can Be Deceiving
Appearances can be deceiving when it comes to the drying process of Elmer’s glue. This simple adhesive consists of water and polyvinyl acetate (PVA) as its primary ingredients. When applied onto a surface, the water in the glue begins to evaporate, leaving behind a thin layer of PVA. However, it is important to exercise patience and not be fooled by appearances.
The drying time of Elmer’s glue can vary depending on several factors. Temperature, humidity, and the thickness of the applied glue all play a role in determining how long it takes for the glue to dry completely. While it is generally recommended to allow at least 24 hours for drying, this is just an estimate and may not always be accurate.
One key thing to remember is that the drying process occurs from the outermost layer towards the center. This means that even if the surface of the glue appears dry after a few hours, the glue underneath may still be wet. It is crucial to resist the temptation to touch or move the glued object prematurely, as this can disrupt the drying process and result in smudges or fingerprints on the surface.
In addition to this, environmental conditions also impact drying time. Higher temperatures and lower humidity levels tend to accelerate the drying process, while cooler temperatures and higher humidity levels can prolong it. When estimating drying time, it is important to consider these factors.
Taking Environmental Conditions into Consideration
Taking environmental conditions into consideration is crucial when using Elmer’s glue to ensure proper bonding. The drying time of Elmer’s glue can be influenced by various factors, such as temperature, humidity, and airflow. Higher temperatures and lower humidity levels generally accelerate the drying process, while cooler temperatures and higher humidity levels can slow it down.
It is essential to follow the specific instructions provided by Elmer’s for the type of glue being used. These instructions may include recommended drying times based on the environmental conditions. For instance, if you are working in a hot and dry environment, the glue may dry faster than anticipated. Conversely, in a cold and humid environment, it may take longer for the glue to dry completely.
Different types of Elmer’s glue may have varying drying times. Regular white glue may dry differently from stronger adhesives like wood glue or quick-drying variants. Therefore, it is crucial to consider the specific characteristics and instructions for the particular glue you are using.
To ensure optimal drying and bonding strength, it is recommended to allow the glued object to sit undisturbed in a well-ventilated area until it is completely dry. Rushing the process by applying heat or using fans may compromise the bonding strength and result in a weaker bond.
If you are uncertain about the appropriate drying time for your specific project, it is always best to consult the instructions provided by Elmer’s or conduct a small test on a non-visible area before proceeding with the entire project. This way, you can guarantee that the adhesive bonds properly and withstands any stress or strain it may encounter in its intended use.
Erring on the Side of Caution
Erring on the side of caution when it comes to drying time for Elmer’s glue is crucial for ensuring a successful glue job. Not allowing adequate drying time can lead to several potential risks and issues.
Firstly, not giving the glue enough time to dry can result in a weaker bond between the surfaces being glued together. This means that the glued object may be more prone to coming apart or breaking under stress or pressure. For example, imagine gluing together two pieces of wood to create a shelf. If the glue is not given enough time to dry properly, the shelf may collapse when weight is placed on it, leading to potential damage or injury.
In addition to a weaker bond, rushing the drying process can cause the glue to not fully adhere to the surfaces being glued together. This can result in gaps or uneven bonding, compromising the overall strength and durability of the project. For instance, if you are repairing a ceramic plate and do not allow sufficient drying time, the repair may not hold up when you try to use the plate again, leading to disappointment and potential breakage.
By erring on the side of caution and allowing adequate drying time, you can avoid these risks and ensure a strong and durable bond. Giving the glue extra time to dry allows it to fully cure and reach its maximum bonding strength. This is especially important for projects that require a higher level of strength, such as those involving heavy or load-bearing objects.
To ensure a successful glue job, here are some tips and tricks:
Follow the instructions provided by Elmer’s for the specific type of glue you are using. They often provide recommended drying times based on environmental conditions.
Consider factors like temperature and humidity in your workspace. Higher temperatures and lower humidity levels generally lead to faster drying times, while cooler temperatures and higher humidity levels can slow down the process.
Let the glued object sit undisturbed in a well-ventilated area until it is completely dry. Avoid using heat or fans to speed up the process, as this can compromise the bond.
If you are unsure about the drying time for your particular project, do a small test on a hidden spot before proceeding with the full application. This will give you an idea of how long it takes for the glue to dry under your specific conditions.
Conclusion
In conclusion, the drying time of Elmer’s glue is a critical aspect to consider in any project. Patience is vital in achieving a robust and long-lasting bond that can withstand stress. While it is generally recommended to allow at least 24 hours for drying, it’s important to understand that this estimate can vary due to numerous factors.
Various factors influence the drying time of Elmer’s glue, including the type of glue, temperature, humidity levels, application thickness, substrate porosity, and airflow. Following the specific instructions provided by Elmer’s for each glue type and considering these factors are essential for optimal results.
Environmental conditions play a significant role as well. Higher temperatures and lower humidity levels speed up the drying process, while cooler temperatures and higher humidity levels slow it down. Maintaining a controlled environment within the recommended ranges ensures ideal drying conditions.
It is crucial to err on the side of caution by allowing extra drying time to avoid potential risks like weaker bonds or uneven adhesion. Rushing through this process compromises the strength and durability of your project.
By adhering to these guidelines, considering environmental conditions, and exercising patience, you can master the art of Elmer’s glue drying time and achieve professional-level results in your crafting or DIY projects.