Have you ever spent hours creating a stunning piece of furniture, only to have it fall apart because you didn’t wait long enough for the glue to dry? It’s a frustrating experience that can make even the most experienced woodworker want to pull their hair out. But fear not, my friend. The key to ensuring a strong bond is clamping your pieces together while the glue dries.
Now, I know what you’re thinking: “But how long should I leave them clamped?” Well, my fellow DIY enthusiast, the answer isn’t as simple as one might think. You see, different types of wood glue have varying drying times and environmental factors like temperature and humidity can also affect how long you should wait.
But don’t worry – in this post, we’ll break down everything you need to know about clamping times for wood glue. We’ll start by examining the different types of wood glue and their drying times. From there, we’ll dive into the nitty-gritty details of how temperature and humidity impact drying time.
And finally, we’ll provide some general guidelines for how long you should leave your wood clamped based on the type of glue and conditions in your workspace. So if you’re ready to learn how to get the strongest possible bond from your wood glue, grab a cup of coffee (or tea) and let’s dive in.
Types of Wood Glue and Their Properties
Contents
- 1 Types of Wood Glue and Their Properties
- 2 Factors that Affect How Long Wood Glue Should Stay Clamped
- 3 The Ideal Time to Keep Wood Glue Clamped
- 4 Tips for Ensuring a Strong Bond with Wood Glue
- 5 Considerations for Working with Different Types of Woods
- 6 How Environmental Conditions Can Impact the Drying Time of Wood Glue
- 7 Common Mistakes to Avoid When Using Wood Glue
- 8 Alternatives to Clamping for Securing a Bond with Wood Glue
- 9 Conclusion
Wood glue is a crucial component of woodworking, allowing craftspeople to bond pieces of wood together to create incredible structures. However, there are many different types of wood glue on the market, each with its unique properties and characteristics that make them suitable for specific woodworking projects.
PVA or Polyvinyl Acetate glue is the most commonly used type of wood glue. PVA glue is popular due to its ease of use, affordability, and clear drying properties. It’s perfect for projects where appearance is essential, and it sets in about 30 minutes. PVA glue is also water-resistant, making it an excellent choice for outdoor projects.
Epoxy resin glue is a two-part adhesive that consists of a resin and hardener. It has excellent bonding strength and can be used on various surfaces, including metal and plastic. Epoxy has exceptional resistance to water, heat, and chemicals, making it ideal for use in marine applications and other harsh environments. However, it takes longer to dry than other types of wood glue.
Hide glue is an animal-based adhesive that has been used for centuries in woodworking. It has excellent adhesion properties and can be easily reversed with heat if needed. Hide glue is perfect for furniture and cabinetry projects where traditional techniques are preferred. It sets quickly and reaches full strength within a few hours.
Cyanoacrylate or superglue is another type of adhesive that can be used for small repairs or projects that don’t require a lot of strength. Superglue sets within seconds but has weaker bonding strength compared to other types of wood glue. It’s ideal for small repairs or projects where speed is essential.
Selecting the right type of wood glue for your project is crucial to ensure a strong and durable bond. Understanding the different types of wood glue available and their properties will help you choose the right adhesive for your next woodworking project. Each type has its unique benefits and limitations, and it’s important to choose the right one to ensure a successful outcome.
Factors that Affect How Long Wood Glue Should Stay Clamped
In this article, we’ll delve into the various factors that determine how long wood glue should stay clamped.
Firstly, the type of wood you’re using is a significant factor. Hardwoods such as oak and maple require longer clamping times compared to softer woods like pine or cedar. The denser hardwoods need more time for the glue to fully penetrate and bond. Therefore, when working with hardwoods, it’s essential to factor in longer clamping times.
Another vital factor is the type of glue being used. Different types of wood glue have varying drying times and require different clamping times. For instance, polyurethane glue may need less clamping time than traditional PVA glue.
Temperature and humidity are equally important considerations. Higher temperatures and humidity levels can accelerate the drying process, while lower temperatures and humidity levels can slow it down. It’s crucial to take these factors into account when deciding on clamping times.
The size and shape of your wood pieces can also affect clamping time. Larger pieces or more intricate shapes may require longer clamping times to ensure a strong bond.
Finally, it’s essential to read and adhere to the manufacturer’s instructions for your chosen glue. These instructions provide recommended clamping times based on the type of wood, temperature, humidity, and other factors. By following these guidelines, you can guarantee a lasting bond between your pieces of wood.
The Ideal Time to Keep Wood Glue Clamped
While using wood glue is a critical step in the process, clamping the wood together is equally important. But how long should you keep the clamps on for?
To answer this question, there are several factors to consider. The first is the type of wood you’re working with. Some woods are denser and harder than others, which means they may require more time to bond properly. Additionally, the temperature and humidity in your workspace can affect how quickly the glue sets.
So, what’s the ideal time to keep wood glue clamped? While most professionals recommend keeping the clamps on for at least 30 minutes to an hour, it’s important to tailor your approach based on your specific project needs.
For example, if you’re working with a particularly dense or hard type of wood, you may need to leave the clamps on for longer. In fact, some experts even suggest leaving them on overnight to ensure a strong bond.
However, leaving the clamps on for too long can increase the risk of damaging the wood or leaving clamp marks. To avoid this, make sure to use protective padding between the clamp and the wood surface.
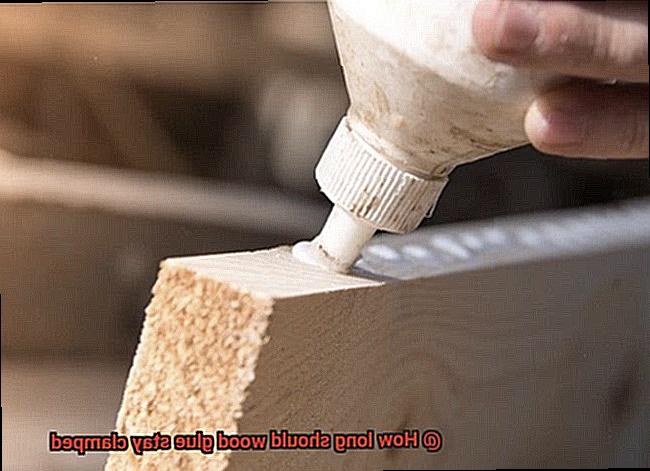
In addition to knowing how long to keep the clamps on for, it’s crucial to properly prepare your surfaces before applying glue. Clean, dry surfaces free from debris or dust will help ensure a strong bond. Applying a thin and even layer of glue to both surfaces before clamping them together will also aid in achieving optimal results.
Tips for Ensuring a Strong Bond with Wood Glue
Here are some tips and techniques that will help you get the most out of your wood glue.
Choose the Right Type of Wood Glue
The first step in ensuring a strong bond with wood glue is choosing the right type of glue for your project. PVA glue, epoxy glue, and polyurethane glue are just a few of the options available, each with its own unique properties and strengths. Make sure to select the type that is best suited for your specific project.
Prepare Surfaces Properly
The surfaces that you plan to bond together need to be clean, dry, and free from any debris or contaminants. Sandpaper or a scraper can be used to remove any rough or uneven spots on the surface. Any dirt or dust particles can interfere with the bonding process and weaken the bond.
Apply Glue Evenly
To create a strong bond, it’s essential to apply a thin layer of glue evenly on both surfaces being bonded. This ensures that the entire surface area is covered and that there are no gaps or spots where the glue has not been applied. Applying too much glue can cause excess glue to squeeze out and create a mess.
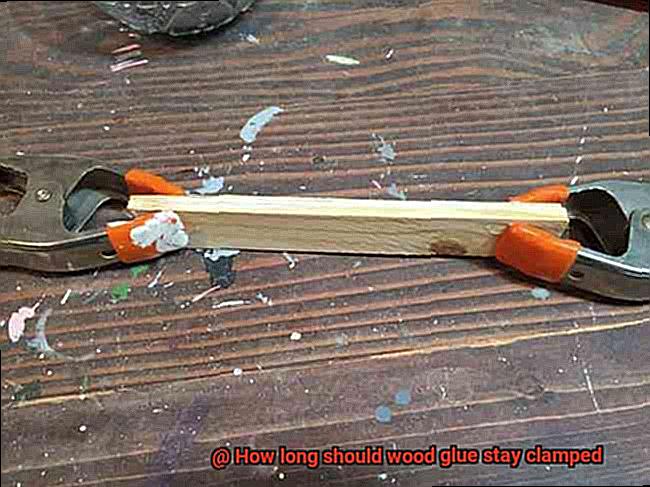
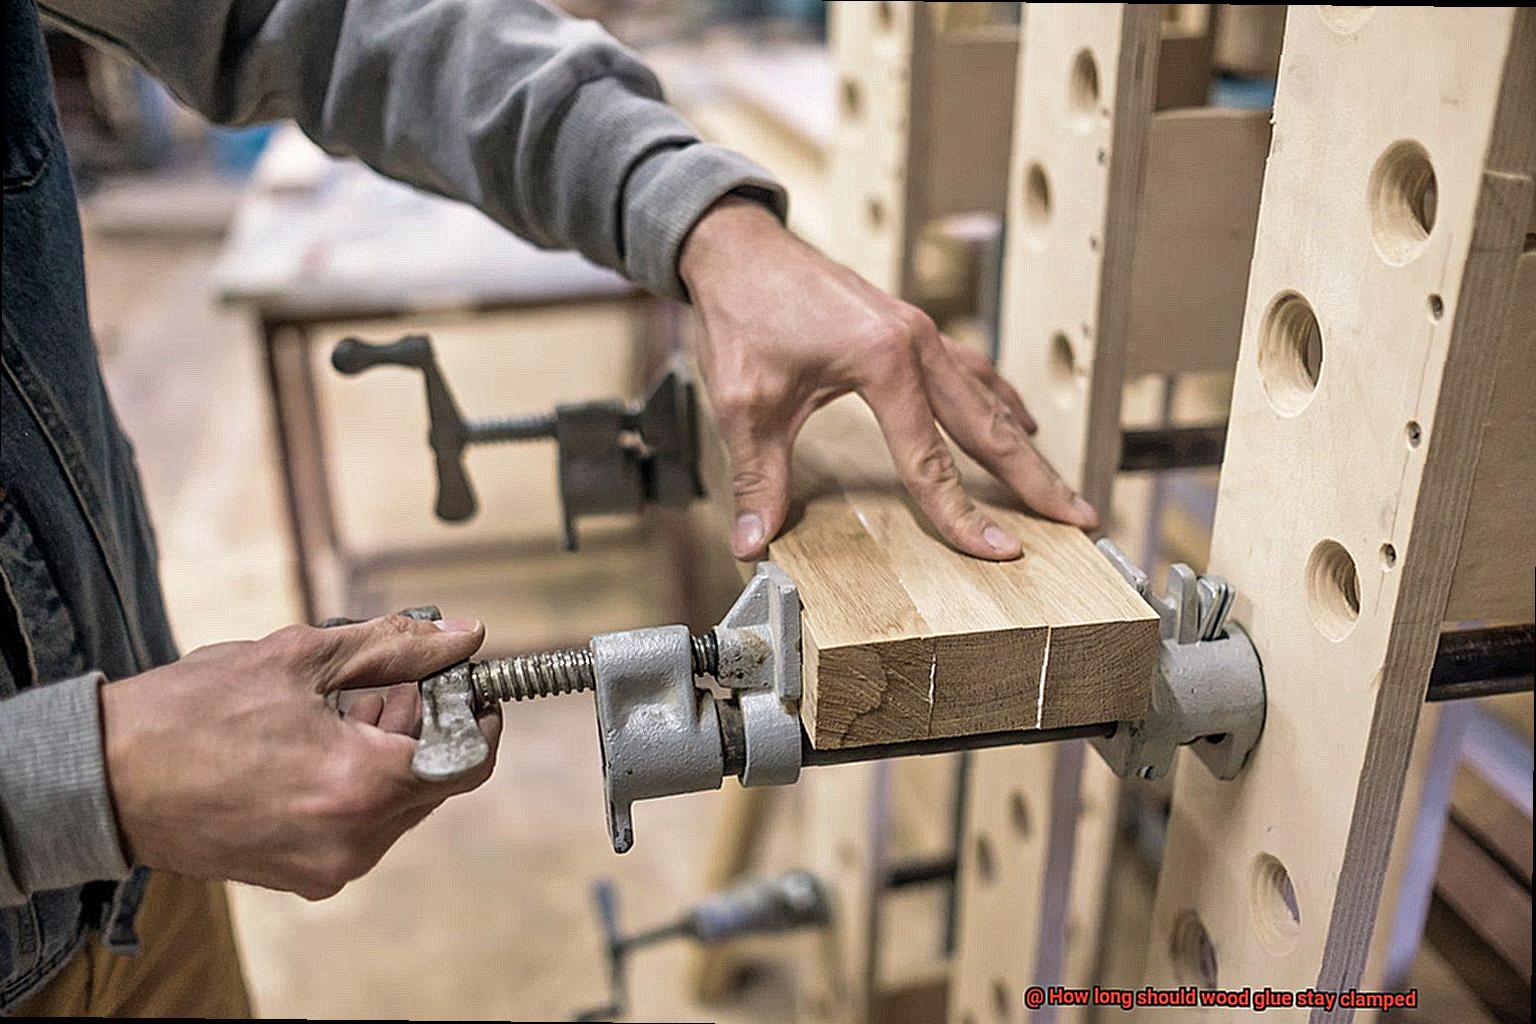
Clamp Surfaces Together for Sufficient Time
The amount of time required to clamp surfaces together will depend on the type of wood glue being used, as well as the temperature and humidity levels in the room. Most wood glues require at least 30 minutes of clamping time, while others may require up to 24 hours. Make sure to read the manufacturer’s instructions carefully.
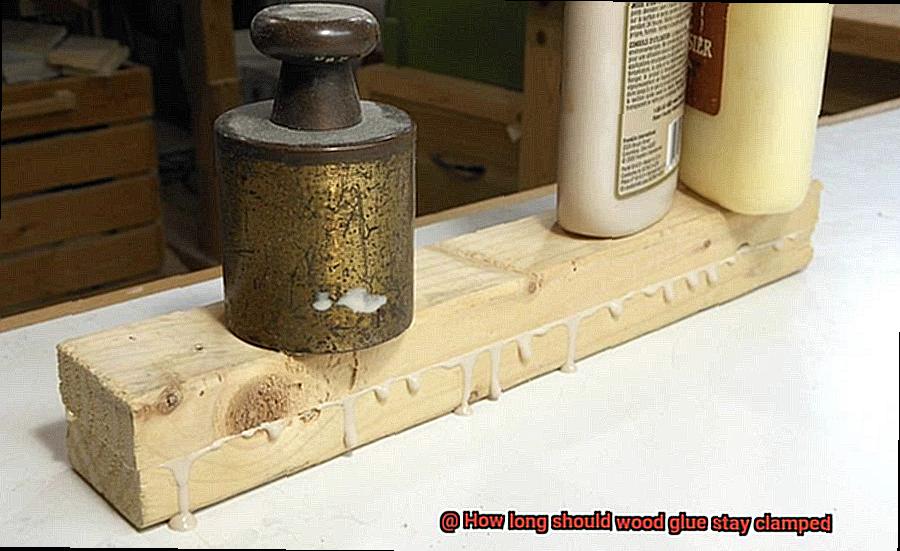
Ensure Even Pressure Distribution During Clamping
During the clamping process, it’s crucial to ensure that pressure is evenly distributed across the surface area being bonded. Multiple clamps or a flat board over the glued surfaces can be used to apply weight evenly. This will help to create a strong and durable bond.
Allow Full Cure Time
It’s important to allow the glue to fully cure before removing the clamps or applying any stress to the bonded surfaces. This can take anywhere from a few hours to a few days, depending on the type of glue and environmental factors. Rushing this step could compromise the strength of the bond.
Considerations for Working with Different Types of Woods
When it comes to woodworking, the glue and clamping process is essential for creating a strong and lasting bond between pieces of wood. However, different types of woods require different considerations when it comes to glue and clamping. Here are five key sub-sections to consider:
Wood density
The density of different types of woods can impact how long they need to be clamped. Softwoods such as pine and cedar have a lower density and may require shorter clamping times, while hardwoods like oak and maple have a higher density and may require longer clamping times. This is because the denser the wood, the longer it takes for the glue to penetrate and bond with the fibers.
Moisture content
The moisture content of the wood is another important factor to consider when determining clamp time. If the wood is too dry, it may not absorb the glue properly, resulting in a weaker bond that requires a longer clamp time. On the other hand, if the wood is too moist, it can cause the glue to take longer to dry and set, which can also extend clamp time.
Grain orientation
Joining two pieces of wood with opposing grain patterns, such as end grain to long grain, can be more challenging to achieve a strong bond. In these cases, it may be necessary to extend clamp time or use additional clamps to ensure a tight fit between the pieces.
Type of glue
Different types of glue have varying curing times and may require different clamping times. PVA (polyvinyl acetate) glues typically have shorter clamp times than epoxy glues, which offer a stronger bond and are better suited for outdoor or water-resistant applications.
Project size and complexity
The size and complexity of your woodworking project can also impact clamp time requirements. Larger projects may require longer clamp times to ensure that all areas are adequately bonded and secured, while projects with intricate details may require multiple clamping sessions for full coverage.
How Environmental Conditions Can Impact the Drying Time of Wood Glue
The temperature, humidity, and air circulation in your workspace can all play a critical role in determining the strength of your joints.
Temperature is an essential factor to consider when working with wood glue. Generally, the warmer the temperature, the faster the glue will dry. But be careful not to let the temperature get too high as it can cause the glue to dry too quickly, leading to weak bonds that are prone to failure.
On the other hand, if the temperature is too low, the glue may take much longer to dry than expected. Therefore, finding the right balance is key to achieving optimal drying times.

Humidity is another crucial consideration when working with wood glue. High humidity levels can slow down the drying process or even prevent the glue from drying altogether. This is because moisture in the air can interfere with the chemical reaction that causes the glue to harden.
In contrast, low humidity levels can cause the glue to dry too quickly, resulting in brittle bonds that are prone to breakage. Therefore, it’s vital to keep humidity levels in check and ensure that they’re within a suitable range.
Lastly, air circulation plays a critical role in ensuring that your joints are strong and secure. Adequate airflow is necessary to ensure that moisture evaporates from the glue and doesn’t get trapped inside the joint. However, excessive airflow can cause the glue to dry too quickly, leading to weaker bonds. Therefore, it’s essential to strike a balance between proper airflow and avoiding overexposure.
Common Mistakes to Avoid When Using Wood Glue
Wood glue is a key component of woodworking, making it possible to create sturdy, long-lasting joints. However, there are common mistakes that even experienced woodworkers make when using wood glue. To ensure your woodworking projects are successful, it’s important to avoid the following mistakes:
Not Clamping Long Enough
One of the biggest mistakes people make when using wood glue is not clamping the pieces together for long enough. This can compromise the strength of the bond, resulting in weaker joints. It’s important to remember that wood glue needs time to dry and cure properly. While it may be tempting to remove the clamps as soon as possible, it’s best to wait until the glue has fully dried and cured. This can take anywhere from a few hours to overnight, depending on the type of glue you’re using.
Using Too Much or Too Little Glue
Using too much or too little glue is another common mistake when using wood glue. Too much glue can result in a weak joint, while too little can cause a poor bond. To avoid this mistake, follow the manufacturer’s instructions for the appropriate amount of glue to use.
Not Properly Preparing the Surfaces Before Gluing
Not properly preparing the surfaces before gluing is also a common mistake. The wood should be clean, dry, and free of any debris or dust. It’s also important to ensure that the surfaces fit together properly and are flush before applying the glue. This will help to ensure a strong bond between the pieces of wood.
Not Allowing Enough Time for Glue to Dry
Finally, not allowing enough time for the glue to dry before handling the project is another mistake. Even if you have removed the clamps, it’s important to give the glue enough time to fully dry and cure before moving or using the project. This will help to ensure that the joint is strong and secure.
Alternatives to Clamping for Securing a Bond with Wood Glue
When it comes to securing a bond with wood glue, clamping is the go-to method for many woodworkers. However, clamps can be cumbersome and difficult to handle, especially for smaller projects or pieces of wood that are difficult to clamp. Fortunately, there are alternatives to clamping that can be just as effective.
One such alternative is using weights. Heavy books or bricks can be used in place of clamps to hold the wood pieces together while the glue dries. This method is particularly useful for smaller projects or for pieces of wood that are hard to clamp. Just place the weights on top of the wood pieces and let the glue do its work.
Another alternative is using tape. Tape works well for projects that have straight edges or corners. Apply the glue to one piece of wood, press it firmly against the other piece, and wrap tape tightly around the joint to hold it in place while the glue dries.
In addition to these alternatives, there are specialized clamps designed for specific woodworking projects that may be more effective than traditional clamps. For instance, pipe clamps provide even pressure across the entire joint and are ideal for larger projects.
It’s worth noting that not all alternatives may work for all types of wood glue or projects. Therefore, it’s crucial to follow the manufacturer’s instructions and use the appropriate method for your specific project.
U0hhFjjW5EU” >
Conclusion
In summary, the strength and longevity of your woodworking masterpiece are intrinsically linked to the quality of the bond created by wood glue. However, determining how long to leave your pieces clamped can be a bit tricky. Different types of wood glue have varying drying times, and environmental factors such as temperature and humidity can also impact how long you should wait.
To ensure optimal results when using wood glue, it’s essential to select the right type for your project and follow the manufacturer’s instructions for clamping times based on several factors such as wood type, temperature, humidity, and more. Proper surface preparation before applying glue is also critical. Apply it evenly on both surfaces that need bonding, clamp them together for sufficient time while ensuring even pressure distribution during clamping.
Different types of woods require different considerations when it comes to gluing and clamping. Wood density, moisture content, grain orientation, type of glue used are some key sub-sections to consider. Temperature and humidity levels in your workspace also play a crucial role in determining joint strength.
If traditional clamps are difficult to handle or not suitable for your specific project, there are alternatives such as weights or tape that may work well for smaller projects or hard-to-clamp pieces of wood. But always remember to follow the manufacturer’s instructions and use appropriate methods for your project.
In conclusion, achieving a strong bond with wood glue requires careful consideration of numerous factors.