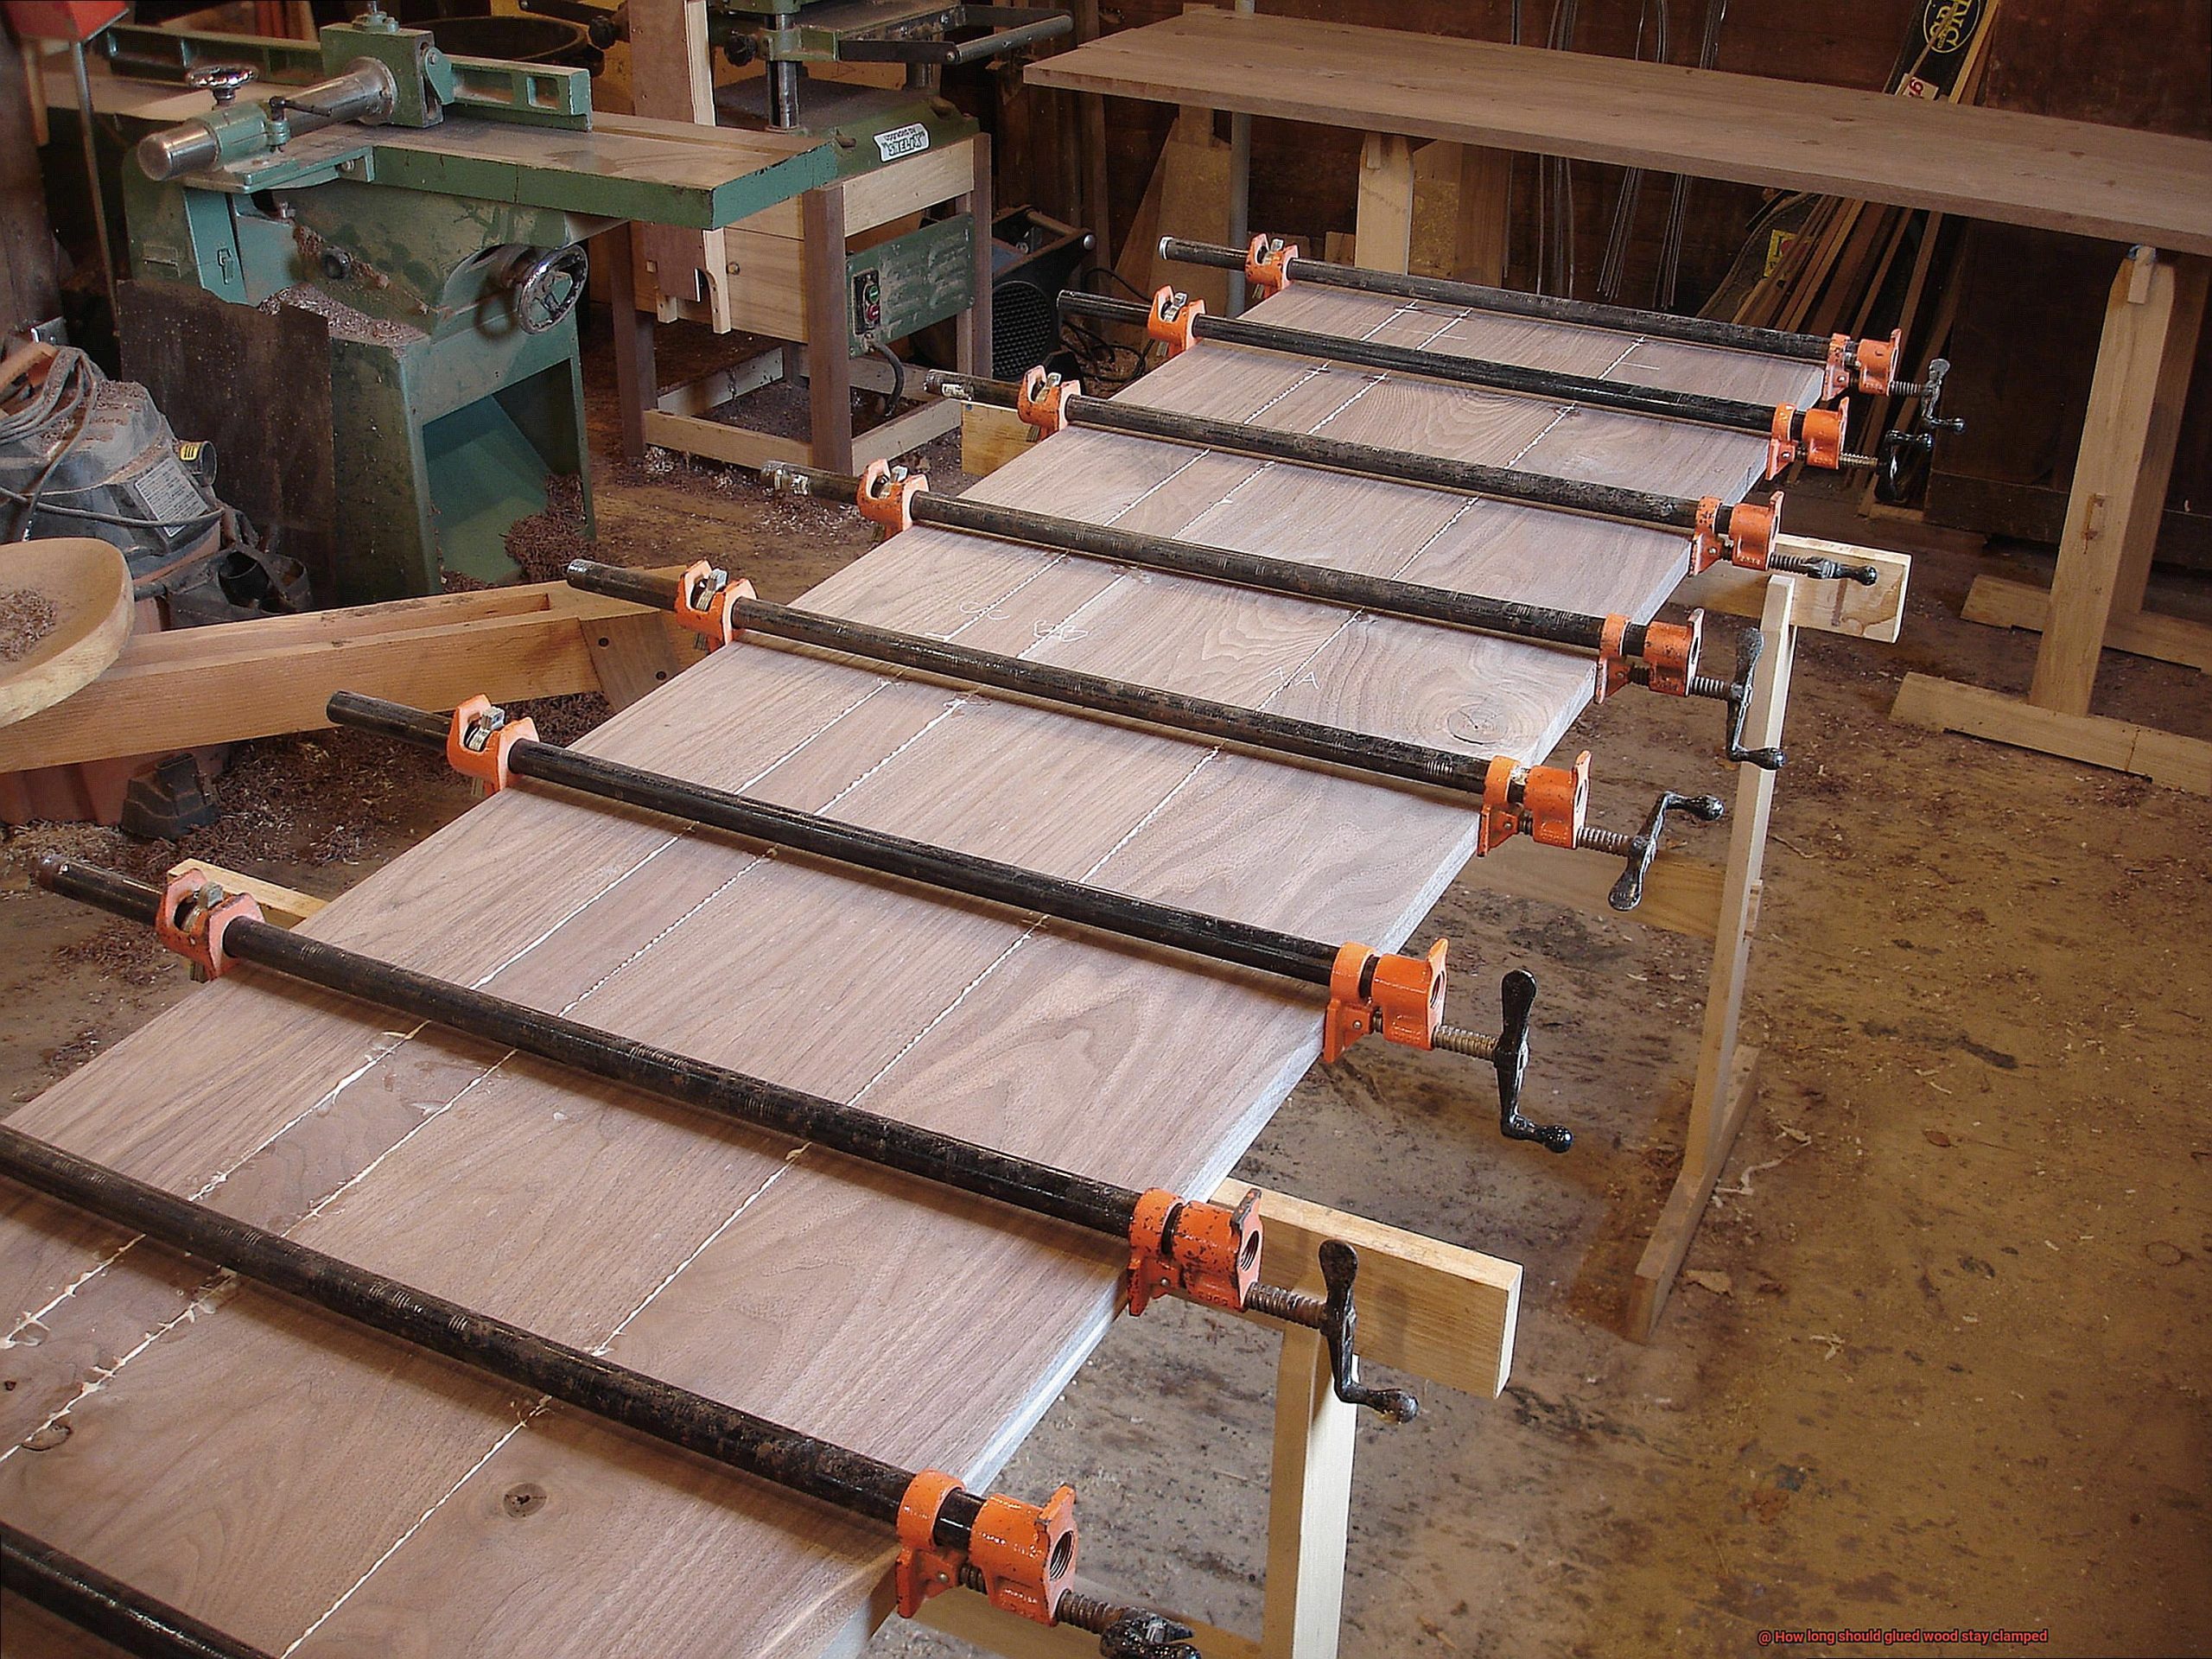
Ever tried your hand at woodworking and been in awe of the seamless, flawless joints in expertly crafted furniture? Well, my friend, there’s a secret ingredient that often gets overlooked: clamping glued wood.
Picture this – you spend hours carefully gluing together your wooden masterpiece, only to have it fall apart or develop ugly gaps later on. But fear not, fellow wood enthusiasts. Today, we’re diving deep into the captivating world of clamping to answer the burning question: how long should you keep wood clamped?
In this riveting guide, we’ll uncover the secrets to achieving sturdy, invisible joints that will withstand the test of time. We’ll explore the science behind clamping and its critical role in ensuring effective bonding of adhesives. With each section, we’ll debunk common myths and reveal vital factors to consider – all while keeping things casual and informative.
First up, let’s talk about those crucial initial moments after applying adhesive. Time plays a key role in achieving optimal strength, so we’ll break down exactly how long you should keep those clamps on. And don’t worry – we won’t leave you hanging when it comes to different types of glue like PVA, epoxy, and wood glue. We’ll let you in on their varying durations for clamping.
But wait. There’s more. Our thrilling journey will equip you with practical tips and techniques to enhance your clamping prowess. We’ll show you when it’s time to release those clamps and how to ensure a thorough cure. Plus, we’ll shed light on external factors like humidity and temperature that can throw a wrench into your woodworking plans.
So buckle up, woodworking aficionados. If you’re ready to unlock the mysteries of clamping and achieve durable, impeccable woodwork, join us on this enchanting exploration. Together, we’ll ensure that your glued joints remain strong, sturdy, and timeless.
Important Factors to Consider
Contents
- 1 Important Factors to Consider
- 2 Glue Drying Time
- 3 General Clamping Guidelines
- 4 Variations in Clamping Time Depending on Wood Size and Thickness
- 5 Environmental Conditions Affecting Glue Drying
- 6 Optimal Environmental Conditions for Glue Drying
- 7 Patience Is Key: Extended Clamping Times for Larger or Complex Glue-Ups
- 8 The Risks of Prematurely Removing the Clamps
- 9 Conclusion
To create masterful woodworking projects, it is vital to establish a firm and lasting bond between the glued wood pieces. An essential step in achieving this is determining the appropriate clamping time.
In this captivating article, we will delve into the critical factors to consider when deciding how long the wood should stay clamped, ensuring your projects have unmatched strength and reliability.
The type of glue used:
Different wood glues exhibit distinct curing times. Follow the manufacturer’s instructions religiously to ensure proper curing. Some glues may only require a few hours of clamping, while others demand 24 hours or more.
By adhering to these guidelines, you can guarantee a bond that withstands stress and movements with unwavering resilience.
Environmental conditions:
The surrounding temperature and humidity levels greatly impact glue drying time. Higher temperatures and lower humidity levels expedite the process, while lower temperatures and higher humidity levels lengthen it.
Select a well-ventilated workspace with moderate temperature and humidity within the range specified by the glue manufacturer.
Shield clamped wood from direct sunlight or heat sources that could disrupt the drying process.
Wood species and thickness:
The type of wood employed significantly influences clamping time. Different woods possess varying densities and moisture contents, which affect glue absorption and curing speed.
Some woods swiftly absorb moisture, leading to rapid curing, while others require patience. Additionally, thicker wood pieces necessitate extended clamping to establish a robust bond between them.
Joint design and fit:
The design and fit of the joint being glued together directly impact clamping time. Tight-fitting joints with ample surface contact require less time under pressure compared to loose or poorly fitting joints.
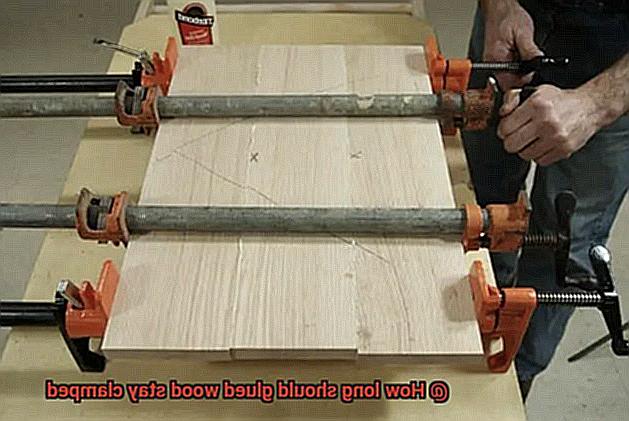
Before applying clamping pressure, ensure precise alignment and secure attachment of the joint components, maximizing the adhesive’s effectiveness.
Type of project:
The nature and complexity of your woodworking endeavor influence clamping time. Smaller, lightweight projects may require shorter clamping durations, while larger or intricately designed projects demand lengthier periods to ensure a steadfast and enduring bond.
When uncertain, consult a woodworking professional or refer to the manufacturer’s recommendations for optimal outcomes.
Glue Drying Time
As we embark on this journey, let’s uncover the secrets behind achieving woodworking excellence. Grab your clamps, my fellow enthusiasts, and let’s unlock the true power of glue drying time.
Factors That Shape Glue Drying Time:
The Personality of Glue:
Each glue has its own unique character. Enter PVA glue, the beloved workhorse of woodworking. This trusty companion usually takes around 24 hours to dry fully. But remember, this is just an approximation. To unravel the true nature of your glue, consult the manufacturer’s instructions for precise guidance.
Temperature and Humidity: Nature’s Whims:
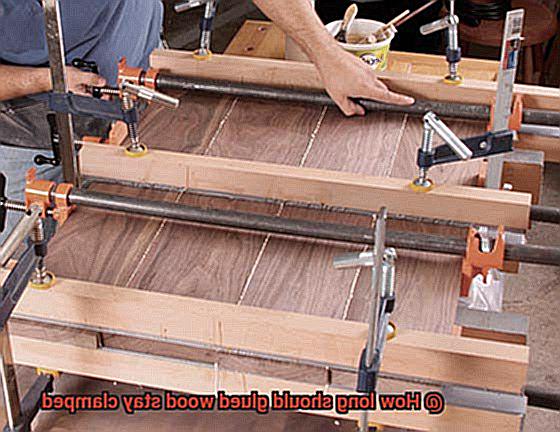
Ah, the dance of temperature and humidity. These dynamic duos can sway glue drying time. Picture this: higher temperatures and lower humidity levels embrace speed, while cooler temperatures and higher humidity levels invite a slower pace. To create the perfect atmosphere, set up shop in a well-ventilated area with moderate conditions.
Wood Species: Unveiling Diversity:
The symphony of wood species adds depth to our woodworking symposium. Each species boasts its own grain structure, influencing glue drying time. Tight-grained woods like oak or mahogany demand more time for the glue to penetrate deeply, while softer woods such as pine or cedar dance effortlessly with quicker drying times. Embrace the essence of your wood when deciding how long to keep it clamped after gluing.
Type of Project: Complexity Unleashed:
Let complexity be your muse. The size and intricacy of your project can sway glue drying time. Larger creations require extra care and time for the glue to dry thoroughly, ensuring a bond that defies the test of time.
The Art of Patience: Unveiling the Ultimate Ingredient:
Now that we’ve unraveled the factors behind glue drying time, let’s delve into the ultimate secret ingredient: patience. In our fast-paced world, it’s tempting to rush through projects. But remember, true excellence takes time. To achieve an unbreakable bond, it is generally recommended to keep glued wood clamped for at least 24 hours. However, do recall that this timeframe may vary depending on the factors we’ve explored earlier.
General Clamping Guidelines
Today, we embark on a captivating journey through the realm of clamping guidelines. Like an enchanting symphony, clamps possess the power to orchestrate woodworking brilliance. So, grab your favorite cup of joe and join me as we unveil the secrets to attaining unbreakable bonds and unlocking the full potential of glue drying time.
General Clamping Guidelines:
Before we delve into the intricacies, let’s establish some general clamping guidelines that will set you on the path to unparalleled success:
Time is of the Essence:
In the realm of glued wood, time reigns supreme. The duration of clamping hinges upon several factors, including glue type, wood variety, and environmental conditions. Typically, most wood glues necessitate clamping for a minimum of 30 minutes to an hour to achieve optimal bond strength. However, it’s vital to consult the specific recommendations outlined by glue manufacturers.
Patience is a Virtue:
Ah, patience. The virtuous virtue that separates amateurs from masters. Remember, my dear craftsmen, clamping time does not equate to curing time. Although a touch may reveal dryness, bear in mind that bonds require more time to cure fully and reach their zenith strength. Certain glues, such as polyurethane-based variants, may continue their curing journey for a remarkable 24 hours or even longer. Thus, embrace patience and allow time to weave its magic.
Wood Matters:
The choice of wood – an often underestimated factor in clamping endeavors. Softwoods and hardwoods dance to different rhythms when it comes to clamping time. Softwoods’ porous and absorbent nature grants them swifter bonding capabilities, warranting shorter clamping durations. In contrast, hardwoods demand a more patient approach. So, let the wood’s melody guide your clamping duration, ensuring a harmonious bond.
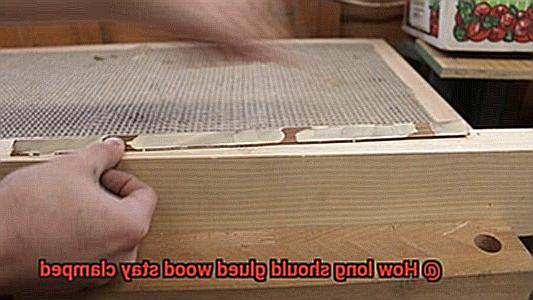
Variations in Clamping Time Depending on Wood Size and Thickness
Today, we’re delving into the captivating world of clamping guidelines. Prepare yourself for a thrilling exploration of the variations in clamping time depending on wood size and thickness. So grab your favorite cup of coffee and join us on this fascinating journey.
When it comes to clamping, one size does not fit all. The size and thickness of the wood you’re working with play a pivotal role in determining the duration of clamping required. It’s all about ensuring that unbreakable bond between your pieces of wood remains rock solid. Let’s break it down into bite-sized sub-topics for a clearer understanding:
- Size Matters: Larger pieces of wood demand more time in the clamps. Why, you ask? Well, thicker pieces take their sweet time for the glue to fully cure and establish a sturdy connection. Think of it like a fine wine – it needs time to mature and reach its full potential.
- Settling Stresses: Ah, those sneaky internal stresses. Larger pieces of wood harbor more of them beneath the surface. These hidden stressors need ample time to settle before we can bid adieu to our trusty clamps. Patience is indeed a virtue, my friends.
- Follow the Instructions: Remember, every glue has its own personality. Different types of glue come with their own recommended clamping times. So be an attentive listener and adhere to the manufacturer’s instructions faithfully.
Now that we’ve covered the basics, let’s discuss the actual timeframe for clamping. How long should those clamps stay in place? Well, for small and thin pieces of wood, a few hours might suffice. But brace yourself, for larger and thicker pieces require an overnight commitment. Yes, you heard it right – overnight clamping or even longer might be necessary. We’re in this for the long haul, folks.
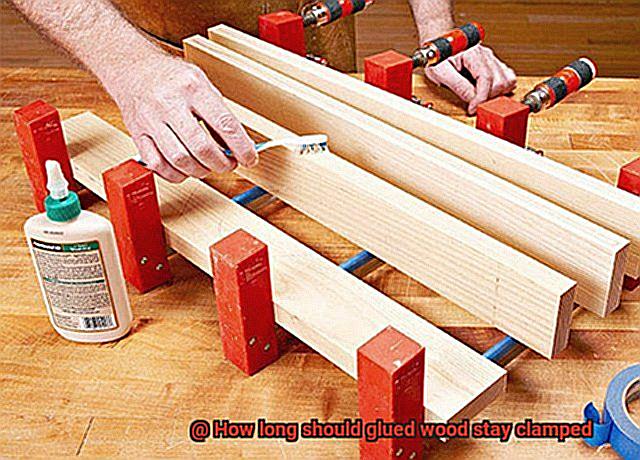
Here’s a pro-tip: it’s always better to err on the side of caution and leave the clamps on for longer than necessary. We wouldn’t want to jeopardize our hard work with a weak bond, now would we?
Environmental Conditions Affecting Glue Drying
Prepare to be amazed as we uncover the secrets behind achieving the perfect bond. So, grab your favorite beverage and let’s dive into the factors that can make or break your glue drying process.
Temperature, the mighty influencer, holds the key to expediting or delaying glue drying. Picture a warm embrace on a frosty day – higher temperatures accelerate the drying time of glue. Conversely, lower temperatures slow it down. To ensure a speedy finish, work in an environment around 70°F (21°C), the enchanting sweet spot for glue drying.
But hold on, humidity also wields its power over glue drying. High humidity levels, like a mischievous sprite, can prolong drying time by obstructing evaporation. To tame this sprite, aim for an environment with a humidity level of approximately 50%. This will create an ideal atmosphere for your glue to dry effectively.
Now, let’s unveil the unsung hero of glue drying – air circulation. With the grace of a gentle breeze, sufficient air circulation enhances evaporation and expedites drying. So, whether it’s a well-ventilated space or strategically placed fans, let the air dance around your project and witness the magical acceleration of drying time.
The type of glue you choose can also determine the length of your waiting game. Each type boasts its own unique characteristics, including varying drying times and requirements. To unlock their full potential, heed the wisdom of the manufacturer’s instructions; they hold the key to maximizing your adhesive’s drying prowess.
Wood moisture content, like a mischievous sprite lurking in the shadows, can disrupt proper glue drying. If your wood is too damp, it may hinder the glue from solidifying properly. Patience is your ally here – allow your wood to acclimate to its surroundings before applying glue and witness the harmonious marriage between wood and adhesive.
But wait, we cannot overlook the crucial role of clamping pressure in this captivating tale. The right amount of pressure ensures a formidable bond, like two soulmates locked in an unbreakable embrace. Yet, be wary of excessive pressure; it can squeeze out too much glue, resulting in a weakened joint. Find the delicate balance and follow the manufacturer’s recommendations for clamping pressure to witness the birth of an unyielding connection.
Optimal Environmental Conditions for Glue Drying
Prepare to be spellbound as we delve into the captivating world of glue drying. In this chapter, we will uncover the secrets to achieving optimal environmental conditions for glue drying. So sit back, relax, and let the magic unfold before your eyes.
Temperature: The Perfect Warmth
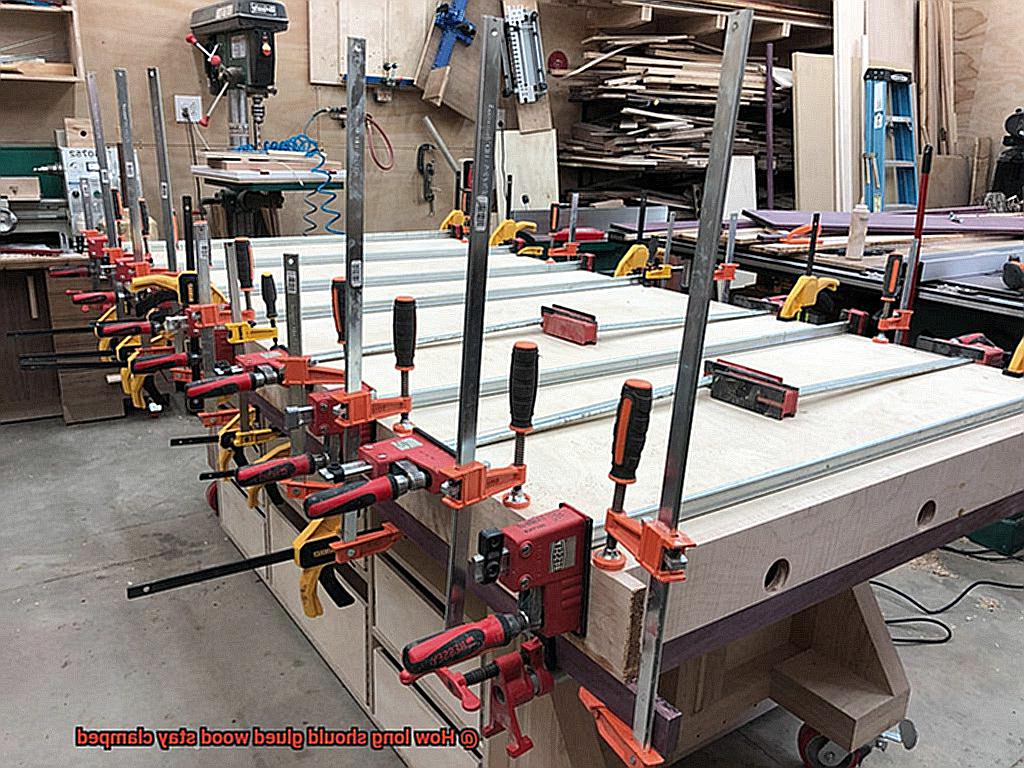
Like a delicate dance between heat and transformation, temperature plays a pivotal role in glue drying. Most wood glues yearn for a temperature range of 70 to 90 degrees Fahrenheit (21 to 32 degrees Celsius) for their optimal drying performance. Within this enchanting range, the glue can cure gracefully, allowing for strong and durable bonds. Remember, extreme temperatures can cast a shadow on the bonding strength, so finding that sweet spot is crucial.
Humidity: Taming the Mischievous Sprite
Enter the mischievous sprite known as humidity, whose whimsical nature can impact drying time. To tame this sprite and create an ideal atmosphere for glue drying, aim for a relative humidity level of around 50 to 60 percent. This delicate balance ensures that the glue dries at just the right pace, neither languishing nor racing towards completion. Strike this magical equilibrium, and witness your glue dry with finesse.
Ventilation: Letting the Air Dance
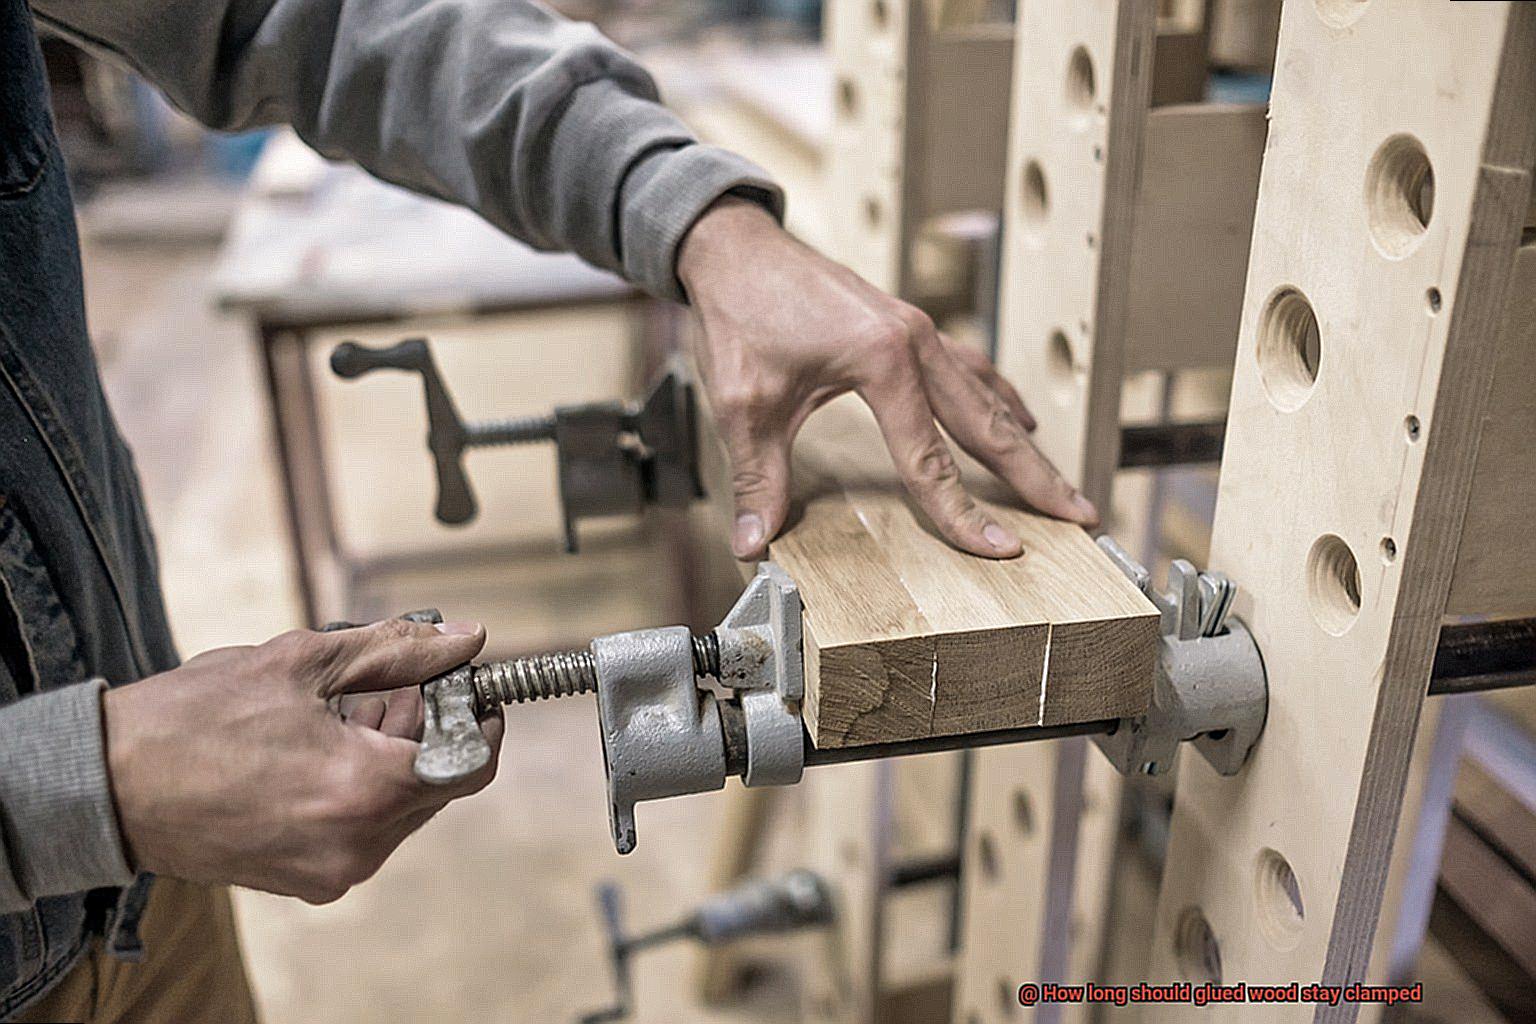
Imagine a gentle breeze swirling around your project, creating an enchanting choreography of evaporation. Adequate air circulation is the key to successful glue drying. Proper ventilation allows moisture from the glue to escape gracefully, resulting in even and efficient drying. However, be cautious not to summon excessive airflow, for too much wind can disrupt the delicate balance and lead to weakened bonds. Let the air dance lightly around your masterpiece and witness the mesmerizing acceleration of drying time.
Time: The Art of Patience
In this mystical realm of glue drying, patience reigns supreme. Each type of glue possesses its own magical timeline for drying. While some glues may achieve their desired strength within minutes, others require several hours or even an entire night to reach their full potential. It is imperative to consult the manufacturer’s instructions, as they hold the key to unlocking the perfect drying time for each specific glue type. Additionally, consider the size and intricacy of your woodworking project, as larger or more complex creations often demand a longer clamping time to ensure a bond that will stand the test of time.
Patience Is Key: Extended Clamping Times for Larger or Complex Glue-Ups
Today, we embark on a journey into the world of larger or more complex glue-ups. These projects demand not only skill and precision but also an essential ingredient – patience. So grab your favorite cup of joe and let’s delve into why extended clamping times are crucial for achieving a strong and durable bond in these challenging endeavors.
Size Matters:
In the realm of larger projects, time becomes an invaluable ally. Picture a tiny droplet of glue attempting to penetrate every intricate detail of a massive tabletop. It’s like painting Michelangelo’s masterpiece with a toothbrush.
By embracing patience and allowing for extended clamping times, we provide ample opportunity for the glue to seep deep into every wood fiber, forging a bond that defies time.
Complexity Adds a Twist:
Complexity introduces another layer of intrigue to the equation. More surface area to cover and more nooks and crannies to fill mean additional time for the glue to settle and bond properly.
It’s akin to solving an intricate puzzle – each unique piece requires its moment to find its perfect fit. So take a deep breath, embrace the complexity, and let patience guide you towards unparalleled craftsmanship.
Wood Type Matters Too:
Ah, the enchanting world of wood – nature’s fingerprint. Different woods boast varying densities and moisture contents, directly impacting the drying and setting times of glue. Some woods are thirsty beasts that drink up glue eagerly, while others are more reluctant, demanding extra time for that perfect bond to form. Pay heed to the characteristics of your chosen wood and adjust your clamping times accordingly.
Manufacturer’s Wisdom:
Just as we follow a recipe to bake a delectable cake, it is crucial to heed the manufacturer’s instructions when it comes to glue. Each type of glue has its unique curing time, and the manufacturers know what’s best for their product. So, my friends, read those instructions diligently and honor the wisdom of the glue gods.
The Risks of Prematurely Removing the Clamps
Woodworking is a craft that demands patience and precision. Every step, from selecting the right wood to applying the perfect finish, plays a crucial role in creating a masterpiece.
When it comes to gluing wood pieces together, removing the clamps too soon can jeopardize the entire project. In this article, we will explore the risks of prematurely removing clamps and why it is essential to give your glue ample time to work its magic.
Weak Joints and Reduced Bond Strength:
Imagine pouring your heart into building a stunning table, only to have it collapse due to weak joints. Removing clamps before the glue has fully cured or dried is one of the primary risks.
Different adhesives require specific curing times influenced by factors like temperature, humidity, and wood type. Rushing this process can result in weak joints, compromised bond strength, and potential adhesive failure.
Take the time to let your glue set properly and ensure a sturdy foundation for your woodworking masterpiece.
Misalignment and Shifting:
Woodworking is an art of precision, where every millimeter counts. Clamps play a vital role in maintaining proper alignment during the gluing process. They keep the wood pieces steady until the glue sets, ensuring a seamless union. Removing clamps too early can disrupt this delicate balance, causing misalignment or even separation of the wood pieces.
Such mistakes lead to uneven or compromised joints that mar the beauty of your project. Be patient, let the glue work its magic, and preserve the precise alignment of your woodworking creation.
Gaps and Voids:
A flawless joint is like poetry in motion – two wood pieces seamlessly melded together as one. Prematurely removing clamps can disrupt this harmony and create unwanted gaps or voids in the glued joint. Glue expands slightly as it cures, filling any imperfections between the wood surfaces.
Removing clamps too soon halts this expansion process, leaving weak spots that compromise the structural integrity of your project. Avoid these unsightly gaps and ensure the strength and beauty of your craftsmanship by allowing the glue to fully cure.
U0hhFjjW5EU” >
Conclusion
The length of time that glued wood should stay clamped is a crucial factor in ensuring a strong and durable bond. While there is no one-size-fits-all answer to this question, it is generally recommended to keep the clamps in place for at least 24 hours. This allows the glue to fully cure and bond with the wood fibers, resulting in a solid connection.
However, it’s important to note that different types of glue may have specific instructions regarding clamping time. Some fast-drying adhesives may only require a few hours, while others may need up to 48 hours or more. It is always best to consult the manufacturer’s guidelines for the specific adhesive you are using.
During this clamping period, it’s crucial to ensure that the pressure applied by the clamps is even and consistent across the glued surfaces. This helps prevent any gaps or weak spots in the bond. Additionally, it’s essential to choose appropriate clamps that exert enough force without damaging the wood.
While waiting for the glue to cure, it’s advisable to keep the glued wood in a controlled environment with stable temperature and humidity levels. Extreme fluctuations can affect the bonding process and compromise its strength.
In conclusion, giving glued wood ample time under clamping pressure is vital for achieving optimal results. Whether it’s 24 hours or longer, following manufacturer recommendations and taking care during this period will help create a sturdy and long-lasting bond between pieces of wood.

