Welcome to the captivating world of resin crafts, where your imagination can run wild and your creations can come to life. But what happens when you’re in the midst of a project and find yourself anxiously waiting for that super glue to dry? Fear not, my fellow resin enthusiasts, for I am here to shed light on this mysterious process.
In this blog post, we’ll embark on a journey to unravel the secrets behind how long it takes for super glue to set on resin. Whether you’re a curious beginner or a seasoned pro seeking perfection, understanding the drying time of super glue will elevate your crafting game and ensure flawless results.
So get ready for an adventure as we explore the intricate relationship between super glue and resin – a dance that requires precision, chemistry, and a touch of enchantment. Let’s dive right in and discover the magic.
Factors Affecting Drying Time of Super Glue on Resin
Contents
- 1 Factors Affecting Drying Time of Super Glue on Resin
- 2 General Drying Time of Super Glue on Resin
- 3 Curing Time of Super Glue on Resin
- 4 Temperature and Humidity Effects on Drying and Curing Time
- 5 Following Manufacturer’s Instructions for Optimal Bonding and Drying
- 6 Using Accelerators or Primers to Speed Up the Process
- 7 Alternatives to Super Glue for Larger Pieces
- 8 Testing Bonding Strength and Drying/Curing Time
- 9 Conclusion
Super glue, a versatile adhesive used to bond various materials, including resin, requires an understanding of the factors that affect its drying time. To achieve optimal results, it is essential to explore the key factors that influence the drying time of super glue on resin.
Different types and viscosities of super glue have varying drying properties. Selecting a super glue specifically formulated for bonding resin ensures compatibility and efficient drying.
Environmental conditions such as temperature and humidity also play a vital role in drying time. Warmer temperatures accelerate the chemical reaction that causes curing, resulting in faster drying times. Low humidity levels promote quicker drying as moisture in the air can interfere with the bonding process. Maintaining optimal temperature and humidity levels in a well-ventilated environment is crucial for faster drying.
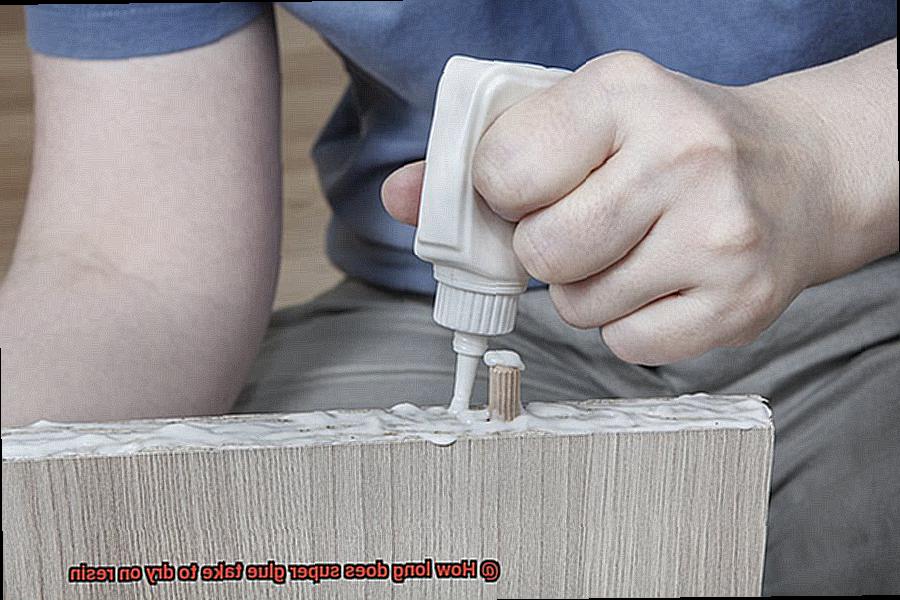
Proper surface preparation is essential for effective adhesive bonding and influences drying time. Thoroughly cleaning the resin surface removes contaminants that hinder adhesion. Roughening the surface with sandpaper or using a primer designed for resin improves bond strength and speeds up drying.
Applying an appropriate amount of super glue is crucial for optimal drying time. Too much glue results in longer drying times while too little may not provide sufficient bonding strength. Following manufacturer guidelines for recommended application amounts ensures the right balance.
The thickness of the resin layer affects drying time as thicker layers retain more heat and moisture, prolonging the process. Applying multiple thin layers of super glue, allowing each layer to dry before adding another, expedites drying.
Avoid manipulating or moving glued parts once super glue is applied as constant touching or shifting disrupts the bond and extends drying time. Following manufacturer instructions regarding curing time allows sufficient time for adhesive to fully cure and achieve maximum bond strength.
General Drying Time of Super Glue on Resin
Today, we embark on a journey into the mesmerizing world of super glue drying time on resin. Join me as we unravel the enigmatic factors that influence this magical process, unveiling the secrets to achieving efficient bonding in your creative projects.
Choosing the Perfect Super Glue:
Not all super glues are created equal. The type and brand you select have a profound impact on drying time. Opt for a glue specifically designed for bonding resin materials to ensure optimal results. Trust in the artistry of a reliable adhesive.
The Thickness Factor:
Like a master painter’s brushstroke, the thickness of your super glue application dances with drying time. Thin layers dry faster, allowing your project to come to life swiftly. Remember, less is often more when it comes to bonding resin surfaces – an elegant touch is all it takes.
Temperature and Humidity Dance:
In this intricate choreography, temperature and humidity conditions play a crucial role in the drying process. Higher temperatures set the stage for accelerated drying, while lower temperatures slow it down, adding suspense to the performance. Additionally, high humidity levels prolong drying time as moisture interferes with the act. Find the sweet spot by orchestrating your work in a controlled environment.
Resin’s Chemical Composition:
Resin materials possess a unique chemical composition, an unseen artist’s signature that leaves its mark on drying time. Some resins contain additives or curing agents that can slow down the bonding process, requiring patience and precision in your craft. Consult the manufacturer’s recommendations for specific instructions – let their expertise guide your artistic endeavor.
Patience is a Virtue:
While super glue may tantalize with its swift touch-dry sensation, true mastery requires patience. Allow sufficient curing time before subjecting your bonded resin to stress or load. The dance of strength and resilience takes time to reach its crescendo. Remember, great artistry is born from patience.
Prepping for Success:
In the art of efficient bonding, proper surface preparation is vital. Cleanse and prime your resin surfaces, readying them for a harmonious union with super glue. Adorn your canvas with the perfect foundation – set the stage for a masterpiece.
The Power of Pressure:
To expedite drying time and enhance the symphony of bonding, consider the power of pressure. Embrace clamps or apply gentle force to the bonded pieces, encouraging an intimate connection between the glue and resin. This choreographed embrace accelerates the drying process, ensuring a secure and swift bond.
Curing Time of Super Glue on Resin
In this article, we will delve into the intriguing factors that influence the curing time of super glue on resin. Whether you’re a seasoned crafter or just starting out, understanding these factors will help you achieve the best results and create stunning masterpieces that stand the test of time.
Not all super glues are created equal. Different brands and formulations may have varying curing times. It’s essential to follow the manufacturer’s instructions for application and curing time to ensure optimal bonding strength.
The amount of glue used plays a crucial role in the curing process. Applying too little glue may result in a weak bond, while using too much can prolong the curing time. Finding the right balance is key to achieving a strong and timely bond.
Ah, the dance of temperature and humidity. These factors can significantly impact the curing time of super glue on resin. Higher humidity levels can accelerate the curing process, while lower humidity levels may slow it down. Similarly, higher temperatures can speed up curing, while lower temperatures can prolong it. It’s important to work in an environment that provides optimal conditions for curing.
Resin surfaces are often non-porous, containing little moisture. This can affect the curing time compared to more porous materials. To enhance adhesion and reduce the risk of incomplete curing, it’s advisable to prepare the resin surface before applying super glue. This can be done by cleaning the surface with a mild solvent or lightly sanding it to create a rough texture.
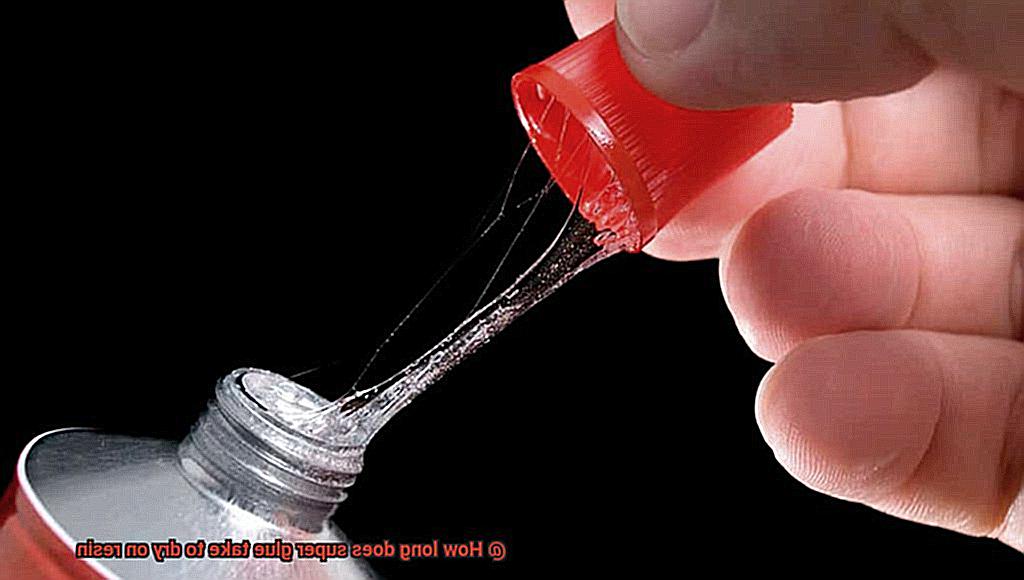
While initial bonding may occur within seconds, full cure time can take up to 24 hours, depending on the type of super glue used. To ensure your creation withstands the test of time, allow sufficient curing time before subjecting it to any stress or load.
Temperature and Humidity Effects on Drying and Curing Time
Temperature and humidity are two key factors that significantly impact the drying and curing time of super glue on resin. Like a delicate dance between elements, finding the perfect balance is essential for achieving optimal bonding results. So, let’s delve deeper into the intricate relationship between temperature, humidity, and the drying and curing process.
When it comes to temperature, it’s all about finding that Goldilocks zone. High temperatures can speed up the drying process, but beware of extreme heat, as it can weaken the bond strength. On the other hand, low temperatures can slow things down, so patience is necessary when working in a chilly space. It’s like a delicate equilibrium – not too hot, not too cold.
Now let’s talk humidity – the unseen force that can make or break your bonding experience. Higher humidity levels tend to prolong drying time because moisture in the air interferes with the curing process. So if you’re in a humid climate or working in a steamy room, be prepared for a slightly longer wait. Conversely, extremely low humidity levels can cause the glue to dry too quickly, potentially resulting in weaker bonds. That’s why finding that sweet spot of moderate humidity (around 40-60%) is crucial.
To expedite the drying process, consider incorporating air circulation through fans or other means. This promotes evaporation of moisture from both the adhesive and the environment, helping to accelerate drying time. Just ensure you’re working in a well-ventilated area to keep those fumes at bay.
But what if you find yourself in less-than-ideal conditions? Fear not. Adjusting your drying time accordingly can help combat those unfavorable circumstances. For instance, if you’re dealing with high humidity, give the glue a little extra time before handling or applying any stress to the bond. It’s all about adapting and making the most out of your environment.
Following Manufacturer’s Instructions for Optimal Bonding and Drying
Today, we will delve into the importance of following the manufacturer’s instructions to achieve impeccable results. So, gear up and get ready for a journey filled with expert tips and tricks.
You might be tempted to bypass those instructions and rely on your intuition, but trust us, my friends, sticking to the guidelines is the secret sauce to success. Let’s break it down step by step.
First things first, different super glue brands have their own unique instructions for bonding and drying on resin surfaces. These instructions are meticulously crafted based on extensive testing and research. Each brand knows what works best for their product. By adhering to these guidelines, you are maximizing your chances of achieving a robust and long-lasting bond.
One crucial aspect to pay attention to is the recommended amount of glue to use. Applying too much or too little can significantly impact the quality of the bond. The instructions will also specify the ideal temperature and humidity conditions for proper bonding and drying. Ignoring these requirements can result in weak bonds or prolonged drying times – both undesirable outcomes.
Moreover, take note of the curing time specified in the instructions. This duration may vary depending on the brand and type of super glue you’re using. Rushing the process or not allowing sufficient time for curing can compromise the strength of the bond.
Now, what happens if you disregard those instructions? Well, brace yourself for a weak bond that is prone to breakage or a surface that remains tacky even after hours of waiting. Not following the instructions can also lead to irreversible damage on your precious resin surface – definitely not a risk worth taking.
To ensure a successful bonding and drying experience, here are some invaluable tips: apply even pressure during bonding, resist the temptation to use excessive glue, and generously allocate curing time according to the manufacturer’s instructions. Oh, and let’s not forget about some common mistakes people make, such as neglecting proper surface cleaning or failing to align the pieces correctly. Double-check those instructions to avoid falling into these traps.
Using Accelerators or Primers to Speed Up the Process
Well, I’ve got some exciting news for you. There’s a secret weapon that can make the process lightning-fast: accelerators and primers.
Accelerators and primers are like magical elixirs that work wonders on resin surfaces. How do they do it? Let me unravel the mystery for you. Accelerators are powerful substances that turbocharge the curing reaction of the adhesive, slashing drying time in half. Primers, on the other hand, act as the ultimate matchmakers, forging an unbreakable bond between the adhesive and the surface, resulting in rapid drying times.
To harness the full potential of these time-saving superheroes, you must prepare your resin surface meticulously. Cleanse it of any impurities, ensure it’s bone-dry, and free from any contaminants. Then, apply a delicate, even layer of accelerator or primer and wait for the magic to happen. Once it’s dry, unleash your super glue and prepare to witness a miraculous transformation right before your eyes.
However, before you embark on this accelerated journey, there are a couple of points to bear in mind. Accelerators and primers come in various forms – sprays, liquids, aerosols, brushes, pens – so choose the one that aligns perfectly with your needs. Also, remember that while accelerators and primers speed up drying time, they may impact the strength and durability of the bond. So, be prudent when selecting the right product for your project.
Alternatives to Super Glue for Larger Pieces
When it comes to creating magnificent resin pieces, relying solely on Super Glue may not always be the best choice. Its grip and endurance might fall short for heavy or intricate structures.
There are exquisite alternatives that can elevate your creations to new heights. In this guide, we will explore some of the top alternatives to Super Glue for larger resin pieces, providing you with formidable bonds and extraordinary results.
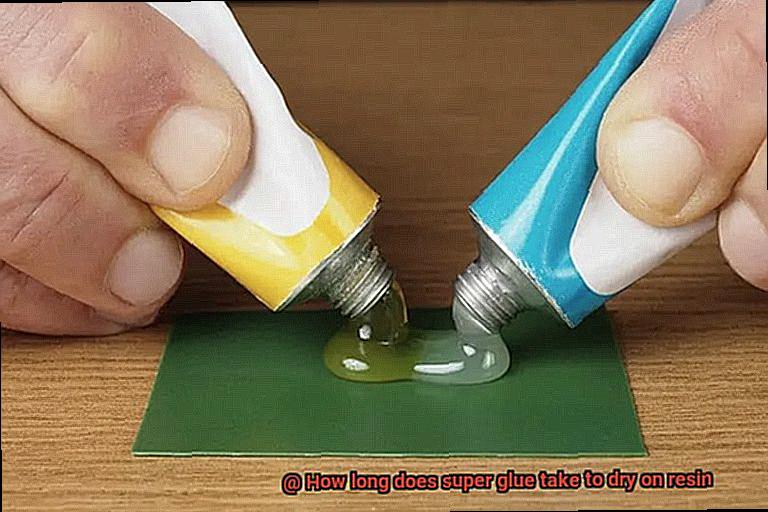
Epoxy Resin:
Epoxy resin stands as a popular contender when it comes to bonding larger resin pieces. This dynamic adhesive comprises two parts: a resin and a hardener. When these components intertwine, they create a potent and robust bond capable of withstanding substantial loads. Unlike Super Glue, epoxy resin demands patience as it takes several hours to fully cure. However, its unparalleled bonding strength makes it an exceptional choice for larger resin structures.
Polyurethane Adhesive:
Polyurethane adhesives possess a reputation for their versatility and ability to fuse an array of materials, including resin. These adhesives offer remarkable bonding strength and flexibility, making them ideal for larger, intricate resin structures. Moreover, their resilience against water and temperature fluctuations ensures the longevity of your bonded resin pieces.
Construction Adhesives:
For specific types of large resin creations like outdoor sculptures or furniture, construction adhesives like Liquid Nails emerge as sensational alternatives to Super Glue. These adhesives are specifically engineered to bond hefty materials and deliver unwavering durability on resin surfaces. With various formulations available, including waterproof versions, they present themselves as fitting choices for outdoor applications.
Mechanical Fastening Methods:
In some instances, mechanical fastening methods might outshine adhesives in securing larger resin pieces. This entails utilizing screws, bolts, or other hardware to firmly unite the resin components. Mechanical fastening imparts additional strength and stability, especially when combined with adhesives. It is crucial to select fasteners suitable for the specific resin type and ensure proper installation for optimal outcomes.
Testing Bonding Strength and Drying/Curing Time
In this blog post, we will guide you through an exciting experiment that will help you test the bonding strength and drying/curing time of super glue on resin. Get ready to unleash the full potential of your resin masterpieces.
Materials Needed:
- Different types of resins (epoxy resin, polyester resin, etc.)
- Various brands of super glue
- Clean cloth or paper towels
- Safety goggles
- Disposable gloves
- Timer or stopwatch
- Stress testing equipment (weights, clamps, etc.)
Safety Precautions:
Before we dive into the experiment, let’s prioritize safety. Wear safety goggles and disposable gloves throughout the process. Work in a well-ventilated area to prevent inhaling any fumes.
Step-by-Step Instructions:
Prepare Test Samples:
Start by meticulously cleaning the resin surface using a clean cloth or paper towels. Remove any dust or debris that could compromise bonding strength and drying time.
Apply Super Glue:
Using a small amount of super glue, evenly apply it onto the resin surface. Follow the manufacturer’s instructions for proper application.
Press Surfaces Together:
Once applied, firmly press the two surfaces together. This ensures maximum contact between the adhesive and resin for a strong bond.
Allow Drying/Curing Time:
Now comes the waiting game. Set a timer or stopwatch for the specified drying/curing time indicated by the super glue manufacturer. This period can range from minutes to hours.
Perform Stress Tests:
After the specified time has elapsed, it’s time to put the bond to the test. Evaluate bonding strength through various stress tests such as pulling, twisting, applying weight or pressure, and subjecting the bond to extreme temperatures.
Record Results:
Make sure to document the results of each stress test, noting the type of resin and super glue used. This allows for comparison and analysis of different combinations.
Repeat and Experiment:
For accurate and reliable results, repeat the experiment with different resin types and super glue brands. This comprehensive approach will help you understand their performance under various conditions.
By conducting controlled experiments to test the bonding strength and drying/curing time of super glue on resin, you can unlock the true potential of your resin masterpieces. Prioritize safety, follow manufacturer instructions, and embrace experimentation to find the perfect combination for your projects. So put on your gloves, get ready for some resin wonders, and leave everyone in awe.
Also Read: How Long Does Super Glue Take to Dry?
Conclusion
Super glue is a popular adhesive choice for bonding resin, but how long does it take to dry? The answer depends on several factors. Firstly, the type of super glue you’re using can affect drying time. Some formulas are designed to dry quickly, while others may take longer. Additionally, the thickness of the glue application plays a role. Thicker layers will naturally take longer to dry compared to thin ones.
On average, super glue can dry on resin within minutes to an hour. However, it’s important to note that full curing and maximum bond strength may take up to 24 hours or more. So, if you’re working on a resin project that requires a strong and durable bond, it’s best to exercise patience and allow ample time for the glue to fully set.
Imagine your excitement when crafting a beautiful resin jewelry piece or assembling a delicate resin model. You carefully apply the super glue, hoping for a quick bond so you can move forward with your masterpiece. But alas. Time seems to stand still as you anxiously wait for the glue to dry.
Fear not. Super glue has your back in this sticky situation. Depending on the type of super glue and the thickness of its application, drying times can vary from mere minutes to an hour. Picture yourself watching as each passing minute brings you closer to completing your project.
However, don’t be fooled by appearances alone. While the surface may appear dry after just a few minutes, true bonding power takes time. To achieve maximum strength and durability, it is recommended that you wait at least 24 hours before putting any stress on the bonded resin pieces.
So sit back, relax, and let time work its magic. Give your creation the patience it deserves by allowing sufficient drying time for that perfect bond. Remember – good things come to those who wait.
In conclusion, when using super glue on resin projects, expect varying drying times depending on factors such as glue type and application thickness. While surface drying can occur within minutes to an hour, complete curing may take up to 24 hours or more.