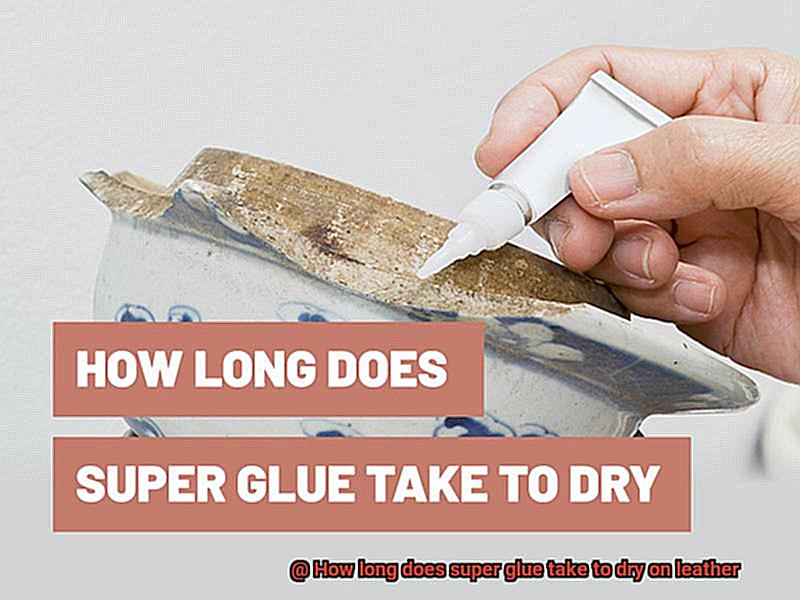
Leather, oh leather. It’s the epitome of elegance and class, adding a touch of sophistication to our lives. But let’s be real – accidents happen. A tear here, a separation there, and suddenly our beloved leather goods need some serious TLC. Enter super glue, the hero of quick fixes. But how long does this magical adhesive take to dry on leather?
If you’ve ever found yourself anxiously watching the clock tick away while your glue seems to be in slow-mo mode, fear not – you’re not alone. In this blog post, we dive headfirst into the captivating world of super glue and its relationship with leather. We’ll unravel the mysteries behind drying times and equip you with tips and tricks to optimize the process. So sit tight as we unveil the secrets of super glue bonding on leather, ensuring that you can mend and restore your precious leather treasures with confidence.
Let’s get started.
Drying Time of Super Glue on Leather
Contents
- 1 Drying Time of Super Glue on Leather
- 2 Factors Affecting the Drying Time of Super Glue on Leather
- 3 Thinner Leathers Dry Faster Than Thicker Ones
- 4 Humidity Levels Impact the Drying Time of Super Glue
- 5 Let the Glued Item Sit Undisturbed for 24 Hours
- 6 Removing Excess Super Glue from Leather
- 7 Preparing the Surfaces Properly Before Applying Super Glue
- 8 Following Manufacturer’s Instructions and Safety Guidelines
- 9 Conclusion
Super glue, also known as cyanoacrylate adhesive, is a popular choice for bonding leather due to its strong and fast-drying properties. However, the drying time of super glue on leather can vary depending on several factors. In this article, we will explore these factors and provide some tips for ensuring optimal drying time when using super glue on leather.
Factors Affecting Drying Time:
- Type and Thickness of Leather: Thinner leathers, such as garment leather or lambskin, tend to absorb the glue more quickly and may dry faster compared to thicker leathers like full-grain or suede. The porosity of the leather plays a significant role in the rate at which the glue dries.
- Amount of Glue Applied: Applying a thin layer of super glue on the leather surface ensures quicker drying and prevents excessive saturation that might prolong the drying time. Using too much glue can result in excess moisture that takes longer to dry.
- Environmental Conditions: Humidity levels can affect the drying time of super glue on leather. High humidity can slow down the drying process, while low humidity can speed it up. It is best to work in a well-ventilated area with moderate humidity levels for optimal drying.
Tips for Optimal Drying Time:
- Clean and Prepare the Surfaces: Properly cleaning and preparing the leather surfaces before applying super glue is essential for a successful bond. Remove any dirt, dust, or oils from the leather using a mild detergent or rubbing alcohol. This ensures better adhesion and reduces the chances of any contaminants interfering with the glue’s drying process.
- Allow Sufficient Drying Time: While super glue may appear dry on the surface within minutes, it is recommended to let the glued leather item sit undisturbed for at least 24 hours to ensure complete curing and maximum bond strength. Avoid putting any pressure or stress on the glued area during this time. This extended drying period allows the glue to reach its full potential and ensures a durable bond.
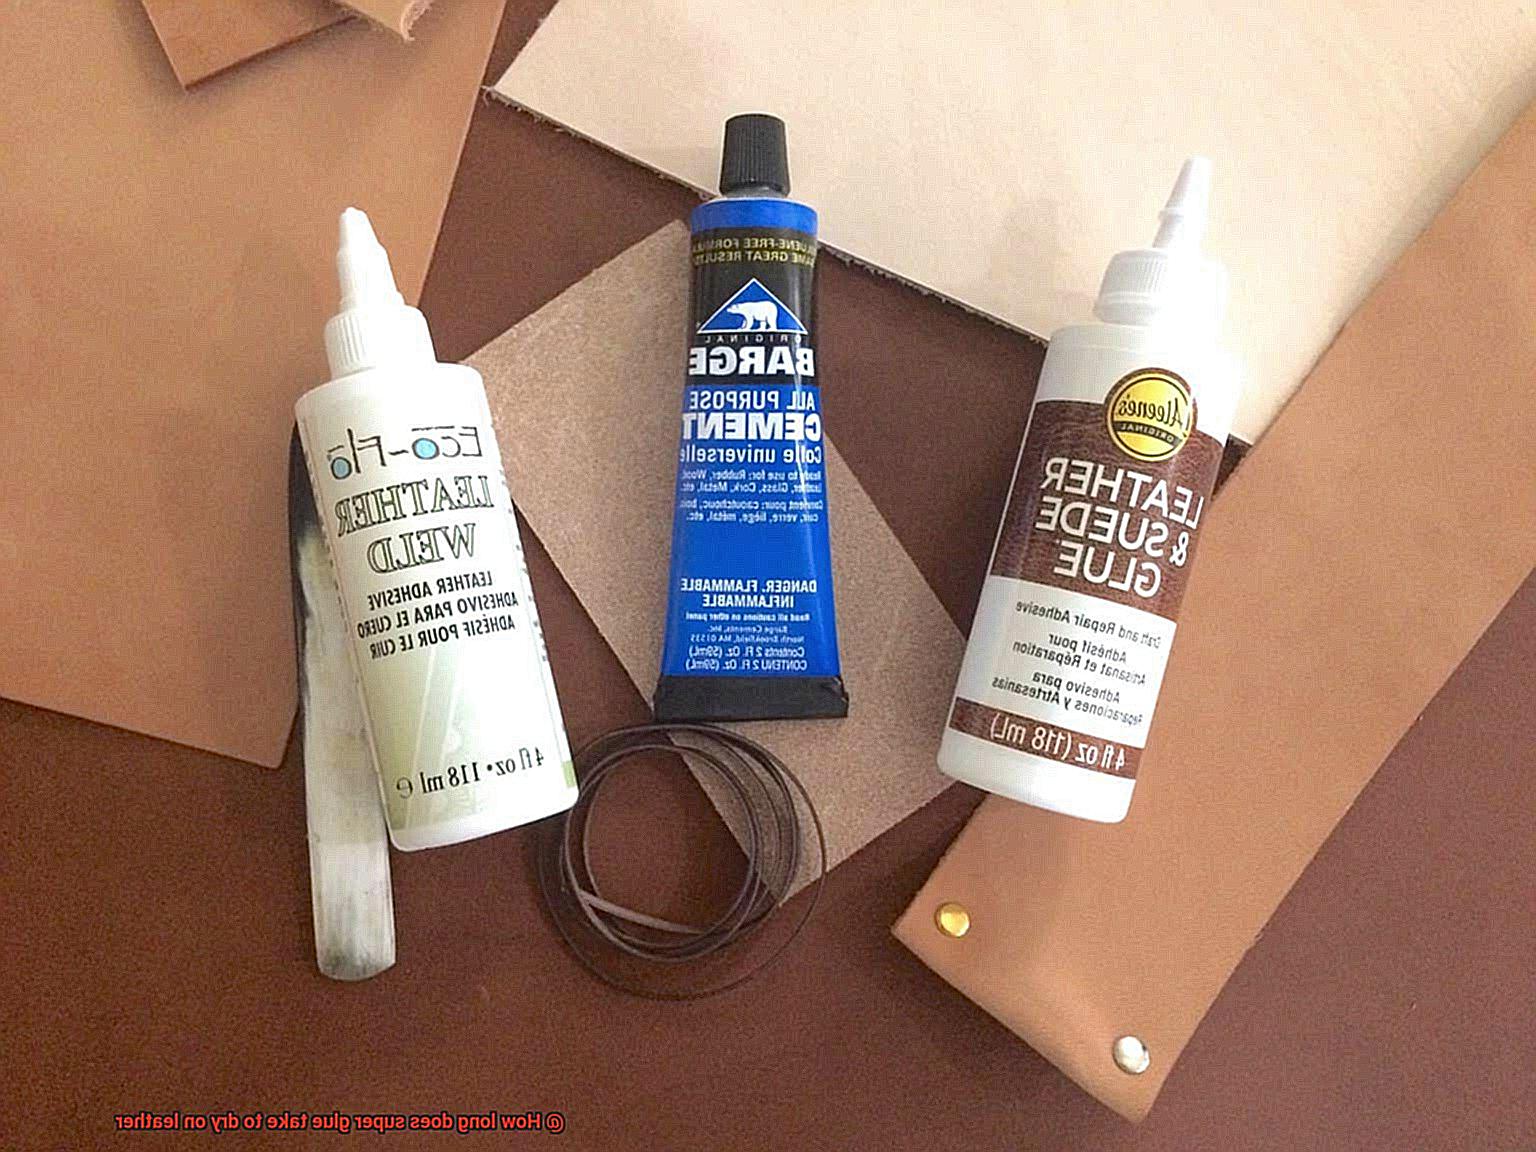
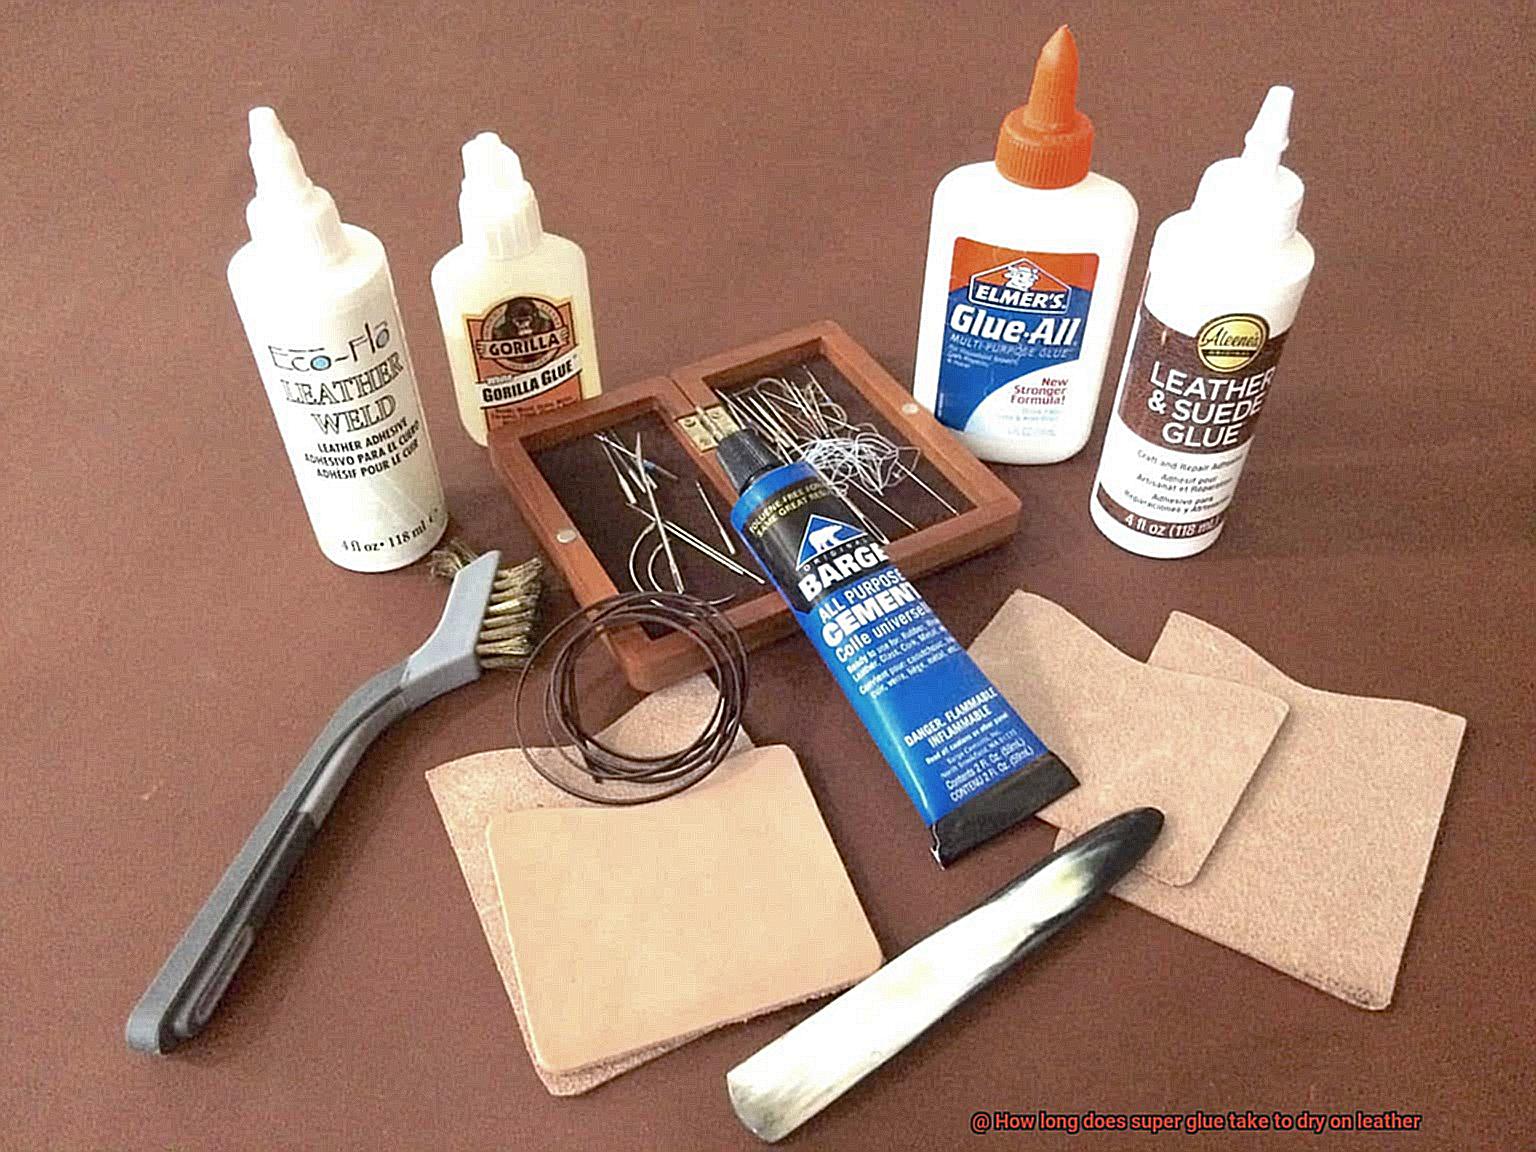
- Choose the Right Glue: Some super glues are specifically formulated for use on leather and may offer faster drying times compared to general-purpose glues. It is advisable to choose a glue that is suitable for leather applications. These specialized glues often have additives that enhance the bonding process and reduce drying time.
- Test in an Inconspicuous Area: If you are unsure about using super glue on your specific leather item, it is best to test it on a small, inconspicuous area first to check for any adverse reactions. This will help you determine if the glue is compatible with your particular type of leather and if it dries within an acceptable timeframe.
Factors Affecting the Drying Time of Super Glue on Leather
The satisfaction of a perfectly repaired leather item or a stunning DIY leather project is hard to match. However, before you can proudly display your handiwork, ensuring that the super glue dries properly is crucial. In this blog post, we will explore the captivating world of factors that affect the drying time of super glue on leather. So grab a cup of coffee and get ready to dive into the secrets of successful bonding.
Type of Super Glue:
Not all super glues are created equal. Cyanoacrylate-based adhesives are your best bet for bonding leather due to their exceptional strength. These gems dry faster than their epoxy-based counterparts, which take more time to set and cure.
Temperature and Humidity:
Mother Nature holds immense power over drying time. Higher temperatures work like magic, speeding up the process, while lower temperatures can be a buzzkill. Similarly, low humidity levels mean faster drying, while high humidity can leave you waiting for what feels like an eternity. Keep an eye on the thermostat and adjust accordingly.
Thickness of Glue Application:
When it comes to super glue on leather, thin is in. A thin layer ensures faster drying compared to thick globs. Apply the glue evenly for optimal results and avoid excessive amounts.
Porosity of Leather:
Think of leather as a sponge; it absorbs whatever you throw at it (within reason). The more porous the surface, the quicker the glue will dry. On smoother or treated surfaces, however, be prepared for a longer drying time as absorption may not be as rapid.
Quality and Composition of Leather:
Leather types vary in absorbency and chemical properties, affecting drying time. Full-grain leather, known for its absorbency, allows the glue to dry faster. Synthetic or treated leathers may pose challenges due to their unique properties.
Application Technique:
The way you apply the super glue can make or break the drying time. Apply the glue evenly, avoiding excessive amounts. Thoroughly clean the surfaces to ensure no oils or dirt interfere with the process.
By understanding factors such as glue type, temperature and humidity, thickness of application, leather porosity, quality and composition, and application technique, you can ensure successful bonding with super glue on leather. Repair your favorite leather items and embark on exciting DIY projects with confidence.
Thinner Leathers Dry Faster Than Thicker Ones
Today, we embark on a journey to unravel the mystery behind why thinner leathers dry faster than their thicker counterparts when it comes to super glue. Prepare to be captivated as we delve into intriguing research notes that shed light on this fascinating subject.
Understanding the Basics:
- Density Differences: Thinner leathers possess a lower density compared to their thicker counterparts. With less material for the super glue to penetrate, it evaporates more quickly, resulting in a faster drying time.
- Absorption Matters: The higher density of thicker leathers provides more surface area for the adhesive to seep into. Consequently, this necessitates a longer drying time as the glue requires more time to fully penetrate the material.
Factors That Influence Drying Time:
- Type of Leather: Genuine leather, derived from animal hide, generally dries faster than synthetic or bonded leather due to its natural properties. The organic composition of genuine leather facilitates quicker evaporation of the super glue.
- Environmental Conditions: Temperature and humidity play significant roles in determining drying time. Higher temperatures and lower humidity levels accelerate the drying process, while colder temperatures and higher humidity levels prolong it. Keep these factors in mind when working on your leather projects.
Tips to Expedite Drying Time:
- Gentle Heat Application: Harness the power of a hairdryer on its lowest heat setting or employ a fan to enhance air circulation around the glued area. However, exercise caution as excessive heat can damage or discolor the leather. Always conduct a small inconspicuous test before applying heat directly.
- Thin Layers and Ventilation: For swifter drying, apply a thin layer of super glue and ensure proper ventilation in your work area. This combination allows for increased air circulation, facilitating the evaporation of the adhesive.
Humidity Levels Impact the Drying Time of Super Glue
Humidity levels have a significant impact on the drying time of super glue, especially when working with leather. Whether you’re a craft enthusiast or a professional in the field, understanding this relationship can make all the difference in achieving the perfect bond.
- High Humidity Slows It Down: When the air is humid, moisture levels are high. This excess moisture interferes with the chemical reaction that occurs when super glue comes into contact with air, slowing down the drying process. Working in a tropical paradise or during a rainy season? Be prepared for some patience-testing drying times.
- Low Humidity Speeds It Up: On the flip side, dry air acts as a superhero, speeding up the drying time of super glue. The absence of moisture allows for faster evaporation of the glue’s solvent, aiding in the curing process. If you find yourself in a desert or arid environment, rejoice. Your super glue will dry quicker than you can say “bonded for life.”
- Extreme Humidity Can Be Tricky: While both high and low humidity levels have their pros and cons, extremes are not ideal for achieving optimal bonding results. Excessively high humidity can lead to smudging or fingerprints on your leather due to prolonged drying times. Extremely low humidity, on the other hand, can cause the glue to cure too quickly, resulting in weaker bonds or a brittle texture.
- The Goldilocks Zone: Aim for a moderate humidity level of around 40-60% relative humidity to achieve that perfect bond on your leather projects. This range strikes a balance between allowing sufficient drying time for a strong bond and avoiding excessive moisture or dryness that could compromise the adhesive’s performance.
- Tricks of the Trade: In humid environments, consider using a dehumidifier or air conditioner to reduce moisture and speed up drying. In dry environments, a humidifier can increase humidity levels and slow down the drying time. And don’t forget about proper ventilation. Good airflow helps dissipate moisture and promotes faster drying.
Let the Glued Item Sit Undisturbed for 24 Hours
Gluing items together requires patience and precision. One crucial step in the process is to let the glued item sit undisturbed for 24 hours. This waiting period is essential for several reasons.
Firstly, the curing time of the adhesive is important to consider. While super glue dries quickly, forming a solid bond within minutes, it takes longer for the glue to fully cure and reach its maximum strength. By allowing a full 24 hours for the glue to cure, you ensure that it has enough time to establish a strong connection between the glued surfaces.
Secondly, strength matters when it comes to glued items. Waiting for 24 hours before disturbing the glued item allows the bond to become as strong as possible. This ensures that the glued pieces will be able to withstand stress or tension without giving way.
Thirdly, any disturbance during the first 24 hours can disrupt the bonding process and weaken the connection. It is important to keep your hands off the glued area and avoid applying pressure during this waiting period. Finding a safe and undisturbed spot for the glued item is crucial to maintain the integrity of the bond.
Lastly, environmental factors such as temperature and humidity can affect the drying and curing times of super glue. Allowing 24 hours for the glue to sit undisturbed accounts for any variations in these factors, ensuring a consistent and reliable bond.
It is important not to rush the process by applying more adhesive or using heat sources like hairdryers. These shortcuts can compromise the bond and potentially damage the glued item.
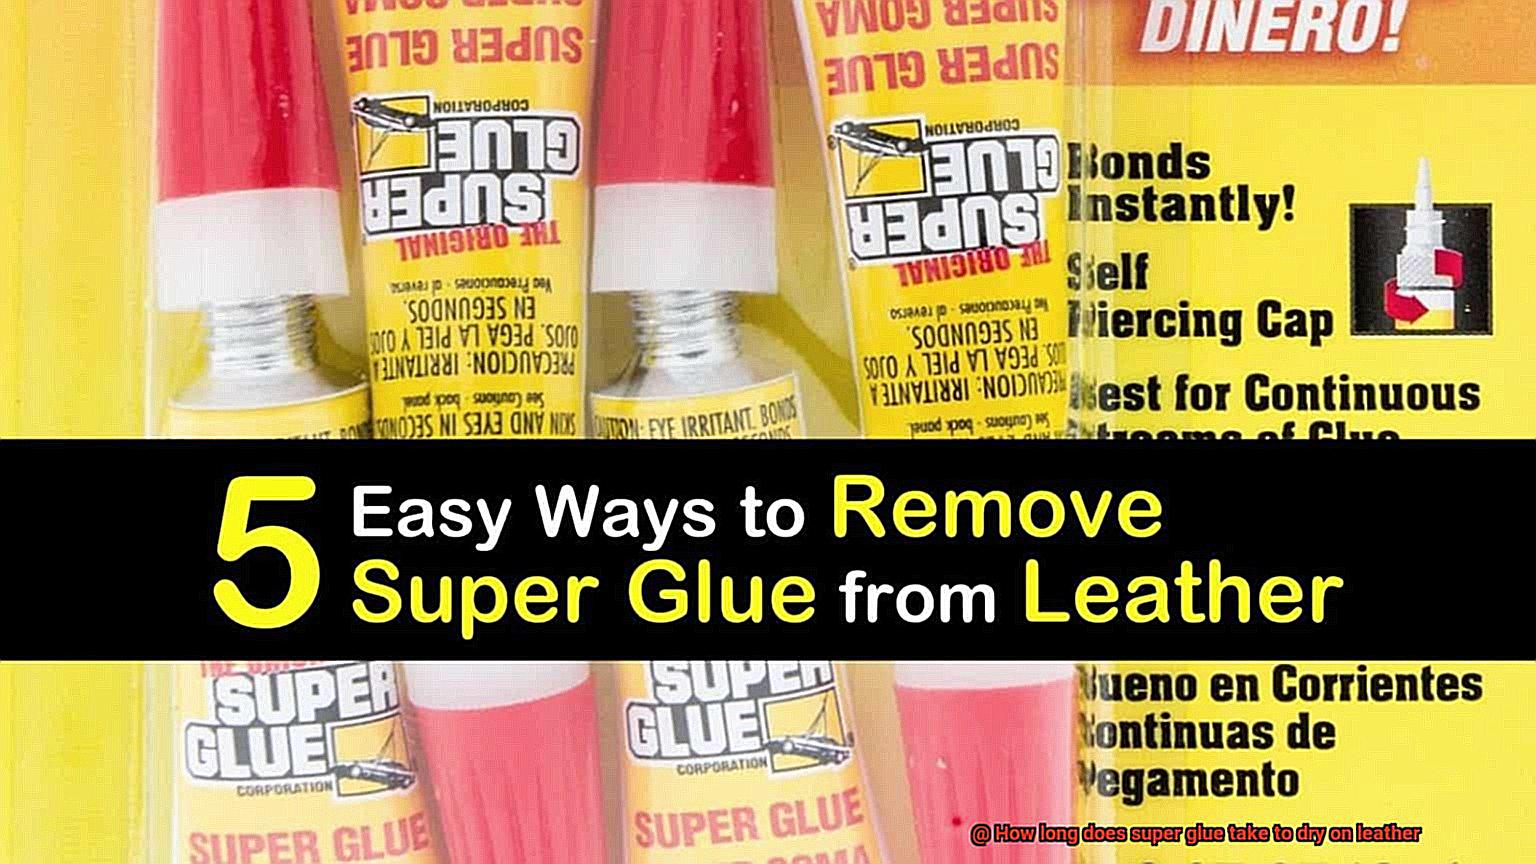
Removing Excess Super Glue from Leather
Sometimes, excess super glue ends up on your beloved leather item, causing panic. But fear not. With the right approach and a gentle touch, you can remove that stubborn glue without causing any damage. In this comprehensive guide, we’ll explore different methods to safely remove excess super glue from leather, ensuring your item remains as good as new.
Method 1: Acetone or Nail Polish Remover
- Test it first: Apply a small amount of acetone or nail polish remover on an inconspicuous area to ensure it doesn’t cause discoloration or damage.
- Dab, don’t rub: Gently dab the affected area with a cloth or cotton swab soaked in acetone or nail polish remover. Avoid vigorous rubbing that could damage the leather.
- Dissolve and lift off: Continue dabbing until the glue starts to dissolve and lift off. Patience is key here; rushing the process may lead to unwanted consequences.
Method 2: Heat
- Low heat setting: Use a hairdryer set on low heat.
- Keep a safe distance: Hold the hairdryer several inches away from the glued area to prevent overheating the leather.
- Warm and scrape: As the glue warms up, use a plastic tool like a credit card or spatula to gently scrape it off the leather. The pliability of the glue makes it easier to remove.
Method 3: Adhesive Remover
- Specialized product: Purchase an adhesive remover specifically designed for tough adhesives on leather.
- Follow instructions carefully: Read and adhere to the manufacturer’s instructions for best results.
- Apply sparingly: Apply the adhesive remover sparingly to the affected area and allow it to sit for a few minutes before gently wiping or scraping off the dissolved glue.
Preparing the Surfaces Properly Before Applying Super Glue
When it comes to tackling a leather project, whether it’s repairing a prized jacket or fashioning a custom accessory, a strong, long-lasting bond is essential. But before you reach for that trusty tube of super glue, it’s crucial to prepare the surfaces properly. In this guide, we’ll take you through the essential steps to ensure your leather surfaces are ready for the magic of super glue. So, let’s dive in and discover the secrets to achieving a bond that truly holds.
Step 1: Cleanliness is Key:
Before applying super glue, cleanliness reigns supreme. Any trace of dirt or debris can disrupt the adhesive properties of the glue. Gently wipe down the leather using a mild soap and water solution or a specialized leather cleaner. Treat your leather with care, avoiding harsh scrubbing that could mar its beauty.
Step 2: Dry it Out:
Moisture is the enemy of a strong bond. After cleaning, allow the leather to air dry naturally or use a clean, dry cloth to absorb excess moisture. Remember, patience is key – you want those surfaces bone dry before moving on.
Step 3: Smooth Operator:
For flawless adhesion, address any rough or uneven areas on the leather surface. Lightly sand them down to create an invitingly smooth canvas for the super glue. Employ fine-grit sandpaper or an abrasive pad, gently working in circular motions. Exercise caution to avoid exerting excessive pressure that may harm the leather.
Step 4: Texture Matters:
Certain super glues thrive on lightly textured surfaces. Follow your glue manufacturer’s instructions to determine if this step is necessary for your particular combination of glue and leather. If so, embrace the art of gentle roughening with fine-grit sandpaper or an abrasive pad – unlocking the potential for an unbreakable bond.
Step 5: Primer Power:
Some super glues may require a primer or activator to unlock their true bonding capabilities on leather. Consult the product instructions or seek advice from a professional to determine if a primer is advisable for your specific glue and leather pairing. Trust the primer’s power to elevate your bond to new heights.
Step 6: Align and Secure:
Before applying the super glue, ensure that both surfaces you wish to bond are perfectly aligned. This crucial step prevents later misalignment or shifting once the adhesive is applied. Utilize clamps, tape, or other securing methods as needed – a small investment of time that guarantees a flawless outcome.
Step 7: Safety First:
Last but never least, prioritize safety by working in a well-ventilated area when handling super glue. Its potent fumes can be overwhelming and potentially harmful with excessive inhalation. Enhance air circulation with open windows or fans, and consider safeguarding your skin with gloves against direct contact with the glue.
Following Manufacturer’s Instructions and Safety Guidelines
By doing so, you can ensure a strong bond, a durable finish, and most importantly, your own safety. In this article, we will walk you through the key points to consider when working with super glue on leather.
The Importance of Instructions:
To achieve optimal results, always refer to the manufacturer’s instructions for specific guidance on drying time, application techniques, and any additional considerations. Each brand may have its own unique characteristics and requirements, so it’s crucial to use the specific product instructions.
Safety First:
When working with super glue on leather, prioritize safety by wearing protective gloves and working in a well-ventilated area to avoid inhaling fumes. Additionally, ensure the leather surface is clean and dry before applying the adhesive. Any dirt, oil, or moisture can compromise the bond.
Drying Time and Factors Affecting It:
Super glue is known for its quick-drying properties, often within seconds or minutes. However, curing and strengthening may take several hours or days. Temperature and humidity can impact drying time – higher temperatures and lower humidity levels accelerate the process. Be mindful of these factors when planning your project timeline.
Patience is Key:
While it may be tempting to rush the drying process, allowing sufficient time for the super glue to fully dry and cure is crucial for a strong bond. Prematurely touching or moving the glued leather can weaken adhesion and compromise the final result. Exercise patience and give the adhesive ample time to set before subjecting it to stress or pressure.
Seek Professional Advice:
If you are unsure about the drying time or any other aspect of using super glue on leather, consult the manufacturer’s instructions or seek guidance from a professional. They can provide specific advice based on the product and application requirements, ensuring your project is a success.
Conclusion
Super glue on leather is a sticky situation. But fear not, for I am here to provide you with the answer you seek. How long does it take for super glue to dry on leather? Well, my friend, the answer is not as simple as one might think. It depends on various factors such as the type of super glue used, the temperature and humidity of your surroundings, and even the thickness of the leather itself.
In general, super glue can dry within minutes to hours. However, when it comes to leather, patience is key. The porous nature of leather can slow down the drying process significantly. So don’t be surprised if it takes a bit longer than expected.
To ensure a successful bond between your leather and super glue, it’s crucial to follow a few steps. Firstly, clean the surface of the leather thoroughly to remove any dirt or oils that could hinder adhesion. Then apply a small amount of super glue onto one side of the bond and press both surfaces firmly together.
Now comes the waiting game. Give it some time to work its magic. Keep in mind that while the surface may feel dry to the touch after a few minutes, it doesn’t mean that it has fully cured. The adhesive needs sufficient time to penetrate and bond with the leather fibers.
For optimal results, I recommend giving it at least 24 hours before subjecting your glued leather item to any stress or strain. This will allow ample time for complete drying and ensure a strong and durable bond.
So there you have it – how long super glue takes to dry on leather can vary but with proper preparation and patience, you’ll be able to achieve excellent results.