Welcome back to our DIY blog, where we explore all things crafty and creative.
Today, we’re diving into the world of adhesives and focusing on a popular choice for woodworking and other intricate projects: Starbond adhesive. If you’ve ever used Starbond, you’ve likely wondered how long it takes to dry.
We all know that feeling of impatience as we eagerly await the glue to set, anxiously anticipating the final result. Whether you’re a seasoned DIY enthusiast or just starting out, getting the timing right is crucial.
So let’s dive in and put an end to those glue-drying dilemmas once and for all.
Factors that Affect Drying Time of Starbond
Contents
- 1 Factors that Affect Drying Time of Starbond
- 2 Types of Starbond Adhesives and Their Drying Times
- 3 The Impact of Material on Drying Time
- 4 The Effect of Surrounding Conditions on Drying Time
- 5 Full Strength and Curing Potential
- 6 Recommended Wait Time for Maximum Bond Strength
- 7 Accelerators and Heat to Speed Up the Process
- 8 Instructions for Accurate Information on Drying Times
- 9 Conclusion
Starbond, the renowned brand of cyanoacrylate adhesive, is prized for its quick-drying capabilities and strong bond. However, achieving optimal drying time with Starbond involves understanding the various factors that influence it. In this article, we will delve into the key factors that affect the drying time of Starbond, uncovering the science behind its rapid and reliable adhesion.
Type of Starbond:
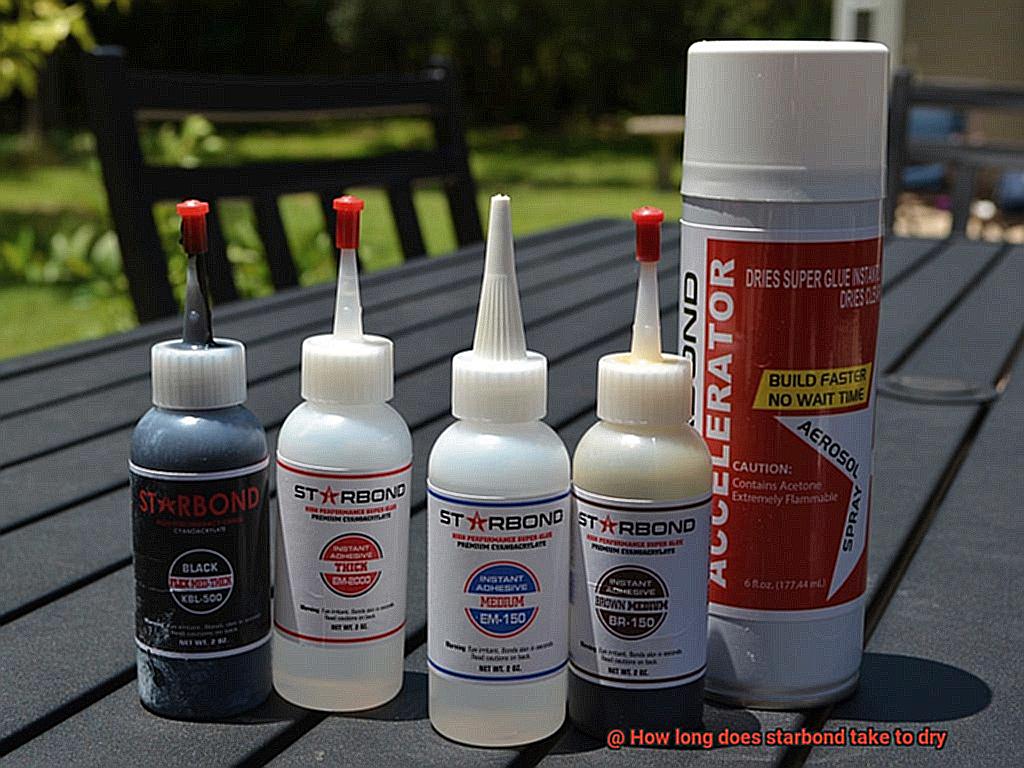
The specific formulation of Starbond used significantly impacts its drying time. With a range of options available – thin, medium, thick, and gel – each boasts different viscosities and curing times. Thin Starbond dries within mere seconds, while thicker variants require additional time to fully cure and establish a robust bond.
Temperature:
The temperature of the environment exerts a profound influence on Starbond’s drying time. Higher temperatures accelerate the curing process, while lower temperatures decelerate it. To achieve optimal drying results, harness the power of Starbond in an environment where temperatures range from 70°F to 90°F.
Humidity:
Humidity levels wield considerable sway over the evaporation rate of solvents within the glue. Elevated humidity can impede the curing process, whereas low humidity expedites it. To maintain consistent drying times, work in an environment with moderate humidity levels (approximately 40-60%).
Porosity of Surfaces:
The absorbency or porosity of the surfaces being bonded can impact drying time. Porous materials like wood or paper tend to absorb more glue, necessitating additional drying time for complete adhesion. Conversely, non-porous surfaces such as glass or metal facilitate faster drying due to minimal absorption.
Application Thickness:
The quantity of glue applied also affects drying time. Thicker applications necessitate longer drying periods compared to thinner ones. Applying an appropriate amount ensures proper bonding and optimal drying time.
Mixing and Ratio:
Certain types of Starbond require mixing or adherence to specific ratios. It is essential to meticulously follow the manufacturer’s instructions, as deviations can disrupt drying time and overall performance.
Ventilation:
Proper ventilation during the drying process is paramount. Adequate airflow expedites solvent evaporation, resulting in faster curing times. Furthermore, it prevents the accumulation of potentially harmful fumes.
Types of Starbond Adhesives and Their Drying Times
Searching for the perfect adhesive to complete your craft project? Look no further than Starbond adhesives. With a wide range of options, each with its unique properties and drying times, Starbond has the adhesive solution for you. In this article, we will explore the different types of Starbond adhesives and their respective drying times, ensuring you can choose the right one for your specific needs.
Thin Viscosity CA Glue
One of the most common types of Starbond adhesive is the thin viscosity CA glue. This adhesive is perfect for bonding materials like wood, metal, plastic, and rubber. The best part? It dries in just 10-20 seconds. So when you need a quick repair or have a project that requires immediate bonding, thin viscosity CA glue is your go-to adhesive. It’s like magic: blink, and it’s dry.
Medium Viscosity CA Glue
Looking for an adhesive that offers a bit more flexibility? Medium viscosity CA glue is the answer. With a slightly thicker consistency compared to thin viscosity glue, it allows for better gap filling capabilities. You have around 30-60 seconds of drying time to make adjustments before the adhesive sets. It’s like walking a tightrope: finding the perfect balance between bonding strength and working time.
Thick Viscosity CA Glue
For projects that require a longer drying time, thick viscosity CA glue is the way to go. This adhesive has a higher thickness and requires more time to fully cure. The drying time can range from 60 seconds to several minutes, depending on the specific product and conditions. So if you have a big project that demands precision and patience, thick viscosity CA glue will get the job done. It’s like a slow dance: taking your time to ensure a strong and lasting bond.
Colored CA Glues
In addition to the different viscosities, Starbond also offers colored CA glues. These adhesives have the same drying times as their clear counterparts but come in various colors, allowing for more aesthetic options in your projects. Whether you want to add a pop of color to your woodworking or create unique jewelry pieces, colored CA glues are perfect for the job. It’s like painting with glue: creating vibrant and eye-catching pieces.
The Impact of Material on Drying Time
Today, we will delve into the fascinating topic of how different materials can impact the drying time of Starbond glue. Whether you are a DIY enthusiast or a professional craftsman, understanding these factors will ensure that your projects turn out flawlessly every time.
Let’s start by exploring the material itself. Different materials possess varying levels of absorbency, which directly affects drying time. Imagine wood and paper as thirsty sponges eagerly soaking up the glue, resulting in a shorter drying time. In contrast, non-absorbent materials like glass or metal may require more patience as the glue sits on the surface without being readily absorbed.
Porosity is another crucial aspect to consider. Highly porous materials allow the glue to penetrate deeper, affecting the drying time. Therefore, keep in mind that a highly porous material will necessitate more drying time compared to a less porous one.
Now, let’s turn our attention to temperature and humidity. As a general rule, higher temperatures and lower humidity levels accelerate the drying process. So, if you find yourself in a warm and dry environment, expect your Starbond glue to dry faster, allowing you to proceed with your project swiftly. Conversely, cooler temperatures and higher humidity levels can impede the drying process, requiring additional patience on your part.
It is also essential to take into account the type of Starbond glue you are using. Different formulations may have varying drying times. For instance, thin viscosity glues tend to dry faster compared to medium or thick viscosity glues. Thus, selecting the appropriate formulation based on your desired drying time is key.
The thickness of the glue application is another critical factor to consider. Thicker layers will naturally take longer to dry compared to thin layers. So, if time is of the essence, it might be wise to apply a thinner layer of glue.
Lastly, do not overlook the significance of air circulation and ventilation in your drying environment. Adequate airflow can expedite the drying process by facilitating the evaporation of moisture, resulting in quicker drying times.
The Effect of Surrounding Conditions on Drying Time
Well, my friend, I have some good news for you. Today, we are going to explore the captivating world of glue drying time and how the surrounding conditions can either be your best friend or your worst enemy.
Let’s start with a scorching summer day. Picture yourself basking in the warm embrace of the sun, feeling its soothing rays on your skin. Well, guess what? Higher temperatures have a delightful effect on drying time. They speed up the process, allowing your Starbond glue to dry in record time. Say goodbye to wasted minutes and hello to more productive DIY projects. On the flip side, lower temperatures can put a damper on things, quite literally. Cold weather has a way of slowing down drying time, leaving you twiddling your thumbs in frustration.
Now let’s dive into the fascinating world of humidity. Imagine stepping into a stifling rainforest with air so thick with moisture that it feels like you’re swimming through a sea of dampness. Well, that’s precisely what high humidity does to your beloved glue – it makes drying a challenge akin to evaporating water in a sauna. Not an easy task, I assure you. However, in dry climates with low humidity, moisture evaporates faster from the glue, giving it a helping hand in drying quickly.
But wait, there’s more. Air circulation also plays a vital role in this intricate dance of drying. Picture a gentle breeze wafting through your workspace or a fan strategically placed to create a current of air. This movement helps remove moisture from the glue and accelerates the drying process. It’s like having a personal assistant that ensures everything dries in a jiffy. However, stagnant air can be a real party pooper, prolonging drying time and leaving you exasperated. So, remember to keep that air flowing.
Now, let’s explore the materials themselves. Different surfaces have varying levels of absorbency and affinity for moisture. Imagine a thirsty sponge eagerly soaking up every drop of glue it encounters. Well, some materials are just like that – they absorb moisture from the glue, slowing down the drying time as they hold on tight. So, be mindful of what you’re gluing together and choose your materials wisely.
Thickness matters too. Imagine slathering on a thick layer of glue, envisioning a speedy drying process. Unfortunately, reality doesn’t always align with our dreams. Thick layers take significantly longer to dry than thin ones. It’s like baking a cake in the oven – a thin layer bakes faster than a thick one. So, if time is of the essence, keep those glue layers nice and thin.
Full Strength and Curing Potential
While it may not be the most glamorous topic, understanding how glue reaches its full strength and cures is essential for achieving strong and durable bonds. In this blog post, we will delve into the factors that determine the full strength and curing potential of Starbond glue.
Let’s start by discussing the different types of glue offered by Starbond. From thin to thick, they offer a range of viscosities. Thin glues have a lower viscosity and can easily penetrate porous materials, resulting in faster drying times. On the other hand, thicker glues have a higher viscosity and require more time for solvents to evaporate, leading to longer drying times.
The composition of the glue also plays a role in its drying time. Some glues contain accelerators or additives that speed up the drying process. These additives can significantly reduce curing time, allowing you to move forward with your project more quickly.
The size and nature of the surfaces being bonded are important factors as well. Smaller surfaces will dry faster than larger ones because there is less area for the glue to cover and bond. Additionally, certain materials may absorb the glue more readily, resulting in quicker drying times.
Temperature and humidity are critical factors that affect drying time. Higher temperatures accelerate solvent evaporation, speeding up the drying process. Conversely, lower temperatures can prolong drying time. Similarly, low humidity levels promote faster drying as moisture evaporates more quickly, while high humidity can slow down the process.
Air circulation also impacts drying time. Proper ventilation helps carry away moisture from the glue, facilitating faster drying. Consider using fans or opening windows if you’re working in a closed or poorly ventilated space to improve air circulation.
It’s important to note that while the glue may appear dry on the surface after a certain period, it may not have reached its full strength or completed its curing process. Thicker glues or when bonding larger or more challenging materials may require several hours or even days to achieve maximum bonding capabilities.
To ensure optimum bonding strength, it is recommended to allow Starbond glue to cure for a sufficient amount of time before subjecting the bonded surfaces to any stress or load. While the exact drying and curing times may vary depending on the factors mentioned above, it is generally advisable to wait at least 24 hours for the glue to fully cure.
Recommended Wait Time for Maximum Bond Strength
Discovering a glue that can create unbreakable bonds is a game-changer. However, understanding how long you should wait before trusting your bond to withstand the test of time is crucial. In this blog post, we will delve into the recommended wait time for achieving maximum bond strength when using Starbond glue.
Factors that Influence Drying Time:
Before diving into the recommended wait time, let’s explore a few factors that can impact the drying time of Starbond glue. Temperature and humidity play a significant role in how quickly the adhesive sets. Colder temperatures or high humidity environments may extend drying time, while warmer temperatures or low humidity conditions can expedite it. By paying attention to these variables, you can achieve optimal results.
Recommended Wait Time:
For smaller bonding projects like jewelry or small woodworking projects, you can typically achieve maximum bond strength within 10 to 15 minutes. These quick-drying properties make Starbond glue a popular choice for such endeavors.
However, when it comes to larger and more complex bonding projects, patience becomes key. It is highly recommended to wait at least 24 hours before subjecting the bond to any stress or load. This extended wait time allows the adhesive to fully cure and ensures a strong and durable bond that can withstand even the toughest challenges.
Tips for Unleashing Maximum Bond Strength:
To ensure you unlock the full potential of your Starbond glue, follow these essential tips:
- Clean and Prepare Surfaces: Before applying Starbond glue, ensure that both surfaces being bonded are clean, dry, and free from any contaminants or residues that could hinder the bonding process. This step sets the foundation for a successful bond.
- Apply an Even Layer: Coat both surfaces with a thin and even layer of Starbond glue. This promotes proper adhesion and enhances bond strength, creating a reliable connection.
- Exert Firm Pressure: During the bonding process, exert firm pressure to secure a tight and secure bond. This action allows the adhesive to penetrate into the pores of the materials being bonded, maximizing strength and reinforcing the connection.
Accelerators and Heat to Speed Up the Process
Today, we embark on a journey through the realm of accelerators and heat to uncover their extraordinary powers in turbocharging the drying process of Starbond glue. Though already renowned for its rapid drying capabilities, there are instances when we crave an even swifter outcome. Fear not, for we shall explore these enchanting tools that can save us precious time.
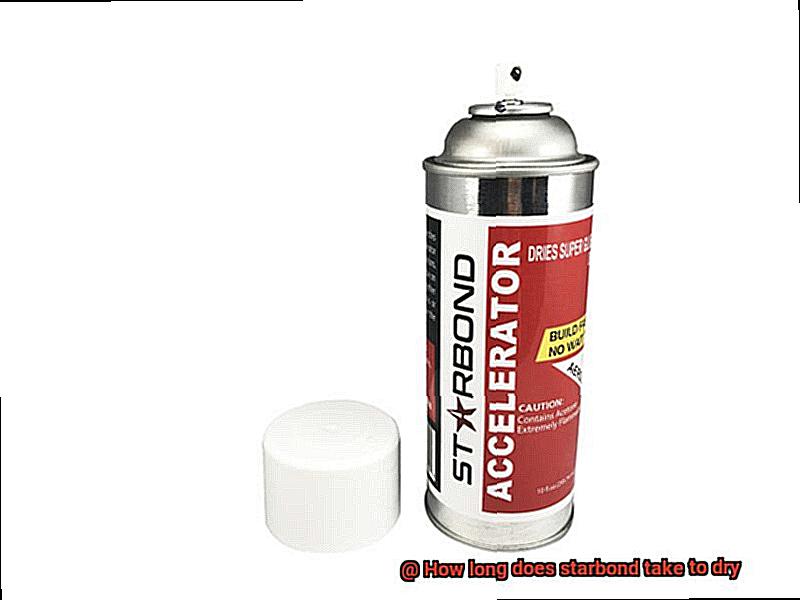
Let us begin with the marvels of accelerators. These magical additives are applied to the bonded surfaces, expediting the curing time of Starbond glue. Imagine them as tiny cheerleaders for your glue, breaking down its molecular structure and hastening solidification.
One particularly popular accelerator for Starbond glue is the CA accelerator. CA, derived from cyanoacrylate, is the very essence of Starbond glue itself. Encased within a convenient spray bottle, this accelerator leaps into action upon contact with the glue, igniting an exothermic reaction that generates scorching heat. Behold, a dynamic duo in action.
Remember to heed the manufacturer’s instructions when utilizing accelerators. Different varieties may possess unique application methods and drying times, so precision is key.
Now, let us turn up the heat. Heat possesses transformative properties when it comes to expediting the drying process of Starbond glue. By increasing the pace of chemical reactions, it bestows upon us a swifter curing time. But fear not, for there are multiple methods through which we can harness its power.
One option entails employing a heat gun or a hairdryer set to low heat. Gently directing warm air onto the glued area initiates a gentle dance between moisture and evaporation, hastening the curing process. Yet caution is crucial, as excessive heat may cause bubbling or diminish the adhesive prowess.
Alternatively, create a cozy sanctuary for your adhesive endeavor. Nestle it near a heater or bask it under a heat lamp, allowing warmth to envelop your creation. This ensures an even distribution of the life-giving heat, resulting in uniform drying. However, vigilance is paramount, as overheating may weaken the bond.
Remember, while accelerators and heat can accelerate the drying process, they may impact the overall strength of the bond. Thus, employ them judiciously and only when necessary.
In summary, accelerators and heat stand as your glue’s personal superheroes, swooping in to rescue you when time is of the essence. Armed with CA accelerators and the gentle embrace of warmth, you shall attain expeditious results. But let wisdom be your guide, adhering to the manufacturer’s instructions to guarantee maximum bonding strength.
Instructions for Accurate Information on Drying Times
Today, we delve into the world of drying times for Starbond glue, unlocking the secrets to achieving accurate and reliable results. Grab your glue guns and let’s get started.
The Importance of Accurate Drying Times:
- Perfect bond strength: Precise drying times ensure a strong and durable bond between materials.
- Efficient time management: Knowing how long Starbond glue takes to dry allows for better project planning and organization.
Factors Affecting Drying Times:
- Adhesive type: Thin, medium, or thick Starbond glue variants have unique drying characteristics.
- Surface material: Different materials absorb or repel moisture differently, impacting drying times.
- Environmental conditions: Humidity and temperature significantly influence the curing process.
Guidance from the Manufacturer:
- Consult manufacturer’s guidelines: Follow the instructions provided by Starbond for specific drying time recommendations.
- Pay attention to recommended range: Allow for variations in conditions and application methods within the suggested range.
- Avoid shortcuts: Resist using external heat sources to speed up drying times, as it compromises bond strength.
Conducting a Test:
- Small-scale trial: Test Starbond glue on a discreet area to observe its behavior under your specific conditions.
- Real-time estimates: This test provides a more accurate estimate of drying times based on unique project factors.
Seeking Expert Advice:
- Reach out to the manufacturer: Contact Starbond directly for additional information or clarification on specific applications.
- Learn from professionals: Connect with experienced artisans or craftsmen knowledgeable about Starbond glue for invaluable insights.
7DgC_5C8Kls” >
Conclusion
Starbond, a popular adhesive used for bonding various materials, is known for its quick drying time. But how long does it actually take to dry? Well, the answer depends on several factors such as the type of Starbond you are using and the environmental conditions.
In general, Starbond adhesives have a fast drying time compared to other adhesives on the market. Most varieties of Starbond can dry within seconds to minutes, allowing you to complete your projects in no time. This rapid drying feature is particularly beneficial for those who need instant results or have tight deadlines.
However, it’s important to note that the exact drying time may vary depending on the specific product you are using. Some types of Starbond may require longer drying times depending on their formulation and intended use. It’s always recommended to refer to the product instructions or consult with the manufacturer for accurate information regarding drying times.
Additionally, environmental conditions can also affect the drying process of Starbond. Factors such as temperature and humidity play a significant role in determining how quickly the adhesive sets. In ideal conditions with moderate temperature and low humidity, Starbond can dry even faster.
To ensure optimal results and minimize any potential issues, it’s crucial to follow proper application techniques when using Starbond. This includes applying an appropriate amount of adhesive onto clean and properly prepared surfaces, allowing sufficient curing time before applying pressure or stress to the bond.
In conclusion, while there isn’t a definitive answer to how long Starbond takes to dry due to various factors at play, it is generally known for its quick-drying capabilities. Whether you’re working on woodworking projects, jewelry making, or any other application where strong bonds are required swiftly, Starbond can be relied upon for its efficient and rapid drying properties.