Need a fast-drying adhesive that won’t make you twiddle your thumbs for hours? Look no further.
Quick Grip is a go-to choice for DIYers and pros alike, thanks to its lightning-fast drying time. But how long does it actually take to dry?
In this blog post, we’ll dig deep into the nitty-gritty and unravel the secrets behind Quick Grip’s speedy drying magic. Whether you’re a seasoned pro or just starting out, stick around (pun intended.)
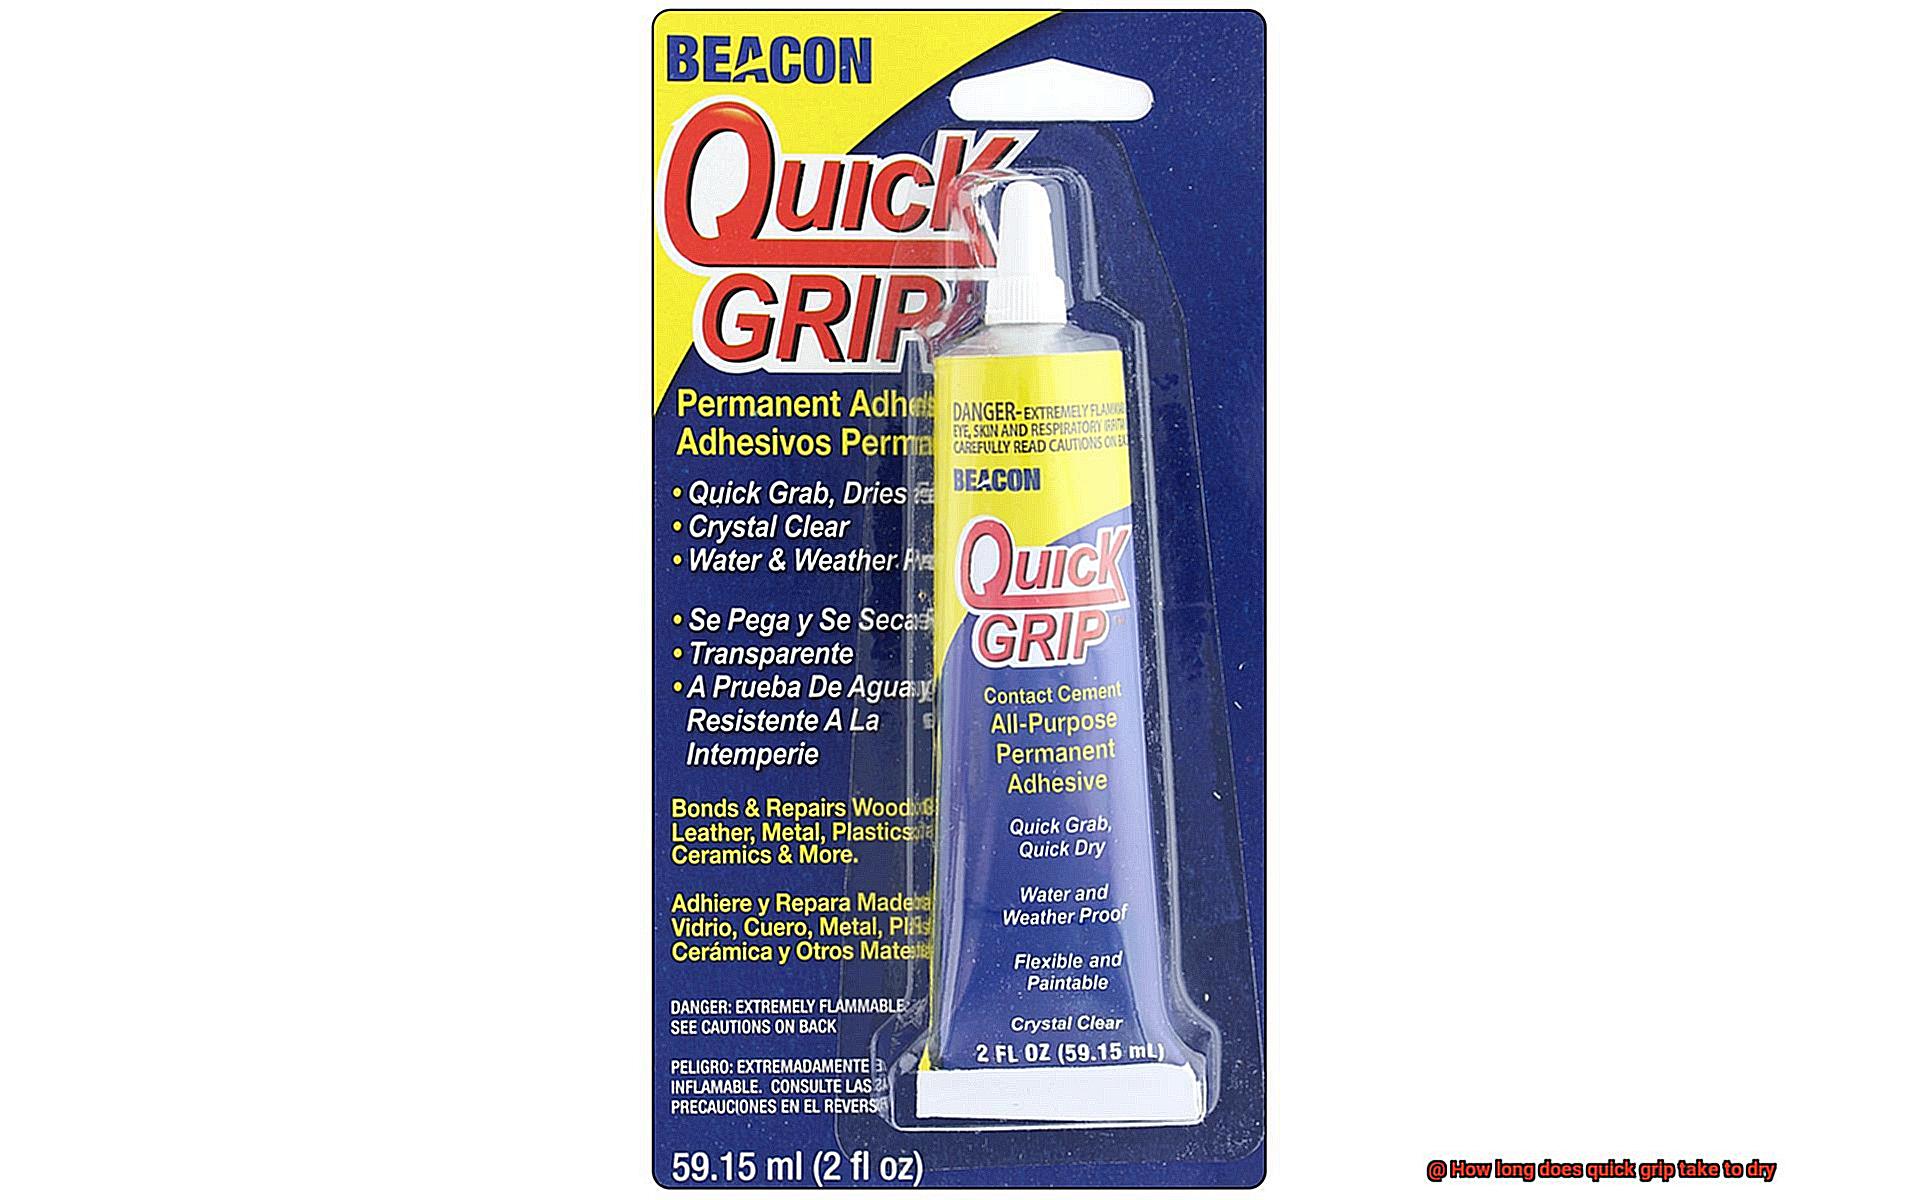
What is Quick Grip?
Contents
- 1 What is Quick Grip?
- 2 Factors that Affect the Drying Time of Quick Grip
- 3 Average Drying Time of Quick Grip
- 4 Tips for Proper Drying of Quick Grip
- 5 Differences in Drying Times Between Brands
- 6 Benefits of Using Quick Grip Adhesives
- 7 Common Mistakes When Using Quick Grip Adhesives
- 8 Alternatives to Quick Grip Adhesives
- 9 Conclusion
Quick Grip is a versatile adhesive that offers fast-drying capabilities and strong bonding properties.
Whether you’re a crafting enthusiast, a DIY lover, or a professional, understanding the power of Quick Grip is crucial for achieving optimal results in your projects.
In this comprehensive guide, we will explore the factors that influence the drying time of Quick Grip and provide you with valuable insights on how to ensure a successful bond.
Factors Affecting Drying Time:
- Amount of Glue Applied: Thin is in. Applying a thin layer of Quick Grip ensures faster drying compared to thick layers. So, spread it evenly and thinly for quicker results.
- Temperature and Humidity: Heat it up and dry it out. Higher temperatures and lower humidity levels speed up the drying process, while lower temperatures and higher humidity levels slow it down. Plan your project accordingly and choose an environment that promotes optimal drying conditions.
Estimated Drying Time:
On average, Quick Grip typically takes around 15 to 30 minutes to dry completely. However, keep in mind that this is just an estimate and can vary based on the factors mentioned above.
Curing Time for Maximum Strength:
Patience pays off. Although Quick Grip dries quickly, it’s best to let the adhesive fully cure before subjecting it to stress or heavy use. This curing process usually takes up to 24 hours, ensuring maximum strength and durability of the bond. Follow the manufacturer’s instructions regarding drying and curing times for best results.
Tips for Successful Bonding:
- Thin is in. Apply a thin layer of Quick Grip for faster drying.
- Heat it up and dry it out. Choose an environment with optimal temperature and humidity levels.
- Patience pays off. Allow the glued object to sit undisturbed for at least 24 hours after application to ensure proper curing.
- Read the fine print. Always refer to the specific product’s instructions for accurate information on drying and curing times.
Factors that Affect the Drying Time of Quick Grip
As an adhesive superhero, Quick Grip possesses the power to dry faster than a speeding bullet. However, harnessing its full potential requires knowledge of the key factors that affect its drying time. In this comprehensive blog post, we will dive into the world of adhesives and explore how temperature, humidity, surface porosity, thickness of application, ventilation, and the type of material can impact Quick Grip’s drying time.
Temperature: The Heat Factor
Temperature plays a crucial role in determining Quick Grip’s drying time. Higher temperatures accelerate evaporation, propelling the adhesive to dry at lightning speed. Conversely, frigid temperatures slow down evaporation, prolonging the drying process. To maximize Quick Grip’s efficiency, it is essential to consider the ambient temperature during application and ensure it falls within the recommended range for optimal results.
Humidity: The Moisture Maze
Humidity levels in the environment can significantly impact Quick Grip’s drying time. High humidity hampers evaporation, while low humidity fosters rapid drying. Achieving the perfect balance is vital as excessively low humidity can cause Quick Grip to dry too quickly, compromising bond strength. Strike the right moisture equilibrium for optimal results.
Surface Porosity: The Absorption Adventure
The porosity of the surfaces being bonded also influences Quick Grip’s drying time. Porous surfaces like wood or unglazed ceramics absorb some adhesive, resulting in an extended drying time. In contrast, non-porous materials such as glass or metal do not absorb adhesive, leading to quicker drying times. Consider the surface porosity to gauge the appropriate drying time.
Thickness of Application: The Thin or Thick Dilemma
The thickness at which Quick Grip is applied affects its drying time. Thick layers of adhesive take longer to dry as a greater amount of material needs to evaporate for proper setting. In contrast, thin layers dry more quickly as there is less material and moisture to evaporate. Adhere to the manufacturer’s instructions regarding recommended thickness to achieve the desired drying time.
Ventilation: The Airflow Advantage
Adequate ventilation is key to expediting Quick Grip’s drying time. Optimal airflow aids in removing evaporating moisture, whereas poor ventilation traps moisture, prolonging the drying process. Ensure proper ventilation by opening windows or using fans to facilitate faster drying. Let the air be your ally in achieving rapid results.
Type of Material: The Chemistry Connection
The type of material being bonded establishes a unique connection with Quick Grip, impacting its drying time. Different materials interact differently with the adhesive due to their chemical composition and surface characteristics. For instance, certain plastics or rubber materials may require longer drying times. Understanding the specific material being glued is crucial in determining the optimal drying time for successful bonding.
Average Drying Time of Quick Grip
The average drying time of Quick Grip, the adhesive superhero, can vary depending on several factors. Let’s explore the exciting world of adhesives and uncover the secrets to harnessing Quick Grip’s fast-drying powers.
Temperature is a key player in Quick Grip’s drying time. Just like we thrive in warmer weather, Quick Grip prefers higher temperatures too. In warmer conditions, this adhesive can dry faster than a speeding bullet, saving you precious time. However, if you find yourself in a chilly environment, Quick Grip may take a bit longer to set. So, consider working in a warm space or use a heater to accelerate the drying process.
Humidity is another factor that can impact Quick Grip’s drying time. This adhesive doesn’t appreciate high humidity levels, as it can slow down the drying process to a snail’s pace. To combat this, try using a dehumidifier or working in a well-ventilated area to help Quick Grip dry faster and get your project back on track.
The surface porosity of the materials you’re bonding also plays a role in Quick Grip’s drying time. Porous surfaces, like wood or fabric, tend to absorb the adhesive more, which can increase the drying time. On the other hand, non-porous surfaces like glass or metal require less drying time. So, take note of the materials you’re working with and adjust your expectations accordingly.
Now let’s talk about the thickness of your adhesive layer. Applying a thin layer of Quick Grip will generally result in a faster drying time compared to a thick layer. So, resist the urge to go overboard with the glue – less is often more when it comes to adhesive application.
Ventilation is also crucial for optimal drying time. Good airflow helps the solvent in Quick Grip evaporate faster, accelerating the drying process. So crack open a window or turn on a fan to get that air moving and ensure a speedy dry.
Last but not least, the type of material you’re bonding can impact Quick Grip’s drying time. Some materials, like plastic or rubber, may require a longer drying time compared to others. So be patient and allow Quick Grip to work its magic at its own pace.
To ensure maximum bonding strength and durability, it is recommended to let Quick Grip dry for at least 24 hours before subjecting it to heavy usage or exposure to moisture. Remember, patience is key when it comes to adhesive superheroes.
Tips for Proper Drying of Quick Grip
Quick Grip adhesive is renowned for its fast-drying properties, making it a popular choice for various projects. However, to ensure a strong and durable bond, it is crucial to allow the glue to dry completely. In this article, we will explore essential tips and techniques for ensuring the proper drying of Quick Grip adhesive.
Apply the Right Amount of Adhesive:
Achieving a strong bond and ensuring proper drying begins with applying the appropriate amount of Quick Grip adhesive. Following the manufacturer’s recommended application thickness is vital. Excessive adhesive can prolong drying time, while inadequate amounts may result in weak bonding.
Use Clean and Dry Materials:
Before applying Quick Grip, ensure that the surfaces to be bonded are clean, dry, and free from dirt, dust, or grease. This meticulous preparation facilitates faster and stronger bonding. If necessary, use a damp cloth to thoroughly clean the surfaces.
Optimize Temperature and Humidity:
Temperature and humidity significantly impact the drying time of Quick Grip adhesive. Work in a well-ventilated area with moderate temperatures ranging from 60°F to 77°F (15°C to 25°C) for optimal drying. Higher temperatures accelerate drying but may reduce working time, while lower temperatures delay drying. Aim for moderate humidity levels of approximately 50% to 60% to ensure proper drying.
Allow Sufficient Drying Time:
Patience is key when it comes to allowing Quick Grip adhesive to dry properly. Even if it feels dry to the touch after a few minutes, allow it to cure for at least 24 hours before subjecting it to any stress or load. This extended curing time ensures maximum strength and durability.
Provide Adequate Ventilation:
Proper ventilation expedites the drying process of Quick Grip adhesive. Ensure that the area where the adhesive is drying is well-ventilated, allowing fresh air to circulate. This helps remove fumes and moisture, aiding in faster drying.
Avoid Moving or Disturbing Bonded Materials:
To prevent any disruption in the drying process, avoid moving or disturbing the bonded materials until the adhesive has fully cured. Even slight movements can weaken the bond and extend the drying time.
Differences in Drying Times Between Brands
Imagine the anticipation of a DIY project, waiting for glue to dry so you can move forward. But the drying process seems to drag on forever, testing your patience and delaying your progress. Understanding the differences in drying times between glue brands is essential for any crafting or DIY enthusiast. In this post, we delve into the fascinating world of glue drying times and shed light on Quick Grip, a brand renowned for its lightning-fast drying properties.
Quick Grip: The Speedster of Glue Brands
Quick Grip is a name that resonates within the crafting and DIY community. This adhesive brand has earned a reputation for exceptional bonding strength and versatility. However, what truly sets Quick Grip apart is its remarkable ability to dry in record time, ensuring that users can swiftly move forward with their projects.
Comparing Drying Times: Quick Grip vs. The Rest
When it comes to drying times, Quick Grip leaves its competitors in the dust. While each brand formulates its glue differently, Quick Grip’s fast-drying formula is designed to expedite the entire process. With Quick Grip, you won’t be left twiddling your thumbs for long.
Factors Influencing Drying Times
While Quick Grip reigns as the king of speedy drying, it’s important to note that drying times can vary due to several factors. Temperature, humidity levels, and the materials being bonded all play a role in determining how quickly glue sets. To achieve optimal results, it is crucial to follow the manufacturer’s instructions.
General Guidelines for Quick Grip Drying Times
Under normal conditions, Quick Grip typically dries within minutes instead of hours. Based on user experiences and feedback, we estimate that Quick Grip’s drying time falls within a range of 5-15 minutes. However, these are merely estimates as various project variables may yield different results.
The Art of Determining Drying Times
To pinpoint the exact drying time for your project, it is advisable to conduct your own tests or experiments. Consider creating a small sample or using scrap materials to apply the glue and monitor its drying process. This way, you gain a better understanding of how Quick Grip behaves in your specific application.
Additional Tips and Considerations
If you find that the glue is drying too slowly, consider optimizing temperature and humidity levels to speed up the process. Conversely, if you need more time for adjustments or alignment, placing the glued materials in a cooler environment can help slow down the drying time.
Benefits of Using Quick Grip Adhesives
It’s time to consider using Quick Grip adhesives. These fast-drying adhesives offer a range of benefits that make them a popular choice among professionals and DIY enthusiasts alike.
One of the key advantages of Quick Grip adhesives is their quick drying time. Unlike traditional adhesives, which can take hours or even days to fully set, Quick Grip adhesives dry within minutes. This means that you can complete your projects more efficiently and move on to the next steps without having to wait for the glue to dry. Whether you are working on woodworking projects, DIY crafts, or any other applications that require a strong bond, Quick Grip adhesives can significantly speed up your work process.
In addition to their fast drying time, Quick Grip adhesives also offer exceptional bonding strength. These adhesives are specially formulated to create a powerful bond between various materials, including wood, metal, plastic, ceramics, and more. The strong bond ensures that your projects stay intact and durable over time. Whether you are repairing furniture, bonding pieces together, or securing objects in place, Quick Grip adhesives provide a reliable solution that withstands the test of time.
Another benefit of using Quick Grip adhesives is their versatility. They can effectively bond together a wide range of materials, making them suitable for various applications in different industries. Whether you are working with porous or non-porous surfaces, Quick Grip adhesives can provide a reliable bond. This versatility makes them a go-to choice for professionals and DIY enthusiasts alike.
Furthermore, Quick Grip adhesives are designed to be user-friendly and easy to apply. They come in convenient packaging with applicators that allow for precise and controlled dispensing of the adhesive. The adhesive itself has a smooth consistency that spreads easily, ensuring even coverage and minimizing the chances of uneven bonding. Additionally, most Quick Grip adhesives are water-based, which makes them easy to clean up with water before they dry.
Quick Grip adhesives also offer excellent resistance to moisture and heat. This makes them suitable for both indoor and outdoor applications. Whether you are working on a project that will be exposed to humidity or extreme temperatures, Quick Grip adhesives can maintain their bonding strength without deteriorating. Their resistance to moisture and heat ensures that your projects remain intact and reliable in various environments.
Lastly, Quick Grip adhesives have a long shelf life. This means that they can be stored for extended periods without losing their effectiveness. This is particularly beneficial if you need to keep an adhesive on hand for future projects or if you work on projects intermittently. The long shelf life ensures that the adhesive remains usable and reliable whenever you need it.
Common Mistakes When Using Quick Grip Adhesives
Quick grip adhesives are like the superheroes of the adhesive world, offering fast-drying and strong bonding capabilities. However, even these powerful adhesives have their weaknesses. In this article, we will explore the most common mistakes people make when using quick grip adhesives and provide you with practical tips on how to avoid them. By understanding these pitfalls, you can ensure that your adhesive projects are not only quick but also successful.
Neglecting Surface Preparation:
One of the most prevalent mistakes is overlooking proper surface preparation before applying the adhesive. Dust, dirt, and moisture can act as barriers, hindering the bonding process and weakening the adhesive’s hold. To maximize adhesion, take the time to thoroughly clean and dry the surfaces involved.
Misapplying the Adhesive:
Using too much or too little adhesive can both lead to undesirable outcomes. Excessive amounts of adhesive result in messy applications and extended drying times, while insufficient application may not provide enough bonding strength. To achieve optimal results, carefully follow the manufacturer’s instructions regarding the correct amount of adhesive for different materials and applications.
Rushing Drying Time:
Quick grip adhesives may dry rapidly, but they still require sufficient drying time to reach their maximum strength. Impatience can be detrimental to your project’s success. Moving or manipulating bonded items too soon can weaken the bond and compromise its durability. To avoid this mistake, always read and adhere to the recommended drying time provided by the manufacturer.
Ignoring Temperature and Humidity:
Extreme temperatures or high humidity levels can significantly impact the drying time and overall performance of quick grip adhesives. Working in unsuitable environmental conditions can lead to subpar results. Ensure a well-ventilated workspace with moderate temperatures and humidity levels within the recommended range for your specific adhesive.
Improper Storage:
Improperly storing quick grip adhesives can render them ineffective or cause them to dry out prematurely. To preserve their potency, store these adhesives in a cool, dry place and ensure the container is tightly sealed after each use.
Alternatives to Quick Grip Adhesives
When it comes to finding alternatives to Quick Grip adhesives, there are plenty of options to explore. Each alternative offers its own unique advantages and disadvantages, making it important to consider your specific needs before making a choice. Here are some popular alternatives to Quick Grip adhesives:
- Epoxy Resin: With its strong and durable bond, epoxy resin is an excellent alternative. It adheres well to a wide range of materials and can withstand high temperatures and harsh environments. However, it does have a longer drying time compared to Quick Grip and can be more expensive.
- Super Glue (Cyanoacrylate Adhesive): Known for its fast drying time, super glue offers a strong bond on various materials. It’s easy to use with its convenient squeeze bottle. However, it may not be as versatile as Quick Grip and may not work well on certain materials like plastic or rubber.
- Double-Sided Tape: Providing a temporary bond, double-sided tape is easy to use and apply. It can be easily removed or repositioned without leaving residue. However, it’s not as strong or durable as Quick Grip and may not hold up well in extreme temperatures or high humidity.
- Wood Glue: Specifically designed for wood surfaces, wood glue offers a strong bond that dries clear. It’s reliable and long-lasting but has a longer drying time compared to Quick Grip and is not suitable for non-porous surfaces.
- Construction Adhesive: Formulated for heavy-duty applications, construction adhesive provides excellent strength and durability. It works well on various surfaces like concrete, metal, and wood. However, it has a longer drying time compared to Quick Grip and can be messy to clean up.
- Craft Glue: As an alternative for lightweight materials like paper and fabric, craft glue bonds effectively without causing damage or discoloration. It dries clear and is great for visible projects. However, it’s not suitable for heavy-duty applications and has a longer drying time.
- Silicone Adhesive: Offering a flexible and waterproof bond, silicone adhesive is suitable for both indoor and outdoor projects. It can withstand extreme temperatures and weather conditions. However, it also has a longer drying time.
o2mBNIuNs0I” >
Conclusion
The drying time of quick grip can vary depending on several factors. On average, it takes about 10-15 minutes for the adhesive to dry completely. However, it’s important to note that this is just an estimate and the actual drying time may differ based on the specific conditions and materials involved.
In some cases, quick grip may dry even faster, especially if applied in thin layers or in a well-ventilated area. Conversely, if the adhesive is applied in thicker layers or in a humid environment, it may take longer to dry.
To ensure optimal drying time, it’s recommended to follow the manufacturer’s instructions and guidelines. These instructions often include recommendations for ideal application thickness, temperature range, and humidity levels.
During the drying process, it’s important to avoid disturbing or moving the bonded objects as this can affect the adhesive’s ability to set properly. Patience is key when working with quick grip – allowing sufficient drying time ensures a strong and durable bond.
In conclusion, while there is no definitive answer to how long quick grip takes to dry, following best practices such as applying thin layers and providing adequate ventilation can help expedite the process.