Picture this: you’re knee-deep in a DIY project, armed with your trusty Liquid Nails adhesive, ready to conquer the world of concrete bonding. But there’s one tiny detail that can make or break your masterpiece—drying time. How long do we need to twiddle our thumbs before we can confidently move forward?
Fear not, my fellow DIY enthusiasts. In this blog post, we’ll embark on a journey to unravel the mysteries of Liquid Nails’ drying process on concrete. We’ll delve into its secret composition and explore the variables that influence its drying time. So, grab yourself a cup of joe and let’s dive headfirst into this sticky adventure together.
What is Liquid Nails?
Contents
- 1 What is Liquid Nails?
- 2 Factors Affecting the Drying Time of Liquid Nails on Concrete
- 3 General Guidelines for Drying Time
- 4 Curing Process of Liquid Nails
- 5 High Humidity, Low Temperatures, and Inadequate Ventilation
- 6 Warmer Temperatures and Good Ventilation
- 7 Waiting for 24 Hours Before Subjecting Bonded Materials to Stress or Loads
- 8 Additional Support or Clamping During Drying Process
- 9 Conclusion
Look no further than Liquid Nails. Loved by professionals and homeowners alike, Liquid Nails is a powerful adhesive that delivers exceptional bonding strength and durability. In this article, we will delve into the world of Liquid Nails, exploring its properties, application techniques, and optimal drying times for concrete surfaces.
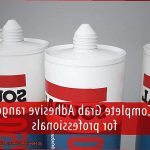
Properties and Versatility:
Liquid Nails is a renowned brand known for its formidable bonding capabilities across various materials, including concrete, wood, metal, and ceramics. When it comes to concrete surfaces, Liquid Nails excels in creating strong and long-lasting bonds. Whether you’re installing tiles, setting stone or brick pavers, or even joining concrete blocks together, Liquid Nails provides the reliability you need. Its ability to endure heavy loads and resist moisture makes it suitable for both indoor and outdoor applications.
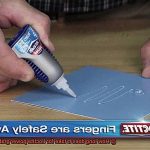
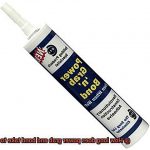
Application Process:
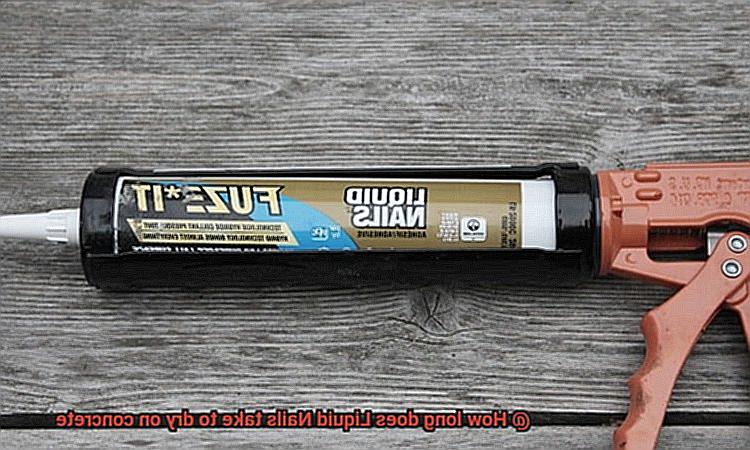
Applying Liquid Nails is a straightforward process. Available in tubes or cartridges, it can be conveniently dispensed using a caulking gun or directly from the tube. Before application, it’s crucial to ensure that the concrete surface is clean and free from dust, grease, or any other contaminants. Thoroughly cleaning the surface with mild detergent or a degreasing agent is essential to ensure optimal bonding.
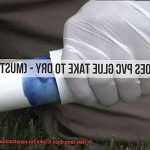
Drying Time and Curing:
The drying time of Liquid Nails can vary depending on factors such as temperature, humidity levels, and the materials being bonded. While it typically sets within 24 hours, full curing may take up to 7 days. During this curing period, it’s vital to avoid subjecting the bonded objects to excessive pressure or stress. Adequate ventilation in the drying area promotes faster curing by facilitating proper air circulation.
Optimizing Drying Time:
To optimize the drying time of Liquid Nails on concrete surfaces, consider the following tips:
- Temperature and Humidity: Warmer temperatures and lower humidity levels generally expedite drying. Ensure proper ventilation in the working area to enhance air circulation.
- Surface Preparation: Thoroughly clean the concrete surface, eliminating any dust, grease, or contaminants using mild detergent or a degreasing agent.
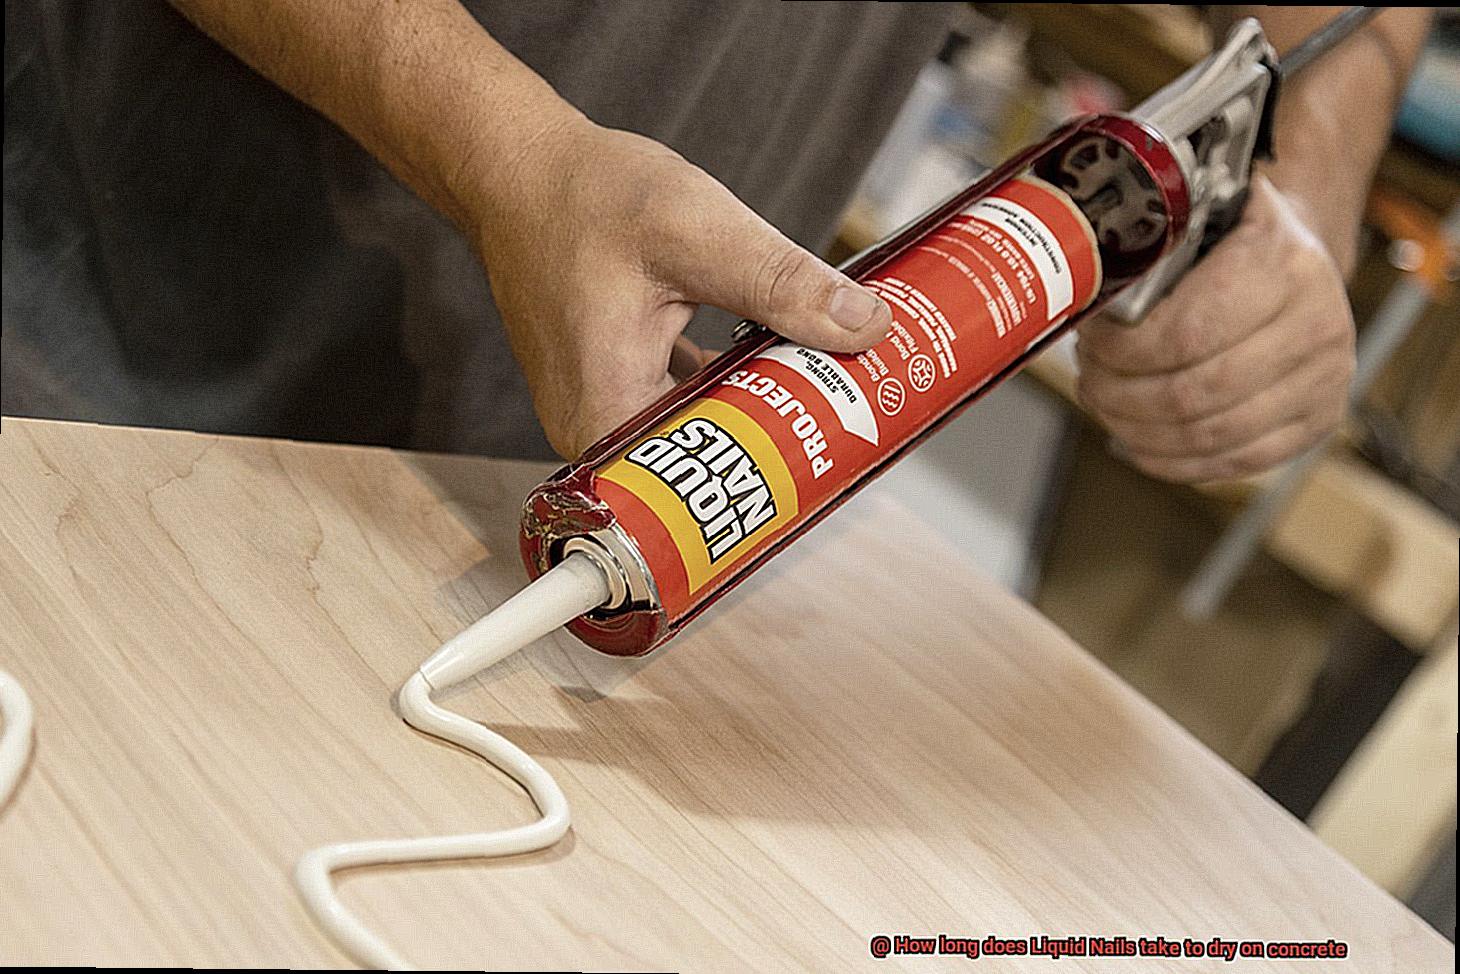
- Application Technique: Apply Liquid Nails in continuous beads or dots, depending on the size and weight of the materials being bonded. Avoid excessive squeeze-out when applying pressure.
- Drying Period: Allow at least 24 hours before subjecting the bonded materials to stress or load to ensure optimal curing and maximum bond strength.
Factors Affecting the Drying Time of Liquid Nails on Concrete
When it comes to bonding materials on concrete surfaces, Liquid Nails is a trusted adhesive among DIY enthusiasts and professionals alike. However, achieving optimal results requires understanding the factors that influence its drying time. In this article, we will explore the crucial factors that affect the drying time of Liquid Nails on concrete, enabling you to achieve outstanding outcomes.
Temperature and Humidity:
The environment holds the power to dictate the drying time of Liquid Nails. Higher temperatures ignite a fiery acceleration, while lower temperatures put the brakes on the process. Heat intensifies the evaporation rate of the adhesive’s liquid components, propelling it towards swift drying. Conversely, high humidity levels extend the drying journey as excess moisture wraps its damp tendrils around evaporation. To speed things up, embrace the warmth and dryness of your surroundings.
Thickness of Application:
The thickness of Liquid Nails applied on concrete dances hand in hand with drying time. Thick layers shy away from quick drying, as more material needs to take its leave through evaporation. To ensure a timely affair, heed the manufacturer’s guidelines and ensure an even distribution of the adhesive at an appropriate thickness.
Porosity of Concrete:
The porosity of the concrete surface plays its own part in determining drying time. Highly porous surfaces have a thirst that cannot be quenched, absorbing more moisture from the adhesive and drawing out the drying process. When estimating drying time, consider the concrete’s porosity and adjust your expectations accordingly.
Ventilation and Air Circulation:
Proper ventilation is like a gentle breeze that whisks away moisture and breathes life into evaporation. The stagnant air is an enemy of progress, stifling evaporation and dragging out drying time. Embrace fresh air by opening windows and doors or employing fans to ensure a delightful dance of air circulation.
Type of Liquid Nails:
Different formulations of Liquid Nails possess their own unique personalities when it comes to drying time on concrete. Some are designed for a swift affair, while others require a more patient approach. To avoid any surprises, consult the manufacturer’s instructions or seek guidance to uncover the expected drying time of your chosen Liquid Nails variant.
Application Conditions:
Extreme temperatures and direct sunlight can throw a wrench in the drying time party. Give heed to the manufacturer’s recommendations regarding suitable application conditions to ensure a smooth and timely drying experience.
General Guidelines for Drying Time
It’s likely that you’ll be utilizing Liquid Nails, a renowned construction adhesive known for its exceptional strength and reliability. However, it’s imperative to understand the drying time of Liquid Nails on concrete to ensure a successful bond and avoid any mishaps during your project. In this comprehensive guide, we will delve into the general guidelines for determining the drying time of Liquid Nails on concrete.
Temperature and humidity are two crucial factors that significantly impact the drying process. As a general rule, Liquid Nails takes approximately 24 hours to fully dry and cure on concrete. However, please note that this is merely an estimate, as the actual drying time may vary depending on an array of factors. Higher temperatures and lower humidity levels tend to expedite the drying time, whereas lower temperatures and higher humidity levels can prolong it.
To achieve optimal results, it is highly recommended to apply Liquid Nails when the temperature ranges from 40°F (4°C) to 100°F (38°C). Extreme temperatures outside of this range may adversely affect the adhesive’s performance and drying time. Thus, it’s crucial to consult the weather forecast before commencing your project.
Apart from temperature and humidity, the thickness of the adhesive layer also plays a significant role in determining the drying time. Thicker layers necessitate more time to dry compared to thinner layers. Hence, adhering to the manufacturer’s instructions concerning the recommended thickness of application is pivotal for achieving desired outcomes.
Ventilation is another critical aspect to consider throughout the drying process. Adequate airflow facilitates faster evaporation of moisture, thereby expediting the drying time. It is essential to ensure proper ventilation in the area where you are applying Liquid Nails on concrete.
Furthermore, it is vital to exercise caution and refrain from subjecting bonded materials to excessive pressure or load until the adhesive has fully dried. Premature loading can compromise the bond strength and prolong the curing time. Therefore, exercising patience is paramount in this regard.
Moreover, the type of concrete surface and its porosity can also impact the drying time of Liquid Nails. Highly porous surfaces possess the ability to absorb moisture from the adhesive, thereby potentially extending the drying time. It is essential to take this into account and adjust your expectations accordingly.
Curing Process of Liquid Nails
Today, we embark on a journey to unravel the mysteries behind the curing process of Liquid Nails on concrete surfaces. So, don your hard hat and prepare for an adventure of adhesive proportions.
Liquid Nails, the superhero of construction adhesives renowned for its unwavering strength and reliability, holds a secret – how long does it take for this magical glue to dry and cure on concrete? Brace yourselves, dear readers, as we reveal the truth.
Imagine this: you’ve just applied Liquid Nails to bond your concrete materials together, and now you must patiently await the enchantment to unfold. On average, it takes approximately 24 hours for Liquid Nails to fully dry and reach its peak strength on concrete. However, do bear in mind that several factors can influence this timeframe.
Temperature and humidity, akin to the notorious duo Bonnie and Clyde, play a pivotal role in the curing process. Higher temperatures and lower humidity levels quicken drying time, while lower temperatures and higher humidity levels slow it down. Before embarking on your adhesive adventure, ensure the temperature falls between 40°F (4°C) and 100°F (38°C) for optimal results. Trust me; you wouldn’t want Mother Nature meddling with your adhesive prowess.
Thickness matters. Just like a sumptuous layer of frosting on a cake, the thickness of your adhesive layer affects drying time. Thicker layers demand more patience compared to their thinner counterparts. To ensure a job well done, adhere to the manufacturer’s instructions regarding application thickness.
Ventilation is crucial throughout the curing process. Adequate airflow expedites moisture evaporation, hastening drying time. Throw open those windows or power up those fans – let the invigorating breeze flow.
And now, a pro tip: avoid any movement or stress on the bonded materials until the adhesive has fully cured. Premature walking or applying pressure to the glue can weaken the bond, compromising its strength. Grant it the time it needs to become resolutely robust.
Remember, different types of concrete surfaces possess varying levels of porosity. Highly porous surfaces can elongate the drying process due to moisture absorption from the adhesive. So, bear this in mind and adjust your expectations accordingly.
There you have it, dear readers – the sticky truth behind Liquid Nails and its curing process on concrete. By considering factors such as temperature, humidity, thickness, and ventilation, you shall be well-equipped to tackle any bonding project with unwavering confidence.

High Humidity, Low Temperatures, and Inadequate Ventilation
Today, we explore the effects of high humidity, low temperatures, and inadequate ventilation on the drying time of Liquid Nails on concrete surfaces. So put on your thinking caps and let’s dive in.
High Humidity – The Moisture Menace:
Imagine applying a generous amount of Liquid Nails, eager for a quick drying time, only to be met with disappointment. In areas with high humidity levels, excess moisture in the air acts as a formidable adversary. It slows down the evaporation of water from the adhesive, delaying the crucial curing process. As if that wasn’t enough, condensation can form on the adhesive surface, further prolonging drying time.
Low Temperatures – The Chill Factor:
Now let’s talk about low temperatures. Just like your car struggling to start on a frosty morning, Liquid Nails faces a similar challenge. Cold temperatures impede the necessary chemical reactions for proper curing. Consequently, the adhesive takes longer to dry and reach its full bond strength. In extreme cold, the drying process may even come to a standstill.
Inadequate Ventilation – The Stagnant Air Dilemma:
Imagine working in a stuffy room with no airflow – not ideal for adhesive drying. Inadequate ventilation traps moisture and hampers water evaporation from the adhesive. This prolongs drying time and compromises bond strength. Additionally, poor ventilation allows volatile organic compounds (VOCs) emitted by Liquid Nails to accumulate, potentially affecting indoor air quality and health.
Tips for Success:
To ensure successful bonding with Liquid Nails on concrete, control the environment during application and drying. Here are some expert tips:
- Choose wisely: Opt for low humidity days and moderate temperatures for optimal drying conditions.
- Let it breathe: Open windows or use fans to promote airflow, facilitating moisture evaporation and speeding up drying.
- Warm things up: In colder temperatures, consider using heaters to raise ambient temperature. This accelerates the chemical reactions necessary for proper curing.
- Banish excess moisture: If high humidity is unavoidable, use dehumidifiers to reduce moisture levels in the air and expedite drying.
Warmer Temperatures and Good Ventilation
Today, we’ll unravel the captivating relationship between warmer temperatures, good ventilation, and their incredible impact on the drying time and bond strength of this remarkable adhesive. So strap on your safety goggles and get ready for an adventure.
Imagine this: you’re working with Liquid Nails to stick two concrete pieces together, but it’s frigid outside. Well, brace yourself for disappointment because low temperatures put a damper on bonding dreams. Much like a chilly breeze, they slow down chemical reactions and hinder the drying process. But fear not. We have a secret weapon – warmth. Crank up the heat a little, and watch as your project gains supercharged speed.
Hold your horses, though. While warmth is fantastic for acceleration, we don’t want to turn our adhesive into a weak puddle. Picture this: scorching temperatures causing Liquid Nails to cure too fast, resulting in a bond as sturdy as wet tissue paper. It’s crucial to find that sweet spot – follow the manufacturer’s recommended temperature range for perfect results. Strike that balance between warmth and strength, my friends.
But wait, there’s more. Let’s talk ventilation – an essential ingredient for Liquid Nails’ drying time and bond strength on concrete surfaces. Think of it as a breath of fresh air on a scorching summer day. Adequate airflow plays a magical role in whisking away moisture and volatile solvents from the adhesive, allowing it to dry faster. Give your glue room to breathe and witness its astonishing powers.
Now, let’s dive deeper into why ventilation matters. Without proper airflow, trapped moisture and solvents linger like unwelcome party crashers. Trust me; you don’t want those party poopers ruining your bonding experience. Insufficient ventilation compromises the bond strength, resulting in a weaker connection between Liquid Nails and concrete. And we definitely don’t want that.
So, how can you ensure ultimate bonding success? It’s simple. Follow the product instructions and guidelines for temperature and ventilation requirements. Let your adhesive bask in cozy warmth for efficient curing, while providing enough airflow to evict any unwanted guests.
Remember, my glue-loving comrades, warmer temperatures generally mean faster drying times for Liquid Nails on concrete surfaces. But be careful not to overdo it. Too much heat can jeopardize bond strength. And never underestimate the power of good ventilation in creating a robust and enduring adhesive joint.
Waiting for 24 Hours Before Subjecting Bonded Materials to Stress or Loads
In this realm, we must respect the power of chemistry and allow it time to work its magic. That’s why waiting 24 hours before subjecting bonded materials to stress or loads is absolutely crucial.
When you apply an adhesive like Liquid Nails to concrete, a remarkable transformation begins. The adhesive starts its journey, undergoing chemical reactions that forge unbreakable bonds between the surfaces it touches. But this alchemical process takes time, my friends.
Imagine a secret potion brewing in a lab. It needs time to simmer and bubble before it can unleash its full power. Similarly, the adhesive needs 24 hours to fully develop and reach its maximum strength. During this period, the chemical reactions solidify the bond, turning weak connections into formidable alliances.
But beware. Impatience can be your downfall. If you rush the process and apply stress or loads too soon, you risk interrupting these delicate reactions. Like a careless hand jostling a test tube, you could disrupt the magic and weaken the bond. And nobody wants a weak bond, right?
Now, I can hear your eager minds asking, “How do I know when it’s safe to start stressing my project?” Ah, my curious comrades, consult the wise sages at Liquid Nails. Their product instructions hold the key to success. Additionally, keep an eye on environmental factors like temperature and humidity. They can speed up or slow down the drying and curing process, altering the precise waiting time.
Ventilation is another vital ally in this quest for bonding greatness. Just as fresh air invigorates our souls on a scorching day, proper airflow helps evaporate solvents and accelerates drying. Without it, your adhesive might feel suffocated and take longer to reach its full potential. So open those windows and let your glue breathe.
To summarize, waiting for 24 hours before subjecting bonded materials to stress or loads is a sacred ritual in the realm of adhesives. It allows the adhesive to work its magic and create a bond that can withstand any challenge. So be patient, my fellow glue aficionados, and witness your projects transform into unbreakable masterpieces.
Additional Support or Clamping During Drying Process
Achieving a strong and secure bond requires more than just applying the adhesive. In certain cases, providing additional support or clamping during the drying process can significantly impact the outcome of your project. This article explores the crucial nature of this extra step and highlights its numerous benefits.
Why is additional support or clamping necessary?
Weight Matters:
- The weight of the objects being bonded determines whether extra support or clamping is needed.
- Smaller, lightweight objects may not require additional support as the initial tackiness of Liquid Nails and applied pressure during application can suffice.
- However, larger or heavier objects exert more force, which can cause movement or shifting during drying, compromising bond strength.
Surface Area Considerations:
- The surface area of contact between the materials being bonded also affects the need for additional support.
- Limited contact area increases the chances of misalignment or distortion during drying, making clamping essential.
The Benefits of Clamping:
Prevents Movement:
- Clamps ensure that bonded materials remain in place, preventing any shifting during drying.
- This stability allows for a stronger bond to form as the adhesive cures undisturbed.
Uniform Pressure Distribution:
- Properly applied clamps distribute pressure evenly across the bond area, eliminating localized weak spots.
- This uniform distribution guarantees that every part of the bond receives sufficient pressure for optimal adhesion.
Versatility:
- Clamps come in various types and sizes, offering flexibility to accommodate different object shapes and sizes.
- Whether you need C-clamps, bar clamps, or spring clamps, there is a perfect clamp to suit your project’s needs.
Alternative Support Methods:
Weights:
- For objects that cannot be clamped due to size or shape, using weights can provide support during the drying process.
- Strategically placing weights on the bonded area helps maintain pressure and stability until the adhesive fully cures.
Props:
- In some cases, props or supports may be necessary to hold the materials in place.
- These temporary structures reinforce the bond until it achieves maximum strength.
h87tYMw12qI” >
Conclusion
The drying time of Liquid Nails on concrete can vary depending on several factors. Generally, it takes around 24 hours for the adhesive to fully cure and dry. However, keep in mind that this is just an estimate and the actual drying time may be longer or shorter depending on the temperature, humidity, and thickness of the adhesive layer.
In optimal conditions, where the temperature is around 70 degrees Fahrenheit (21 degrees Celsius) and the humidity is low, Liquid Nails can dry within 24 hours. But if you’re working in colder temperatures or high humidity environments, it may take longer for the adhesive to dry completely.
To ensure a strong bond and maximum effectiveness of Liquid Nails on concrete surfaces, it’s important to allow sufficient drying time. Avoid putting any pressure or stress on the bonded materials until the adhesive has fully cured. This will help prevent any potential damage or weakening of the bond.
In conclusion, while Liquid Nails typically takes around 24 hours to dry on concrete, it’s essential to consider external factors such as temperature and humidity that can affect drying time.