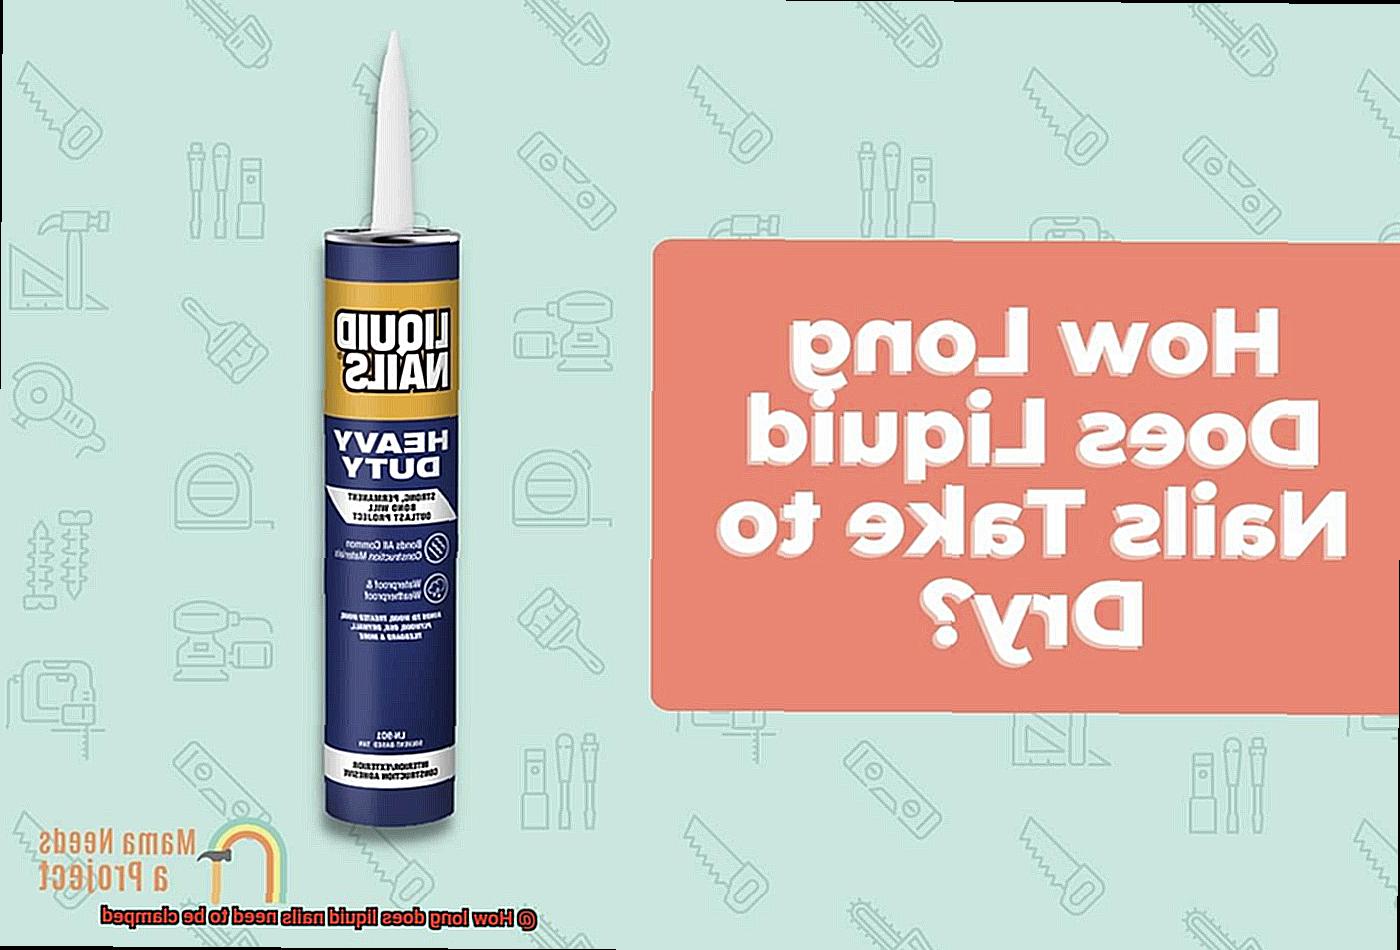
Prepare to embark on a journey through the captivating realm of adhesive mastery. Today, we unravel the enigma that is Liquid Nails and tackle a question that has left many scratching their heads: How long does this magical substance need to be clamped for optimal results?
As seasoned craftsmen and craftswomen, we know that patience is key when it comes to any construction or crafting endeavor. Liquid Nails, a renowned brand of construction adhesive, possesses the power to bond materials like wood, metal, and concrete with awe-inspiring strength. However, achieving perfection requires finesse—a delicate dance between time, pressure, and precision.
Join us as we plunge into the depths of this adhesive masterpiece. Together, we will demystify the ideal clamping time needed to create bonds that defy time itself. Whether you’re a weekend warrior or a seasoned pro in the trade, this knowledge will elevate your adhesive expertise and empower you to create with unwavering confidence.
So gather your tools and buckle up for an adhesive odyssey like no other. Let’s unlock the secrets of Liquid Nails and discover the mystical world of clamping times for unparalleled construction triumphs.
What is Liquid Nails?
Contents
- 1 What is Liquid Nails?
- 2 Factors that Affect Clamping Time
- 3 Recommended Clamping Time for Liquid Nails
- 4 Proper Surface Preparation for Liquid Nails
- 5 The Benefits of Clamping Liquid Nails
- 6 Advantages of Using Liquid Nails
- 7 Tips and Tricks for Applying Liquid Nails
- 8 Common Mistakes to Avoid When Using Liquid Nails
- 9 Conclusion
When it comes to construction and home improvement projects, having a reliable adhesive is crucial. That’s where Liquid Nails steps in. This high-strength, multi-purpose adhesive has become a go-to choice for DIY enthusiasts and professionals alike. In this blog post, we’ll explore what Liquid Nails is, how it works, and why it’s the adhesive of choice for a wide range of applications.
What is Liquid Nails?
Liquid Nails is a brand of adhesive that offers exceptional bonding capabilities. It is designed to bond various materials together, including wood, metal, concrete, and ceramics. With different formulations available, such as the original formula, heavy-duty formula, and fast-drying formula, there’s a Liquid Nails product for every project need.
Strength and Durability:
One of the standout features of Liquid Nails is its ability to provide a strong and durable bond. Whether you’re working on a small craft project or tackling a large-scale construction job, Liquid Nails can handle it all. Its high-strength formulation ensures that your materials stay firmly bonded even under heavy loads or impacts.
Resistance to Water and Weathering:
Liquid Nails isn’t just strong; it’s also built to withstand the elements. It offers excellent resistance to water and weathering, making it an ideal choice for both indoor and outdoor applications. Whether you’re repairing outdoor furniture or installing baseboards in a bathroom prone to moisture, Liquid Nails will keep your bond intact.
Application Process:
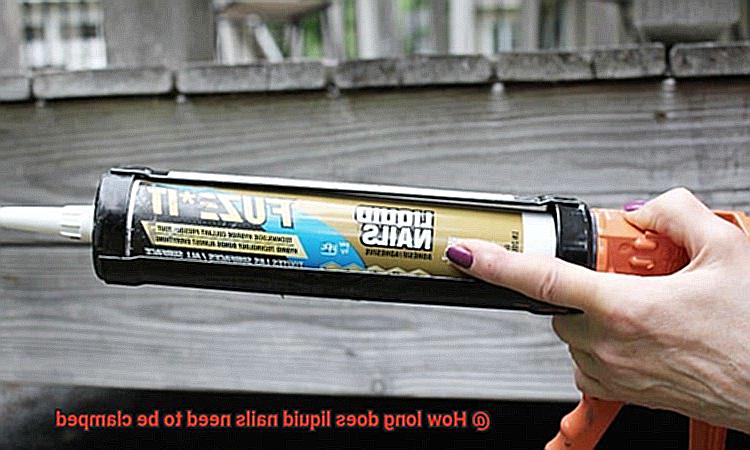
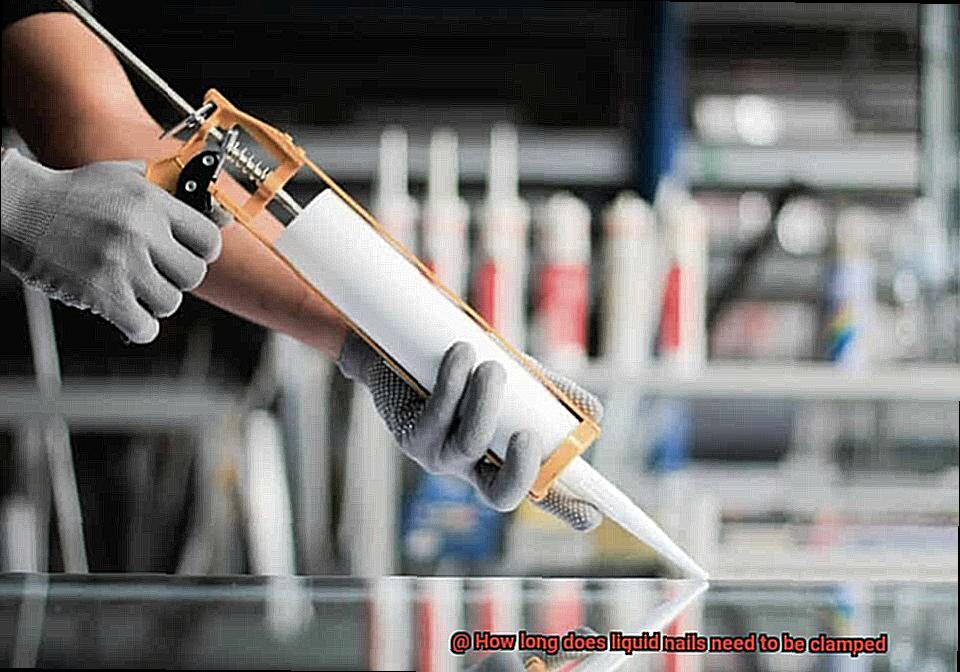
Using Liquid Nails is a breeze. Simply load the adhesive into a caulking gun or squeeze tube for precise control and easy dispensing. Apply the adhesive evenly onto the surface, ensuring full coverage. However, it’s important to note that not all surfaces are suitable for Liquid Nails. Always read and follow the manufacturer’s instructions before use to ensure optimal results.
Clamping for Optimal Bonding:
To achieve the best bond strength, clamping is often recommended after applying Liquid Nails. Clamping helps hold the materials together firmly while the adhesive sets and cures. Depending on factors like material type, temperature, and humidity, clamping times may vary. As a general guideline, leave Liquid Nails clamped for at least 24 hours to ensure a secure and long-lasting bond.
Factors that Affect Clamping Time
In this article, we’ll explore the world of glue and uncover the factors that affect clamping time for Liquid Nails.
Type of Liquid Nails:
Each type of Liquid Nails has its own unique formula, just like superheroes have different powers. Drying times and clamping requirements may vary depending on the specific type you choose. To ensure accurate information, always refer to the manufacturer’s instructions or product label.
Temperature and Humidity:
The environment in which you work plays a vital role in determining clamping time. Higher temperatures and low humidity accelerate drying, resulting in shorter clamping periods. Conversely, colder temperatures and high humidity slow down the process, requiring more time for optimal bonding.
Porosity of Materials:
The materials being bonded also impact clamping time. Porous materials, such as wood or concrete, absorb moisture from the adhesive, extending drying time. Non-porous materials like metal or glass do not absorb moisture and can lead to faster drying times.
Thickness of Application:
The amount of Liquid Nails applied affects clamping time. Thick applications take longer to dry compared to thin, even layers. If you’ve used a significant amount of adhesive, it’s advisable to allow for a longer clamping time to ensure proper bonding.
Pressure Applied:
Applying adequate pressure during clamping is crucial for optimal adhesion and reducing clamping time. Proper pressure eliminates air gaps between surfaces, allowing for better contact between the adhesive and materials. Always follow the manufacturer’s guidelines for recommended clamping pressure.
Curing Time:
While clamping time refers to the duration pressure needs to be applied, it’s important to note that Liquid Nails continue to cure and strengthen over time. Clamping time indicates the minimum duration for maintaining pressure, but additional curing time is advisable before subjecting bonded materials to stress or load-bearing activities.
Recommended Clamping Time for Liquid Nails
Today, we embark on a journey through the realm of Liquid Nails to uncover the mysteries behind its recommended clamping time. Whether you’re a DIY enthusiast or a seasoned builder, understanding the factors that influence clamping time can make all the difference in achieving robust and secure bonds. So, grab your favorite beverage and prepare to embark on this adhesive adventure.
Factors That Impact Clamping Time:
- Material Matters: Different materials have varying absorption rates and porosities, which can affect clamping time. Porous materials like wood tend to absorb more moisture from the adhesive, prolonging drying times. So, exercise patience when bonding these materials and allow for extra clamping time.
- The Power of Environment: Temperature and humidity wield their influence in determining clamping time. Higher temperatures and lower humidity levels accelerate the curing process, while cooler temperatures and higher humidity slow it down. Keep an eye on your surroundings to ensure optimal conditions for quicker bonding.
- Thickness is Key: The thickness of your adhesive application also impacts clamping time. Thicker layers demand more time for proper bonding. Remember, patience is a virtue when it comes to thicker applications.
- Pressure Points: Applying adequate pressure during clamping is crucial for creating a strong bond. Think of it as a perfect handshake between surfaces. The right amount of pressure ensures optimal adhesion and reduces clamping time. So, don’t be shy – give it a good squeeze.
Tips for Successful Bonding:
- Prep is Key: Before applying Liquid Nails, ensure that your surfaces are clean, dry, and free from any contaminants that could hinder adhesion. Proper surface preparation sets the stage for a successful bond.
- Follow Manufacturer’s Instructions: The instructions provided on the packaging are there for a reason. They take into account the specific formulation of the adhesive and offer the most accurate recommendations for clamping time. So, be sure to read and follow them closely.
- Alternatives to Clamping: In some cases, clamping may not be feasible or practical. Don’t worry; there are alternative methods to hold the bonded materials in place while the adhesive cures. Temporary supports, clamps, or tapes can be used, as long as they don’t compromise the integrity of the bond.
Proper Surface Preparation for Liquid Nails
Well, get your tools ready because we’re about to delve into the world of proper surface preparation.
First things first, let’s talk cleanliness. Before applying Liquid Nails, make sure your surface is squeaky clean. Grab a mild detergent and some water, and give it a good scrub using a brush or sponge. Rinse it off with clean water, and make sure it’s completely dry before moving forward. Any dust, grease, or debris can hinder the adhesive’s bonding power, so make sure to eliminate them.
Now that your surface is spick and span, let’s address any loose or flaking paint, wallpaper, or old adhesive. You don’t want those pesky substances interfering with your bond. Take a scraper or putty knife and gently scrape them away. If needed, give the surface a light sanding to create a smooth and even base. This step ensures that your adhesive has a solid foundation to work its magic.
But here’s the exciting part – Liquid Nails loves porous surfaces. If you’re working with materials like wood or concrete, you’re in luck. The adhesive easily bonds with these porous surfaces. However, if you’re dealing with non-porous materials like glass or metal, you might need to roughen them up a bit. Grab some fine-grit sandpaper and give them a gentle sanding. This creates a slightly rough texture that enhances the bond between the adhesive and the surface.
It’s important to note that while Liquid Nails is versatile, it may not be the best choice for all materials. If you’re working with plastic or metal, consider using an adhesive specifically designed for those surfaces. This ensures that you achieve the strongest bond possible.
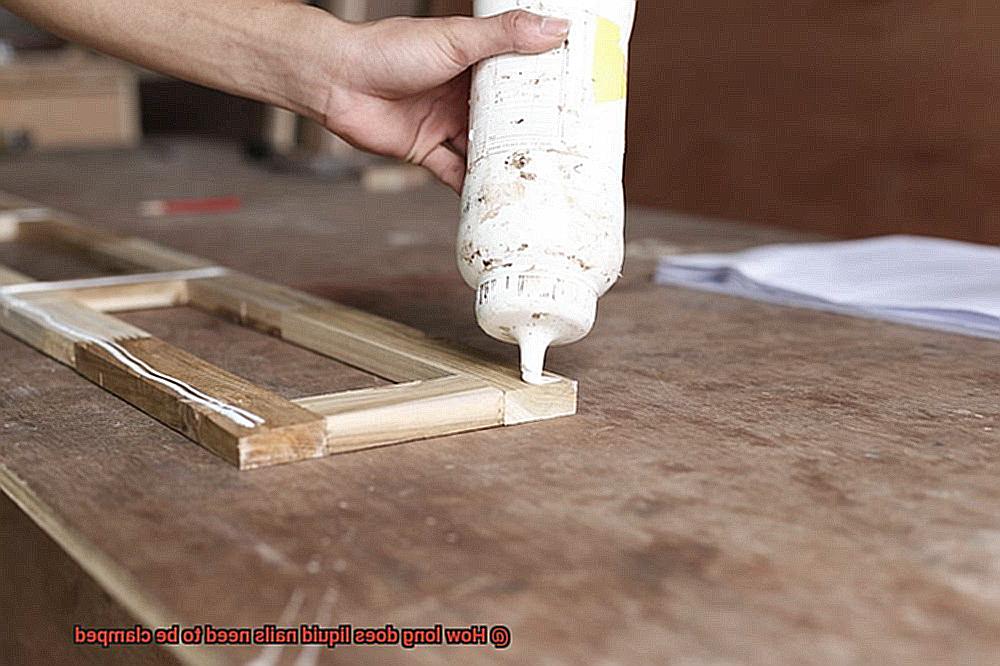
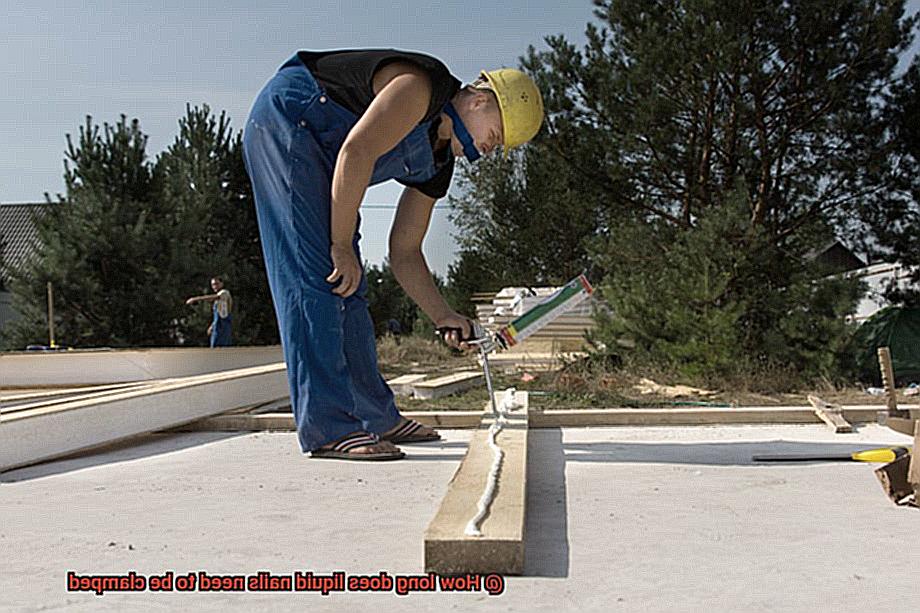
Now that our surface is prepped and ready to go, it’s time for the main event – applying the Liquid Nails adhesive. Apply a thin layer of the adhesive to both surfaces that will be bonded together. This ensures maximum contact and creates a strong bond. Make sure to follow the specific product instructions for application techniques.
Once the adhesive is applied, join the two surfaces together and press firmly. To ensure your bond stays put, use clamps or other securing methods while the adhesive cures. The curing time will depend on factors like temperature, humidity, and the materials being bonded. Refer to the specific product instructions for precise clamping times.
For optimal results, keep those clamps on for at least 24 hours. This allows the adhesive to fully cure and creates a durable bond. During the curing process, avoid any stress or movement on the bonded surfaces to maintain a strong adhesion.
One last thing – don’t forget about temperature. Colder temperatures can slow down the curing process, while warmer temperatures can speed it up. So make sure to work within the temperature range specified by Liquid Nails for optimal results.
The Benefits of Clamping Liquid Nails
Clamping liquid nails is a crucial step when it comes to creating a strong and durable bond. Whether you’re a DIY enthusiast or a professional contractor, overlooking the importance of clamping can compromise the longevity and reliability of your project. So, why is clamping liquid nails so beneficial? Let’s explore the advantages in detail:
- Secure and Reliable Bond: The primary benefit of clamping is that it holds the materials together while the adhesive cures, resulting in a secure and reliable bond. With proper clamping, you can have confidence that your project will stay intact even under stress or pressure.
- Even Distribution: Clamping ensures that the adhesive is distributed evenly across the surface, leaving no room for gaps or weak spots in the bond. This meticulous distribution guarantees that every inch of your bond is strong and sturdy, providing maximum structural integrity.
- Enhanced Strength and Stability: Applying pressure with clamps enhances the overall strength and stability of the joint. By minimizing movement or shifting of the materials during the curing process, clamping prevents misalignment or weakened bonds. This extra reinforcement ensures that your project remains solid for years to come.
- Hands-Free Operation: The beauty of using clamps during the drying process is that it frees up your hands. You no longer need to exert constant manual pressure, allowing you to focus on other tasks or simply relax while waiting for the adhesive to cure. This hands-free operation also reduces the risk of accidental displacement.
- Follow Manufacturer’s Instructions: It is crucial to follow the manufacturer’s instructions regarding clamping time for liquid nails. Different formulations may have varying curing times, and by adhering to these guidelines, you ensure optimal performance and longevity of your bond.
Remember, clamping liquid nails is not a one-size-fits-all process. Factors such as temperature, humidity, and material type can influence clamping time. It’s essential to conduct thorough research or consult with an expert to determine the ideal clamping duration for your specific project.
Advantages of Using Liquid Nails
When it comes to creating an unbreakable bond, Liquid Nails is the superhero adhesive that gets the job done. But did you know that there is a secret ingredient that takes its strength to a whole new level? Enter clamping. In this blog post, we will explore why clamping is essential when using Liquid Nails and how it can ensure that your project stays strong and secure.
Optimal Bonding:
Clamping ensures every inch of your project is fortified with structural integrity. It eliminates weak spots and gaps, creating a bond so reliable that even the Hulk couldn’t break it. By applying pressure with clamps, you ensure maximum contact between surfaces, allowing Liquid Nails to create a bond that stands the test of time.
Hands-Free Application:
One of the greatest advantages of using clamps with Liquid Nails is the freedom it gives you to go hands-free. Once you have applied the adhesive and secured the surfaces together, you can relax or multitask while the adhesive sets. Let the clamps do the work for you, eliminating the need for manual holding.
Enhanced Performance:
By following the manufacturer’s instructions for clamping time, you ensure optimal performance and longevity for your project. Each project has unique needs, and by giving Liquid Nails the time it needs to cure properly under pressure, you maximize its bonding capabilities. This extra step guarantees that your creation will withstand any challenge that comes its way.
Tips and Tricks for Applying Liquid Nails
Whether you’re bonding wood, metal, or concrete, Liquid Nails is the perfect adhesive to ensure a strong and durable bond. In this guide, we’ll share some tips and tricks to help you apply Liquid Nails like a pro and achieve professional results.
Understanding Liquid Nails:
Liquid Nails is a versatile adhesive that is designed to bond various materials together. It comes in different types, such as construction adhesive or heavy-duty adhesive, catering to different bonding needs. This adhesive has excellent adhesive properties and can be used for a wide range of applications.
Surface Preparation:
Before applying Liquid Nails, it’s crucial to prepare the surface properly. A clean, dry, and dust-free surface is essential for optimal adhesion. Use a mild detergent or degreaser to remove any dirt, grease, or oil from the surface. For smooth surfaces like glass or metal, it’s recommended to lightly sand them to create a rough texture that promotes better adhesion.
Application Techniques:
When applying Liquid Nails, it’s important to use the correct technique for optimal results. If using a caulk gun, cut the tip of the tube at a 45-degree angle to allow for better control and smoother application. Apply a thin bead of adhesive along the length of the surface where the bond will be made. Leave space for expansion if necessary. Avoid applying too little adhesive as it may result in weak adhesion, but also be mindful not to overdo it to prevent excessive squeeze-out when clamping.
Clamping Time:
Clamping is often necessary when using Liquid Nails to ensure proper bonding. While drying times may vary depending on factors like temperature and humidity, a general rule of thumb is to clamp the materials together for at least 24 hours. This allows the adhesive to cure and develop maximum strength. It’s important to check the specific instructions provided by the manufacturer, as different products may have varying recommendations for clamping time.
Tips for Effective Clamping:
To achieve effective clamping, use clamps or weights to apply even pressure across the bond. This helps ensure a strong and durable connection. If clamping is not feasible, consider using painter’s tape or adhesive tape to hold the materials in place while the Liquid Nails cures. Avoid any excessive movement or stress on the bonded area during the curing process.
Common Mistakes to Avoid When Using Liquid Nails
Liquid Nails is a versatile adhesive that can revolutionize your bonding projects. Whether you’re a DIY enthusiast or a professional contractor, this powerful adhesive can save you time and effort. However, it’s important to be aware of the common mistakes that people often make when using Liquid Nails. In this article, we will explore these mistakes in detail and provide you with valuable tips to avoid them. So, let’s delve into the world of Liquid Nails and learn how to use it effectively.
Improper Surface Preparation:
Preparing the surface correctly is crucial for a successful bond with Liquid Nails. Neglecting this step can result in a weak bond or even complete failure. Ensure that the surface is clean, dry, and free from any dust or debris. Use an appropriate cleaning agent and allow it to dry completely before applying the adhesive.
Applying Too Little or Too Much Adhesive:
Achieving the perfect amount of Liquid Nails is vital for a strong bond. Applying too little adhesive can lead to weak bonding, while applying too much can cause excessive squeeze-out and messy applications. Follow the manufacturer’s instructions and use the recommended amount for optimal results.
Insufficient Curing Time:
Patience is a virtue when it comes to using Liquid Nails. The adhesive typically takes at least 24 hours to fully cure and achieve maximum bond strength. Rushing this process by removing clamps or stressing the bonded surfaces prematurely can compromise the integrity of the bond. Allow ample time for the adhesive to cure before subjecting it to any stress.
Extreme Temperature Conditions:
Liquid Nails has specific temperature requirements for optimal performance. Extreme heat or cold can affect the curing process and bonding performance of the adhesive. Check the manufacturer’s recommendations and ensure that you’re using Liquid Nails within the specified temperature range.
Lack of Clamping or Support:
Proper clamping or support during the curing process is essential to achieve a strong bond. Neglecting this step can result in gaps, uneven bonding, or even adhesive failure. Follow the manufacturer’s instructions and use appropriate clamping techniques to ensure a secure and lasting bond.
Ignoring Manufacturer’s Instructions:
Last but not least, always read and follow the instructions provided by the manufacturer. Each Liquid Nails product may have specific guidelines and recommendations for its optimal use. Ignoring these instructions can lead to subpar results and compromise the durability of your project.
U47qRNLDgqU” >
Conclusion
When it comes to using liquid nails, one crucial step is knowing how long you need to clamp your materials together.
This ensures a strong and secure bond. The answer to this question depends on various factors such as the type of liquid nails you are using and the materials you are bonding.
However, as a general rule of thumb, it is recommended to leave the clamps in place for at least 24 hours. This allows sufficient time for the liquid nails to cure and create a solid connection between the surfaces.
Keep in mind that different types of liquid nails may have specific instructions regarding clamping time, so always refer to the product label for accurate information.