Imagine this: you’re knee-deep in a home renovation or DIY project, and you need an adhesive that’s as tough as nails. Enter Gorilla Construction Adhesive, a heavyweight champion in the realm of adhesives. But before you dive into your bonding adventure, there’s one burning question: just how long does it take for Gorilla Construction Adhesive to set?
In this blog post, we’ll dig deep into the nitty-gritty of this renowned adhesive’s set time, uncovering why it’s a top choice for contractors and DIY enthusiasts alike. From concrete to wood, Gorilla Construction Adhesive delivers unmatched performance and a hold that won’t quit – making it the ultimate solution for all your bonding needs.
But first things first, let’s explore the factors that influence its set time and understand why patience is key when it comes to allowing this incredible adhesive to cure properly. So grab yourself a cup of joe, settle in, and prepare to unlock the secrets behind Gorilla Construction Adhesive’s setting time.
What is Gorilla Construction Adhesive?
Contents
- 1 What is Gorilla Construction Adhesive?
- 2 Factors Affecting Setting Time
- 3 Recommended Temperature and Humidity Levels for Application
- 4 Surface Preparation and Application Thickness
- 5 Clamps and Other Bonding Aids
- 6 Materials Not Suitable for Gorilla Construction Adhesive
- 7 Removing Gorilla Construction Adhesive Before Curing
- 8 Pros and Cons of Using Gorilla Construction Adhesive
- 9 Conclusion
When it comes to construction projects, you need an adhesive that can withstand the test of time and hold everything together with unwavering strength. Enter Gorilla Construction Adhesive, the go-to choice for professionals and DIY enthusiasts alike.
Versatility is the name of the game when it comes to Gorilla Construction Adhesive. This powerful adhesive can bond a wide range of materials including wood, metal, concrete, ceramics, and more. Whether you’re working on a wooden deck or installing tiles in your bathroom, this adhesive has got you covered. Its strong bonding capabilities ensure a reliable and long-lasting hold, giving you peace of mind that your project will stand the test of time.
But what sets Gorilla Construction Adhesive apart from other adhesives on the market? Firstly, its resistance to water and extreme temperatures is worth mentioning. This adhesive can withstand exposure to moisture, heat, cold, and other environmental factors without compromising its strength. It’s a reliable choice whether you’re working indoors or outdoors.
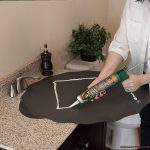
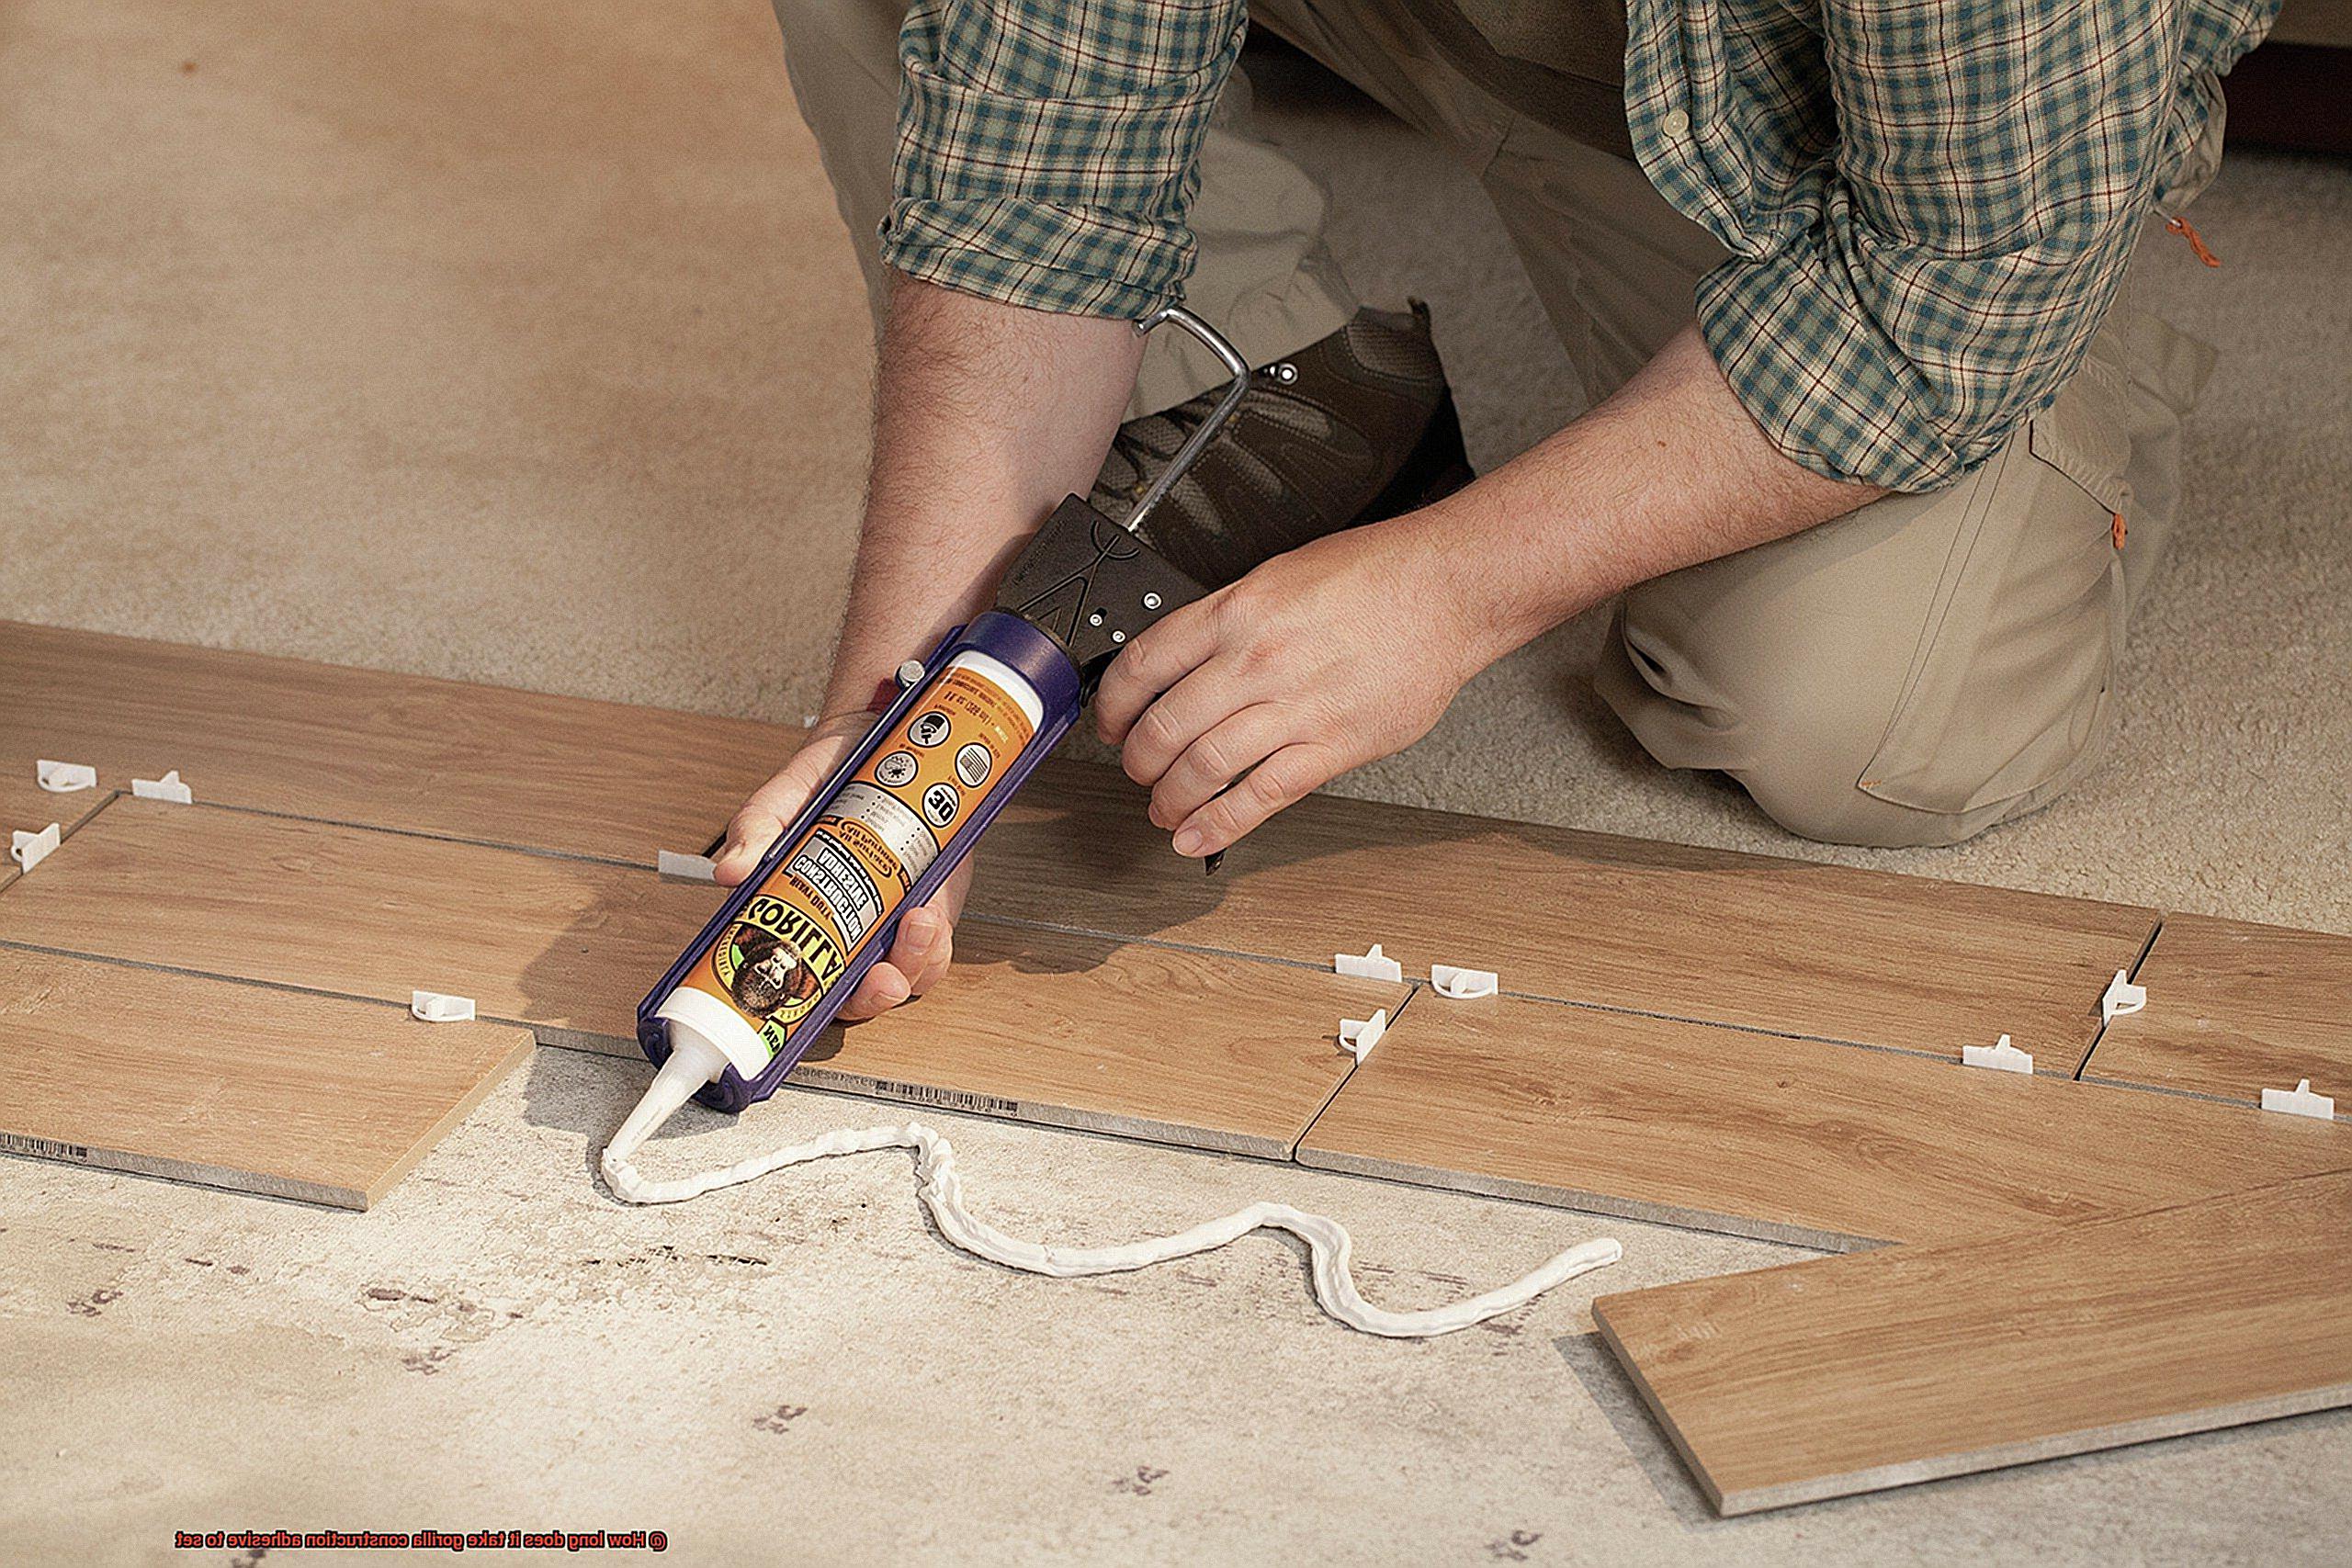
Application is a breeze with Gorilla Construction Adhesive. It comes in a convenient cartridge that can be used with a standard caulking gun, allowing for precise and controlled dispensing. The adhesive’s thick consistency prevents sagging or running during application, making it easier to work with even in challenging positions.
Now let’s talk about the setting time. Gorilla Construction Adhesive starts to set within 10-30 minutes after application, but it takes about 24 hours to fully cure and reach its maximum strength. During this curing process, it’s important not to subject the bonded materials to stress or pressure. While the adhesive may appear dry within a few hours, it’s still in the process of curing and needs time to fully set.
The setting time can be influenced by factors such as temperature and humidity. Lower temperatures and higher humidity levels can extend the curing time, while warmer temperatures and lower humidity levels can speed it up. To ensure optimal performance, it’s recommended to apply Gorilla Construction Adhesive at temperatures between 40°F (4°C) and 100°F (38°C).
It’s worth noting that Gorilla Construction Adhesive is not suitable for use on certain materials, such as polyethylene or polypropylene plastics. Additionally, once the adhesive has fully cured, it becomes difficult to remove without damaging the bonded surfaces. So make sure you follow the manufacturer’s instructions regarding surface preparation and curing time for the best results.
Factors Affecting Setting Time
Are you ready to embark on a new project and wondering about the factors that can affect the setting time of Gorilla Construction Adhesive? Look no further. In this article, we will dive into the key factors that can influence how quickly this adhesive sets, ensuring you achieve the perfect bond for your construction needs. So, let’s get started.
Temperature: The Heat Factor
Temperature plays a crucial role in determining the setting time of Gorilla Construction Adhesive. Higher temperatures speed up the setting process, while lower temperatures slow it down. It is essential to store and apply the adhesive within the recommended temperature range for optimal results. Extreme cold or hot temperatures can compromise its performance, so be mindful of your project’s environment.
Humidity: The Moisture Dilemma
Humidity levels can also impact the setting time of Gorilla Construction Adhesive. Higher humidity slows down the drying process due to moisture interference, while low humidity speeds it up. Consider the environmental conditions when working with this adhesive to achieve desired results.
Surface Porosity: A Matter of Absorption
The porosity of the surfaces being bonded affects the setting time of Gorilla Construction Adhesive. Highly porous surfaces absorb more adhesive, requiring additional time for proper curing. To enhance adhesion and ensure appropriate setting time, prepare surfaces by cleaning and roughening them.
Thickness of Adhesive Layer: Thin is Fast
The thickness of the adhesive layer influences setting time. Thicker layers take longer to dry and cure compared to thinner layers. Applying an appropriate amount of adhesive for your specific application ensures proper bonding and desired setting time.
Type of Materials Being Bonded: Compatibility Matters
Different materials have varying levels of absorbency and reactivity, which can affect how quickly Gorilla Construction Adhesive sets. Consider compatibility between the adhesive and the materials being bonded for optimal setting time.
Mixing Ratios (if applicable): Balance is Key
For adhesives that require mixing multiple components, following accurate mixing ratios and procedures is crucial for proper curing and setting time. Deviating from recommended ratios can compromise setting times and overall bond strength.
Understanding the factors that influence the setting time of Gorilla Construction Adhesive allows you to plan and execute your projects effectively. By considering temperature, humidity, surface porosity, adhesive layer thickness, material compatibility, and mixing ratios (if applicable), you can optimize the adhesive’s setting time for your specific applications. Always refer to the manufacturer’s instructions for precise information on setting time and application techniques.
Recommended Temperature and Humidity Levels for Application
When it comes to using Gorilla construction adhesive, achieving optimal performance requires considering the recommended temperature and humidity levels. This adhesive is designed to work in various conditions, but sticking to these guidelines will ensure a bond that is strong and durable.
Let’s start with temperature. During application, it is recommended to work within a range of 40°F to 100°F (4°C to 38°C). Applying the adhesive at lower temperatures may result in longer curing times.
On the other hand, higher temperatures can cause the adhesive to cure too quickly, compromising its bonding strength. Extreme temperatures, whether scorching hot or bone-chilling cold, can render the adhesive less effective or even unusable. Remember, this temperature range refers to the ambient temperature, not the temperature of the substrate or the adhesive itself.
Now, let’s dive into humidity levels. It is crucial to maintain a range of 40% to 70% during application for optimal results. Higher humidity levels can slow down the curing process, while lower humidity levels can speed it up.
However, extreme humidity levels can negatively impact the bond strength and overall effectiveness of the adhesive. To ensure proper bonding, make sure the surface where the adhesive is applied is clean and dry. Excessive moisture on the surface can interfere with its ability to bond effectively.
If you find yourself working outside of these recommended temperature and humidity ranges, it’s best to consult the manufacturer’s instructions or reach out to their customer support for tailored guidance. They have expertise in dealing with unique circumstances and can provide specific recommendations.
Surface Preparation and Application Thickness
Just like a chef carefully prepares ingredients and follows the recipe to create a delectable dish, achieving a strong and durable bond with Gorilla construction adhesive requires attention to detail. Surface preparation and application thickness are the secret ingredients that can make or break your adhesive project. So, put on your apron and get ready to dive into the art of Gorilla construction adhesive.
Surface Preparation: The Foundation of Success
Imagine trying to cook a gourmet meal on a dirty, greasy stove – it just wouldn’t work. Similarly, a clean surface is vital for optimal bonding with Gorilla construction adhesive. Here’s the step-by-step recipe for success:
- Begin by removing loose particles and debris using a brush or vacuum cleaner. Clear the canvas for an adhesive masterpiece.
- For stubborn stains or residues, call in the heavy-duty cleaning agents – mild detergents or solvents will do the trick.
- Now, let’s make sure our canvas is dry, free from grease, dust, or any other contaminants. It’s time to create a pristine surface for Gorilla construction adhesive to work its magic.
Application Thickness: The Perfect Harmony
Like adding the precise amount of spices to create a delicious meal, applying the recommended thickness of Gorilla construction adhesive ensures a flawless bond. Here’s how to achieve that perfect harmony:
- Follow the manufacturer’s instructions for the recommended application thickness. Treat it like a treasured recipe – don’t deviate.
- Beware of applying too little adhesive; weak bonds may result. On the other hand, too much adhesive can lead to longer setting times – nobody wants to wait forever.
- Apply a thin layer onto one surface, then press firmly when joining the surfaces together. It’s like conducting an orchestra – every note must be in sync.
Setting Time: The Culinary Wait
Just as a chef eagerly waits for their dish to bake to perfection, understanding the setting time of Gorilla construction adhesive is essential. Consider these factors:
- Temperature, humidity, and materials being bonded all play a role in setting time. It’s like a dance between elements – find the perfect rhythm.
- On average, it takes around 24 hours for Gorilla construction adhesive to fully cure and achieve maximum strength. Patience is key.
- Remember, higher temperatures and lower humidity levels speed up the curing process, while lower temperatures and higher humidity levels prolong it. It’s a delicate balance.
Clamps and Other Bonding Aids
In the world of adhesives, the glue itself is important, but it’s the combination of clamps and other bonding aids that truly takes your bond to the next level. These tools provide the extra support, pressure, and stability necessary for achieving a strong and durable connection. So, let’s delve into the different types of clamps, how they are used, and the benefits they offer.
When it comes to clamps, you have a plethora of options at your disposal. Bar clamps, C-clamps, pipe clamps, spring clamps – each type has its own unique characteristics that make it suitable for different projects. The key is in selecting the right clamp for your specific needs.
For larger projects that require a substantial amount of pressure, bar clamps or pipe clamps are your go-to options. These clamps provide even pressure along the entire length of the bond, ensuring a secure connection. On the other hand, if you’re working with smaller or more delicate pieces, spring clamps or C-clamps can get the job done just as effectively.
It’s important to note that using multiple clamps evenly spaced along the bonded area is crucial for achieving an even distribution of pressure. This helps prevent any weak spots in the bond and ensures a uniform strength throughout. Additionally, it’s essential to tighten the clamps just enough to hold the surfaces together without squeezing out too much adhesive or causing damage.
But clamps aren’t the only bonding aids available to you. Tape can be a valuable tool for holding small or delicate pieces in place while the adhesive sets. It acts as an extra pair of hands, keeping everything stable until the bond is fully cured.
For larger pieces that need additional support during bonding, wedges can be employed. These triangular-shaped tools can be placed under or against the workpiece to provide stability and prevent any movement or shifting during the bonding process. They are particularly useful for projects involving angled or uneven surfaces.
Another handy bonding aid is weight plates. These flat, heavy objects can be placed on top of the bonded surfaces to provide additional pressure. This ensures a strong bond and gives the adhesive ample time to cure properly. The weight plates add that extra oomph to your bond, making it even more robust.
It’s important to follow the manufacturer’s instructions for both the adhesive and any bonding aids you’re using. Additionally, keep in mind that the curing time for construction adhesive can vary depending on factors such as temperature, humidity, and the materials being bonded. It may take anywhere from 24 hours to several days for the bond to fully cure and reach its maximum strength.
Materials Not Suitable for Gorilla Construction Adhesive
When it comes to bonding materials together, Gorilla Construction Adhesive stands tall as a popular choice due to its unparalleled strength and versatility. However, it’s important to note that not all materials are suitable for use with this adhesive. In this article, we will delve into the materials that should be avoided when using Gorilla Construction Adhesive, and the reasons behind this cautionary advice. By understanding these limitations, you can ensure a successful bonding project that withstands the test of time.
Non-porous materials:
Gorilla Construction Adhesive thrives on bonding porous materials like wood, stone, metal, and ceramic. It relies on penetrating the surface to create a bond that can weather any storm. Unfortunately, non-porous materials such as glass, plastic, and smooth metal surfaces do not provide a conducive environment for the adhesive to penetrate effectively. As a result, the bond may end up weaker or not form at all.
Wet or damp surfaces:
For optimal bonding performance, pristine cleanliness and dryness are paramount. The presence of moisture interferes with the adhesive’s ability to cure properly, compromising its strength. Before applying Gorilla Construction Adhesive, ensure that the surfaces are meticulously dry to create an unyielding bond.
Surfaces with oil or grease:
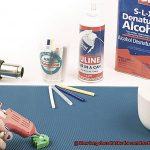
Oil and grease act as formidable adversaries against proper adhesion. They form a barrier between the adhesive and the material, impeding their union. Consequently, it is essential to thoroughly remove any oil or grease from the surfaces before attempting to apply Gorilla Construction Adhesive. Employ a degreaser or rubbing alcohol to conquer these slippery foes.
Low-energy plastics:
Certain plastics possess low surface energy, posing a challenge for adhesives seeking to bond with them effectively. Prime examples of these low-energy plastics include polyethylene (PE) and polypropylene (PP). Without additional surface preparation, such as roughening or utilizing a specialized primer, Gorilla Construction Adhesive may struggle to establish a strong bond with these plastics.
High-temperature applications:
Gorilla Construction Adhesive is renowned for its tenacity and durability, but it does have its limitations in the face of extreme heat. When exposed to elevated temperatures, the adhesive may soften or lose its bond strength. To ensure a secure bond that can withstand high temperatures, consult the manufacturer’s guidelines and select an adhesive specifically designed for such applications.
Certain chemicals:
Gorilla Construction Adhesive may not play well with certain chemicals, solvents, or cleaners. When in contact with these substances, the adhesive’s performance can be compromised. It is vital to steer clear of any chemical interaction by avoiding contact between the adhesive and any chemicals present on the surfaces being bonded or in the surrounding environment.
Removing Gorilla Construction Adhesive Before Curing
You’ve found yourself in a sticky situation – literally. You’ve applied Gorilla Construction Adhesive, but now you need to remove it before it fully cures. Don’t worry, we’ve got you covered. In this ultimate guide, we’ll explore various methods to safely and effectively remove Gorilla Construction Adhesive without causing damage to your surfaces or materials.
Method 1: Solvents – Breaking Down the Bond:
One of the most common methods for removing Gorilla Construction Adhesive is by using solvents. Acetone or nail polish remover can be effective in breaking down the adhesive and making it easier to remove. Here’s how:
- Test the solvent on a small, inconspicuous area first to ensure it won’t damage the surface.
- Apply a small amount of solvent on a cloth or sponge.
- Gently rub the adhesive until it starts to dissolve.
- Remember to wear gloves and work in a well-ventilated area when using solvents.
Method 2: Applying Heat – Softening the Adhesive:
Heat can also be used to soften Gorilla Construction Adhesive, making it easier to scrape off or peel away. Follow these steps:
- Use a hairdryer or heat gun to gradually apply heat to the adhesive.
- While applying heat, use a scraper or putty knife to gently lift and remove the softened adhesive.
- Keep the heat source moving and avoid direct heat for extended periods to prevent surface damage.
Method 3: Mechanical Methods – When All Else Fails:
If the adhesive has already started to cure, mechanical methods may be necessary. Use these techniques with caution:
- Sandpaper: Gently sand away the adhesive.
- Wire brush: Scrub the adhesive with a wire brush.
- Chisel: Carefully chisel away the adhesive.
Always test these methods on a small area first to avoid damaging the surface or material.
Prevention is Key:
Prevention is always better than cure when it comes to removing Gorilla Construction Adhesive. Here are some preventive measures you can take during application:
- Use masking tape to protect adjacent surfaces.
- Use a smaller amount of adhesive to minimize the need for removal.
Pros and Cons of Using Gorilla Construction Adhesive
This adhesive is a superhero that can bond materials like wood, metal, and stone with ease. It’s perfect for any project, whether you’re fixing a broken chair or embarking on a full-blown construction endeavor.
One of the standout features of Gorilla Construction Adhesive is its incredible strength. It forms a bond that can withstand heavy loads and vibrations, ensuring your project stays intact for years to come. Additionally, it fills in gaps between materials like a pro, improving stability and structural integrity.
Applying Gorilla Construction Adhesive is a breeze. Just grab the squeeze tube or bottle, and you’re ready to go. The best part? It grabs quickly upon contact, so no more waiting around while holding materials together.
However, every superhero has its weaknesses. Gorilla Construction Adhesive does have a couple of cons worth noting. Firstly, its strong odor might not be everyone’s cup of tea. Make sure to work in a well-ventilated area or wear a mask if you’re sensitive to smells.
Cleanup can also be a challenge with this adhesive. Once it cures, removing excess or spilled adhesive requires some elbow grease and possibly solvents. So be careful during application to avoid any unwanted mess.
Lastly, let’s talk about the price tag. Gorilla Construction Adhesive comes at a higher price point compared to other adhesives on the market. While it offers top-notch performance and reliability, it might not be the best fit for those on a tight budget or working on smaller projects.
Lastly, remember that Gorilla Construction Adhesive has a relatively short shelf life once opened. So check the expiration date and seal that container tightly after each use.
Ccvj1sFWxw8″ >
Conclusion
Gorilla construction adhesive is known for its strength and reliability in bonding materials together. But how long does it take for this powerful adhesive to set? The answer depends on various factors, such as the type of materials being bonded and the environmental conditions.
In ideal conditions, Gorilla construction adhesive can typically set within 24 hours. However, it’s important to note that this is just an estimate and the actual setting time may vary.
Factors like temperature and humidity can have a significant impact on the setting time of Gorilla construction adhesive. In warmer temperatures, the adhesive may set faster, while colder temperatures may slow down the process. Similarly, higher humidity levels can prolong the setting time.
To ensure optimal bonding strength, it’s recommended to wait at least 24 hours before subjecting the bonded materials to any stress or load. This allows sufficient time for the adhesive to fully cure and reach its maximum strength.
It’s also worth mentioning that Gorilla construction adhesive continues to strengthen over time. While it may be set within 24 hours, it can take up to 7 days for the adhesive to achieve its full curing potential.
So, if you’re working on a project that requires Gorilla construction adhesive, be patient and allow ample time for it to set properly. Rushing the process could compromise the bond strength and ultimately affect the durability of your project.
In conclusion, while Gorilla construction adhesive can set within 24 hours under ideal conditions, factors like temperature and humidity play a role in determining its actual setting time. To ensure maximum bonding strength, waiting at least 24 hours is recommended before subjecting the bonded materials to any stress or load.