Imagine a world where materials fuse together with a flick of a wand, creating an unbreakable bond in the blink of an eye. While we can’t promise you wizardry, we can introduce you to the next best thing – LOCTITE adhesives.
For over fifty years, LOCTITE has been revolutionizing the adhesive industry with their innovative solutions. But if you’ve ever wondered how long it takes for LOCTITE to work its magic, you’re not alone. Curing time is a crucial factor when it comes to adhesives, and in this blog post, we’ll explore the captivating realm of LOCTITE’s curing process.
Whether you need a quick fix or a robust bond that withstands the test of time, LOCTITE products have earned their reputation for efficiency, durability, and versatility. So join us on this exciting journey as we unravel the mysteries behind LOCTITE’s curing time and uncover how they turn the impossible into reality.
Different Types of LOCTITE Adhesives and Their Curing Times
Contents
- 1 Different Types of LOCTITE Adhesives and Their Curing Times
- 2 The Three Stages of Curing with LOCTITE
- 3 Factors That Impact the Curing Time of LOCTITE Adhesives
- 4 Substrates and Surfaces That May Affect Curing Time
- 5 Optimizing the Conditions for Optimal Curing and Performance
- 6 Additional Considerations When Using LOCTITE Products
- 7 Conclusion
Adhesives possess magical powers that bind objects together, and LOCTITE adhesives are renowned for their exceptional abilities. With different types of adhesives and varying curing times, LOCTITE offers a diverse range of solutions for every bonding need. Let’s embark on a journey to explore the enchanting world of LOCTITE adhesives and unravel their unique properties and curing times.
Instant Adhesives:
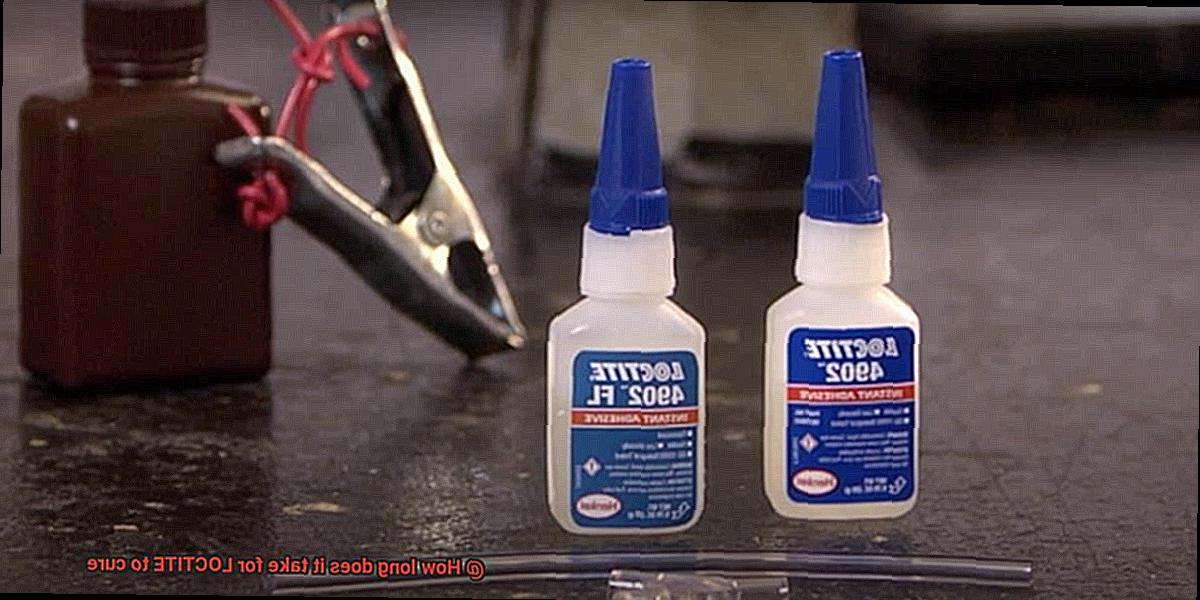
LOCTITE instant adhesives are like superheroes that form bonds in the blink of an eye. These adhesives work their magic within seconds to minutes. However, it’s important to note that while they appear strong right away, they require approximately 24 hours to reach their full strength, ensuring a durable bond.
Structural Adhesives:
When it comes to robust bonding, LOCTITE structural adhesives emerge as the champions. They require a bit more time to cure compared to instant adhesives, ranging from a few hours to an entire day. The specific curing time depends on the adhesive type and the size of the bond. Patience is key to achieving maximum strength with these adhesives.
Threadlockers:
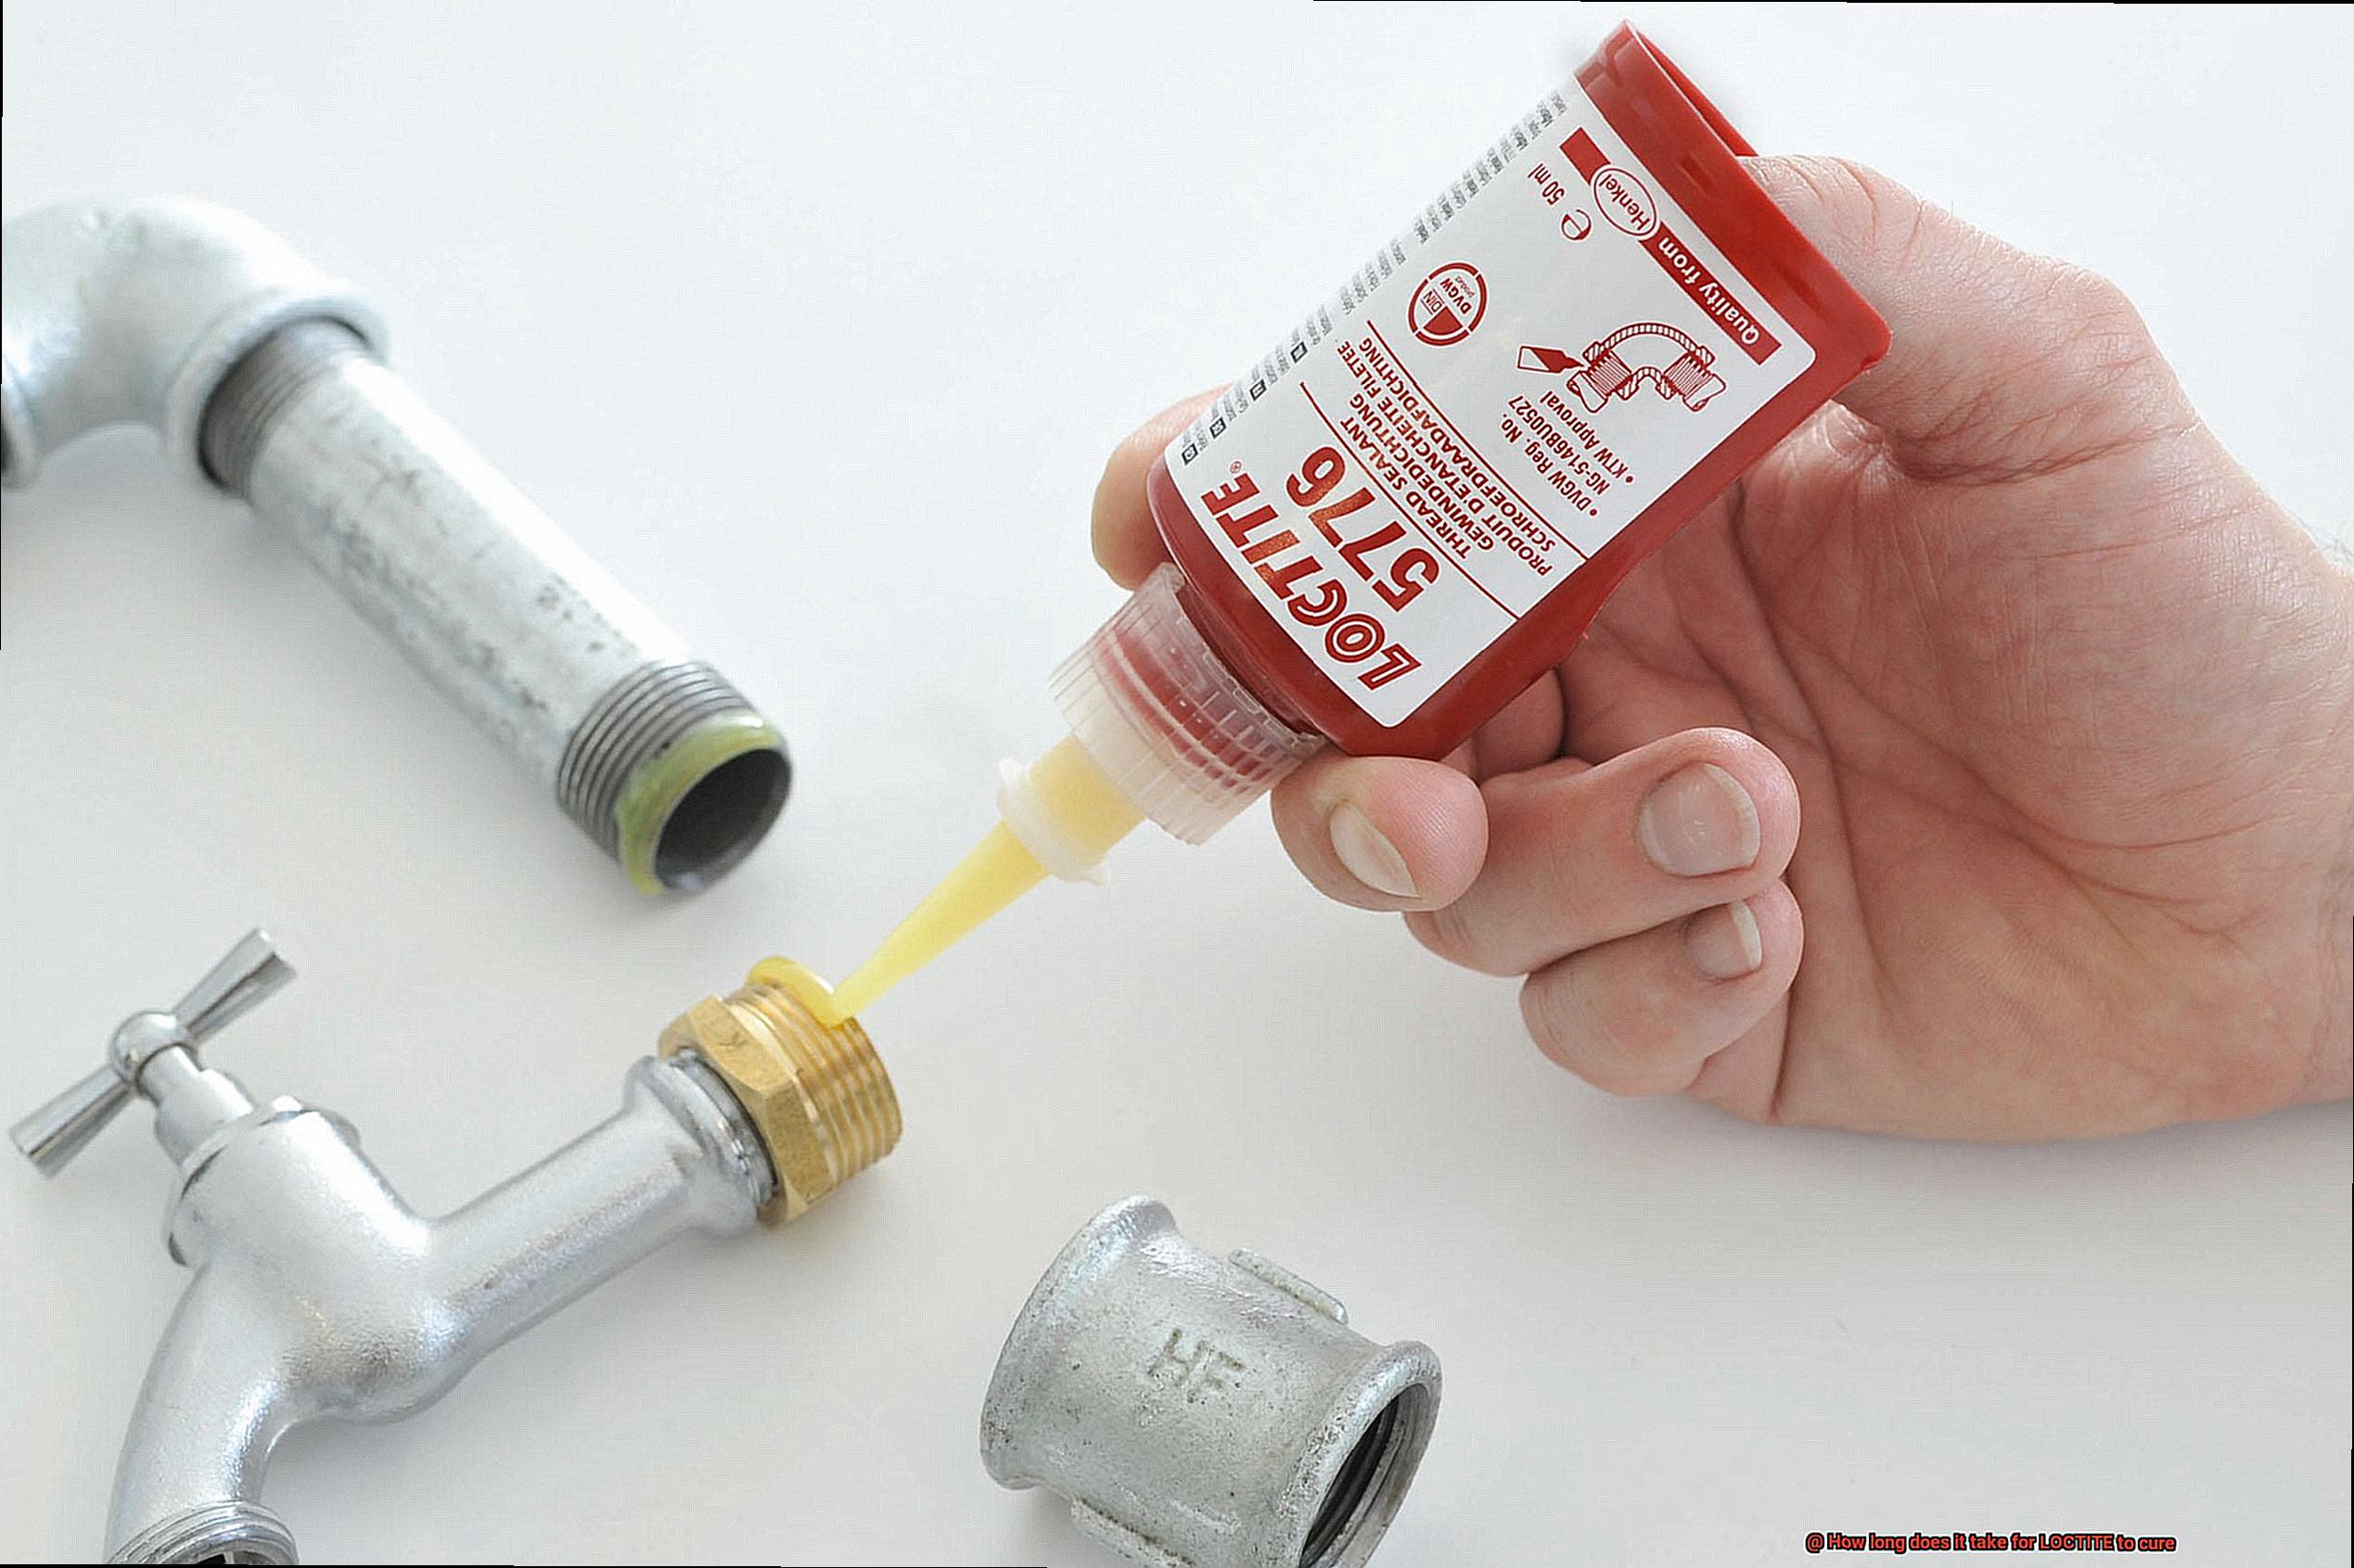
Imagine if screws and bolts had a voice – they’d plead, “Please keep us secure.” Enter LOCTITE threadlockers, saviors of threaded fasteners. These adhesives ensure that vibrations or heat don’t loosen these vital components. The curing time for threadlockers can range from a few minutes to several hours, depending on the strength required for the specific application.
Gasketing Compounds:
Leaks can be troublesome, but fear not. LOCTITE gasketing compounds seal tightly to prevent leaks in automotive and industrial settings. The curing time for these compounds varies based on the product and gap size. It can take a few hours or even overnight for these compounds to fully cure, offering optimal sealing performance.
LOCTITE adhesives possess extraordinary powers to bond and repair objects. Instant adhesives offer rapid bonding, while structural adhesives provide exceptional strength. Threadlockers keep threaded fasteners secure, and gasketing compounds seal tightly to prevent leaks.
Each type of adhesive has its own curing time, requiring patience for the bond to reach its full potential. Remember, when using LOCTITE adhesives, choose the right type and allow sufficient time for them to work their magic.
The Three Stages of Curing with LOCTITE
Today, we embark on an exciting journey through the three stages of curing that these magical adhesives go through. So fasten your seatbelts and get ready for an adventure filled with tackiness, hardness, and ultimate strength.
Stage 1: Initial Cure – The Magic Begins
Our journey begins with the initial cure, where the adhesive starts to set and harden. Think of this stage as the first few minutes of a superhero movie when our hero discovers their powers. Just like a budding flower, the adhesive begins to blossom.
During this stage, the adhesive may still be slightly tacky, but fear not. It already has enough strength to hold those bonded parts in place. It’s like witnessing a superhero’s first act of heroism.
Stage 2: Full Cure – The Rise of Strength and Hardness
As time passes, our adhesive hero becomes stronger and harder. This is the full cure stage when the adhesive reaches its maximum strength and hardness. It’s like watching a champion emerge after hours of intense training.
The specific LOCTITE product will determine how long it takes to reach this stage, which can range from several hours to a day. The adhesive transforms into a formidable force to be reckoned with.
Stage 3: Ultimate Strength – The Bond is Unbreakable
Ah, the grand finale. In this stage, our adhesive achieves its ultimate strength. It’s like reaching the pinnacle of power and realizing that nothing can break this bond. However, patience is key as this stage can take anywhere from 24 to 72 hours or even longer, depending on the specific LOCTITE product and application. It’s worth the wait because once our adhesive hero reaches this stage, the bond becomes unbreakable.
But wait. Before we continue our adventure, let’s talk about some important factors that can affect our curing journey. Temperature, humidity, and the materials being bonded all play a role in determining how quickly our adhesive hero progresses through the stages. Higher temperatures speed things up, while colder temperatures slow them down. It’s like the environment adding twists and turns to our superhero’s journey.
Now, my fellow adhesive enthusiasts, remember to follow the manufacturer’s instructions for curing times. Don’t rush the process. Allow our adhesive hero to fully cure before subjecting it to any stress or load-bearing conditions. We want our bond to be strong and durable, after all. It’s like giving our superhero time to recharge before tackling the next challenge.
In this magical world of LOCTITE adhesives, some products may offer faster curing times through accelerators or by being specifically designed for certain applications or materials. So be sure to explore the options and find the perfect adhesive for your needs. It’s like discovering a new power or tool that enhances our superhero’s abilities.
Factors That Impact the Curing Time of LOCTITE Adhesives
Uncovering the secrets behind the curing time of LOCTITE adhesives is like delving into a hidden world of adhesive bonding. In this blog post, we will explore the factors that influence their curing time and reveal the scientific principles that make these adhesives so powerful. So, grab your lab coat and safety goggles as we dive into the fascinating realm of adhesive bonding.
- Type of adhesive: Just like superheroes possess unique abilities, different types of LOCTITE adhesives have distinct curing characteristics. Anaerobic adhesives require contact with metal surfaces to initiate the curing process, while cyanoacrylate adhesives cure rapidly upon exposure to moisture in the air. Each type has its own specific curing time, so selecting the right adhesive for your application is crucial.
- Temperature: Temperature plays a vital role in determining how quickly LOCTITE adhesives cure. Higher temperatures can accelerate the process, while lower temperatures can slow it down. It’s essential to follow the manufacturer’s guidelines and ensure that the temperature remains within the specified range for optimal curing.
- Humidity: Some LOCTITE adhesives, such as cyanoacrylates and specific silicones, rely on atmospheric moisture for complete curing. Higher humidity levels can speed up the process, while low humidity may result in longer curing times or incomplete curing. Therefore, considering the surrounding moisture levels is crucial when using these types of adhesives.
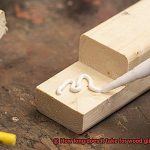
- Substrate material: Just like superheroes have their arch-nemesis, LOCTITE adhesives face challenges when bonding porous materials like wood or paper. These materials can absorb some adhesive, prolonging the curing time. Conversely, non-porous or smooth surfaces allow for quicker curing as the adhesive forms a strong bond without being absorbed into the substrate.
- Bond gap: Similar to a superhero’s obstacles, the size of the bond gap can impact curing time. Larger bond gaps hinder the flow of adhesive and may require additional time for complete curing. Following the manufacturer’s guidelines regarding bond gap limitations ensures optimal results.
- Mixing ratios (for two-component adhesives): Some LOCTITE adhesives come in a two-component form, where accurate mixing ratios are crucial for effective curing. Deviating from the recommended ratios can result in incomplete curing or weakened bond strength. Therefore, accurate measurements should never be underestimated.
- Application method: Every superhero has their signature move, and LOCTITE adhesives are no different. Thin, even layers of adhesive generally cure faster than thick layers. Proper surface preparation, such as cleaning and degreasing, ensures better adhesion and faster curing. Applying your adhesive with finesse is key.
Substrates and Surfaces That May Affect Curing Time
Substrates and surfaces play a crucial role in the curing time of LOCTITE glue, and understanding their impact can make all the difference in achieving a successful bond. Let’s embark on an investigative journey to uncover the secrets behind how different substrates and surfaces influence the curing time of this adhesive.
First and foremost, the type of substrate or surface that LOCTITE is applied to can significantly affect its curing time. Porous surfaces like wood or concrete tend to absorb the adhesive, resulting in a slower curing process. To expedite bonding and curing, multiple layers or a primer may be necessary to ensure proper adhesion and faster curing.
In contrast, non-porous surfaces such as metal or glass do not absorb the adhesive as much, leading to quicker curing times. These surfaces provide an ideal environment for LOCTITE to cure effectively and efficiently.
But wait, there’s more. The cleanliness of the surface also plays a vital role in bonding and curing. Any dirt, oil, or contaminants on the surface can hinder the adhesive’s ability to bond and cure properly. Therefore, it is crucial to thoroughly clean the surface before applying LOCTITE for optimal curing.
Temperature and humidity are two other significant factors that can influence curing time. Higher temperatures generally accelerate curing, while lower temperatures slow it down. Similarly, high humidity levels may prolong curing time, while low humidity levels may expedite it. To ensure optimal results, it is essential to follow the manufacturer’s recommendations regarding temperature and humidity conditions during the curing process.
In some cases, LOCTITE offers specific formulations tailored for challenging substrates or difficult-to-bond materials. These formulations are engineered to provide improved adhesion and faster curing times on those particular surfaces.
It is important to note that different LOCTITE products may have varying curing times and recommendations based on their unique formulations and intended uses. Always refer to the product’s technical data sheet or consult with the manufacturer for accurate information on curing times for a specific substrate or surface.
Optimizing the Conditions for Optimal Curing and Performance
In this article, we will explore various factors to consider when optimizing the conditions for optimal curing and performance of LOCTITE glue.
Factors Affecting Curing Time:
- Temperature: Higher temperatures accelerate curing, while lower temperatures slow it down. Refer to product datasheets or technical specifications for the recommended curing temperature range.
- Humidity: Moisture can initiate the curing reaction of certain adhesives. Consider humidity levels during application and curing to avoid incomplete curing or reduced bond strength.
- Substrate Material: Different materials have varying surface energies and reactivity, impacting bonding and curing. Some substrates may require additional surface preparation or priming for optimal adhesion and curing.
- Application Method: Thin layers cure faster than thicker ones due to better air and heat exposure. Dispensing LOCTITE in dots or beads improves air circulation and minimizes trapped air bubbles.

Optimization Techniques:
- Follow Manufacturer’s Instructions: Refer to instructions for proper application and curing, including recommended cure times, environmental conditions, and surface preparation techniques.
- Heat Sources: Use ovens or heat guns to accelerate curing for LOCTITE formulations designed for elevated temperatures. Follow manufacturer’s recommendations to prevent overheating or damage.
- Regular Evaluation: Conduct bond strength tests and monitor curing process and performance to ensure consistent results. Consult with technical experts from LOCTITE to address any concerns.
Additional Considerations When Using LOCTITE Products
LOCTITE products are renowned for their versatility and effectiveness as adhesives in various applications. However, to ensure optimal performance and bonding strength, it is crucial to consider several additional factors. In this article, we will delve into these considerations and provide valuable insights to help you maximize the benefits of using LOCTITE products.
Temperature Considerations:
Different LOCTITE products have specific temperature ranges within which they can effectively cure. Choosing a product that is suitable for the temperature conditions of your application is essential. Using a product outside of its recommended temperature range can lead to incomplete or delayed curing. Therefore, it is crucial to thoroughly review the product specifications and select accordingly.
Material Compatibility:
The type of material being bonded or sealed significantly influences the curing time of LOCTITE products. Certain materials may require longer curing times due to their composition or surface characteristics. To achieve optimal bonding strength, it is advisable to use a LOCTITE product specifically formulated for the material you are working with.
Surface Preparation:
Proper surface preparation is vital for achieving a strong bond. Prior to applying LOCTITE glue, surfaces should be meticulously cleaned, dried, and free from any contaminants such as oil, grease, or dust. This ensures excellent adhesion and reduces the risk of bond failure or reduced cure speed. Take the time to thoroughly clean and prepare surfaces before beginning the bonding process.
Assembly Size and Complexity:
The size and complexity of the assembly can affect the curing time of LOCTITE products. Larger or more intricate assemblies may require additional time for the adhesive to fully cure. In such cases, providing extra support or clamping during the curing process can help ensure proper bonding and alignment.
Application Method:
Different LOCTITE products are designed for specific application methods, including brush-on, spray-on, or squeeze bottles. It is essential to follow the recommended application method for the chosen product. Each application method is tailored to deliver the best results in terms of curing and overall performance.
Environmental Conditions:
Environmental factors, such as humidity and air circulation, can impact the curing time of LOCTITE products. Considering these factors and making necessary adjustments are important to ensure proper curing. Avoiding excessive humidity or stagnant air can help promote faster and more consistent curing.
Manufacturer’s Instructions:
Lastly, always adhere to the manufacturer’s instructions and recommendations when using LOCTITE products. Each product has specific guidelines for application, curing time, and any additional considerations. Following these instructions ensures that you achieve optimal results and prevents potential issues or failures.
NyeY4EVzIQQ” >
Conclusion
In conclusion, the curing time of LOCTITE adhesives is not a one-size-fits-all answer. It varies depending on the adhesive type and application at hand.
For those in need of instant bonding, cyanoacrylates are the go-to choice. These adhesives form strong bonds within seconds to minutes, but it’s important to note that they require approximately 24 hours to reach their full strength. So, a little patience goes a long way.
If you’re working on structural projects that demand durability, be prepared for a longer wait. Structural adhesives take their time to cure, ranging from a few hours to a day. The specific adhesive type and bond size play crucial roles in determining the exact duration.
Threadlockers and gasketing compounds fall somewhere in between. Threadlockers can cure in just a few minutes or take several hours, while gasketing compounds may require a few hours or even an overnight rest before reaching their full potential.
Understanding the three stages of curing – initial cure, full cure, and ultimate strength – is essential for achieving optimal results with LOCTITE adhesives. Various factors come into play here: temperature, humidity, substrate material, bond gap, mixing ratios (for two-component adhesives), and application method all have an impact on how long it takes for LOCTITE to do its thing.
To ensure your bonds are as strong as possible, don’t forget about proper surface preparation and selecting the right LOCTITE product for your needs. Following manufacturer’s instructions is key here. Take into account factors like temperature range, material compatibility, assembly size and complexity, environmental conditions, and application method – they all contribute to the overall curing process.
In summary, when using LOCTITE adhesives, patience truly is a virtue. Give them ample time to work their magic and achieve their maximum strength before subjecting them to stress or load-bearing conditions.