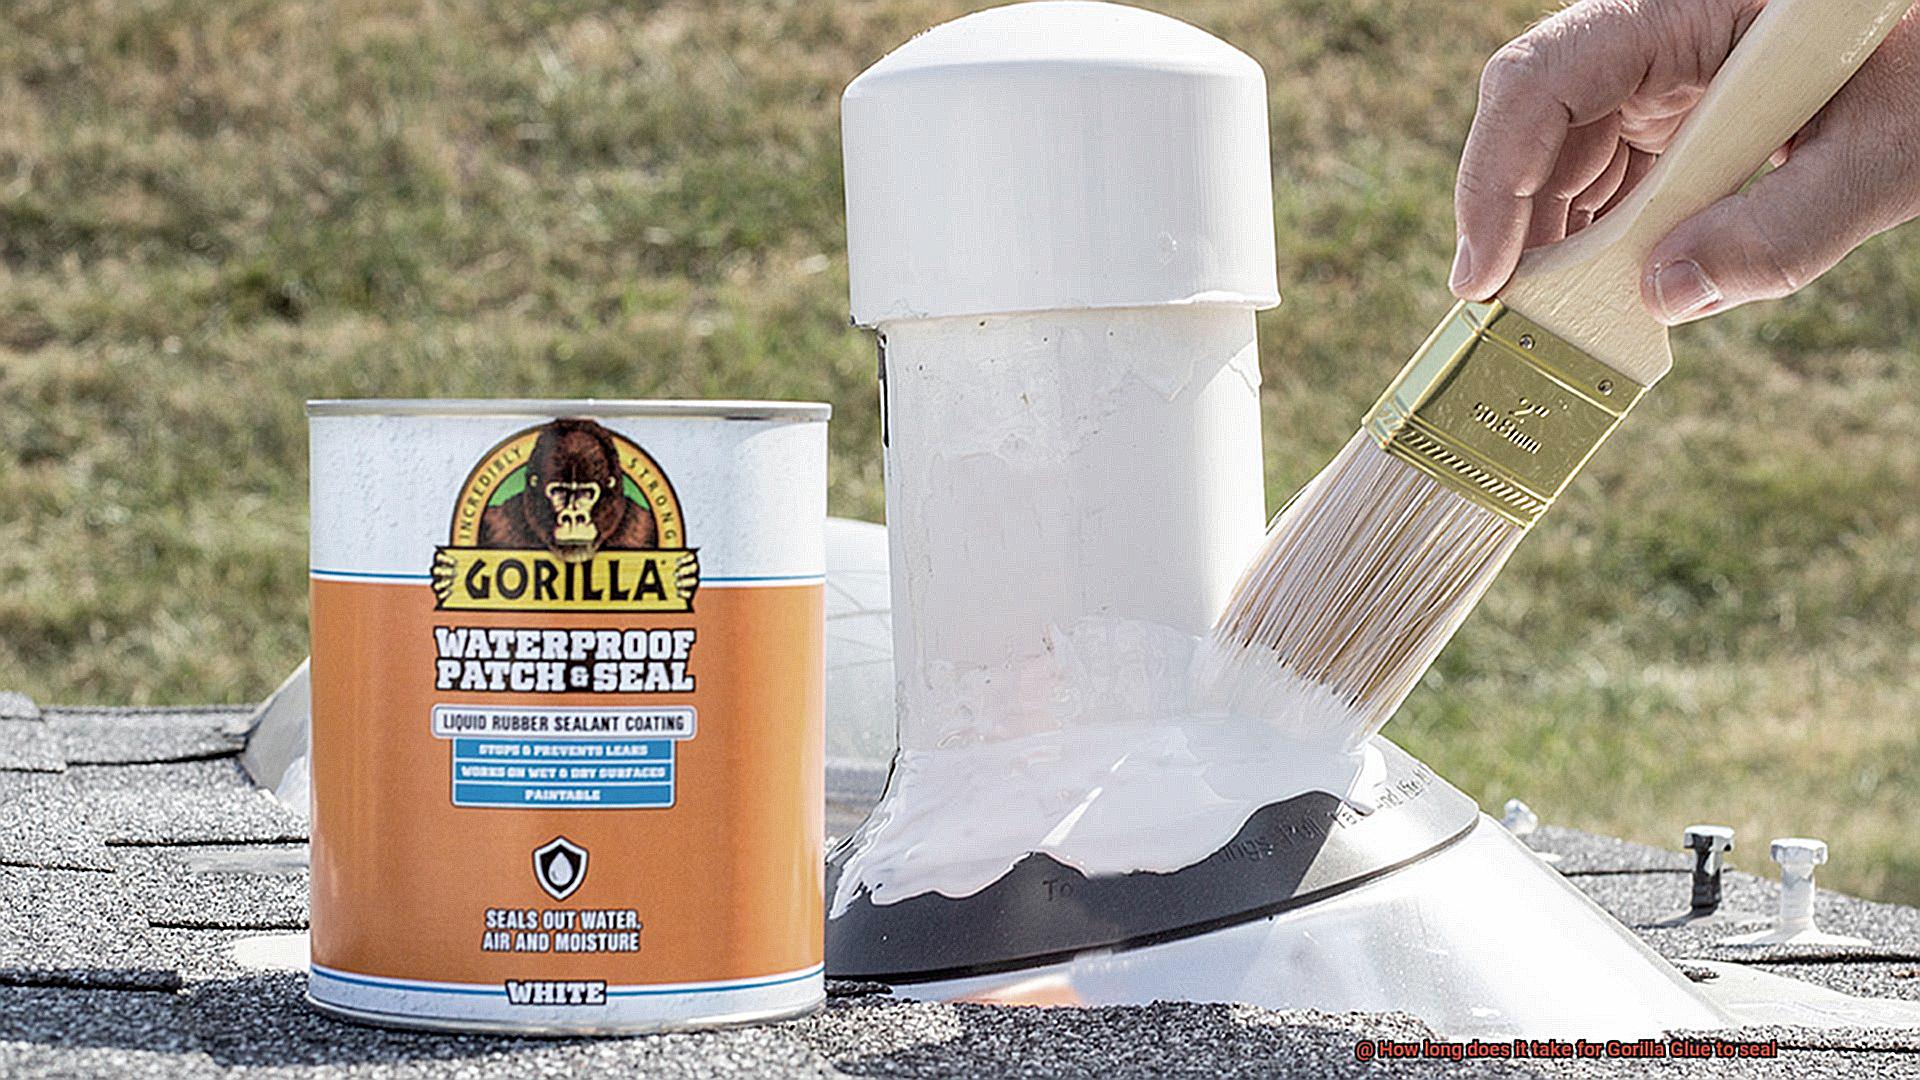
Have you ever been in a pinch where you needed a quick fix, but nothing seemed to hold up? Fear not, because Gorilla Glue is here to save the day. This super-strong adhesive has gained worldwide popularity and is now a household and workshop essential. But, one question that often arises among users is how long it takes for Gorilla Glue to seal.
Gorilla Glue is a polyurethane-based adhesive that creates an unbreakable bond. Once activated by moisture, it expands and fills any gaps in the material being bonded. However, the drying time of Gorilla Glue can vary depending on factors such as temperature, humidity, and the type of material being bonded.
So, just how long does it take for Gorilla Glue to seal? The answer is typically around 2 hours for the glue to fully set. However, many assume that they need to clamp the glued item for the entire 2-hour period. In reality, clamping for only 10-15 minutes will suffice in ensuring a tight seal. After that initial period, the glue will continue expanding and drying on its own.
Whether you’re repairing a shattered vase or fixing a leaky pipe, Gorilla Glue is your go-to adhesive for even the toughest jobs. Knowing how long it takes for Gorilla Glue to seal ensures optimal results every time. So next time you find yourself in a sticky situation, reach for Gorilla Glue and let its magic do the rest.
How Long Does It Take for Gorilla Glue to Set?
Contents
- 1 How Long Does It Take for Gorilla Glue to Set?
- 2 Factors That Affect Curing Time
- 3 Clamping or Applying Pressure After Application
- 4 Proper Storage Conditions for Maximum Strength
- 5 Tips and Tricks for Working with Gorilla Glue
- 6 Common Mistakes to Avoid When Using Gorilla Glue
- 7 Alternatives to Gorilla Glue
- 8 Conclusion
The answer to this question depends on several factors, including the type of Gorilla Glue being used, the materials being bonded, and the environmental conditions of the workspace. Generally speaking, Gorilla Glue begins to set within 10-20 minutes of application but can take up to 24 hours to fully cure and reach its maximum strength.
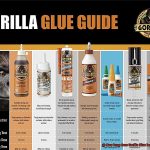
It’s important to note that different types of Gorilla Glue have varying set times and curing periods. For instance, Gorilla Super Glue sets in as little as 10 seconds and reaches full strength within one hour, while Gorilla Wood Glue takes up to 20-30 minutes to set and 24 hours to fully cure.
Environmental factors can also impact the curing process. Low humidity and warmer temperatures can speed up the process, while high humidity and cooler temperatures can slow it down. Therefore, it’s crucial to read the instructions carefully and follow them closely, ensuring that you get the best results possible.
To ensure a proper seal, it is recommended to clamp or apply pressure on the materials being bonded for at least 1-2 hours after applying Gorilla Glue. This will help prevent any shifting or movement during the curing process that could compromise the bond. It’s essential to remember that even though the glue may appear set after a few minutes, it’s still crucial to give it plenty of time to fully cure before putting any stress on the bond.
Factors That Affect Curing Time
There are five key factors that affect the curing time of this popular adhesive, and we’re here to break them down for you.
First up is temperature. While it may be tempting to crank up the heat to speed up the process, the ideal temperature range for curing Gorilla Glue is between 70°F and 80°F. If you go too high, the glue may cure faster but become brittle and weak. On the other hand, if it’s too cold, the glue will take longer to cure but result in a stronger, more flexible bond.
Next on our list is humidity. Gorilla Glue needs moisture to cure, so high humidity levels can speed up the process. But be careful – if there’s too much moisture in the air, the glue may foam excessively and weaken the bond. Keep humidity levels moderate for best results.
The third factor that affects curing time is the type of material being bonded. Porous surfaces like wood or fabric absorb more moisture from the glue and thus take longer to cure. Non-porous materials like metal or plastic don’t absorb as much moisture, resulting in a faster curing time.
Fourth on our list is the amount of glue applied. We get it – you want your project to be extra sturdy. But using too much glue can actually slow down the curing process and weaken the bond. To avoid this, apply a thin layer of glue evenly to both surfaces being bonded.
Last but not least, don’t forget about the age of your glue. Like all products, Gorilla Glue has a shelf life and older glue may take longer to cure or not work at all. Make sure you’re using fresh glue for optimal results.
Clamping or Applying Pressure After Application
You’ve followed the instructions, applied the glue, and now comes the crucial step of clamping or applying pressure after application.
Think of clamping or applying pressure as the final touch that ensures your project stays together for years to come. It’s like adding the cherry on top of your Gorilla Glue sundae. This step may take a little extra effort, but it goes a long way in ensuring a strong and long-lasting bond.
Why is clamping or applying pressure so important? The answer is simple: Gorilla Glue needs time to cure and harden. During this time, any movement or shifting can weaken or break the bond. Applying pressure or clamping keeps the surfaces firmly in place until the glue has fully cured.
When it comes to clamping, there are a few things to remember. Firstly, use enough pressure to ensure the surfaces are tightly pressed together, but not so much that excess glue is squeezed out of the joint. Secondly, use a clamp with a pressure of at least 20 psi for best results. Lastly, consider the type of materials being bonded – softer materials may require less pressure than harder materials to avoid damage or distortion.
If you’re unable to clamp, don’t fret. You can still apply pressure by hand. Hold the glued surfaces together firmly for at least 2 hours. However, it’s important to note that hand pressure may not provide as strong of a bond as clamping would.
Proper Storage Conditions for Maximum Strength
Look no further than Gorilla Glue – the ultimate solution for all your adhesive needs. But did you know that proper storage conditions are crucial for maintaining its maximum strength and effectiveness?
Firstly, let’s talk about where to store your Gorilla Glue. It’s best to keep it in a cool, dry place away from direct sunlight. Don’t leave it out on your workbench in the hot sun or store it in a damp basement. Exposure to moisture and high temperatures can cause the glue to degrade, reducing its effectiveness. So, ensure that you store it in a suitable location.
Next up, make sure to keep the container tightly sealed when not in use. This will prevent air from entering and drying out the glue. And if you do end up with excess glue on the nozzle or cap, make sure to wipe it off before resealing to prevent clogging.
Humidity is also an important factor to consider when storing Gorilla Glue. Changes in humidity can affect its ability to cure properly. Therefore, it’s recommended to store the glue at a consistent humidity level ideally between 40-60%. This will help ensure optimal performance.
Moreover, keep in mind that Gorilla Glue has a limited shelf life once opened. Even if stored correctly, it can begin to lose its effectiveness within 1-2 years after opening. Hence, it’s best to use it within this timeframe for maximum strength and reliability.
Tips and Tricks for Working with Gorilla Glue
Working with Gorilla Glue requires some skill and knowledge to achieve a successful bond. Here are five tips and tricks to help you get the most out of this powerful adhesive.
Prepare the Surface
To ensure maximum bonding strength, prepare the surface by roughing it up slightly before applying Gorilla Glue. This will help the glue penetrate the surface and create a stronger bond. For non-porous surfaces, like plastic or metal, sandpaper may be used to create a more abrasive surface.
Use a Small Amount of Glue
Gorilla Glue expands as it dries, so using too much can cause excess glue to seep out and create a mess. Using a pea-sized amount of glue is usually sufficient for most projects. Remember, less is more when working with Gorilla Glue.
Apply Pressure
Applying pressure is essential while the glue dries to ensure a strong bond. Clamps are ideal for holding the materials together, but if clamps are not available, heavy objects like books or weights can be used to apply pressure. It’s important to keep the materials still during the drying process to prevent any movement that could compromise the bond.
Avoid Getting the Glue Wet
Gorilla Glue requires moisture to activate, but it’s important to avoid getting the glue wet during the curing process as moisture can compromise the bond. Keep the glued surfaces dry and avoid touching them during the drying process.
Wear Protective Gloves
Gorilla Glue is known for its strong adhesive properties, which can make it difficult to remove if it gets on skin or unwanted surfaces. To avoid this, wear gloves when handling the glue and use a damp cloth to clean up any excess immediately. If Gorilla Glue gets on your skin, use soap and water to remove it before it dries.
Common Mistakes to Avoid When Using Gorilla Glue
First and foremost, resist the urge to use too much glue. Although Gorilla Glue is known for its strength, using too much can actually weaken the bond and make it less effective. Remember, a little goes a long way.
Next, proper surface preparation is critical. Before applying the glue, ensure that the surface is clean and dry. Any moisture or dirt can compromise the strength of the bond. Take a few extra minutes to wipe down the area with a clean cloth before applying the glue.
Another mistake to avoid is using Gorilla Glue on certain materials such as polyethylene or polypropylene plastics. These materials are difficult for the glue to adhere to and may result in a weak bond. If you’re unsure whether Gorilla Glue is suitable for your project, do some research beforehand.
Lastly, follow the instructions carefully. Applying the glue evenly and allowing enough time for it to dry and set properly is essential for a strong bond. Rushing the process or not allowing enough drying time can result in a weaker bond.
Alternatives to Gorilla Glue
Gorilla Glue is a popular adhesive choice for its strength and versatility, but it may not always be the best option for certain projects. Fear not, as there are several alternatives to Gorilla Glue that can be just as effective and specialized for specific needs.
Epoxy is a two-part adhesive comprised of a resin and hardener that chemically reacts to create a strong bond. It is known for its durability and ability to withstand extreme temperatures and moisture, making it an excellent alternative for projects requiring high-strength adhesion. Epoxy is also resistant to chemicals and compatible with various surfaces such as metal, glass, and plastic.
For quick repairs, Cyanoacrylate or Super Glue is an excellent alternative to Gorilla Glue. This fast-drying adhesive forms an instant bond when exposed to air. Although not as strong as Epoxy or Gorilla Glue, it’s perfect for small fixes like broken ceramics or jewelry.
If you need an adhesive similar to Gorilla Glue, Polyurethane Adhesive offers unique advantages. This adhesive expands as it cures, creating a strong bond that’s waterproof and resistant to extreme temperatures. It’s less brittle than Gorilla Glue, making it suitable for sanding or painting once cured.
Also Read: How to Glue Rubber to Glass? – Glue Things
Conclusion
In conclusion, Gorilla Glue is a remarkable adhesive that can tackle various projects with ease. However, the drying time of this glue may vary based on several factors such as temperature, humidity, and the material being bonded. Typically, it takes approximately two hours for the glue to set completely. But to guarantee a tight seal, clamping or applying pressure for at least one to two hours after application is highly recommended.
Several elements can influence the curing time of Gorilla Glue. These include the amount of glue applied, the age of the glue, and even humidity levels in your workspace. Therefore, it’s crucial to follow instructions meticulously and store Gorilla Glue in a cool and dry place away from direct sunlight to maintain its maximum strength.
To work effectively with Gorilla Glue, you must prepare the surface correctly by cleaning it thoroughly. Use a small amount of glue evenly and apply pressure during drying time while avoiding getting the glue wet during curing process. Additionally, wearing protective gloves is vital to prevent skin irritation.
While Gorilla Glue is an excellent choice for many high-strength adhesion projects, alternatives like Epoxy or Polyurethane Adhesive may be more suitable for specific needs.