Are you a DIY enthusiast eager to start your next woodworking project? Wondering how long you need to wait for the glue to set before sanding and finishing your work? Look no further. This blog post has got you covered with all the information you need on Elmer’s wood glue setting time.
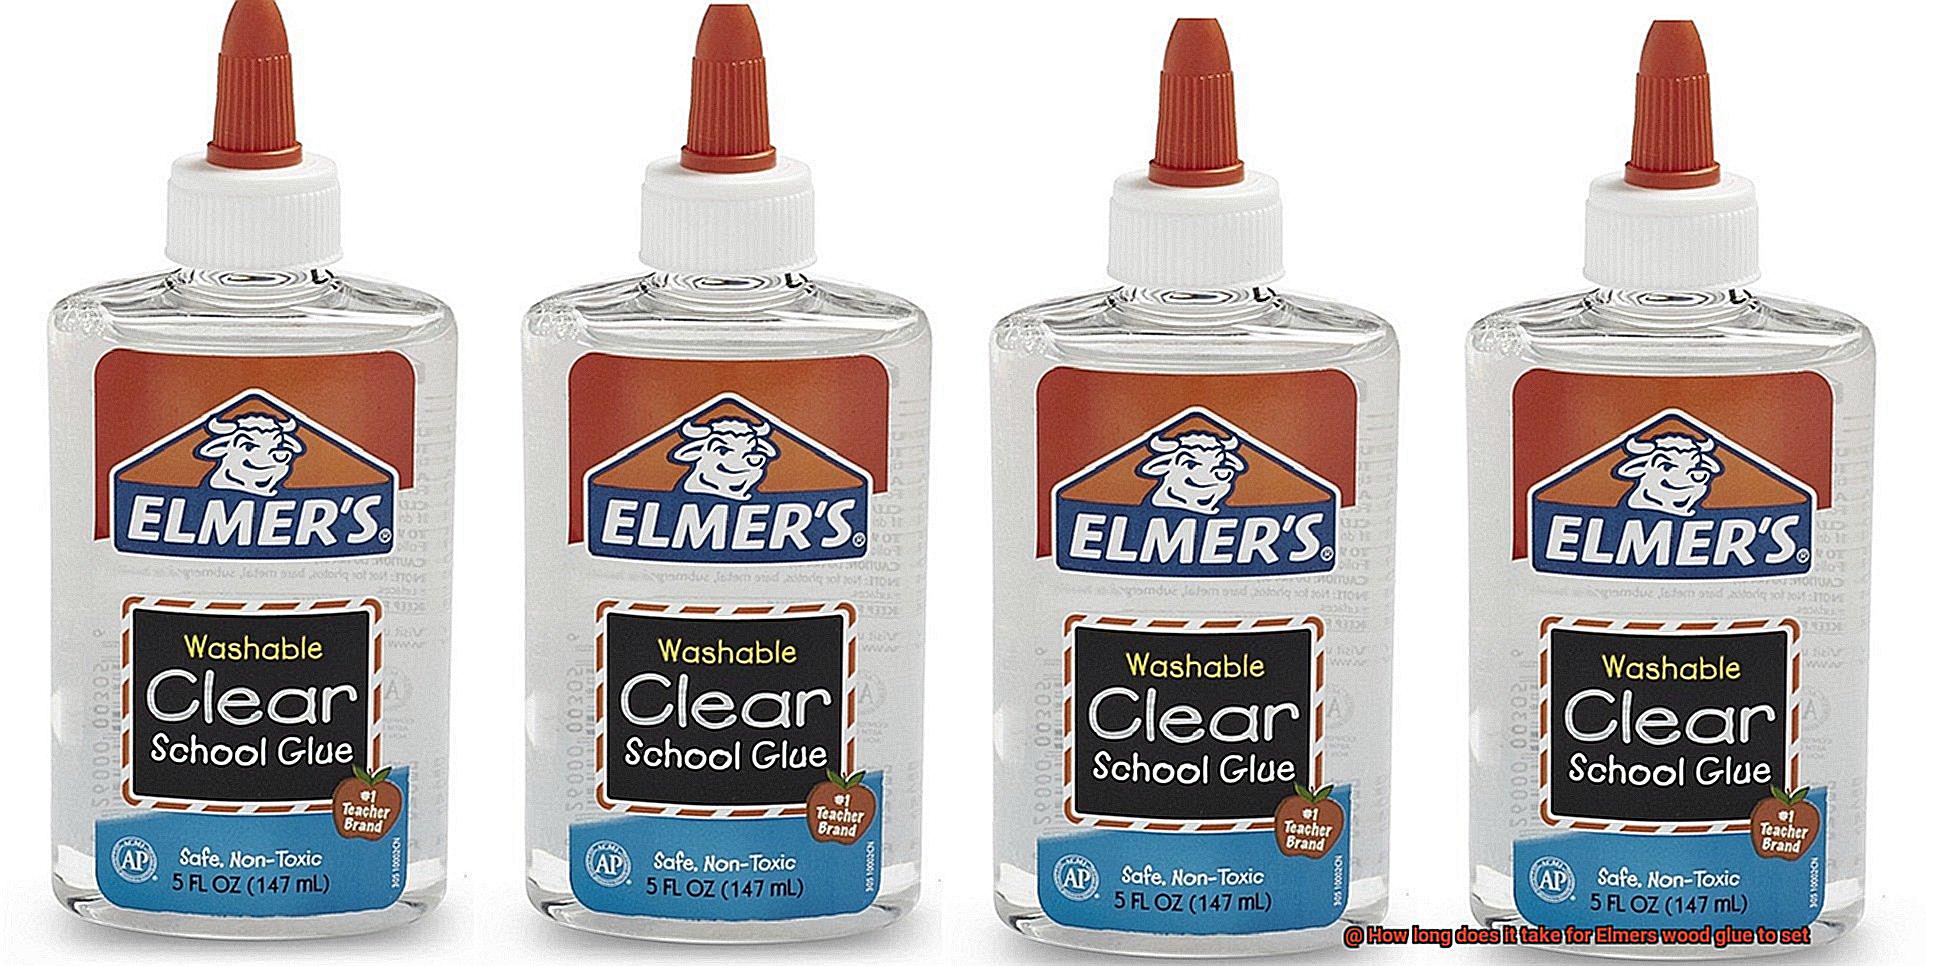
Elmer’s Carpenter’s Wood Glue is a top choice for woodworkers due to its strong bonding and easy application. It creates a bond stronger than wood itself, making it perfect for furniture repairs, carpentry, and woodwork. However, several factors can influence the drying time of the glue, such as humidity, temperature, and amount used.
But here’s something you may not know: bonding strength isn’t achieved instantly after applying the glue. Instead, it increases progressively as the glue dries up and sets. So it’s crucial to allow ample time for the glue to set and dry completely before handling the wood to avoid compromising its strength.
So how long does it take for Elmer’s wood glue to set? Well, that depends on various factors like application and drying conditions. But don’t worry; we’ve got all the details covered in this post. Read on for a comprehensive guide on everything you need to know about Elmer’s wood glue setting time.
What is Elmer’s Wood Glue?
Contents
- 1 What is Elmer’s Wood Glue?
- 2 Factors Affecting Drying Time
- 3 How Long Does Elmer’s Wood Glue Take to Set?
- 4 Working with Different Types of Woods
- 5 Temperature and Humidity Considerations
- 6 Applying the Right Amount of Glue
- 7 Common Mistakes When Using Elmer’s Wood Glue
- 8 Tips for Achieving Strong Bonds with Elmer’s Wood Glue
- 9 Conclusion
This water-based, non-toxic glue is easy to use and provides a clear finish on a variety of wood types, including hardwoods and softwoods.
One of the standout features of Elmer’s Wood Glue is its exceptional bonding power. The glue forms a strong and durable bond that can withstand even the most rigorous stress and strain put on it. This makes it perfect for woodworking projects where the strength and durability of the finished product are paramount.
Aside from its superior bonding capabilities, Elmer’s Wood Glue also boasts ease of use. The glue is effortless to apply and dries quickly, making it ideal for time-sensitive projects. Moreover, since it’s water-based and non-toxic, there’s no need to worry about using it around children or pets.
When working with Elmer’s Wood Glue, several factors can affect how long it takes for the glue to set. The wood type, temperature, humidity, and amount of glue used all play a crucial role in determining set time. Typically, the glue will set in 20-30 minutes; however, denser hardwoods like oak may take longer than softer woods like pine.
To ensure a strong bond, it’s vital to apply enough glue to cover the surface evenly without over-saturating it. Using too little glue can result in weak joints, while too much can increase drying times significantly.
Factors Affecting Drying Time
When it comes to Elmer’s wood glue, several factors can impact its drying time, which can make or break your project. By taking these factors into account, you can ensure optimal results and a successful outcome.
Firstly, humidity levels play a significant role in the drying time of Elmer’s wood glue. High humidity levels slow down the process, while low humidity levels speed it up. So before starting your project, check the humidity levels and adjust them accordingly to achieve the desired results.
Secondly, the temperature of the environment also affects the drying time of Elmer’s wood glue. Higher temperatures speed up the process, while lower temperatures slow it down. During colder temperatures, it is recommended to keep the project in a warm and dry location to facilitate faster drying time.
Moreover, different types of wood have varying densities that affect the drying time of Elmer’s wood glue. Hardwoods such as oak and maple take longer to dry than softwoods such as pine and cedar. Therefore, understanding the type of wood being used in your project is crucial when estimating drying time.
Additionally, the amount of glue used impacts the drying time of Elmer’s wood glue. Applying too much glue can result in longer drying times, while applying too little can weaken the bond. It is recommended to apply a thin and even layer of glue to each surface for optimal results.
Finally, the thickness of the glue line also influences the drying time. A thicker line takes longer to dry than a thinner one. Consistency is key when applying glue to ensure even drying throughout your project.
How Long Does Elmer’s Wood Glue Take to Set?
The answer is not straightforward and varies depending on several factors.
Firstly, let’s start with the basics. The typical setting time for Elmer’s wood glue is between 20-30 minutes. However, this timeline can be influenced by the type of wood being bonded, the temperature and humidity in the environment, and the amount of glue being used.
When working with porous woods such as oak or maple, the glue may take longer to set compared to non-porous woods like cherry or walnut. This is because porous woods tend to absorb more moisture from the glue, which can slow down the drying process.
Temperature and humidity are also major players when it comes to drying time. In warmer and more humid environments, the glue tends to dry faster while in colder and drier environments, it may take longer to set. So, if you’re working in a chilly and dry space, it’s best to give your glue some extra time to set properly.
Lastly, the amount of glue being used can also affect its drying time. Applying too much glue or applying it too thickly can prolong the drying process, while using too little glue may cause the bond to be weak. So, be sure to use just the right amount of glue for your specific project.
Working with Different Types of Woods
When it comes to woodworking, the type of wood you choose can make or break your project. Understanding the characteristics of different types of woods is essential when working with Elmer’s wood glue for a successful and long-lasting bond. Here are five reasons why:
Different types of woods require different types of glues and adhesives. Woods have varying densities, porosity, and moisture content, affecting how well they bond with glue. For example, softwoods like pine and fir are more absorbent than hardwoods like oak and maple, requiring a glue with a longer open time for proper penetration.
Hardwoods have a tighter grain structure and are less porous, requiring a glue with a shorter open time to ensure a strong bond before it dries out or evaporates. Ignoring this can result in a weak bond that may cause the entire project to fall apart.
When working with oily or dense exotic woods like teak or ebony, it’s important to use adhesives specifically designed for these types of wood. These adhesives have special formulations that penetrate the surface of the wood and create a strong bond.
The grain pattern of the wood also affects its workability. Woods with straight grain patterns are easier to cut and drill than those with irregular or interlocking grains that can cause splitting or chipping. Proper selection of wood grain can save time and effort during the woodworking process.
Applying Elmer’s wood glue properly is essential for achieving a strong and reliable bond. This includes cleaning surfaces thoroughly, applying a thin layer of glue, pressing pieces firmly together, clamping if necessary, and allowing the glue to dry completely before sanding or finishing.
Temperature and Humidity Considerations
Look no further than Elmers wood glue – but don’t forget about the crucial role that temperature and humidity play in achieving optimal results.
To start, let’s talk temperature. The ideal range for Elmers wood glue to set is between 70-90°F (21-32°C). Too low, and the drying process will take longer than desired. Too high, and you risk the glue drying too quickly, which can lead to weaker bonds. So, keep that thermostat in check.
But temperature isn’t the only environmental factor to consider. Humidity has a significant impact on drying time as well. For Elmers wood glue, the ideal relative humidity range is between 50-55%. If it’s too humid, moisture in the air can slow down the drying process, resulting in a longer wait time for your project. Conversely, if it’s too dry, the glue may dry too quickly, leading to less secure bonds.
It’s important to note that these guidelines are for optimal conditions. If your workspace falls outside of these ranges, adjust your expectations for drying time accordingly. And remember – different types of wood glue may require different temperature and humidity levels. Always refer to the manufacturer’s instructions for specific guidance.
Applying the Right Amount of Glue
Elmer’s wood glue is a reliable option for bonding wood pieces together, but applying too little or too much can lead to disastrous results. So, what’s the secret to applying the perfect amount of glue?
The first step is to apply a thin, even layer of glue to both surfaces being bonded. This will ensure maximum coverage while minimizing excess glue that could lead to messy drips and weak bonds. To evenly distribute the glue, use a brush or spreader instead of your fingers, which can cause uneven coverage.
It’s also essential to consider the type of wood being bonded. Some woods are more porous than others and may require more glue for a strong bond. Hardwoods like oak or maple may need more glue than softwoods like pine or cedar.
Once the glue has been applied, it’s important to clamp the two surfaces together firmly. This will help ensure a tight bond and prevent any movement while the glue sets. Make sure to let the glue fully dry before removing any clamps or applying additional pressure to the bond.
Elmer’s wood glue typically sets in 20-30 minutes, but drying time may vary depending on humidity and temperature conditions. It’s crucial to let the glue fully dry before moving onto the next step in your project.
Common Mistakes When Using Elmer’s Wood Glue
These mistakes can doom your project before it even gets off the ground, leading to weak bonds and a less-than-desirable final product. Here are some tips to help you avoid these mistakes and achieve a professional finish on your next woodworking project.
Firstly, one of the biggest mistakes people make is not applying enough glue. It’s essential to apply enough glue to ensure that the joint is fully covered, and no bare spots remain. Failing to do so can result in weak joints that may come apart over time. However, it’s equally important not to go overboard with glue application, as excess glue can create a mess and cause the joint to become slippery.
Another common mistake is not clamping the joint properly. Clamping helps hold the pieces tightly together while the glue dries and ensures a strong bond. It’s essential to use a clamp that applies even pressure across the joint to avoid any shifting or separation of pieces.
Allowing enough drying time is also crucial. Elmer’s wood glue generally takes around 24 hours to reach full strength, depending on the temperature and humidity of your workspace. Rushing this process can lead to weakened joints that may fail over time, so it’s essential to be patient and give it enough time to dry thoroughly before handling.
Finally, don’t forget to clean up any excess glue before it dries. Once it hardens, it can be challenging to remove. A damp cloth or paper towel can be used immediately after application to wipe away any excess glue.
Tips for Achieving Strong Bonds with Elmer’s Wood Glue
To ensure that you get the best results, there are a few steps you need to follow.
Prepare the Surface
The first step is to prepare the surface before applying the glue. It’s important to make sure that the surface is clean, dry, and free from any dirt or debris. You can use sandpaper to roughen the surface slightly, as this will allow the glue to penetrate deeper into the wood fibers and create a stronger bond.
Apply the Right Amount of Glue
Applying too little or too much glue can affect the strength of the bond. A good rule of thumb is to apply a thin layer of glue evenly to both surfaces being joined together. This will ensure that there’s enough glue to create a strong bond without saturating the surface.
Clamp the Pieces Together
Clamping the pieces together ensures that they stay in place while the glue dries. Use enough pressure to bring the pieces together, but not so much that it squeezes out all the glue. It’s recommended to clamp or apply pressure to the glued surfaces for at least 30 minutes to an hour. This will help to ensure a strong and secure bond.
Allow Sufficient Drying Time
The drying time for Elmer’s Wood Glue depends on several factors such as humidity, temperature, and how much glue was used. As a general rule, allow at least 24 hours for the glue to dry completely before handling or sanding. Rushing this step can result in a weaker bond and could cause your project to fall apart.
Follow Safety Precautions
When working with Elmer’s Wood Glue, it’s important to follow all safety precautions listed on the product label. This includes wearing gloves and eye protection as necessary and avoiding direct skin contact with the glue. Safety should always come first when working with any type of adhesive.
gnG0FNxisvk” >
Conclusion
After considering all factors, it’s clear that Elmer’s Carpenter’s Wood Glue is a top choice for woodworkers. Its strong bonding and easy application make it a go-to option for many projects. However, achieving optimal results requires attention to detail and patience.
When working with different types of woods, it’s important to consider their unique characteristics and how they may affect bonding with glue. Applying too little or too much glue can have disastrous consequences, so it’s crucial to apply a thin, even layer to both surfaces being bonded and clamp them together firmly.
Temperature and humidity also play a significant role in the drying process. The ideal range for setting is between 70-90°F (21-32°C), while the ideal relative humidity range is between 50-55%. Rushing the drying process can lead to weakened joints that may fail over time, so patience is key.
Taking these precautions will help ensure professional finishes on your woodworking projects. Remember always to follow safety precautions listed on the product label when working with any type of adhesive. Don’t compromise the strength of your work by handling it before the glue has fully set and dried.