Picture this: you’re an artistic wizard, meticulously perfecting your latest creation. All that remains is bonding a few delicate pieces together using the trusty Elmer’s glue. But wait. How long will it take for that sticky goodness to dry? Will time fly by in the blink of an eye, or will it drag on like an endless saga?
In the realm of arts and crafts, understanding the drying time of Elmer’s glue is crucial knowledge. Whether you’re a DIY enthusiast, a devoted scrapbooker, or a seasoned artist, knowing when your glue will solidify can make or break your project. Fear not, my creative comrades. Today, we shall embark on a quest to unravel the mysteries behind Elmer’s glue drying process.
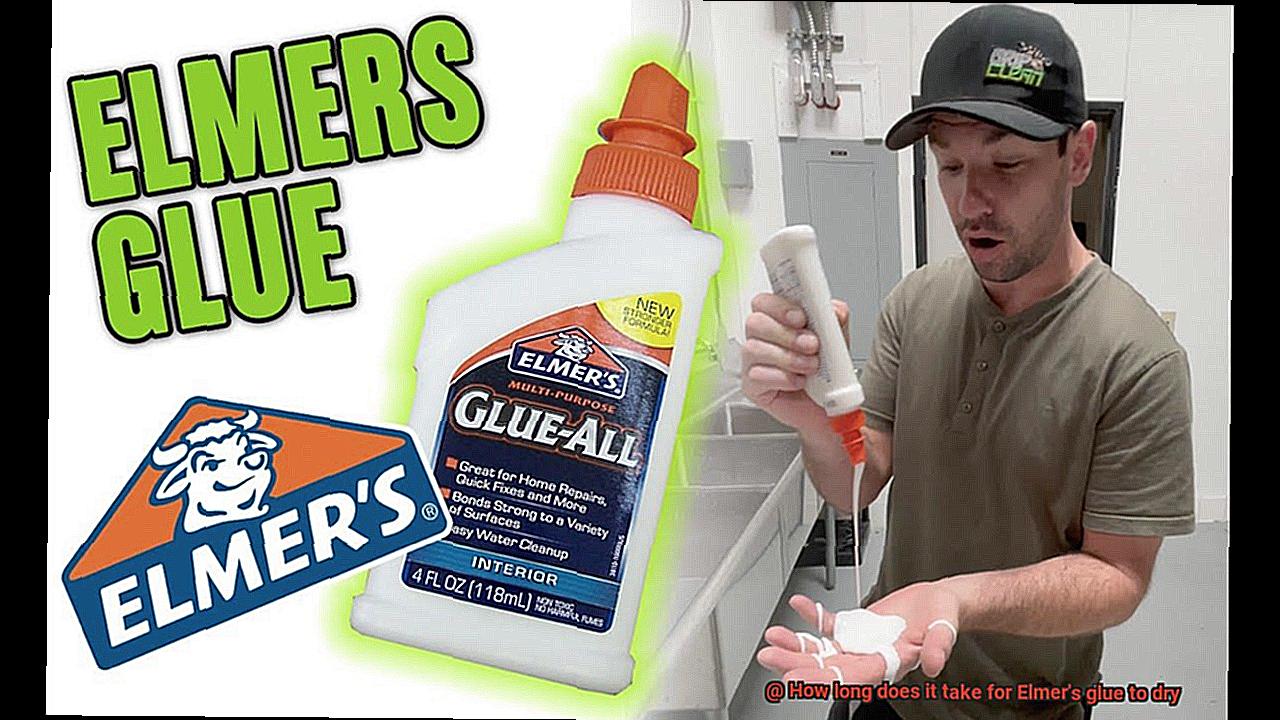
Elmer’s glue, that magical adhesive that has rescued countless school assignments and preserved our sanity through crafty endeavors, typically takes around 30 minutes to dry – but there’s more to this sticky business than meets the eye. From its unique composition to the nature of your project, we’ll explore every nook and cranny so you can plan your artistic escapades with confidence.
So grab your crafting supplies, unleash your curiosity, and let us venture into the enchanting world of Elmer’s glue drying time. Together, we shall unlock the secrets behind optimal drying conditions and discover clever tricks to expedite or even delay the process. Get ready to navigate through the wondrous realm of adhesion as we dive headfirst into all things Elmer’s glue.
What is Elmer’s Glue?
Contents
For over 70 years, Elmer’s Glue has been the trusted name in adhesives. Loved by children and adults alike, this versatile adhesive is a staple in households, schools, and craft rooms worldwide. In this blog post, we will explore the wonders of Elmer’s Glue – its unique features, composition, history, and various uses.
What is Elmer’s Glue?
Elmer’s Glue is a water-based adhesive renowned for its strong bonding capabilities and ease of use. Available in liquid glue, glue sticks, and glitter glue forms, it offers options for every project. Its non-toxic formula ensures safety for users of all ages.
How does it work?
Elmer’s Glue creates a strong bond between surfaces when applied and allowed to dry. Its water-based composition enables easy application and clean-up. Once dry, it forms a transparent bond that is virtually invisible, making it perfect for projects where the glue will be visible.
Various Uses:
- Arts and Crafts: Elmer’s Glue is the go-to adhesive for paper crafts, collages, and scrapbooking.
- School Projects: It provides a reliable bond for building models or creating dioramas.
- Household Repairs: From fixing broken ceramics to repairing wooden furniture, Elmer’s Glue is handy around the house.
- DIY Projects: Perfect for creating handmade items like jewelry or home decor.
Drying Time:
The drying time of Elmer’s Glue varies depending on factors such as the type of glue used, thickness of application, temperature, and humidity levels. Generally, it takes around 20 to 30 minutes to dry to the touch. However, full curing and maximum strength may take longer.
Factors Affecting Drying Time
Are you tired of waiting for ages for your glue to dry? Well, worry no more because today we’re going to explore the factors that can affect the drying time of everyone’s favorite adhesive, Elmer’s Glue.
First and foremost, let’s talk about the type of Elmer’s Glue you’re using. Whether it’s liquid glue, glue sticks, or school glue, each type has its own composition that can influence how quickly it dries. Liquid glue, for example, contains more water, which evaporates rapidly and leads to faster drying.
Now, let’s move on to the elements. Humidity is a major player in drying time. In high humidity environments, where the air is already saturated with moisture, it becomes harder for the glue to dry. On the flip side, in low humidity conditions, the moisture in the glue evaporates more swiftly, resulting in quicker drying.
Temperature is another crucial factor. Higher temperatures speed up the evaporation process, while lower temperatures slow it down. So if you’re in a rush to get your project done, turn up the heat or find a warm spot to work in.
The thickness of the glue layer is yet another consideration. Thicker layers take longer to dry as there’s more moisture that needs to evaporate. The key here is thin and even coats for faster drying.
Let’s not forget about the surface you’re gluing on. Porous surfaces like paper or fabric absorb moisture from the glue, leading to longer drying times. In contrast, non-porous surfaces like glass or plastic don’t absorb moisture and allow for quicker drying.
Air circulation is also crucial. Proper ventilation or using a fan can help speed up the drying process by allowing moisture to evaporate more efficiently.
Last but not least, how you apply the glue matters too. Thin and even application dries faster than thick or uneven coats. So grab a brush or sponge for a quicker drying time.
Recommended Application Techniques
I’ve got some fantastic tips on the recommended application techniques for Elmer’s glue that will have you sticking with success in no time.
First and foremost, let’s talk surfaces. Elmer’s glue works best on porous materials like paper, cardboard, and wood. So, if you’re planning on gluing together that epic cardboard castle or creating a masterpiece with popsicle sticks, Elmer’s glue is your go-to.
But before you start slapping that glue on, make sure your surfaces are squeaky clean. Dust and debris can hinder the glue’s bonding power, so give everything a quick wipe down with a damp cloth or mild detergent.
Now let’s talk quantity. Less is more when it comes to Elmer’s glue. A thin, even layer is all you need for most projects. Grab a brush or an applicator and spread that glue evenly over your surface like a true glue master.
Oh, and don’t forget about temperature and humidity. Glue works best in moderate conditions, so try to work in a well-ventilated area with comfortable temps. Trust me; your glue will thank you.
Once you’ve applied the glue, be patient. Give it some time to dry before you start manipulating or touching those glued surfaces. Elmer’s glue dries relatively quickly, usually within 30 minutes to an hour, but it’s best to wait a full 24 hours for maximum bond strength.
And while you’re waiting for that magic to happen, don’t disturb the glued pieces. No poking, prodding, or applying pressure. If needed, use clamps or other supports to hold everything together until the glue is fully dry.
Now here’s a fun little bonus tip: Elmer’s glue can also be used as a temporary adhesive. Just apply a thin layer, let it partially dry, and voila. You’ve got yourself a tacky texture that allows for easy repositioning or removal.
So there you have it, glue lovers. Follow these recommended application techniques for Elmer’s glue, and you’ll be sticking, bonding, and creating like a pro. Clean surfaces, even layers, moderate conditions, and a little bit of patience are all you need to achieve glue greatness. So go forth and create, my friends.
Temperature and Humidity Effects
Temperature and humidity are two key factors that greatly impact the drying process of Elmer’s glue. The magic happens when these elements come into play, affecting the speed and quality of the bond.
Let’s start with temperature. Elmer’s glue thrives in warmth, with an ideal range of 70-90 degrees Fahrenheit. In this cozy environment, the water in the glue evaporates faster, transforming it into a solid bond. So, if you’re crafting in a toasty room or during the summer months, your glue will dry quicker than you can say “stick together.”
However, colder temperatures put a damper on drying time. As the temperature drops, the water in the glue evaporates at a snail’s pace. So if you find yourself crafting in a chilly basement or during winter, exercise patience and give your glue some extra time to work its magic.
Now, let’s talk about humidity – the moisture in the air around you. High humidity levels act like a turtle, slowing everything down. With excess moisture in the air, it takes longer for the water in the glue to evaporate. So if you’re in a humid climate or working on a rainy day, expect your glue to take its sweet time to dry.
On the flip side, low humidity is like a turbo boost for your glue’s drying speed. In dry climates or during winter when the air is drier, the water evaporates quickly, resulting in faster drying times for your artsy masterpiece.
But beware. Extreme temperatures and humidity can mess with your glue’s quality. Store it in a cool, dry place away from direct sunlight or extreme heat or cold to ensure reliable adhesion every time.
Armed with this newfound knowledge of temperature and humidity effects, you can confidently plan your projects like a pro. Whether it’s warm and cozy or cool and dry, now you know how to adapt and achieve optimal drying times.
Other Factors That Affect Drying Time
Waiting for Elmer’s glue to dry can be both exhilarating and exasperating. However, several factors can affect the drying time of this adhesive. In this blog post, we will explore these factors to provide you with valuable insights for optimizing your crafting experience.
Temperature:
Temperature plays a crucial role in drying time. Higher temperatures accelerate the process, while lower temperatures slow it down. Working in a cool room or during winter? Expect longer drying times. Conversely, warmer conditions or using a heat source can significantly expedite drying.
Humidity:
Humidity levels impact drying time as well. High humidity hampers water evaporation, leading to longer drying times. Low humidity facilitates faster evaporation, resulting in quicker drying. To achieve optimal results, work in a well-ventilated area or use dehumidifiers to control humidity levels.
Application thickness:
The amount of glue applied affects drying time. Thicker layers require more time for water content to evaporate, prolonging drying. Conversely, applying thin coats speeds up the process. Remember, quality over quantity when applying glue.
Porosity of materials:
Material porosity influences drying time. Porous materials like paper or fabrics absorb moisture, slowing down drying. Non-porous materials like glass or metal allow less absorption, facilitating quicker drying. Consider material porosity when estimating drying time.
Ventilation:
Proper ventilation is vital for efficient drying. Adequate airflow speeds up evaporation and ensures even drying. In poorly ventilated areas, use fans or open windows to improve air circulation and enhance the process.
Type of Elmer’s glue:
Different Elmer’s glue types have varying drying times. Traditional white school glue dries in 30 minutes to an hour, while clear glue or wood glue may take longer. Consult the product label for specific instructions on drying times.
Clear Finish with Elmer’s Glue
Achieving a flawless, clear finish with Elmer’s Glue can elevate your DIY projects to new heights of professionalism and beauty. Whether you’re working with wood, paper, or fabric, Elmer’s clear glue is your secret weapon for creating a glossy and protective coating that will make your project shine. So, how can you achieve that perfect finish? Let’s dive in.
- Select the appropriate type of Elmer’s glue: Elmer’s offers a range of glues, but for a transparent finish, opt for their specialized clear glue designed explicitly for see-through applications.
- Apply thin coats: Thinner layers of clear glue dry faster than thick ones. Instead of slathering on one heavy coat, it’s better to apply multiple thin coats. This not only accelerates the drying process but also ensures a smooth and even finish.
- Consider drying conditions: Factors like temperature, humidity, and ventilation can influence the drying time of clear Elmer’s glue. Under ideal conditions, it can dry within 30 minutes to an hour. However, colder or more humid environments may necessitate longer drying times.
- Exercise patience: To achieve optimal results, it’s vital to allow ample drying time between coats. Rushing the process risks smudging or damaging the previous layers. Give your project at least 24 hours of undisturbed drying time before handling or applying additional coats.
- Follow instructions diligently: Elmer’s provides instructions on their product packaging for a reason – to guide you towards achieving the best results. Carefully read and adhere to these instructions to ensure proper drying and curing.
Quicker Drying Techniques
We’ve all been there, whether it’s a last-minute school project or a creative masterpiece that you can’t wait to show off. Luckily, there are some techniques you can use to speed up the drying time of Elmer’s glue and get on with your life.
The first technique is all about thin layers. When you apply a thick layer of glue, it takes longer for the moisture to evaporate, resulting in a longer drying time. So instead of slathering on a thick coat, try using thin layers. This allows more surface area to be exposed to the air, helping the glue dry faster. This method works particularly well when gluing paper or lightweight materials.
Another technique is increasing airflow. You can do this by using a fan or opening windows and doors to ensure proper ventilation around the glued area. The moving air helps evaporate the moisture in the glue at a faster rate, reducing the drying time significantly. Plus, it gives you a nice breeze on those hot summer days.
If you’re feeling a little impatient and want to speed things up even more, try applying heat to the glue. But be careful. Excessive heat can cause the glue to bubble or become brittle. To avoid any mishaps, use a hairdryer set on a low or cool setting and gently warm the glued area. This promotes faster evaporation without compromising the integrity of the adhesive bond.
In humid environments, drying glue can be a real challenge due to excess moisture in the air. But fear not. You can combat this by using a dehumidifier. By removing moisture from the surrounding environment, you create an ideal drying environment for the glue. This technique works wonders, especially in areas with high humidity levels or during rainy seasons.
Lastly, if you find yourself constantly in need of fast-drying glue, consider investing in Elmer’s quick-drying formulas. These specialized formulas contain additives that expedite the evaporation process, allowing the glue to dry faster than traditional options. So whether you’re a DIY enthusiast or a professional artist, having quick-drying glue on hand can be a game-changer.
Now, it’s important to remember that while these techniques can speed up the drying time of Elmer’s glue, they may also impact its overall strength. Rapid drying methods can sometimes compromise the adhesive bond, resulting in weaker adhesion. So make sure to consider the specific requirements of your project and choose the appropriate technique accordingly.
Following Instructions for Specific Formulas
Today, we’re diving into the world of Elmer’s glue and the importance of following instructions for specific formulas. Let’s unravel the mysteries behind drying time and ensure your projects turn out picture-perfect.
Elmer’s glue offers a wide range of products, each with its own unique formula designed for different purposes. From classic white glue to clear or specialty glues like wood or fabric glue, it’s crucial to read and follow the instructions on the packaging. Trust me, skipping this step could lead to disastrous results.
First things first, let’s talk about preparing the surface. Before you start gluing, make sure it’s squeaky clean, dry, and free from any dust or debris. Skipping this step can seriously mess up the drying time and adhesion quality. And believe me, we don’t want that.
Now, grab that bottle of Elmer’s glue and give those instructions a good read. The manufacturer knows their stuff and provides detailed guidelines on application methods, recommended drying times, and necessary precautions. By following these instructions closely, you’ll set yourself up for success.
Let’s talk about drying time now. It can vary depending on factors like temperature, humidity, thickness of application, and material being glued. Patience is key here. In warmer temperatures and lower humidity levels, Elmer’s glue dries faster. But if you find yourself in a cold or humid environment, brace yourself for a longer wait. And remember, thicker applications take more time to dry than thin layers.
To avoid any mishaps during the drying process, resist the urge to touch or move the glued objects until the glue has fully dried. I’ve learned this the hard way – premature handling can cause smudging or even detachment of your hard work. So sit tight and let that glue work its magic.
Conclusion
The drying time of Elmer’s glue can vary depending on several factors. Generally, it takes about 24 hours for Elmer’s glue to fully dry and set. However, the actual drying time can be affected by factors such as temperature, humidity, and the thickness of the glue application.
In ideal conditions, where the temperature is around 70°F (21°C) and the humidity is low, Elmer’s glue will typically dry within a few hours. However, if you’re working in a colder or more humid environment, it may take longer for the glue to dry completely.
It’s important to note that while the surface of the glue may feel dry after a few minutes or hours, it doesn’t mean that it has fully dried. The drying process occurs from the outside inwards, so it’s crucial to give it ample time to cure before handling or applying any pressure.
To ensure optimal drying and bonding strength, it’s recommended to allow Elmer’s glue to dry undisturbed for at least 24 hours. This will give enough time for the adhesive to fully set and create a strong bond.
In conclusion, when using Elmer’s glue for your projects, patience is key. Allow sufficient drying time based on environmental conditions and follow manufacturer guidelines for best results.