Ever been stuck in a sticky situation where you needed an adhesive superhero? Whether you’re a craft fanatic, a DIY genius, or just someone trying to fix things on the fly, acrylic glue is your secret weapon. This versatile and mighty adhesive has become the go-to choice for many projects. But what sets it apart from other glues? One word: drying time.
In this blog post, we dive headfirst into the captivating world of acrylic glue and uncover the secrets behind its drying process. So buckle up and get ready to learn about the factors that influence drying time and how long you’ll have to wait before your masterpiece is rock solid.
The time it takes for acrylic glue to dry depends on several factors: temperature, humidity, glue thickness, and the materials you’re bonding. Don’t worry though – we’ve got your back. Throughout this journey, we’ll shed light on these factors and give you essential tips to make sure your adhesive game is top-notch.
So whether you’re fixing a shattered mug handle, creating mind-blowing artwork, or revamping your home sweet home, understanding how fast your acrylic glue dries will guarantee outstanding results. Join us as we unravel the mysteries behind the drying process and empower you to become the ultimate glue maestro.
Note: In this blog post, we’ll explore how temperature and humidity affect drying time, how different materials impact the process, share tips to speed up or ensure proper drying, and wrap it all up with a summary of must-know takeaways. Get ready to stick around.
Factors Affecting Drying Time of Acrylic Glue
Contents
- 1 Factors Affecting Drying Time of Acrylic Glue
- 2 Temperature and Humidity Levels
- 3 Thickness of the Glue Layer
- 4 Types of Materials Bonded Together
- 5 Using Accelerants or Activators for Speeding Up the Process
- 6 Allowing Sufficient Drying Time
- 7 Disturbing or Stressing Bonded Objects
- 8 Following Manufacturer’s Instructions
- 9 Conclusion
Acrylic glue, the go-to adhesive for crafts, woodworking, and construction, offers versatility and reliability. However, understanding the factors that influence its drying time is crucial for achieving optimal bonding and successful projects. Let’s delve into the key elements that affect the drying time of acrylic glue and discover how to maximize its effectiveness.
- Temperature: The temperature of the environment is a primary player in the drying time of acrylic glue. Like a catalyst, higher temperatures ignite the chemical reaction that hardens the glue, resulting in faster drying times. On the flip side, colder temperatures put the brakes on the drying process, causing frustratingly long waiting periods. To ensure proper drying and bonding, it is vital to work within the temperature range recommended by the manufacturer.
- Humidity: The level of humidity in the air is another influential factor in the drying time of acrylic glue. High humidity throws obstacles in the path of evaporation and hardening by saturating the air with moisture. Consequently, drying times are prolonged. Conversely, low humidity levels create an environment conducive to faster drying as there is a scarcity of moisture hindering the evaporation process. Controlling humidity levels in your workspace can help achieve consistent drying times.
- Thickness of the Glue Layer: The thickness of the layer of acrylic glue applied is a crucial consideration when it comes to drying time. Thicker layers require more time to dry compared to thinner ones because solvents in the glue take longer to evaporate from a larger surface area. Ensuring a steady and even layer of glue is essential for proper bonding and preventing incomplete drying or tackiness.
- Air Circulation: Adequate air circulation plays a pivotal role in expediting the drying process of acrylic glue. Moving air acts as a loyal companion, whisking away moisture and solvents from the glue, facilitating quicker drying times. Placing your glued objects near a fan or in a well-ventilated area can enhance air circulation and shorten drying times. However, it is essential to strike a balance as excessive airflow can lead to uneven drying or premature curing.
Temperature and Humidity Levels
Today, we embark on a thrilling exploration into the realm of acrylic glue and its enigmatic drying time. As a connoisseur of temperature and humidity levels, I am here to unravel the secrets that will unlock flawless bonding results for your every endeavor. Join me as we delve deeper into this captivating world.
Temperature: The Fiery Catalyst.
In the captivating dance of acrylic glue drying, temperature takes center stage. Imagine this: you’re poised at the precipice of progress, waiting eagerly for your adhesive to set. In this moment, warmth becomes your greatest ally. The fiery embrace of higher temperatures ignites the chemical reaction within the glue, propelling it towards swift drying and solid bonding. So, bask in the warmth of your workspace to expedite the process.
But beware. As with any great power, extremes must be handled with caution. Should the air grow scorching hot, your glue may dry too hastily, robbing you of a secure bond between materials. On the flip side, if the chill lingers in the air, time may stretch endlessly before your eyes as the glue languishes in slow drying. Seek balance, my friends, and find that sweet spot where warmth reigns supreme.
Humidity: The Art of Balance
Now, let us explore the delicate art of humidity – an unseen force that can make or break your acrylic glue’s drying time. High humidity environments possess an unruly nature that can dampen your efforts. Moisture in the air disrupts solvent evaporation within the glue, causing a sluggish curing process. Oh, the agony of waiting eternally for your masterpiece to dry under the weight of relentless humidity. Fear not. Embrace drier conditions or harness dehumidifiers to banish excessive moisture from the air.
On the flip side, low humidity emerges as the hero of swift drying. In arid landscapes and wintry realms, where moisture is scarce, the absence of inhibiting particles expedites solvent evaporation, transforming your project into a flash of creativity. Rejoice, for your acrylic glue shall dry with the swiftness of a lightning bolt.
Thickness of the Glue Layer
Prepare to be amazed as we delve into this intriguing topic and uncover the hidden factors that can make or break your adhesive masterpiece.
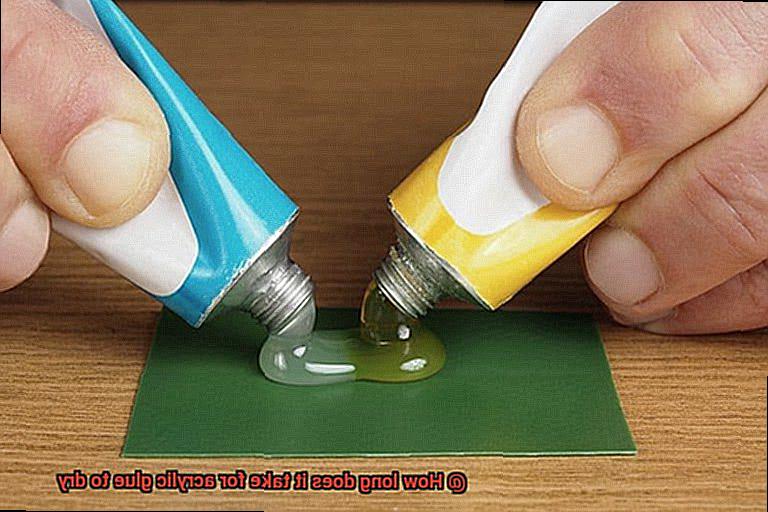
At its core, the thickness of the glue layer is a critical factor in determining how long it takes for your acrylic glue to dry completely. It’s a simple equation – the thicker the layer, the longer the drying time. Why, you may wonder? Let me explain the captivating science behind it.
Acrylic glue contains solvents that must evaporate for the glue to set and create a firm bond. When you apply a thick layer of glue, you create a vast reservoir of solvents trapped within that sticky sea. As you might imagine, it takes longer for those solvents to evaporate into thin air.
But hold on, there’s more to this story. The stage is also set by temperature and humidity. If you find yourself in a warm environment with low humidity levels, consider yourself fortunate. These conditions accelerate the drying process, allowing your glue to set faster than you can utter the word “adhesion.” However, if colder temperatures and higher humidity levels surround you, brace yourself for a slower drying journey. Evaporation slows down under these conditions, extending the waiting game.
Before you embark on your next adhesive adventure, pause and consult the manufacturer’s instructions for your specific brand of acrylic glue. These instructions are like a trusted guidebook, offering valuable insights into the recommended thickness of the glue layer for optimal drying time. Following these instructions religiously is vital to achieve proper adhesion and ensure flawless project outcomes.
But wait, there’s another twist in this tale. Sometimes, one thick layer just won’t cut it – especially when dealing with larger or heavier objects craving a sturdy bond. In such cases, it becomes necessary to apply multiple thin layers of acrylic glue. This technique allows for quicker drying times while guaranteeing the strength and durability you seek.
Oh, and here’s an important nugget of wisdom – different types of acrylic glue boast different drying times. It’s like comparing apples to oranges, or perhaps a quick-drying adhesive to a slower counterpart. Therefore, it is imperative to carefully select the right type of acrylic glue for your specific application, taking its unique drying time requirements into consideration.
Types of Materials Bonded Together
Curious about the captivating world of adhesive magic? Look no further than acrylic glue. This remarkable adhesive has the power to bond an array of materials together. Join us as we delve into the enchanting realm of acrylic glue and uncover the diverse types of materials it can bring together in perfect harmony.
Empowering Plastics:
Plastics, behold the unstoppable force of acrylic glue. Whether it’s acrylic, polycarbonate, PVC, or ABS, this adhesive forms an unyielding bond capable of withstanding the test of time. Its remarkable quick-drying properties mean that your plastic projects can come to fruition within a matter of minutes to a few short hours.
Glass Enchantment:
Glass may seem delicate, but with the wizardry of acrylic glue, it transforms into a force to be reckoned with. Acrylic glue creates a strong and transparent bond between glass surfaces, making it ideal for a multitude of glass-related endeavors. Be prepared to exercise patience as the drying time for acrylic glue on glass is slightly longer than when used on plastics. Overnight or several hours of waiting will reward you with a fully dried and cured masterpiece.
Metal Alchemy:
While not the go-to adhesive for metals, acrylic glue can work its magic under specific circumstances. Lightweight metals like aluminum or stainless steel can be bonded using acrylic glue, though their bond strength may not match that of specialized metal adhesives. Allow several hours for the adhesive to dry completely and witness the marvel of your metal creations.
Woodcraft Wonder:
When it comes to wood bonding, acrylic glue takes a step back to let other adhesives shine. Wood glues and epoxies are better suited for woodworking projects due to their superior strength and ability to withstand the unique stresses wood encounters. For optimal results in your woodcraft endeavors, it’s best to rely on tried-and-true alternatives.
Ceramics Charm:
Acrylic glue isn’t commonly associated with bonding ceramics, but it can still work its charm in certain situations. Specialized ceramic adhesives, like epoxy or cyanoacrylate glue, are generally preferred due to their high bond strength and ability to withstand high temperatures. Should you choose to use acrylic glue for ceramic bonding, be prepared for a longer drying time. Several hours or even days may be required for the adhesive to fully dry and cure.
Using Accelerants or Activators for Speeding Up the Process
In our previous exploration of acrylic glue, we witnessed its magical abilities to bond various materials together, creating a symphony of strength and durability. But what if we need our glue to dry faster? Fear not, for today we shall delve into the realm of accelerants and activators – those secret ingredients that can turbocharge the drying process of acrylic glue.
So fasten your seatbelts, because we’re about to accelerate into a world of speedy adhesion.
Heat: The Fiery Ally
When time is of the essence, heat becomes your trusty ally in speeding up the drying process of acrylic glue. By applying heat to the glued area, you can ignite the chemical reactions that lead to lightning-fast drying. Grab your heat gun, hairdryer, or even your trusty household iron (set to low temperature, of course), and witness as the glue dries before your very eyes. But remember, caution is key. Avoid overheating or burning the glue – we want speed, not destruction.
Spray Activators: The Aerosol Superheroes
In the realm of accelerated drying, spray activators emerge as the superheroes in aerosol cans. With a simple spray onto the glued area, these activators unleash their magic. Through rapid evaporation and chemical reactions, spray activators create a tornado of speed in the drying process. They are perfect companions for industrial or professional projects where time waits for no one.
Liquid Additives: The Versatile Boosters
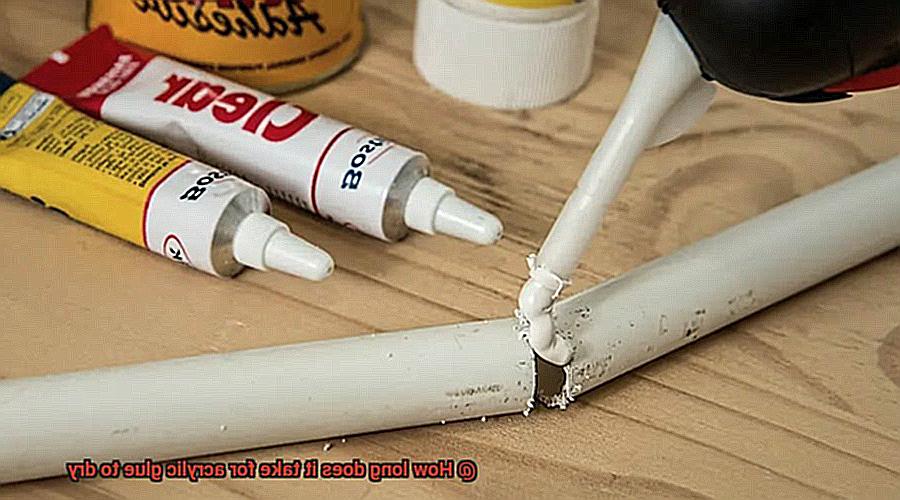
Enter the world of liquid additives – those versatile boosters that can be mixed directly into the acrylic glue itself. These additives possess the power to alter the very composition of the glue, allowing it to dry rapidly without compromising its integrity. With liquid additives at your disposal, you have the ability to control the drying time according to your project’s needs. Just remember to follow the manufacturer’s instructions and find the perfect equilibrium between speed and bond strength.
Allowing Sufficient Drying Time
Acrylic glue, a versatile adhesive used in woodworking, construction, and crafts, possesses the power to create unyielding bonds. However, to unlock its true potential, one must understand and respect the importance of allowing sufficient drying time. In this article, we will explore the factors that influence drying time and delve into the critical role it plays in achieving robust and long-lasting bonds.
Factors Influencing Drying Time:
Type of Acrylic Glue:
Each type of acrylic glue possesses its own unique drying characteristics. Some may dry rapidly within a mere few hours, while others require more patience. It is imperative to consult the manufacturer’s instructions to determine the specific drying time for your chosen brand.
Temperature and Humidity:
The environment in which acrylic glue is applied significantly impacts its drying time. Elevated temperatures expedite the process, whereas cooler conditions can lengthen it. Furthermore, higher levels of humidity introduce moisture into the equation, potentially prolonging the drying period.
Bonded Materials:
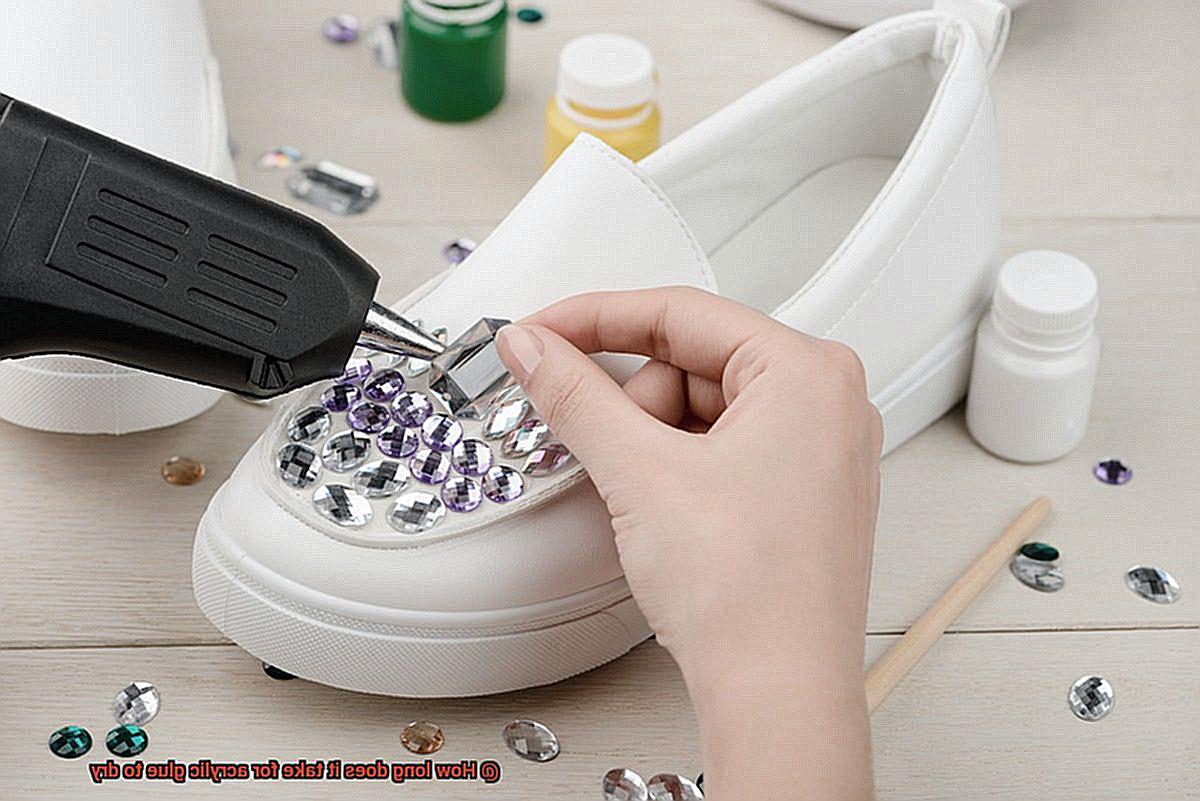
The nature of the materials being bonded also influences drying time. Porous surfaces have an inherent ability to absorb more moisture from the adhesive, thus necessitating additional drying time. Similarly, larger or thicker surfaces require patience as they demand more thorough adhesion.
Importance of Allowing Sufficient Drying Time:
Strength and Durability:
Rushing through the drying process jeopardizes the bond’s strength and durability. By granting acrylic glue ample time to dry completely, you ensure a bond that can withstand stress and load with unwavering fortitude.
Ventilation Is Vital:
Proper ventilation is an essential aspect of the drying process for acrylic glue. Adequate airflow enables efficient evaporation of moisture, expediting drying time. Ensure your work area boasts excellent ventilation to create the optimal environment for drying.
Patience Is a Virtue:
As a general rule, it is advisable to allow acrylic glue to dry undisturbed for a minimum of 24 hours before subjecting it to any stress or load. Remember, exercising patience yields long-lasting bonds that stand the test of time.
Disturbing or Stressing Bonded Objects
Today, we embark on a fascinating journey into the world of adhesive chemistry, exploring the consequences of disturbing or stressing bonded objects before the acrylic glue has fully dried. So grab your favorite beverage, take a seat, and let’s uncover the secrets to achieving successful adhesive bonds.
Understanding the Bonding Process:
Before we plunge into the hazards of rushing, let’s take a moment to revisit how acrylic glue forms strong bonds. When applied to surfaces, acrylic glue undergoes polymerization, a molecular-level handshake that creates a secure and durable bond with the materials being joined.
The Pitfalls of Impatience:
Now, picture this: you’ve meticulously glued two pieces of wood together, eager to witness your creation taking shape. However, beware. Disturbing or stressing bonded objects too soon can spell disaster for your bond.
Weakened Bonds:
Applying pressure or movement to the glued surfaces before the adhesive has fully cured can weaken or even break the bond. It’s like interrupting a riveting conversation right when it’s reaching its climax – not cool.
Failed Bonds:
The dreaded outcome? A failed bond where the objects separate or fail to adhere properly. After all your hard work, you definitely don’t want your masterpiece falling apart.
Factors Influencing Bond Strength:
Several factors influence the strength of adhesive bonds and their resistance to disturbance.
Time and Temperature:
Acrylic glues require adequate drying time and the right temperature for optimal curing. Hastily clamping or handling glued objects can squeeze out excess adhesive or lead to premature failure.
Humidity Levels:
Humidity also plays a role in drying time and bond strength. High humidity slows down the curing process, while low humidity accelerates it. To ensure a robust bond, it’s crucial to create a bonding environment within the recommended range for your specific acrylic glue.
Tips for Success:
Now that we’ve shed light on the risks of impatience, let’s arm ourselves with some invaluable tips to ensure our adhesive bonds remain unyielding:
- Patience is Key: Allow the adhesive sufficient time to fully cure before subjecting it to any stress or disturbance. Always follow the manufacturer’s instructions regarding drying time.
- Follow Temperature Guidelines: Maintain the recommended temperature range during curing to avoid compromising the bond’s strength.
Following Manufacturer’s Instructions
Get ready to unlock your creative potential as we delve into the secrets of achieving adhesive mastery. Today, we reveal the hidden key to success – following the manufacturer’s instructions for drying acrylic glue.
Brace yourself for a journey filled with tips, tricks, and fascinating insights that will revolutionize your crafting experience. Are you ready to take your adhesive game to the next level? Let’s dive in.
Unlocking Optimal Results: The Power of Instructions
Imagine piecing together a puzzle, where every element fits perfectly into place. Following the manufacturer’s instructions for drying acrylic glue is like finding that missing puzzle piece for your crafting success. These instructions are meticulously crafted to ensure exceptional results and maximum bond strength. Ignoring them would be akin to attempting to bake a cake without a recipe – you might end up with something, but it won’t be the masterpiece you envisioned.
Unveiling the Acrylic Glue Varieties:
Acrylic glue comes in a multitude of forms – liquid, gel, tape – each with its own unique drying requirements. It is crucial to identify the specific type of glue you are using and adhere to the corresponding instructions. Just as different cakes require specific baking times and temperatures, different acrylic glues demand their own drying techniques.
The Label: Your Crafting Guru
Behold that tiny label or package instructions – they hold the key to adhesive triumphs. Take a moment to immerse yourself in the wisdom provided by the manufacturer. These instructions will guide you through drying times, application techniques, and essential precautions for achieving optimal results. It’s like having a personal crafting guru right there with you.
The drying time for acrylic glue is not set in stone; it’s a flexible friend that adapts to its environment. Several factors influence how long it takes for your glue to dry completely. Temperature, humidity, and the thickness of the adhesive layer all play crucial roles in this sticky equation. Embrace patience as you allow the glue to work its magic at its own pace.
CiekN98P_iw” >
Conclusion
Acrylic glue, a versatile adhesive often used in crafting and DIY projects, is known for its quick-drying properties. But just how long does it take for this sticky substance to fully set? Well, the answer depends on a few factors.
Firstly, the type of acrylic glue you’re using can impact drying time. Some formulas are designed to dry rapidly within minutes, while others may require a longer curing period of several hours or even overnight. It’s important to carefully read the instructions on your specific glue product to determine its recommended drying time.
Additionally, environmental conditions play a role in how quickly acrylic glue dries. Factors such as temperature and humidity can affect the drying process. Generally, warmer temperatures and lower humidity levels expedite drying time, while colder temperatures and higher humidity can slow it down.
To ensure optimal results, it’s crucial to apply acrylic glue evenly and avoid excessive application that could prolong drying time. A thin layer is often all that’s needed for effective bonding. And remember, patience is key when waiting for your project to fully dry before handling or moving it.
In conclusion, the duration for acrylic glue to dry varies depending on the type of glue and environmental conditions. While some glues may dry within minutes, others may require several hours or more. By following instructions carefully and creating an ideal environment for drying, you’ll achieve strong and secure bonds with your acrylic adhesive of choice.

