Waiting for glue to dry can be a real pain, especially when you’re working on a DIY metal project and time is of the essence. If you’ve ever found yourself in this situation, then you know the frustration of wondering how long it’s going to take for that Gorilla Glue to set.
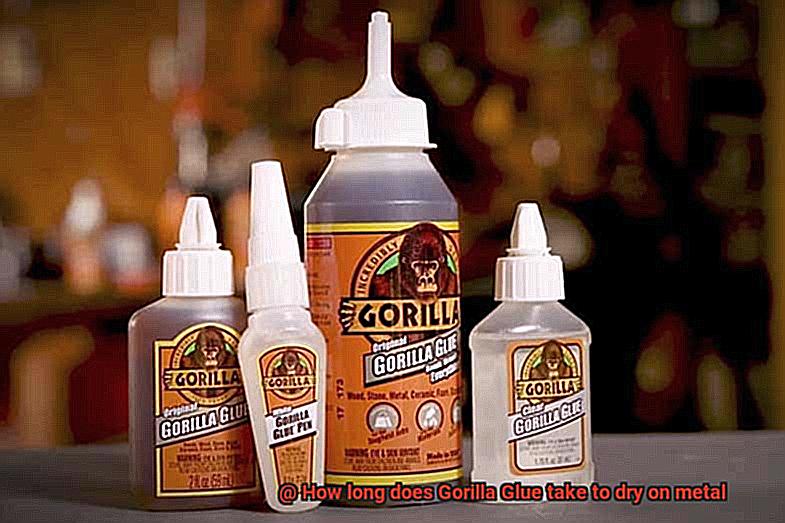
Gorilla Glue has earned a reputation as one of the strongest adhesives on the market, capable of bonding wood, metal, ceramics, and more. But with so many variables at play – like room temperature, humidity levels, and even the amount of glue used – figuring out its drying time can be tricky.
That’s where we come in. In this blog post, we’ll dive deep into the world of Gorilla Glue and give you everything you need to know about drying time on metal. We’ll cover how Gorilla Glue works, what factors impact its drying time, and finally reveal just how long it takes for this powerful adhesive to dry on metal surfaces.
So let’s get started – we’re about to solve that age-old question once and for all.
Factors That Impact Drying Time
Contents
- 1 Factors That Impact Drying Time
- 2 Applying Gorilla Glue on Metal
- 3 Recommended Amount of Glue to Use
- 4 Cleaning the Surfaces Before Applying
- 5 The Average Drying Time of Gorilla Glue on Metal
- 6 Maximum Strength and Curing Times
- 7 Tips for Ensuring a Strong Bond
- 8 Alternatives to Gorilla Glue on Metal
- 9 Conclusion
Understanding the factors that impact drying time is crucial when using Gorilla Glue on metal. There are several factors to consider, including the type of metal, temperature, humidity, and the amount of glue applied.
Different metals have unique properties that can affect the drying time of Gorilla Glue. Smooth metals like aluminum or stainless steel may take longer to dry because they lack sufficient surface area for the glue to grip onto. In contrast, rougher metals like cast iron or brass may dry faster due to their numerous crevices for the glue to seep into and hold onto.
Temperature is also a critical factor that can impact drying time. Gorilla Glue dries best in temperatures between 70-80°F (21-27°C). If the temperature is too hot or too cold, it can cause the glue to dry too quickly or not dry at all. Therefore, it’s essential to ensure your work environment is within this temperature range.
Humidity is another significant factor that can affect drying time. High humidity levels can slow down the drying process, while low humidity levels can speed it up. However, Gorilla Glue requires moisture to activate, so if the air is too dry, it may take longer for the glue to dry.
The amount of glue applied also plays a crucial role in drying time. Applying too much glue can cause it to take longer to dry because there is more moisture that needs to evaporate. Conversely, applying too little glue may not provide enough surface area for the glue to bond adequately.
Applying Gorilla Glue on Metal
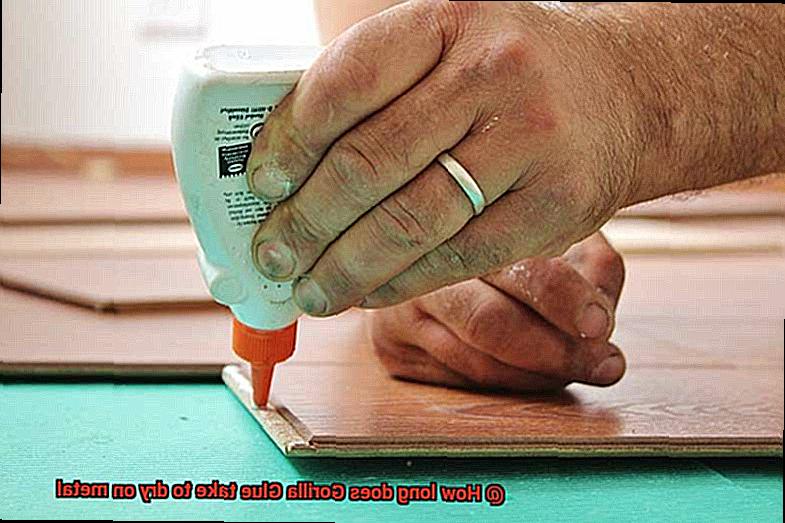
Firstly, cleanliness is key. Ensure that the surface is free from any dirt, dust, or grease by wiping it down with alcohol or acetone. Next, lightly dampen the metal surface with water before applying the glue. This will enhance the bonding process.
When applying the glue, remember that less is more. Gorilla Glue expands as it dries, so using too much can cause it to overflow and create a mess. Apply a small amount of glue to one of the surfaces being bonded and press the two surfaces together firmly.
It’s important to allow the glue to fully cure before using or putting any pressure on the bonded surfaces. Gorilla Glue typically takes about 10-20 minutes to set on metal, but full cure time can take up to 24 hours. Be patient and give it enough time to set for maximum strength.
Keep in mind that Gorilla Glue dries clear, so any excess glue that overflows will be visible. Clean up any excess glue immediately with a damp cloth before it dries.
To sum it up, here are some tips for applying Gorilla Glue on metal:
- Prep the surface by cleaning it thoroughly
- Lightly dampen the metal surface with water
- Use small amounts of glue to avoid overflow
- Allow sufficient time for full curing
- Clean up any excess glue immediately
Recommended Amount of Glue to Use
It’s crucial to understand the recommended amount of glue to use to avoid weak bonds or messy joints. As an expert in this field, I have done some research and compiled some useful tips to help you achieve a reliable bond.
Firstly, it’s important to note that using one drop per square inch of surface area is the recommended amount of Gorilla Glue for metal surfaces. For larger surfaces, apply multiple drops of glue evenly spaced apart for full coverage. This will ensure a perfect balance between using too much glue that causes excess foam and messiness and too little that results in a weak bond.
Furthermore, it’s essential to give the glue enough time to dry without applying any pressure on the joint. This will prevent excess foam from pushing out and creating an uneven bond. Following these steps will guarantee a strong and reliable bond between your metal surfaces.
Additionally, it’s vital to follow the manufacturer’s instructions regarding drying time, which may vary depending on your environment’s temperature and humidity. In general, Gorilla Glue takes about 24 hours to dry and cure on metal surfaces, so be patient and don’t rush the process.
Cleaning the Surfaces Before Applying
Today, we’ll be exploring why it’s essential to clean and prepare metal surfaces before applying this wonder glue. As someone who’s had their fair share of adhesive mishaps, I can tell you that proper surface preparation is the key to achieving a strong and long-lasting bond on metal surfaces.
Why is surface preparation so important, you ask? Any dirt, grease, or oil on the surface can prevent the glue from adhering properly and affect the drying time. Even if you apply the perfect amount of glue, if your surface isn’t clean, you won’t get the results you’re looking for. So, before applying Gorilla Glue to your metal surface, make sure it’s squeaky clean and free of any debris.
To clean metal surfaces, you can use a degreaser or rubbing alcohol and a clean cloth. Give the surface a thorough wipe down to remove any dirt or grime that might be lingering. However, some metals may require additional preparation before applying Gorilla Glue. Metals such as copper, brass, and aluminum tend to oxidize easily, which can affect the bond strength of the glue. Therefore, it’s recommended to lightly sand these metals before cleaning them.
Once your surface is clean and prepped, it’s time to apply the Gorilla Glue. Remember that a little goes a long way with this stuff – one drop per square inch is all you need. After applying the glue to one of the surfaces, press the two surfaces together firmly and hold them in place for at least 10-20 seconds.
Lastly, keep in mind that Gorilla Glue dries faster in warmer temperatures and high humidity. So if possible, try to apply the glue in a warm and humid environment. But don’t expose the glued surfaces to water or moisture until the glue has completely cured.
To sum up, here’s a quick checklist for you to follow when using Gorilla Glue on metal surfaces:
- Clean the surface thoroughly with a degreaser or rubbing alcohol and a clean cloth.
- Sand lightly if necessary, especially for copper, brass, and aluminum.
- Apply only a small amount of glue – one drop per square inch is enough.
- Press the surfaces together firmly and hold them in place for at least 10-20 seconds.
- Ensure that the glue dries completely before exposing it to water or moisture.
The Average Drying Time of Gorilla Glue on Metal
Before you start, it’s important to understand the average drying time and the factors that can affect it. As an expert in this area, I have compiled some research notes to help guide you through the process and ensure a successful bond.
First and foremost, proper surface preparation is crucial for a strong bond and fast drying time. Clean the metal surface thoroughly with a degreaser or rubbing alcohol, and sand lightly if necessary. Then, apply a small amount of glue and press the surfaces together firmly for at least 10-20 seconds.
Now, let’s delve into how different factors can impact the drying time of Gorilla Glue on metal:
- 1) Temperature: The temperature can significantly affect the drying time of Gorilla Glue on metal. Higher temperatures can speed up the process, while colder temperatures can slow it down. If you’re working in a cold environment, consider using a heat gun or hairdryer to speed up the process.
- 2) Humidity: Humidity levels can also impact the drying time of Gorilla Glue on metal. Lower humidity levels can speed up the drying process, while higher humidity levels can slow it down. If you’re working in a humid environment, consider using a dehumidifier or air conditioning unit to reduce the moisture in the air.
- 3) Amount of Glue Used: Using too little glue can result in a weak bond, while using too much glue can increase the drying time. Follow the manufacturer’s instructions and apply only a small amount of glue as directed on the packaging.
It’s important to note that while the surface may appear dry after the average drying time of 10-20 minutes, it’s recommended to wait at least 24 hours before applying any pressure or stress to the bond. This allows for the glue to fully cure and reach its maximum strength.
In some cases, using a clamp or other pressure-applying tool can also help to speed up the drying time and improve the strength of the bond. However, it’s important to follow the manufacturer’s instructions and safety precautions when using Gorilla Glue or any other adhesive.
Maximum Strength and Curing Times
Look no further than Gorilla Glue. As an expert in optimal curing times and maximum strength, I am here to guide you through the process of achieving a strong and long-lasting bond.
When using Gorilla Glue on metal, it is important to follow the instructions carefully. Firstly, apply the glue to one surface only and clamp it together with the other surface for at least 1-2 hours, depending on the type and size of surfaces. Over-clamping can weaken the bond by squeezing out too much glue.
Once clamped, the glue will start to cure and reach maximum strength in about 24 hours. However, the curing time can vary depending on the temperature and humidity of the surrounding environment. Higher temperatures and humidity levels can accelerate the curing process, while lower temperatures and humidity can slow it down.
To ensure maximum strength, it is recommended to wait at least 24 hours before subjecting the bond to any stress or load. This will give the glue enough time to fully cure and reach its potential. It is also essential to note that even after curing, Gorilla Glue can still be affected by extreme temperatures and moisture levels.
Tips for Ensuring a Strong Bond
If you’re planning to bond metal surfaces using Gorilla Glue, you need to take a few steps to ensure that the bond is strong and long-lasting. Here are five tips to help you achieve the best results:
Start with a clean surface
Before applying the glue, clean the metal surface thoroughly. Any dirt, oil, or residue can prevent the glue from adhering properly. Use a degreaser or rubbing alcohol and make sure the surface is completely dry before proceeding.
Sand the surface
To create a rough texture for the glue to grip onto, lightly sand the metal surface with fine-grit sandpaper. This will also help remove any remaining debris or rust on the surface.
Apply the glue sparingly
It’s important to apply Gorilla Glue sparingly because it expands as it dries. Too much glue can actually weaken the bond and cause excess to seep out and create a mess. Use a small amount and spread it evenly over the surface using a brush or applicator.
Clamp or hold the pieces together
To ensure a strong bond, clamp or hold the metal pieces together for at least two hours while the glue dries and fully cures. Avoid disturbing or moving the pieces during this time as it can weaken the bond.
Remove excess glue carefully
After the glue has fully cured, any excess can be removed with a sharp blade or sandpaper. Be careful not to pull or force apart the bonded metal as this can cause damage or breakage.
Alternatives to Gorilla Glue on Metal
While Gorilla Glue may be a popular choice, there are several alternatives that can also do the trick. Let’s explore some of these alternatives and what sets them apart.
First on the list is epoxy, a two-part adhesive known for its exceptional bonding capabilities. What makes it a sought-after alternative to Gorilla Glue is its longer working time and versatility on various surfaces, including metal. Epoxy typically takes between 5-30 minutes to dry and up to 24 hours to fully cure, but the wait is worth it for the strong bond it provides.
Another option is super glue, also known as cyanoacrylate adhesive. This fast-drying adhesive packs a powerful punch in bonding metal surfaces together. It can bond within seconds and is suitable for small surface areas. However, keep in mind that super glue may not be the best choice for larger surfaces, as it can become brittle over time.
Silicone adhesive is another alternative that offers flexibility and resistance to water and heat. It’s ideal for sealing and bonding applications and requires 24-48 hours to cure fully. The final result is a strong and flexible bond that can withstand harsh environments.
If you’re looking for a permanent bonding solution, welding may be your best bet. While it requires specialized equipment and training, welding creates the strongest bond out of any adhesive by melting the metal surfaces together. This process creates a bond that will never weaken over time.
ZghsPEFRcSk” >
Conclusion
In summary, Gorilla Glue is a formidable adhesive that can securely bond metal surfaces together. However, it’s crucial to comprehend the factors that influence its drying time and adhere to the recommended amount of glue for a dependable bond. Before applying the glue, make sure to prepare the surface adequately by cleaning and sanding it.
Typically, Gorilla Glue takes 10-20 minutes to dry on metal surfaces. But for maximum strength, it’s advisable to wait at least 24 hours before subjecting the bond to any stress or load. If Gorilla Glue isn’t suitable for your project needs, there are other options available such as epoxy, super glue, silicone adhesive, and welding.
By following our tips on ensuring a robust bond and selecting the appropriate adhesive for your project requirements, you can achieve durable results. Remember to exercise patience during the drying and curing process while adhering to all safety precautions when working with adhesives.