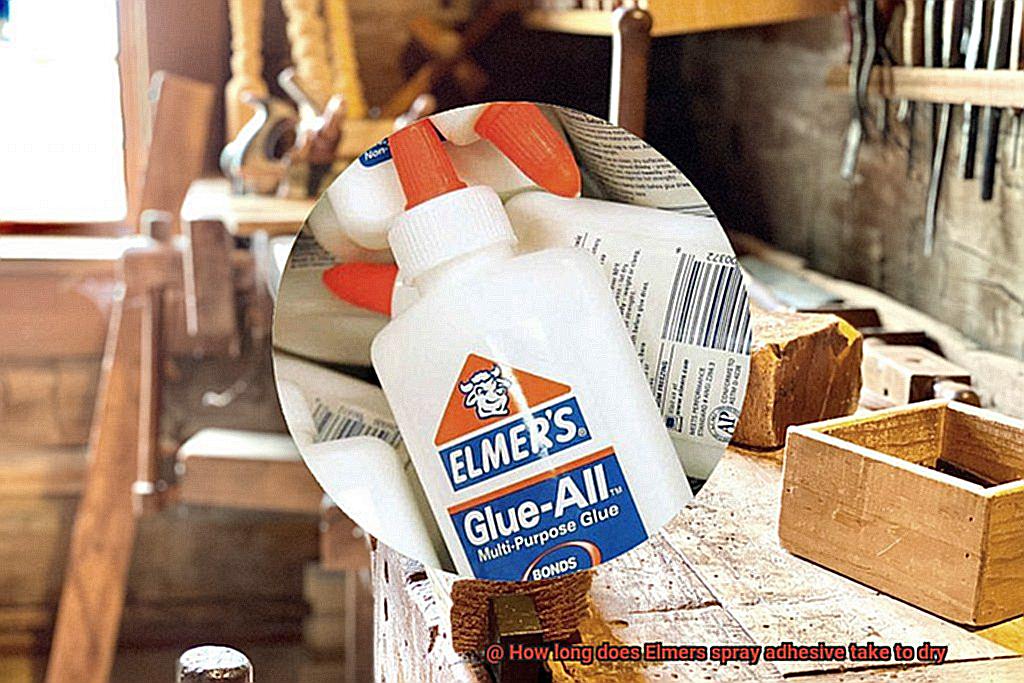
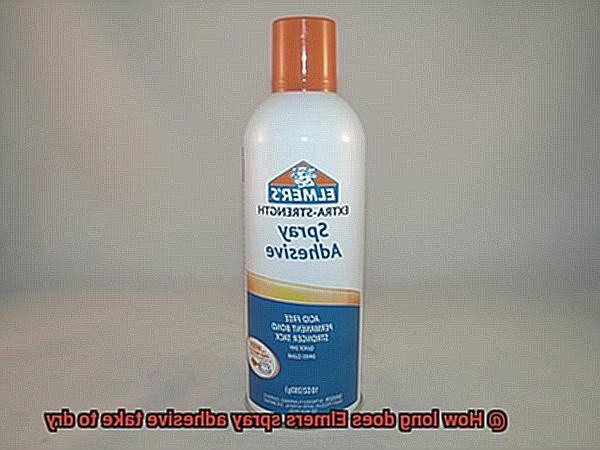
Welcome to our blog post about the fascinating world of Elmers spray adhesive. If you’ve ever used this versatile adhesive, you’ve probably wondered how long it takes to dry. Well, we’ve got all the answers you need right here.
The drying time of Elmers spray adhesive can vary depending on a few things. The main factor is how much adhesive you apply and how thick the layer is. Generally, it dries within 1 to 3 minutes, but if you go heavy-handed with the glue, it might take a bit longer. Temperature and humidity also play a role in drying time. Hotter temperatures and lower humidity levels speed things up, while cooler temps and higher humidity slow it down.
To get the best results, make sure you’re working in a well-ventilated area and give it enough time to dry before touching or moving whatever you glued together. If you’re tackling a big project or using a lot of glue, it’s smart to wait a little longer for complete drying.
So there you have it. Elmers spray adhesive dries at different speeds depending on what you’re doing, but with proper application and environment, it’ll dry up quick and nice. Stick around for more awesome tips and tricks in the world of adhesives.
Factors That Affect Drying Time
Contents
The drying time of this popular adhesive can be influenced by several factors. In this article, we will explore these factors in detail to provide you with a comprehensive understanding of what affects the drying time. By considering these factors, you can ensure proper bonding and achieve the desired results for your arts and crafts projects or lightweight bonding needs.
Type of Elmer’s spray adhesive:
Different types of Elmer’s spray adhesive have varying drying times. The drying time can differ based on whether it is a general-purpose adhesive, a high-strength adhesive, or a specialty adhesive designed for specific materials like fabric or foam.
Application method:

The method of application plays a crucial role in drying time. Applying the adhesive in a thin, even layer promotes faster drying compared to a thick or uneven application. Moreover, the temperature at which the adhesive is applied affects drying time – higher temperatures accelerate drying, while lower temperatures may delay it.
Environmental conditions:
The surrounding environmental conditions significantly impact the drying time of Elmer’s spray adhesive. High humidity levels, with more moisture in the air, can prolong the drying process. Conversely, low humidity environments facilitate faster drying due to less moisture in the air.
Surface type:
The type of surface onto which the adhesive is applied can influence its drying time. Porous surfaces like wood or fabric absorb some moisture from the adhesive, potentially prolonging drying. Non-porous surfaces like glass or metal do not absorb moisture and may promote faster drying.
Thickness of adhesive layer:
The thickness of the adhesive layer directly affects drying time. A thicker layer takes longer to dry compared to a thinner one because more moisture needs to evaporate before it fully dries.
Curing time:
Although the adhesive may feel dry to the touch after a certain period, it may still require additional time to fully cure and achieve its maximum bond strength. The curing time varies depending on the specific Elmer’s spray adhesive being used. It is essential to follow the recommended curing time for optimal results.
General Drying Time
To achieve the best results with this adhesive, it is crucial to understand the factors that affect its drying time. In this article, we will explore how temperature, humidity, application thickness, and manufacturer’s recommendations influence the drying time of Elmer’s spray adhesive.
Temperature:
The temperature of the environment plays a significant role in the drying process of Elmer’s spray adhesive. Warmer temperatures facilitate faster evaporation, leading to shorter drying times. On the other hand, colder temperatures slow down evaporation, prolonging the drying process. To ensure optimal results, it is advisable to work in a temperature range of 65-85°F (18-29°C).
Humidity:
Humidity levels also impact the drying time of Elmer’s spray adhesive. High humidity introduces moisture into the air, which slows down evaporation and extends the drying time. To counteract this effect, it is essential to work in a well-ventilated area or use dehumidifiers to reduce moisture levels.
Application Thickness:
The thickness of your adhesive application influences the drying time as well. Thicker coats require more time to dry compared to thinner applications. Following the manufacturer’s instructions regarding application thickness ensures proper bonding and reduces drying time.
Manufacturer’s Recommendations:
To achieve optimal results with Elmer’s spray adhesive, always refer to the manufacturer’s instructions provided on the product packaging. These guidelines provide specific information on drying times and application techniques tailored for optimal performance.
Patience is Key:
For optimal bonding and performance, it is crucial to allow Elmer’s spray adhesive to dry undisturbed for a minimum of 24 hours before subjecting it to any stress or load. Resisting the temptation to touch or manipulate the bonded materials prematurely ensures a strong and lasting bond.
Waiting for Maximum Bond Strength
The world of glue may appear straightforward, but creating a strong and durable bond is an intricate process that demands patience and meticulousness. In this article, we will delve into the significance of waiting for at least 24 hours before subjecting Elmer’s spray adhesive to any stress or load. So sit back, relax, and let’s uncover the secrets behind achieving maximum bond strength.
Drying Time vs. Bond Strength:
While Elmer’s spray adhesive may dry to the touch within a mere 15 minutes to 1 hour, don’t be deceived. Drying time alone does not guarantee maximum bond strength. It’s akin to waiting for a freshly baked cake to cool down before diving into its deliciousness – rushing the process will only lead to disappointment.
The Power of Patience:
To attain that unyielding bond, a dash of patience is required. Waiting for a minimum of 24 hours allows the adhesive to fully cure and establish a robust connection with the surfaces it has been applied to. Trust us, great things come to those who wait.
Following Manufacturer’s Instructions:
Elmer’s is an expert in their field, so it is crucial to adhere to their instructions regarding drying and curing times. Countless hours have been invested in perfecting their formulas, so let’s give credit where credit is due.
Factors Influencing Curing Time:
Keep in mind that factors such as temperature, humidity, and even the materials being bonded can impact curing time. If you find yourself working in humid or cold conditions, exercise extra patience and allow for additional drying time. It’s better to err on the side of caution than rush and risk a weak bond.
Cleanliness is Crucial:
Proper surface preparation is paramount for achieving a strong bond. Ensure that the surfaces are clean, dry, and devoid of any contaminants that could impede the adhesive’s effectiveness. A little extra effort in cleaning can go a long way in attaining a durable bond.
Ventilation for Faster Drying
In our previous section, we explored the importance of patience when waiting for Elmer’s spray adhesive to achieve maximum bond strength. Today, we’re diving into another crucial factor that can speed up the drying process: proper ventilation. Just like a gentle breeze can cool down a piping hot cake, adequate airflow can work wonders in evaporating the solvent in the adhesive, resulting in faster drying times.
The Power of Airflow:
Research shows that without proper ventilation, Elmer’s spray adhesive may take longer to dry. This can lead to potential issues such as smudging or sticking, which nobody wants when working on their crafting masterpieces. So, let’s harness the power of airflow and ensure a swift drying experience.
Working in a Well-Ventilated Area:
To make the most of proper ventilation, it is essential to work in a well-ventilated area. Set up your crafting station near open windows or doors if possible. This allows for the free exchange of air, expediting the drying process. If you’re working indoors, consider using fans or opening additional doors to create a cross breeze. Remember, we’re aiming for an airy environment.
Humidity and Temperature Factors:
While ventilation plays a vital role in faster drying, don’t forget about other environmental conditions. Humidity and temperature can impact drying times significantly. Higher humidity levels can slow down the process, while lower humidity levels can speed it up. Similarly, higher temperatures accelerate drying, while lower temperatures extend it.
Supplemental Measures:
When time is of the essence, consider supplemental measures alongside proper ventilation. For example, use a hairdryer on a low heat setting to gently blow warm air over the adhesive. This speeds up evaporation but be cautious to prevent damage or alterations to the adhesive’s properties.
Proper ventilation is the secret ingredient to achieving faster drying times with Elmer’s spray adhesive.
Allow adequate airflow to evaporate the solvent, ensuring a speedy bonding experience. Work in a well-ventilated area, consider humidity and temperature factors, and use supplemental measures wisely.
With these tips, breeze through your projects with confidence, enjoying quicker drying times and excellent results.
Humidity and Temperature Impact
In today’s journey, we will delve into the fascinating connection between humidity and temperature and how they affect the drying time of Elmers spray adhesive. By unraveling this intricate dance, we will unlock the secrets to achieving faster drying times and superior bonding strength. Are you ready? Let’s begin.
The Humidity Factor:
- High Humidity: Picture a humid day, where the air is already saturated with water vapor. In this moisture-laden environment, the adhesive faces a challenge. The evaporation process slows down, resulting in a lengthier drying time for the adhesive to fully set.
- Low Humidity: Now imagine a dry climate, where moisture evaporates swiftly. In such conditions, the adhesive dries faster, thanks to the rapid evaporation. However, as with all things, balance is key. Extremely low humidity levels may cause the adhesive to dry too quickly, compromising its bonding capabilities.
The Temperature Effect:
- Higher Temperatures: Heat becomes the catalyst for accelerated evaporation. As temperatures rise, so does the speed of drying. If you find yourself in a warm room or basking in the loving gaze of sunshine, your adhesive will dry relatively quickly.
- Lower Temperatures: Cold environments become an obstacle for moisture evaporation. The drying process slows down significantly in chilly conditions. If you’re crafting in such temperatures, exercise patience and allow extra time for the adhesive to dry thoroughly before applying any stress or weight.
The Harmonious Tango of Humidity and Temperature:
Remember that humidity and temperature can interact with each other, either extending or accelerating drying times.
- High Humidity + Low Temperatures: When cold air is also moist, moisture evaporates slowly, leading to prolonged drying times.
- Low Humidity + High Temperatures: In dry environments coupled with elevated temperatures, a perfect storm brews for swift drying.
Achieving Optimal Drying Times:
To unlock the full potential of Elmers spray adhesive and achieve optimal bonding strength, it’s recommended to work in an environment with:
- Moderate humidity levels (around 40-60%): This range strikes a balance between moisture evaporation and drying times.
- A temperature range between 70-85°F (21-29°C): Within this range, the adhesive benefits from expedited evaporation without compromising its bonding capabilities.
Accelerating the Drying Process
Waiting for adhesive to dry can be a frustrating experience, especially when you’re eager to move forward with your project. But fear not. In this comprehensive guide, we will explore expert tips and tricks to help you accelerate the drying process and achieve a strong bond in no time.
- Increase Air Circulation: One of the simplest and most effective ways to speed up drying is by increasing air movement around the sprayed area. Utilize a fan or set up an air circulation system to help evaporate the moisture in the adhesive more quickly. This small step can make a significant difference in drying time.
- Bring in the Heat (but gently): Applying gentle heat to the sprayed surface can promote faster evaporation of moisture. However, exercise caution to avoid damaging materials or making the adhesive brittle. Opt for low heat settings on a hairdryer or maintain a safe distance if using a heat gun.
- Tackle Humidity: Excess humidity can prolong drying time. Combat this issue by investing in a dehumidifier, which helps remove moisture from the air and creates an environment conducive to faster evaporation. Watch those drying times shrink as you control the humidity levels.
- Embrace Proper Ventilation: Open those windows, turn on those exhaust fans, and let fresh air circulate. Proper ventilation not only removes humid air but also facilitates quicker evaporation. By creating an airflow, you’ll expedite the drying process.
- Thin is In: When applying Elmer’s spray adhesive, opt for thin and even layers instead of thick coats. Thin layers dry more quickly and evenly, ensuring a stronger bond between surfaces. If multiple coats are necessary, allow each layer to dry completely before applying the next one.
- Choose Wisely: Different formulations of Elmer’s spray adhesive may have varying drying characteristics. To optimize drying time, consult the product label or instructions to select the most suitable adhesive for your project. Making the right choice from the start will save you time and frustration.
Following Manufacturer Instructions
Then you’ve probably come across Elmers spray adhesive. This incredible adhesive can work wonders on your projects, but here’s the secret to success – follow the manufacturer’s instructions. Trust me, it’s a game-changer that will save you time and frustration in the long run.
Now, let’s dive into why it’s so crucial to pay attention to those little instructions on the label:
- Proper Bonding: Elmers spray adhesive is designed to create a strong and reliable bond, but only if used correctly. The manufacturer’s instructions provide specific application techniques and tips that will guide you towards achieving this perfect bond. From the angle of spraying to the distance from the surface, every detail matters.
- Drying Time: We all want our projects to be ready as fast as possible, right? By following the recommended drying time provided by the manufacturer, you ensure that your glued surfaces have ample time to adhere properly. Rushing the drying process can jeopardize the bonding strength and even lead to project failures. Patience is key.
- Optimal Results: The manufacturer’s instructions often go beyond basic guidelines. They may include additional information on how to achieve the best results with Elmers spray adhesive. This might involve applying the adhesive in a well-ventilated area or allowing for proper curing time before handling your glued masterpiece. Following these extra tips guarantees exceptional outcomes.
- Different Products, Different Times: It’s important to remember that not all Elmers spray adhesives are created equal. Each product may have different drying times and application techniques. By using the specific product recommended for your project and carefully following its instructions, you can ensure optimal performance and an outstanding finished result.
- Contacting the Experts: If you ever find yourself scratching your head over any aspect of using Elmers spray adhesive, don’t hesitate to reach out to the manufacturer directly or visit their website. They are the glue gurus after all. They can provide you with expert guidance and answer any questions you may have.
Preparing Surfaces for Bonding
Today, we’re delving into the world of surface preparation before bonding with Elmer’s spray adhesive. This is the secret recipe for success that will elevate your projects to a whole new level.
Cleanliness is Key:
Before reaching for that spray adhesive, ensure your surfaces are squeaky clean. Dust, dirt, and oil can sabotage your bonding efforts. Grab a mild detergent or cleaner and scrub away any impurities. Rinse and dry thoroughly to remove residue.
Rough ‘Em Up:
Want a bond that can stand the test of time? Roughen up your surfaces. Use sandpaper or an abrasive material to create a textured surface. This increases contact points for the adhesive, resulting in a stronger bond.
Porosity Matters:
Different materials have varying absorption levels. Porous materials like wood and fabric readily soak up adhesives, while non-porous ones like metal and glass require more effort. Consider using a primer or sealer designed for porous surfaces before using Elmer’s spray adhesive.
Temperature and Humidity:
Temperature and humidity impact adhesive drying and bonding. Check recommended ranges for Elmer’s spray adhesive. Extreme temperatures or high humidity levels can affect bonding outcomes.
Compatibility Matters:
When bonding different materials, consider their compatibility. Some materials may need special treatment or primers to achieve the perfect bond with Elmer’s spray adhesive. Consult manufacturer guidelines or perform a small test beforehand.
IPd8vzIZpbE” >
Conclusion
The drying time of Elmer’s spray adhesive is an important factor to consider when working on a project. So, how long does it actually take for this adhesive to dry? Well, the answer depends on various factors such as temperature, humidity, and the thickness of the adhesive layer applied.
In most cases, Elmer’s spray adhesive typically dries within 15 minutes to an hour. However, it’s essential to note that this is just a general guideline. The actual drying time can vary based on the aforementioned factors.
If you’re working in a warmer environment with lower humidity levels, the adhesive might dry faster. On the other hand, colder temperatures and higher humidity can prolong the drying process. Additionally, applying a thicker layer of adhesive will also increase the drying time.
To ensure optimal results and avoid any mishaps, it’s advisable to wait until the adhesive is completely dry before proceeding with your project. You can test if it’s fully dried by lightly touching it with your finger; if it feels tacky or sticky, give it more time to dry.
Remember, patience is key when working with Elmer’s spray adhesive. Rushing through the drying process can lead to unwanted consequences such as smudging or incomplete adhesion.
In conclusion, while there isn’t an exact timeframe for how long Elmer’s spray adhesive takes to dry, understanding the factors that influence drying time can help you plan accordingly.