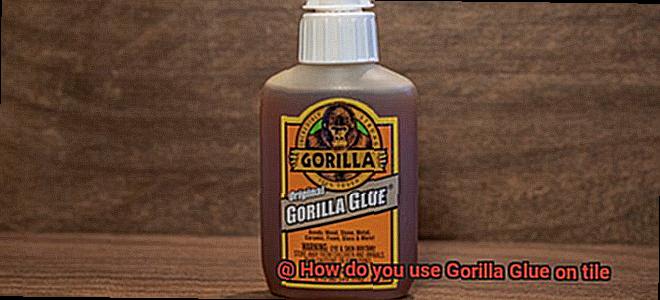
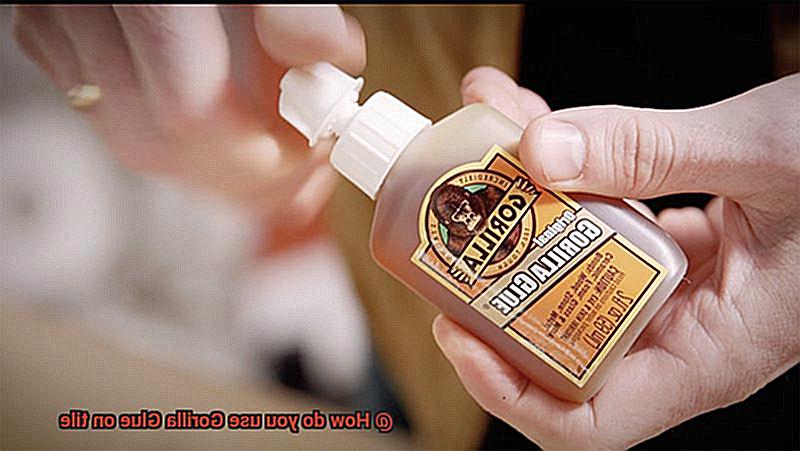
Looking to conquer your tile projects with an adhesive that’s as tough as nails? Say hello to Gorilla Glue. Renowned for its unwavering strength and resilience, this adhesive is a favorite among DIY enthusiasts and seasoned professionals alike.
In this blog post, we’ll dive headfirst into the world of using Gorilla Glue on tile, equipping you with the know-how to tackle any project with confidence.
From repairing shattered tiles to crafting awe-inspiring installations, get ready to unlock the secrets behind a bond that will stand the test of time.
Pre-Application Preparation
Contents
In this guide, we will walk you through the essential steps to ensure a successful application of Gorilla Glue on tile. From cleaning the surface to testing and gathering necessary tools, we’ve got you covered.
Step 1: Clean the surface
The first and most crucial step is to thoroughly clean the tile surface. Use a mild detergent or specialized tile cleaner to remove any dirt, dust, or debris. A clean surface ensures optimal adhesion and bonding results.
Step 2: Remove any existing adhesives
Before applying Gorilla Glue, it’s important to remove any old adhesives or residue from the tile. Gently scrape off remnants using a scraper or putty knife, being careful not to damage the tile surface.
Step 3: Sand the tile
For glossy or smooth tiles, lightly sanding the surface can enhance the glue’s adhesion. Use fine-grit sandpaper to create a rougher texture that allows for more effective bonding.
Step 4: Test on a small area
Before applying Gorilla Glue to the entire tile surface, conduct a small test patch on an inconspicuous area. Apply a small amount of glue and let it dry. This test ensures compatibility between the glue and your specific type of tile.
Step 5: Gather necessary tools
To streamline the application process, gather all necessary tools beforehand. These may include gloves for hand protection, a brush or applicator for precise glue application, a cloth or sponge for cleanup, and a timer to track drying times.
By following these pre-application preparation steps, you can ensure a successful and durable bond when using Gorilla Glue on tile. Remember to clean the surface, remove any existing adhesives, sand if necessary, conduct a test patch, and gather all the necessary tools. With proper preparation, you’ll achieve strong and long-lasting results.
Remember to always follow the safety precautions provided by Gorilla Glue, such as wearing gloves and working in a well-ventilated area. For more specific instructions or recommendations, refer to the packaging or contact Gorilla Glue customer support.
Applying the Glue
Get ready to dive in and discover the secrets to applying Gorilla Glue like a pro.
Step 1: Prepare the Surface
To ensure a successful bond, begin by meticulously cleaning the tile surface. Wipe it down with a damp cloth, removing all dirt, dust, and debris until it sparkles. Allow the tile to air dry completely before proceeding.
Step 2: Protect Your Hands
Don’t let sticky situations ruin your day. Safeguard your hands by donning a pair of gloves throughout the entire process. Gorilla Glue’s adhesive prowess is unrivaled, but it’s better suited for bonding objects rather than skin.
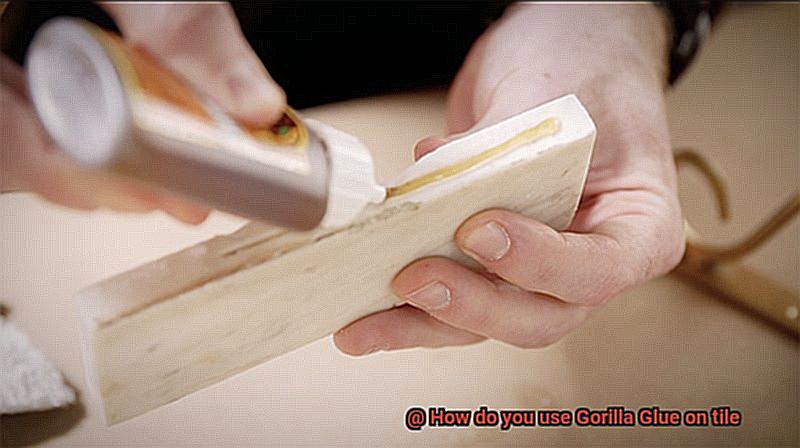
Step 3: Apply the Glue
With precision and finesse, apply a thin layer of Gorilla Glue onto the back of the tile using a small brush or an applicator. Remember, less is more. Excessive glue can ooze out from the sides once pressure is applied.
Step 4: Position and Press
Now comes the exciting part. Carefully position the tile in its desired spot and firmly press it down. Take your time to align the tile perfectly before applying pressure, ensuring a seamless integration with surrounding tiles.
Step 5: Clean Up Excess Glue
If any excess glue seeps out from the sides, fear not. Grab a damp cloth or sponge and gently wipe away the surplus glue. Be careful not to disturb the tile’s position while you do so, maintaining its pristine alignment.
Step 6: Allow for Curing Time
Patience becomes your ally at this stage. After positioning the tile, grant the Gorilla Glue ample time to cure. The curing process may vary depending on environmental factors such as temperature and humidity. Consult the product’s instructions for specific curing times.
Step 7: Avoid Disturbance
During the curing process, resist the urge to tamper with or move the tile. Premature pressure can undermine the bond’s strength. Exercise restraint and let the glue work its magic undisturbed.
Step 8: Finishing Touches
Congratulations. Once the Gorilla Glue has fully cured, it’s time for those final touches. Proceed with grouting and other finishing steps to complete your magnificent tile installation project.
Allowing Time for Curing
Grab your tools and let’s embark on a journey to master the art of glue bonding tile with Gorilla Glue.
The Curing Process:
Curing is the magical transformation that occurs when Gorilla Glue dries and hardens, ensuring a bond that can withstand the test of time. But before we dive into the curing process, let’s explore some essential preparation steps.
Step 1: Cleanliness is Key
To achieve a flawless bond, start by thoroughly cleaning the tile surface. Remove dirt, grease, or debris using a mild detergent and water solution. Ensure the tile is completely dry before proceeding.
Step 2: Apply with Precision
Unleash the power of Gorilla Glue. Apply a thin layer of adhesive onto one surface you wish to bond. Remember, less is more – excess glue can affect curing and result in unwanted squeeze-out.
Step 3: Join with Care
Align the surfaces properly and gently press them together. Even pressure ensures optimal contact between tiles. For added support, use clamps or other means to hold surfaces in place during curing.
Step 4: Patience is a Virtue
Allow the glue to work its magic. Curing time for Gorilla Glue on tile varies based on temperature, humidity, and materials used. Follow manufacturer’s instructions for specific curing times.
Step 5: Test for Strength
After recommended curing time has passed, put your bond to the test. Apply gentle pressure or try pulling on bonded surfaces. A secure bond indicates success. If it feels weak or comes apart easily, reapply glue and allow for additional curing time.
Allowing sufficient time for curing is essential when using Gorilla Glue to bond tile. By following these steps and being patient throughout the process, you’ll achieve a strong and durable bond. Practice the art of glue bonding tile with Gorilla Glue, unleash your inner artist, and create projects that stand the test of time.
Providing Space for Expansion
Get ready to create secure and long-lasting projects using Gorilla Glue. However, don’t overlook the vital step of providing adequate space for expansion. In this article, we’ll explore the importance of space for expansion when using Gorilla Glue on tile. We’ll also provide essential tips and tricks to ensure flawless tile projects that can withstand the test of time.
Understanding the Need for Space:
Tiles, especially those made of natural materials like ceramic or porcelain, are sensitive to temperature and humidity changes. These fluctuations can cause tiles to expand or contract, potentially resulting in cracks or damage if not properly accounted for. By allowing space for expansion, you create room for tiles to move without compromising the structural integrity of your installation.
Creating Grout Lines:
Finding the perfect balance between aesthetics and functionality is key when installing tiles with Gorilla Glue. Enter grout lines – small gaps between each tile that not only enhance visual appeal but also accommodate movement. Acting as flexible joints, these gaps allow for contraction and expansion without jeopardizing the overall integrity of your tile installation.
Choosing the Right Adhesive:
Gorilla Glue offers a range of adhesives suitable for tile bonding, such as Original Gorilla Glue and Gorilla Construction Adhesive. Selecting the appropriate adhesive based on your specific tiling project requirements is crucial. Take a moment to review the manufacturer’s instructions for application to achieve optimal results.
Proper Application Techniques:
Applying Gorilla Glue on tile requires even distribution of a thin layer of adhesive on the back of each tile using a trowel or putty knife. Press the tiles firmly onto the prepared surface to ensure proper adhesion. Carefully remove any excess glue that may squeeze out between tiles using a damp cloth or sponge before it dries. This simple step prevents unsightly appearances and makes grouting a breeze.
Supporting the Tiles during Curing:
To achieve the best bond possible, support the tiles during the curing process. Utilize tile spacers or leveling systems to maintain consistent spacing between tiles as the adhesive sets. Once the adhesive has fully cured, remove these spacers, leaving you with a flawless tile installation that will stand the test of time.
Considerations for Specific Tile Types:
Different tile materials may have specific requirements when using Gorilla Glue. Porous tiles like natural stone or terracotta often require additional steps to ensure proper adhesion. Always refer to the manufacturer’s guidelines or seek professional advice when working with specific tile materials to guarantee a successful installation.
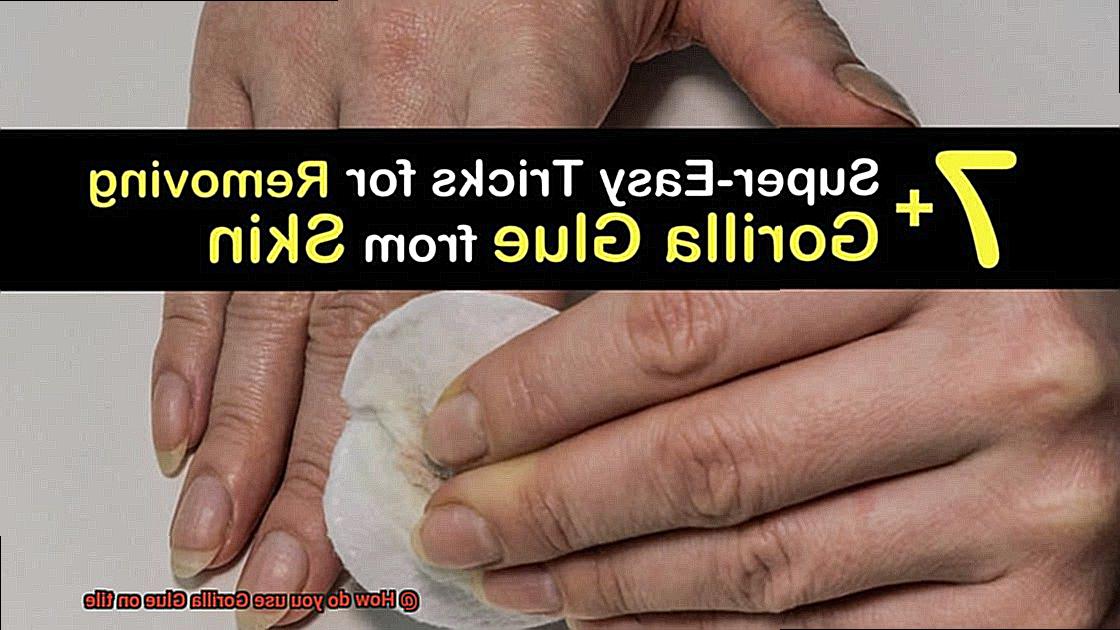
Removing Excess Glue
In the world of DIY projects, Gorilla Glue reigns supreme as the go-to adhesive for its unbeatable sticking power. However, we all know that accidents happen, and dealing with excess glue can be a real challenge.
In this article, we will delve into the art of removing excess glue, specifically focusing on Gorilla Glue from tile surfaces. Get ready to bid adieu to sticky situations and achieve a flawless finish.
Method 1: The Power of Acetone
Acetone, a potent solvent, is your ally in battling excess Gorilla Glue on tiles. Begin by applying a small amount of acetone onto a clean cloth or cotton swab. But hold on. Prioritize your tile’s safety by testing the acetone on an inconspicuous part first. Slowly and gently rub the glued area, allowing the acetone’s magic to soften the glue’s grip. With patience and persistence, watch as the glue starts to peel away, revealing a clean surface beneath.
Method 2: Harnessing Heat
Prepare to unleash the secret weapon against excess Gorilla Glue – heat. Reach for a hairdryer or heat gun set on low heat, holding it a few inches away from the glued area. As you move the heat source back and forth, the glue succumbs to its warmth and softens. Now armed with a plastic scraper or credit card, gently scrape off the softened glue, taking care not to mar the tile’s surface.
Method 3: Specialized Adhesive Removers
When acetone and heat fall short in eliminating all traces of excess glue, it’s time to call in specialized reinforcements. Look for adhesive removers specifically designed to combat Gorilla Glue. Before unleashing their power, follow the manufacturer’s instructions and conduct a small-scale test on your tile. These specialized removers work wonders in eradicating even the most stubborn residue.
Method 4: Mechanical Methods as Last Resort
In dire cases where the glue has hardened, mechanical methods like sanding or scraping with a razor blade may come to the rescue. But tread lightly, for the tile’s safety is paramount. Begin with the gentlest approach and gradually escalate if necessary. Exercise caution to avoid causing damage while removing that stubborn glue.
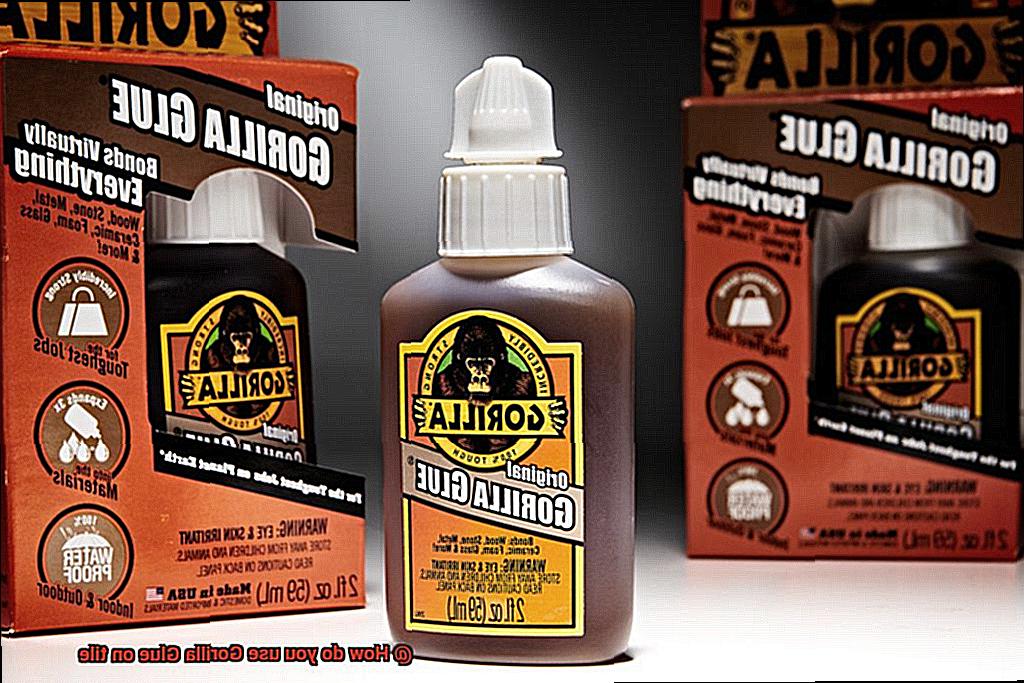
Waterproof Properties of Gorilla Glue
With its remarkable adhesive properties and versatility, Gorilla Glue has become the go-to choice for both DIY enthusiasts and professionals. But what makes Gorilla Glue stand out from the rest? Its exceptional waterproof properties.
Gorilla Glue’s waterproof nature ensures that it remains incredibly robust and effective even when exposed to water. This makes it the perfect adhesive for tile surfaces that may encounter moisture or water, such as bathrooms, kitchens, or outdoor spaces. Say goodbye to concerns about your tiles loosening or deteriorating due to water exposure.
To achieve a successful bond, it is important to start with a clean tile surface, free from any dirt, dust, or grease. Apply a thin layer of Gorilla Glue onto the tile surface and firmly press the tiles together. This creates an unyielding bond that can withstand water exposure.
Remember to allow the glue to dry and cure for at least 24 hours before subjecting it to water. This ensures the maximum effectiveness of its waterproofing capabilities. Furthermore, Gorilla Glue’s waterproof properties also make it resistant to temperature fluctuations, enhancing its durability in various environments.
Nonetheless, it is important to note that while Gorilla Glue is indeed waterproof, it is not recommended for continuous submersion in water or for underwater applications. For such cases, specialized waterproof adhesives specifically designed for submerged bonding should be utilized.
Cleaning Up Accidental Spills or Drips on Tile Surfaces
Accidental spills or drips on tile surfaces can happen to anyone, and it’s important to know how to clean them up promptly to prevent any damage. Whether it’s Gorilla Glue or any other adhesive, this comprehensive guide will walk you through the steps to effectively clean up spills or drips on tile surfaces, ensuring your tiles stay pristine and unharmed.
Step 1: Act Quickly
The key to successfully cleaning up accidental spills or drips on tile surfaces is to act fast. The longer the substance sits on the tile, the harder it becomes to remove. So, don’t panic, but don’t delay.
Step 2: Remove Excess Substance
Start by wiping away any excess substance with a dry cloth or paper towel. Be careful not to spread the substance around or push it further into the tile. This step helps prevent further damage and makes the cleaning process easier.
Step 3: Scraping Method
If the substance has already dried, gently scrape it off with a plastic scraper or an old credit card. Take care not to scratch or damage the tile surface while doing this. This method works well for substances like glue, paint, or wax.
Step 4: Solvent Solution
If scraping doesn’t work, try using a suitable solvent to dissolve the substance. Acetone is commonly used for adhesives like Gorilla Glue. Apply a small amount of acetone to a clean cloth and gently rub the affected area. However, always test the solvent on a small, inconspicuous area of the tile first to ensure it doesn’t cause any discoloration or damage.
Step 5: Vinegar Technique
Another option for removing dried substances from tile is using vinegar. Soak a cloth in white vinegar and place it on top of the affected area. Leave it for a few hours to soften the substance, then gently scrape it off with a plastic scraper or an old credit card. Vinegar works well for substances like dried paint or food stains.
Step 6: Porous Tiles
For spills or drips on porous tiles like unglazed ceramic or natural stone, removing the substance completely may be more challenging. In such cases, it’s best to consult a professional tile cleaner or seek advice from the manufacturer for specific recommendations. They may suggest specialty cleaners or techniques to avoid damaging the tiles.
Step 7: Clean the Tile Surface
Once you have successfully removed the substance, clean the tile surface with warm soapy water to remove any residue left behind by the solvent or vinegar. This step ensures your tiles are left spotless and ready to shine.
Securing Vertical Tiles or Objects
Whether you’re installing eye-catching decorative tiles on a wall or attaching small objects to a tiled surface, Gorilla Glue offers a strong and trustworthy bond. In this comprehensive guide, we will take you through the steps to securely fasten vertical tiles or objects using Gorilla Glue, ensuring your project stands the test of time.
To start, proper surface preparation is essential. Your tile or object should be clean, dry, and free from any dirt, dust, or grease. Employ a mild detergent or specialized tile cleaner to eliminate stains or residues. Furthermore, gently roughen the surface with sandpaper or a rough cloth to enhance the adhesive’s grip.
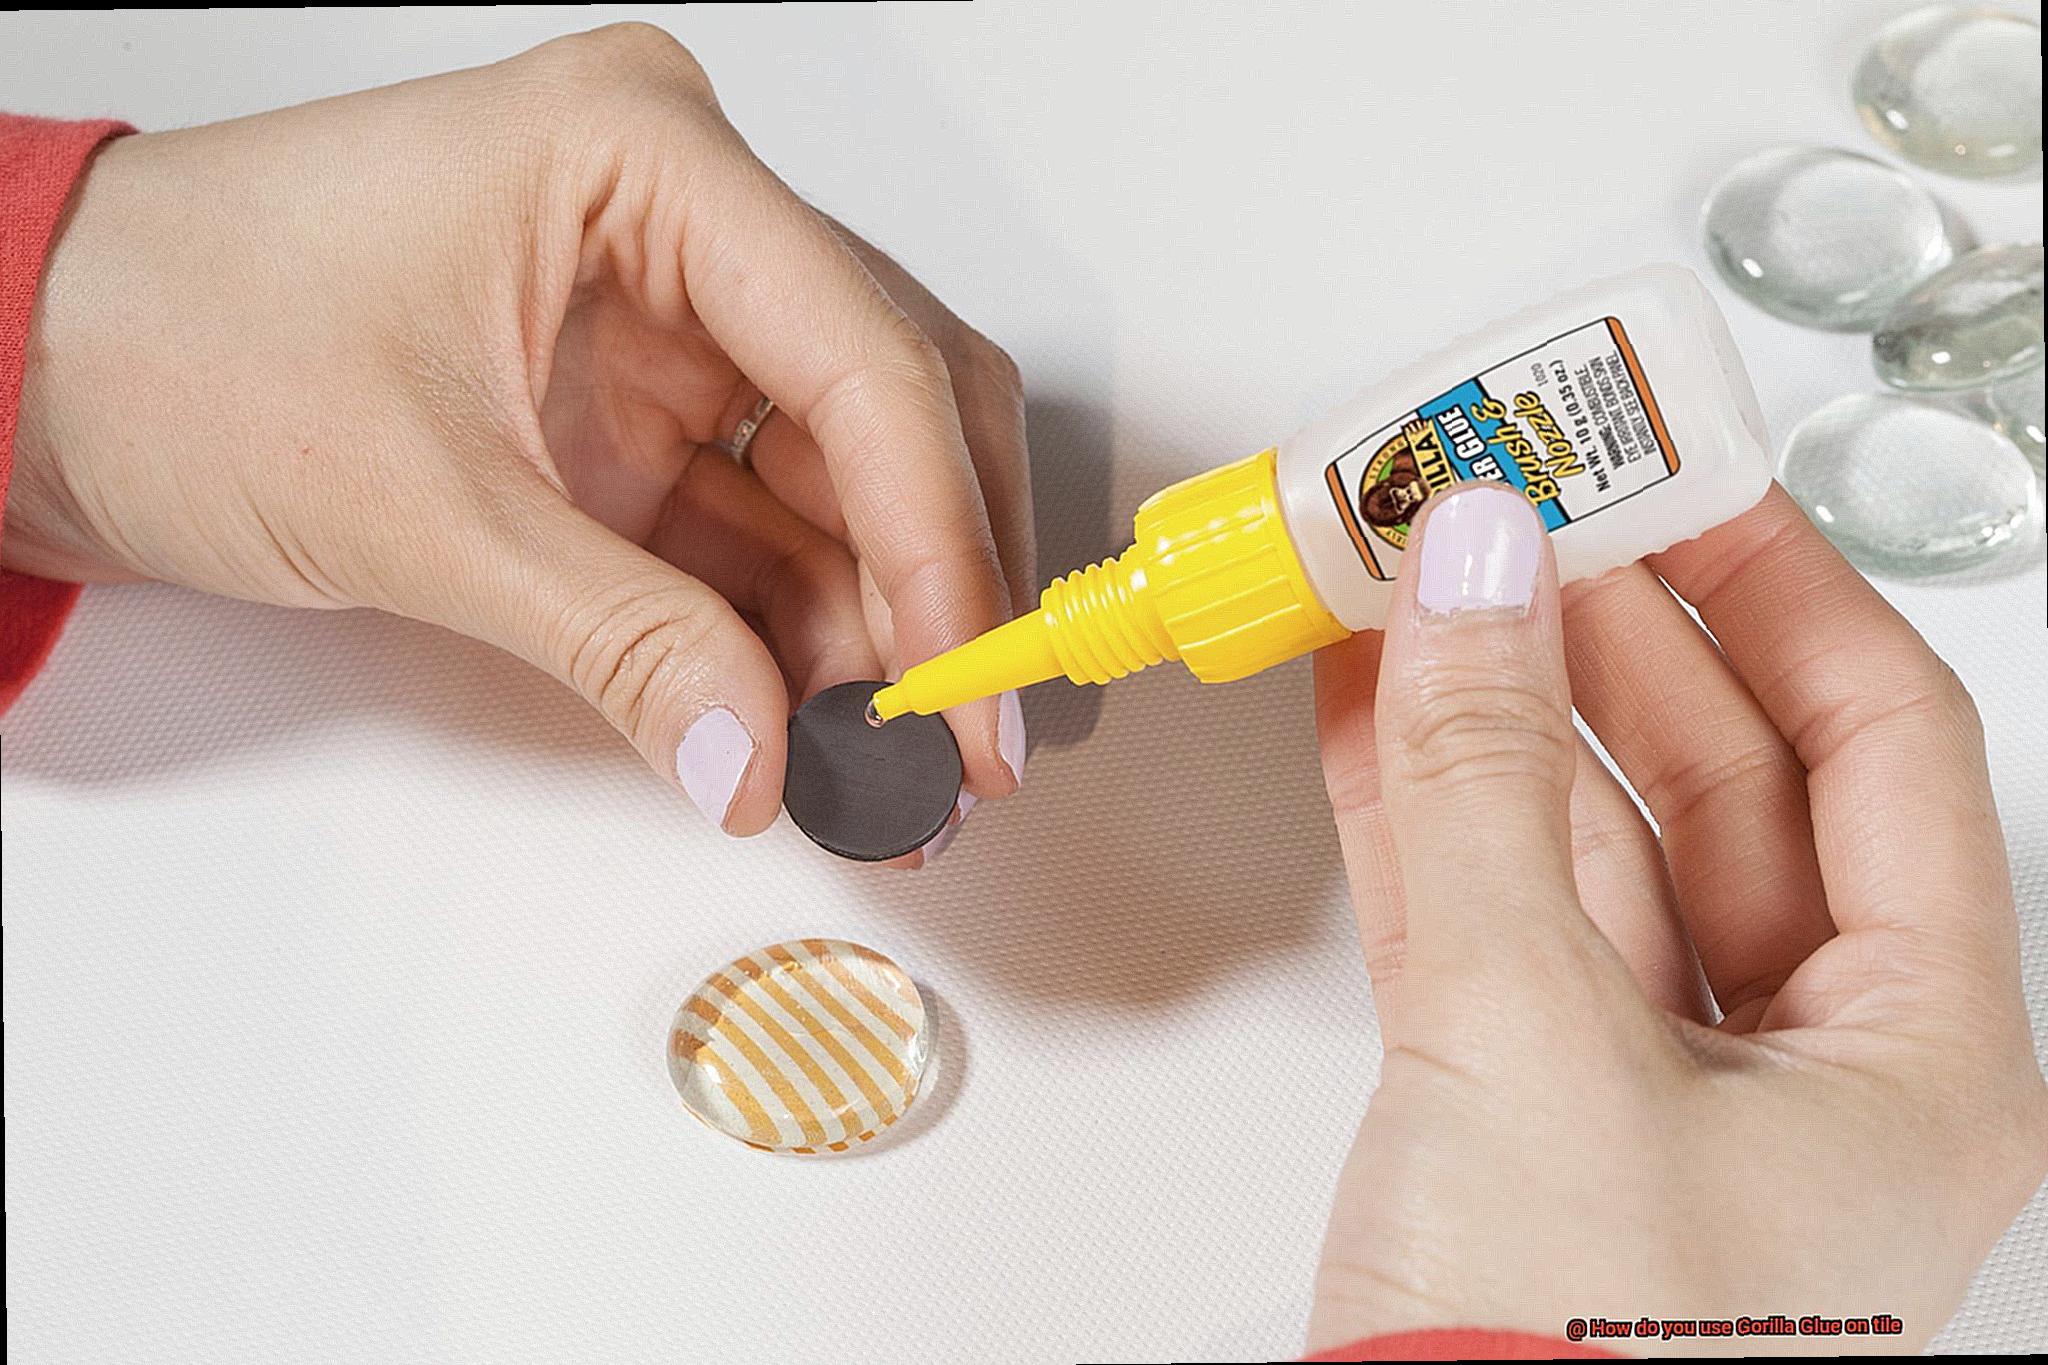
Choosing the right Gorilla Glue for your project is crucial as well. The brand offers various adhesive options tailored to different materials and applications. When securing vertical tiles or objects, it is recommended to opt for Gorilla Heavy Duty Construction Adhesive. This adhesive is specifically engineered for bonding heavy materials, providing an unparalleled level of strength and durability.
Once you have the appropriate glue in hand, it’s time to apply it. Ensure that you apply a thin, even layer of Gorilla Heavy Duty Construction Adhesive to the back of the tile or object you wish to secure. Be meticulous in spreading the glue evenly across the entire surface to maximize adhesion. You can use a brush, putty knife, or adhesive spreader for a seamless application.
With the glue applied, firmly press the tile or object against the desired surface. Maintain continuous pressure for at least 20-30 seconds to allow the adhesive to bond effectively. To hold everything in place during the curing process, consider utilizing clamps or weights.
Remember that Gorilla Glue requires sufficient time to cure and reach its maximum bonding strength. It is crucial to adhere to the manufacturer’s instructions regarding curing time. Generally, the glue will attain its full strength within 24 hours. Avoid moving or subjecting the secured tile or object to stress until the adhesive is completely cured.
While Gorilla Glue guarantees a robust bond, it is imperative to promptly clean up any excess glue. Utilize a damp cloth or sponge to wipe away any squeezed-out glue before it dries. Once the adhesive has cured, removing it without damaging the tile or object becomes challenging.
Lastly, prioritize safety precautions when working with Gorilla Glue or any adhesive. Shield your hands with gloves to prevent direct contact with the glue. Work in a well-ventilated area to minimize inhalation of fumes. Additionally, carefully read and follow the instructions and warnings provided by the manufacturer.
eTv4dL_CJeA” >
Conclusion
Using Gorilla Glue on tile is a straightforward process that can help you achieve strong and long-lasting bonds. To ensure success, start by preparing the surface of the tile. Clean it thoroughly to remove any dirt, debris, or grease that may hinder adhesion.
Next, apply a small amount of Gorilla Glue to the backside of the tile. Remember, a little goes a long way with this powerful adhesive. Spread it evenly using a brush or your finger, making sure to cover the entire area where the glue will come into contact with the surface.
Once applied, firmly press the tile onto the desired location. Hold it in place for a few seconds to allow the glue to set. You’ll notice how quickly it starts to bond and create a strong hold.
It’s important to note that Gorilla Glue expands as it cures, so be cautious not to use too much glue as it may cause excess seepage. Additionally, make sure you have proper ventilation when working with this adhesive as its fumes can be strong.
In conclusion, using Gorilla Glue on tile is an effective method for securing tiles in place. With proper preparation and application techniques, you can achieve durable results that will stand up to daily wear and tear.