Are you a crafty person on the hunt for a new medium to experiment with? Look no further than your own supply closet. Elmer’s glue, that trusty childhood favorite, can actually be used as a substitute for resin in certain projects. Not only is it more affordable than traditional resin, but it also doesn’t require any special equipment or ventilation.
But how does it work, you ask? Elmer’s glue is a type of PVA (polyvinyl acetate) glue that dries clear and hard, making it perfect for casting and sealing surfaces. Plus, it can be easily colored with acrylic paint or food coloring to achieve different effects. However, keep in mind that this method may not be as effective for larger or more intricate projects and may not be UV resistant or as durable as actual resin.
Despite its limitations, using Elmer’s glue as resin is an exciting way to explore new crafting techniques without breaking the bank. So why not give it a try and see what kind of unique creations you can come up with? Who knows – you might just discover your next favorite crafting medium.
What is Elmer’s Glue?
Contents
- 1 What is Elmer’s Glue?
- 2 Can Elmer’s Glue be Used as a Substitute for Resin?
- 3 Preparing the Mixture for Use as Resin
- 4 Applying the Mixture to Your Project
- 5 Pros and Cons of Using Elmer’s Glue as Resin
- 6 Tips for Working with Elmer’s Glue as Resin
- 7 Troubleshooting Common Problems with Elmer’s Glue as Resin
- 8 Alternatives to Using Elmer’s Glue as Resin
- 9 Conclusion
Elmer’s Glue is not just another school supply – it’s a staple in the world of arts and crafts. This popular brand of white, washable glue has been around since the early 20th century, offering a versatile and user-friendly adhesive.
Made from a water-soluble polymer called polyvinyl acetate (PVA), Elmer’s Glue creates a strong bond when it dries. It can be used on a variety of surfaces, including paper, cardboard, fabric, and wood. The glue dries clear, making it perfect for creating seamless finishes on your projects.
What makes Elmer’s Glue even more appealing is that it is non-toxic and safe for children to use. It’s a popular choice for school projects and crafts because of its ease of use and reliability.
But Elmer’s doesn’t stop at just the traditional white glue. The brand offers a range of other products, such as clear glue, glitter glue, and liquid school glue pens. Each product has unique features that cater to different needs and preferences. The clear glue, for example, is ideal for transparent or translucent finishes, while glitter glue adds a touch of sparkle to any project.
For those looking to get even more creative with Elmer’s Glue, using it as resin is an increasingly popular DIY technique. However, it should be noted that using Elmer’s Glue as resin may not be as durable as actual resin. Over time, it may yellow and may not withstand heavy wear and tear like traditional resin would.
To use Elmer’s Glue as resin, mix it with water in a 1:1 ratio. This will thin out the glue and make it easier to work with. You can also add food coloring or acrylic paint to the mixture to create different colors. Once you have your mixture ready, you can apply it to your project using a brush or pour it directly onto the surface.
Can Elmer’s Glue be Used as a Substitute for Resin?
While Elmer’s glue is a versatile adhesive that dries clear and can be used on various surfaces, it is not recommended as a replacement for resin. Let’s dive deeper into the reasons why.
Firstly, resin is a synthetic polymer that hardens when exposed to air or heat, making it highly durable and resistant to water, chemicals, and UV light. In contrast, Elmer’s glue is primarily designed to bond materials together and does not offer the same level of protection as resin. If you’re looking for a coating or protective layer for your project, resin is the superior option.
Moreover, the consistency of Elmer’s glue differs from resin; it is thinner and more fluid. This can make it challenging to achieve the same level of coverage and smoothness with Elmer’s glue as you would with resin. Resin is thicker and more viscous, making it easier to apply evenly and achieve a consistent finish.
Another important aspect to consider when comparing Elmer’s glue to resin is durability. Resin offers exceptional durability due to its hardening properties, making it ideal for use in outdoor applications where exposure to sun, water, and chemicals is common. On the other hand, Elmer’s glue dries clear but does not provide the same level of protection as resin, making it less suitable for outdoor use.
Preparing the Mixture for Use as Resin
With just a few simple steps, you can prepare the mixture for use as resin and create durable, eye-catching projects.
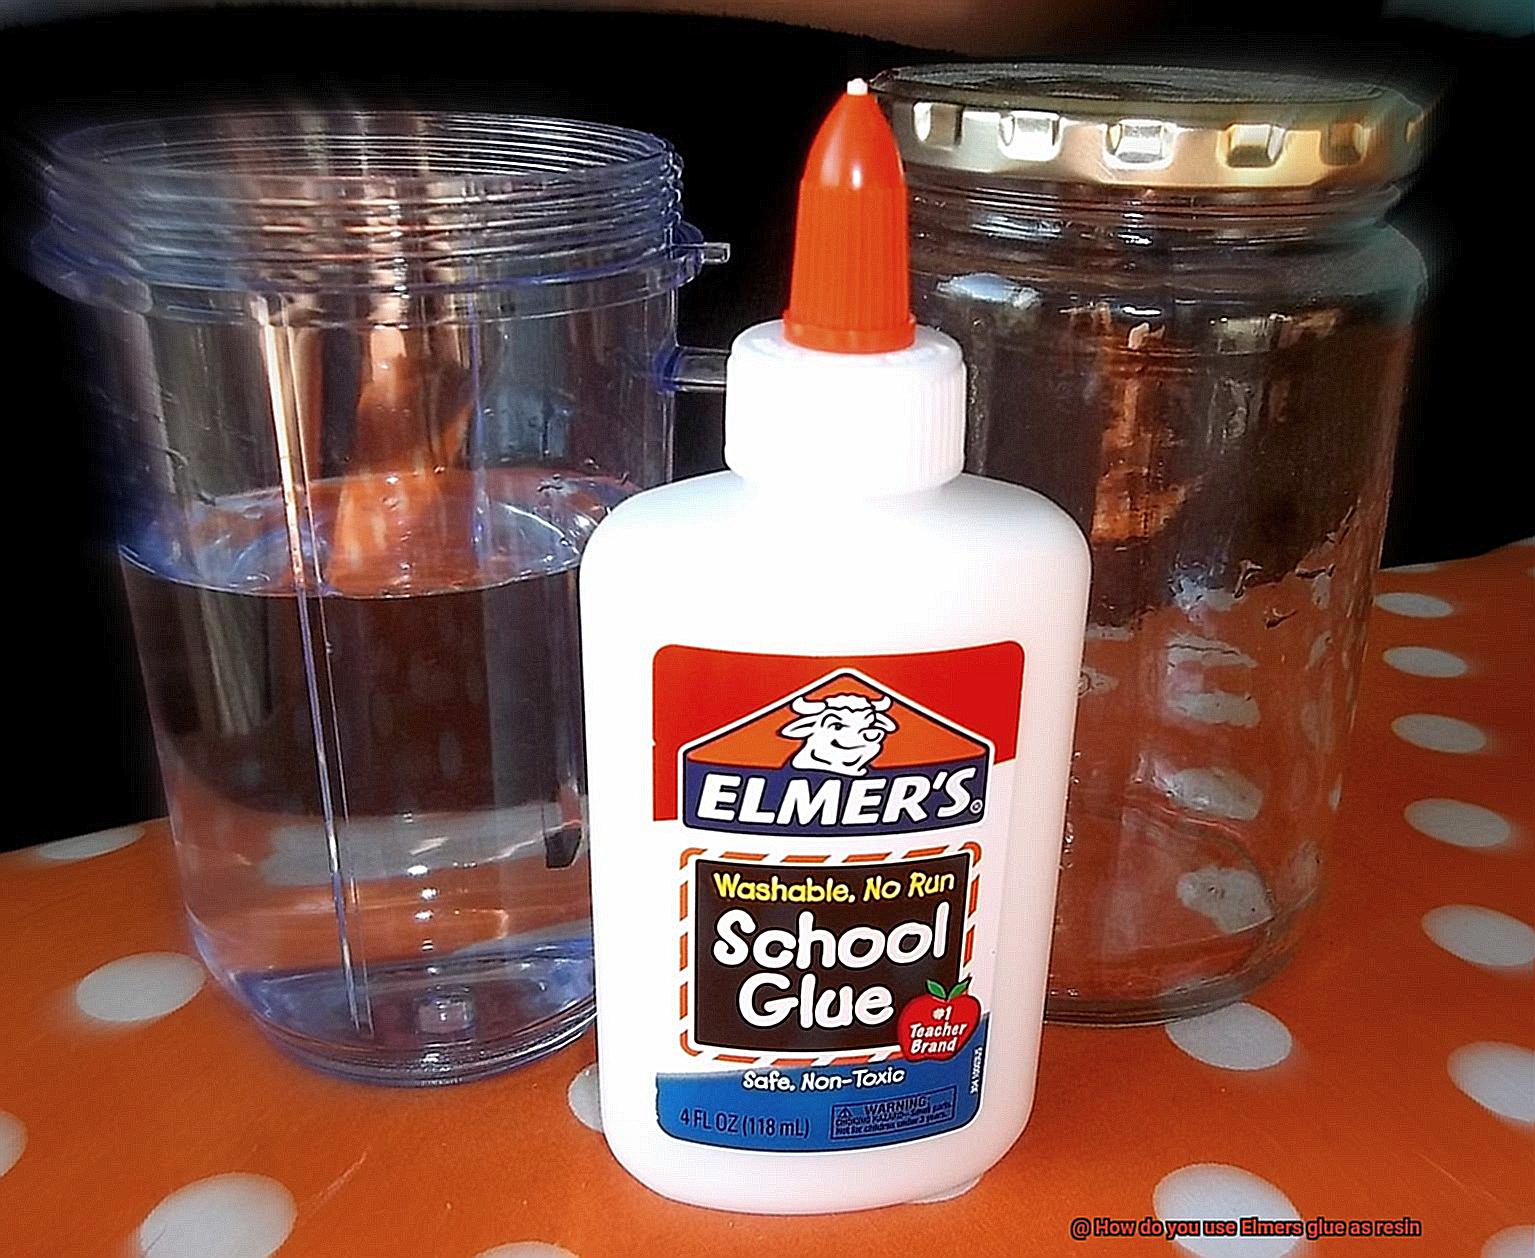
To begin, gather two ingredients: Elmers glue and water. Combine equal parts of both in a plastic container and stir until thoroughly mixed. It’s crucial to ensure a consistent texture to make it easy to apply. You can adjust the ratio of glue to water to achieve your desired consistency.
Want to add some pizzazz to your project? Mix in some pigment or glitter. This will give your creation a unique flair that stands out from the crowd. Remember to mix it in thoroughly, so it’s evenly distributed throughout the mixture.
When applying the mixture, start with thin layers. This helps prevent air bubbles from forming and gives your project a smooth finish. Be patient and allow each layer to dry before adding another. The glue may take some time to fully dry and harden.
Applying the Mixture to Your Project
By following a few simple steps, you can create a durable finish that will protect and enhance your creations.
To apply the mixture, start by ensuring that the surface of your project is clean and free from debris. Then, mix equal parts of Elmer’s glue and water in a container, and stir until fully combined. You can get creative here by adding pigments or glitter to make your project stand out.
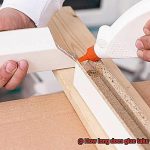
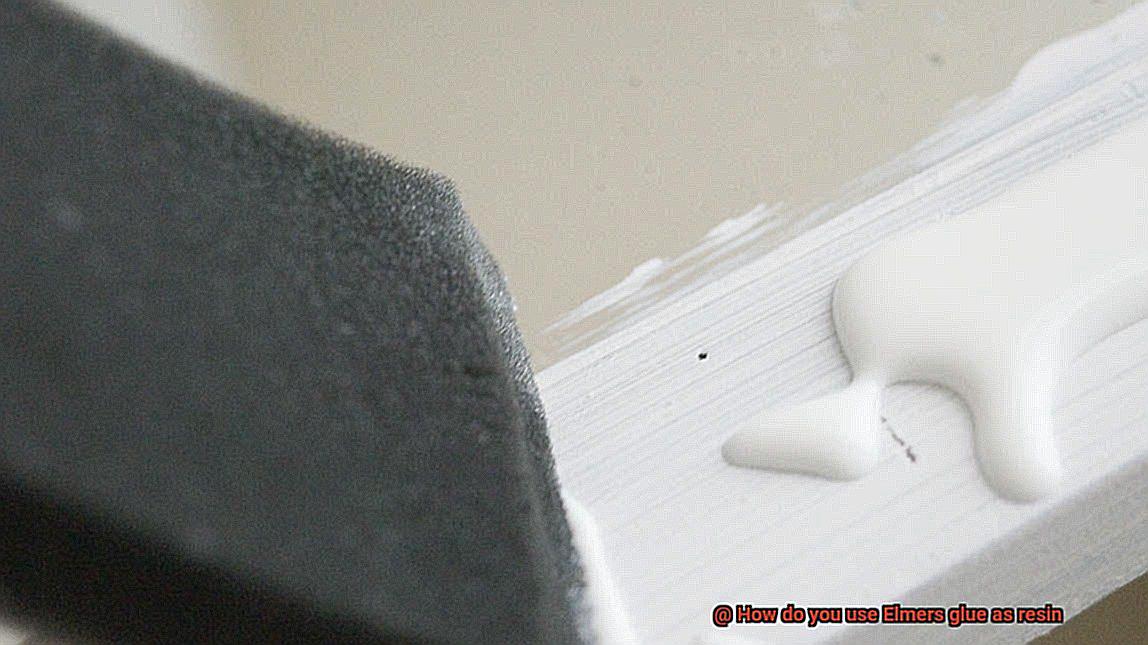
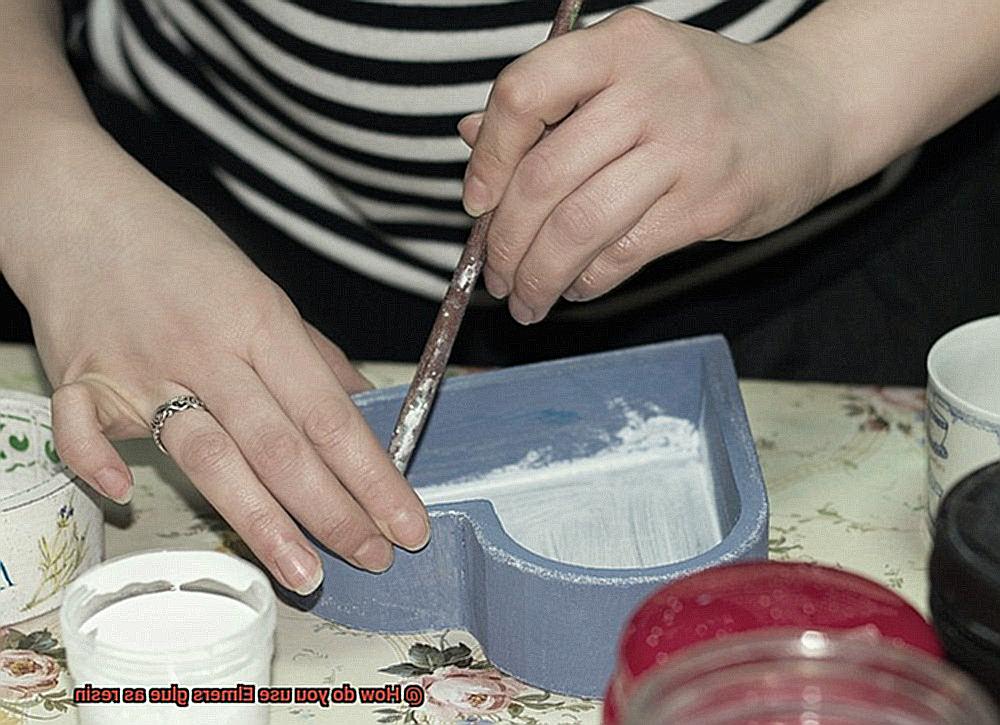
Using a brush or other applicator, apply the mixture in thin, even coats. It is essential to allow each coat to dry completely before applying the next. Applying at least two coats is recommended to achieve the best results.
While applying the mixture, watch out for any air bubbles that may form on the surface. These pesky bubbles can be easily removed by blowing on them gently or using a toothpick to pop them.
Once you have applied the desired number of coats and allowed them to dry completely, your project will have a glossy and protective finish. This durable coating works wonders on a variety of surfaces, including paper, fabric, and even wood.
Pros and Cons of Using Elmer’s Glue as Resin
Enter Elmer’s glue – a water-based adhesive that can be used as a substitute for traditional resin. But before you dive in headfirst, let’s take a closer look at the pros and cons of using Elmer’s glue as resin.
First up, the pros. Elmer’s glue is incredibly cost-effective, readily available at most craft stores, and won’t break the bank. Plus, it doesn’t require any special equipment or tools, making it an ideal option for beginners. And perhaps the most significant advantage of Elmer’s glue is that it dries clear, which is ideal for projects where the adhesive needs to be invisible.
But with every pro comes a con. While Elmer’s glue is versatile, it doesn’t have the same level of strength as traditional resins. This means that if you’re working on a project that requires durability or strength, Elmer’s glue may not be the best option. Additionally, over time, Elmer’s glue may begin to yellow, detracting from the overall appearance of your project. Finally, it’s important to note that Elmer’s glue isn’t suitable for all applications, particularly those involving heat or exposure to water.
In summary, using Elmer’s glue as resin can be a cost-effective and easy-to-use alternative to traditional resins. However, it does have its limitations in terms of strength and durability. So before you decide whether or not to use Elmer’s glue as resin in your projects, it’s essential to weigh the pros and cons carefully. If you’re unsure whether it’s suitable for your project, consider consulting with an experienced crafter or professional before diving in.
Tips for Working with Elmer’s Glue as Resin
While it may not be as durable as traditional resin, Elmer’s glue can still create a stunning glass-like finish for smaller projects. To get the best results, here are some key tips and tricks for working with Elmer’s glue as resin:
Use the right type of glue
White school glue is the way to go. It dries clear and creates a beautiful, glossy finish.
Prepare your workspace
Cover your surface with wax paper or plastic wrap to protect it from any spills. Wearing gloves can also keep the glue off of your hands.
Mix the glue with water
A ratio of 1:1 is a good starting point, but adjust as needed for your desired thickness and consistency. Mix the water and glue thoroughly before applying it to your project.
Apply the glue quickly and evenly
Avoid overworking the area, which can cause cloudiness or air bubbles. A foam brush or similar tool can help you achieve a thin, even coat.
Let it dry completely
Depending on the thickness of the coat and humidity levels in your workspace, this can take several hours or overnight. Avoid touching or moving the project until it has fully cured.
If you encounter air bubbles or cloudiness in your finished project, there are a few ways to fix these issues. For small bubbles or spots of cloudiness, gently warming the surface with a heat gun or hair dryer on low heat can encourage bubbles to rise to the surface. For larger bubbles or areas of cloudiness, sanding down the surface and reapplying a new coat of glue resin may be necessary.
Remember that Elmer’s glue may yellow over time, especially when exposed to sunlight or UV rays. To prevent this, consider using a clear sealer or UV-resistant spray on top of your finished project. And finally, clean up any excess glue or spills immediately with warm water and soap before it dries.
Troubleshooting Common Problems with Elmer’s Glue as Resin
While this versatile material can create stunning glass-like effects, it’s important to be aware of some common issues that may arise during the application process.
One of the most notorious problems is the formation of air bubbles within the glue, which can ruin the smooth finish you’re aiming for. To avoid these pesky bubbles, take your time mixing the glue thoroughly and apply it in thin layers. By allowing each layer to dry completely before applying the next, you’ll prevent air pockets from forming.
Another issue to keep in mind is yellowing of the glue over time. This can occur when your project is exposed to UV light or heat, which can cause the glue to break down and discolor. To avoid this, consider keeping your project away from direct sunlight and sources of heat. You may also want to use a UV-resistant topcoat or sealer to protect your masterpiece.
Achieving a smooth and even finish with Elmer’s glue as resin can also be challenging. This could be due to inconsistent drying times or improper application techniques. To get that perfect finish, apply the glue in thin layers and let each coat dry completely before adding more. For an even surface, try sanding between layers.
In summary, here are some quick tips for troubleshooting common problems with Elmer’s glue as resin:
- Mix the glue slowly and thoroughly to avoid air bubbles.
- Apply the glue in thin layers to ensure even drying and prevent air pockets.
- Keep your project away from direct sunlight and heat sources to prevent yellowing.
- Use a UV-resistant topcoat or sealer to protect your project from harmful elements.
- Allow each layer of glue to dry completely before adding more.
- Sand between layers for a smooth and even finish.
Alternatives to Using Elmer’s Glue as Resin
When it comes to DIY projects that require resin, Elmer’s glue may not always be the best choice due to its lack of complete waterproofing. However, there are numerous alternatives available that can provide the strength and durability needed for your project.
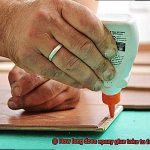
One popular option is epoxy resin, a two-part adhesive that creates a strong bond and is highly resistant to water and other environmental factors. Epoxy resin is commonly used in boat building and marine applications but can also be used for jewelry making, sculpture casting, and more.
Polyurethane resin is another alternative to Elmer’s glue as resin. This material is incredibly strong and durable, making it ideal for a wide range of projects. It is also resistant to UV light, making it an excellent choice for outdoor applications.
If neither of these options meets your needs, there are many other adhesives and resins to consider. Cyanoacrylate or “super glue” is a popular choice for its fast-drying properties and ability to bond a variety of materials. Silicone sealant is another option that can work well in situations where flexibility is important.
When choosing the right material, it’s essential to consider the specific needs of your project. Think about the materials you’ll be working with, the conditions under which the finished product will be used, and the level of strength and durability required. By exploring different alternatives to Elmer’s glue as resin, you’ll be able to find the perfect material to make your project shine.
Conclusion
In conclusion, Elmer’s glue is a fantastic and cost-effective substitute for traditional resin in certain crafting projects. As a water-based adhesive, it can be effortlessly mixed with water and pigments to produce a crystal-clear finish on various surfaces. However, it is essential to note that Elmer’s glue may not be as durable or UV-resistant as genuine resin and may yellow over time.
To use Elmer’s glue as resin, you need to mix it with water in a 1:1 ratio and apply it in thin layers using a brush or pour directly onto the surface. It is crucial to let each layer dry entirely before adding more to prevent air bubbles and achieve an even finish.
While Elmer’s glue has its limitations, it can still create stunning results for smaller projects. For larger or more intricate projects requiring durability and strength, alternatives such as epoxy resin or polyurethane resin may be more suitable.
All things considered, using Elmer’s glue as resin is an exciting way to explore new crafting techniques without breaking the bank. With the right tools and techniques at your disposal, you can create unique and eye-catching creations that showcase your creativity and ingenuity. So why not give it a try?