Do you ever find yourself frustrated by the thick, clumpy consistency of Elmer’s glue? Are you looking for ways to thin it out for your next project? Look no further. This blog post is here to help you achieve the perfect consistency for all your crafting needs.
Whether you’re a student working on a school project or a DIY enthusiast tackling a home decor project, knowing how to thin out Elmer’s glue can make all the difference in the outcome. We’ll explore popular methods like using water or vinegar to thin it out, and we’ll even discuss different ratios for achieving varying levels of thinness.
But wait, there’s more. We’ll also delve into creative uses for thinned-out glue. Have you ever wanted to make your own homemade slime? Or create a unique decoupage effect on a piece of furniture? Thinned-out glue can help with that too.
So grab your bottle of Elmer’s glue and let’s get started on becoming experts at thinning it out. By the end of this blog post, you’ll be armed with all the knowledge and tips necessary to achieve the perfect consistency every time.
Types of Elmer’s Glue
Contents
- 1 Types of Elmer’s Glue
- 1.1 White Glue
- 1.2 To thin out white glue, add small amounts of water while stirring until you achieve the desired consistency. Be careful not to add too much water as it can affect its bonding strength.
- 1.3 Washable School Glue
- 1.4 Clear Glue
- 1.5 Carpenter’s Wood Glue
- 1.6 Glitter Glue
- 1.7 To thin out glitter glue, add small amounts of water while stirring until you achieve the desired consistency.
- 2 Thinning Out White and School Glue
- 3 Thinning Out Clear and Glitter Glue
- 4 Other Substances for Thinning Out Elmer’s Glue
- 5 Tips to Remember When Thinning Out Elmer’s Glue
- 6 Benefits of Thinned-Out Elmer’s Glue
- 7 Common Mistakes to Avoid When Thinning Out Elmer’s Glue
- 8 Conclusion
When it comes to arts and crafts projects, Elmer’s glue is a popular adhesive choice. However, not all Elmer’s glue products are the same. In this article, we will delve into the different types of Elmer’s glue available in the market and their respective uses.
White Glue
White glue is the most common type of Elmer’s glue. It has a thick consistency and is perfect for paper projects such as scrapbooking, card making, and other paper crafts. This water-based adhesive dries clear, making it ideal for use on porous surfaces like wood, fabric, and cardboard.
To thin out white glue, add small amounts of water while stirring until you achieve the desired consistency. Be careful not to add too much water as it can affect its bonding strength.
Washable School Glue
Elmer’s washable school glue is designed for use in classrooms and home projects with kids. It has a slightly thinner consistency than white glue and can be easily washed off with water. This non-toxic adhesive is great for children’s projects.
To thin out washable school glue, add small amounts of water while stirring until you achieve the desired consistency.
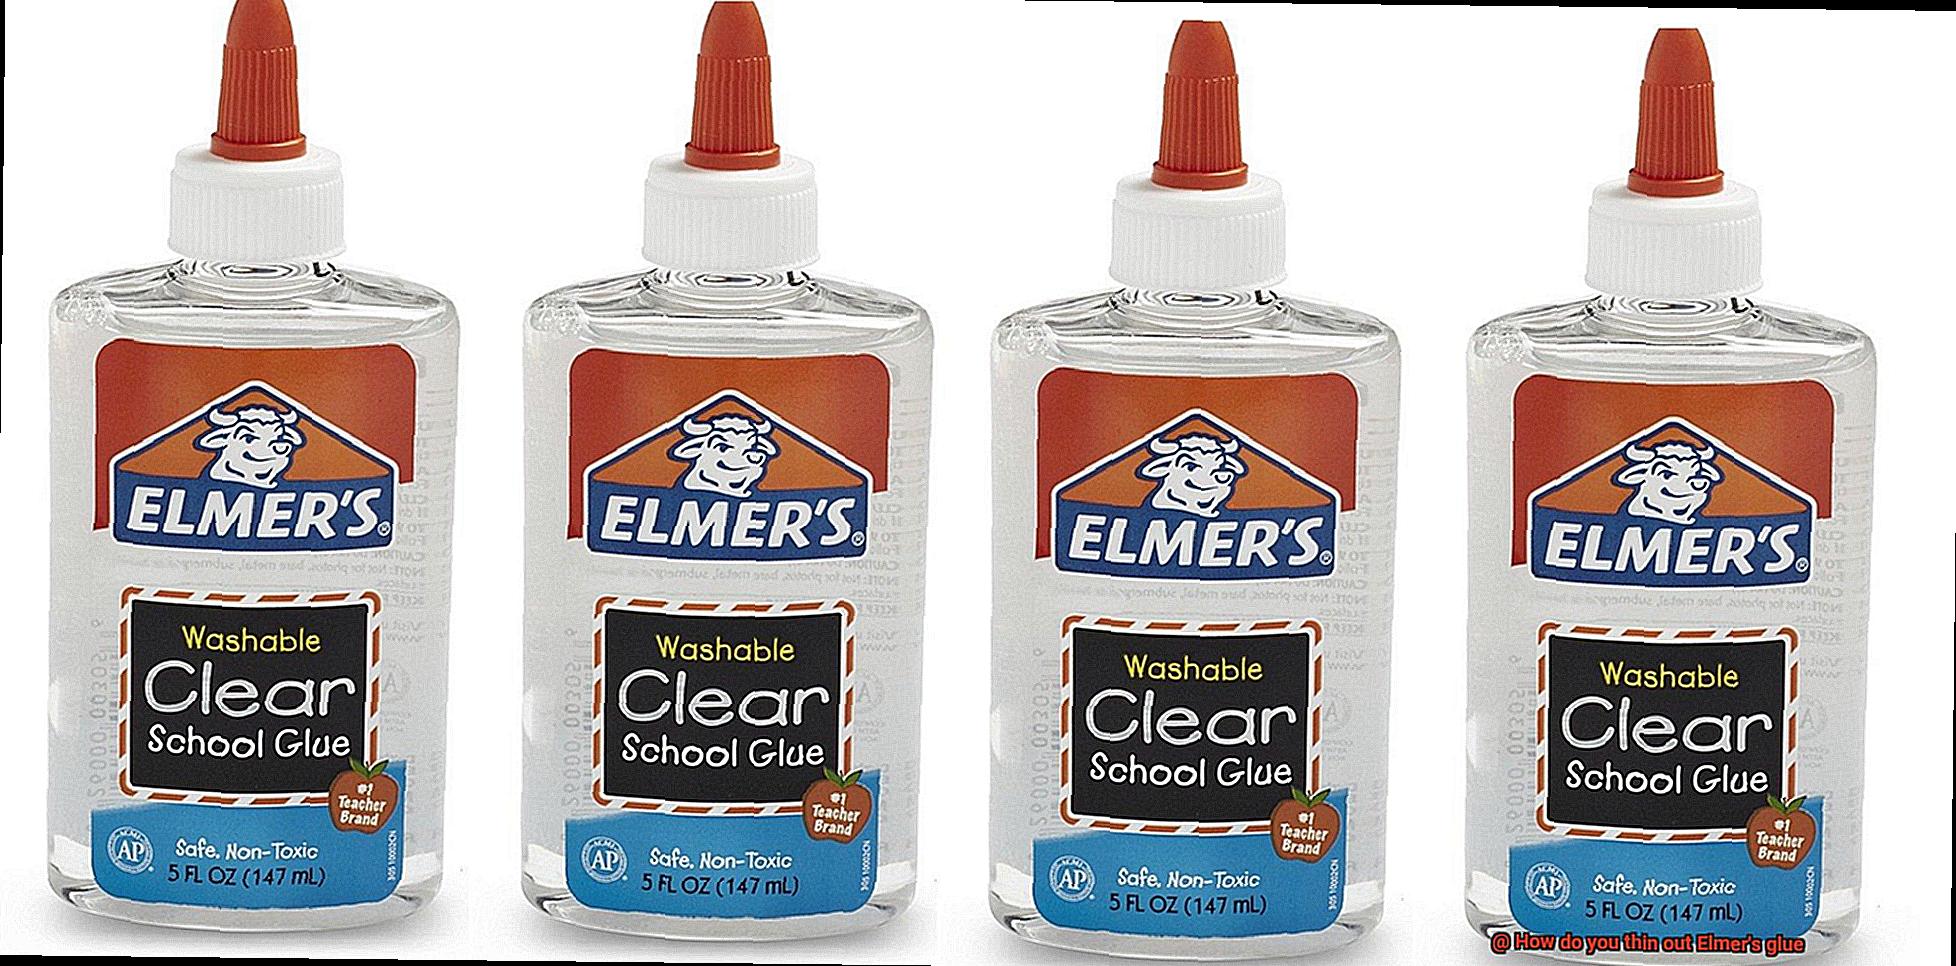
Clear Glue
Clear glue is a transparent adhesive that dries clear and glossy. It is perfect for use in slime making and other crafts that require a clear finish. This water-based adhesive is available in both liquid and gel forms.
When thinning out clear glue, do not use water. Instead, use rubbing alcohol to dilute it. Add small amounts of rubbing alcohol while stirring until you achieve the desired consistency.
Carpenter’s Wood Glue
Elmer’s Carpenter’s Wood Glue is specially designed for woodworking projects. This strong adhesive bonds wood together and dries clear. Once dry, it can be sanded or painted over.
To thin out Carpenter’s Wood Glue, use water to dilute it. However, be cautious not to add too much water as it can affect its bonding strength.
Glitter Glue
Elmer’s glitter glue adds some sparkle to your projects. It has a slightly thinner consistency than white glue and comes in a variety of colors. This adhesive is great for art projects, scrapbooking, and card making.
To thin out glitter glue, add small amounts of water while stirring until you achieve the desired consistency.
In conclusion, understanding the different types of Elmer’s glue available can help you choose the right product for your project. Whether you need white glue for paper crafts or Carpenter’s Wood Glue for woodworking, there is an Elmer’s glue product that will suit your needs.
Thinning Out White and School Glue
Then it’s time to learn how to thin out white or school glue like a pro.
Thinning out glue is a common practice in the crafting world. Not only does it make the glue easier to apply with a brush or spreader, but it also helps prevent clumping and uneven application. Luckily, there are several methods for thinning out white or school glue, each with its own unique benefits.
The first and most straightforward method is using water. Mixing one part water with one part glue is a good rule of thumb, but the proportions can vary depending on the thickness of the glue and the desired consistency. Mixing thoroughly is essential to ensure the glue doesn’t become lumpy or uneven.
If you’re looking for an alternative to water, rubbing alcohol is another option. It should be used in smaller proportions than water, with a good ratio being one part rubbing alcohol to two parts glue. However, be cautious not to use too much alcohol as it can break down the glue and reduce its adhesive properties.
Surprisingly, vinegar can also be used to thin out white or school glue. It should be used in even smaller proportions than rubbing alcohol, with a good ratio being one part vinegar to four parts glue. As with rubbing alcohol, it’s essential not to use too much vinegar as it can cause the glue to lose its effectiveness.
Whichever method you choose, it’s crucial to mix the ingredients thoroughly until they are well combined. Moreover, testing the consistency of the glue before applying it to your project is highly recommended as different projects may require different levels of thickness or thinness.
Thinning Out Clear and Glitter Glue
There are several methods you can try to thin it out and make your crafting projects a success.
The easiest and most accessible method is to add water. However, be sure to add it slowly and mix well. Too much water can cause the glue to become too thin and runny, ruining your project. So, start with just a few drops at a time until you achieve the desired consistency.
Rubbing alcohol is another great option if you want to avoid adding too much water. It’s also useful if you’re dealing with stubborn clumps of glue that won’t budge. Add a small amount of rubbing alcohol to the glue and mix well until you get the desired consistency.
If you need to thin out a large amount of glue, consider using paint thinner or mineral spirits. This method should only be used for clear glue as using solvents on colored or glitter glue can cause discoloration or fading. Always read the label and follow safety precautions when using solvents.
It’s important to remember that thinning out Elmer’s glue can affect its bonding properties. Too much thinning can cause it to lose its ability to stick properly. So, always test a small area before using thinned-out glue on a larger project.
Other Substances for Thinning Out Elmer’s Glue
There are several substances that you can use to thin out Elmer’s glue, and I’m here to guide you through each one.
First on the list is vinegar. This household staple is an effective substance for thinning out Elmer’s glue. Its acid-based nature reacts with the polyvinyl acetate (PVA) in the glue, breaking it down and making it more fluid. Simply add a small amount of vinegar to the glue and mix well until you achieve the desired consistency.
Next up is rubbing alcohol. This solvent helps dissolve the PVA in the glue, making it thinner and easier to work with. Add a small amount of alcohol to the glue and mix well until you achieve the desired consistency.
If vinegar or rubbing alcohol is not available, you can also try using mineral spirits or acetone to thin out Elmer’s glue. However, use these stronger solvents with caution. Always wear gloves and work in a well-ventilated area when using them.
It’s important to keep in mind that while these substances can help thin out Elmer’s glue, they may also affect its bonding strength. To avoid any mishaps, always test the thinned-out glue on a small area before using it on your project.
Tips to Remember When Thinning Out Elmer’s Glue
Elmer’s glue is a versatile adhesive that can be used for a myriad of projects. However, sometimes the consistency of the glue may not be suitable for certain applications. In such cases, thinning out the glue can help achieve the desired results. Here are some tips to keep in mind when thinning out Elmer’s glue.
Choose the right solvent
The solvent you choose will depend on the type of Elmer’s glue you are working with. While water is the most commonly used solvent, it may not be suitable for all types of glue. For instance, if you are working with wood glue, you may want to consider using denatured alcohol as a solvent instead of water. This is because it can help the glue bond better with wood surfaces.
Add the solvent gradually
Adding too much solvent can make the glue too runny and impact its effectiveness. To avoid this, add the solvent slowly and gradually. This will help you achieve the desired consistency without making the glue too watery. It’s also important to mix the solvent and glue thoroughly using a stir stick or a brush to ensure that they are well combined.
Use distilled water
Tap water may contain impurities that can affect the quality of the glue. To ensure that your mixture is pure and consistent, it’s important to use distilled water instead of tap water.
Test before using
Before using the thinned-out glue on your project, it’s important to test it on a scrap piece of material first. This will help you determine whether the glue has the right consistency and strength for your project. Applying a small amount of the glue on a scrap piece of material and allowing it to dry completely is an effective way to test it.
Experiment with ratios
Finding the right ratio of glue to solvent can take some trial and error, especially if you are looking to use thinned-out Elmer’s glue for specific applications such as decoupage or collage work. However, by starting with small amounts and mixing thoroughly, you should be able to find the right ratio that works best for your needs.
Benefits of Thinned-Out Elmer’s Glue
As an expert in this field, I can attest to the numerous benefits of using thinned-out glue in your creative endeavors.
One of the most significant advantages of thinned-out Elmer’s glue is its ease of application. The thinner consistency makes it a game-changer when it comes to intricate or detailed work, ensuring that every nook and cranny is covered with ease.
But that’s not all – thinned-out Elmer’s glue also dries faster than normal glue, which is a major time-saver when working on multiple projects. And the best part? Its thin consistency means that it dries clear, making it perfect for those transparent or translucent projects like stained glass or window clings.
But the benefits don’t stop there. Thinned-out Elmer’s glue can also be used as a sealant or protective coating for various materials like paper, fabric, or cardboard. Its thin consistency allows the glue to penetrate the surface more deeply, creating a stronger bond and increasing durability.
And if you’re looking for a way to add unique textures and effects to your projects, thinned-out Elmer’s glue can be mixed with other materials like paint, glitter, or dye. The versatility of this glue makes it a popular choice for various art and craft projects.
Common Mistakes to Avoid When Thinning Out Elmer’s Glue
It’s important to avoid common mistakes that can result in improper consistency and potentially waste your glue. Here are some tips to help you avoid these mistakes and achieve the perfect glue thickness for your project.
Firstly, adding too much water is the most common mistake people make when thinning out Elmer’s glue. Adding too much water can result in a runny mixture that is difficult to work with and can ruin your project. Instead, add water slowly and in small amounts, testing the consistency as you go until you reach your desired thickness.
Using hot water may seem like a good idea to speed up the process, but it can actually cause the glue to break down and lose its adhesive properties. Always use room temperature water when thinning out Elmer’s glue.
Another mistake to avoid is using too much glue in the first place. Starting with an excessive amount of glue will require more water to thin it out, making it difficult to achieve the right consistency without making the glue too runny.
When mixing the glue and water together, make sure to stir thoroughly. Not stirring enough can result in clumps of undiluted glue that can ruin your project. So, take your time and stir well.
Lastly, while some people try to enhance the properties of Elmer’s glue by adding vinegar or borax, this can alter the consistency of the glue and make it difficult to achieve the desired thickness. Only add other ingredients if you are confident that they will work for your specific project.
Also Read: Will Elmer’s glue dissolve in water?
Conclusion
Crafting enthusiasts, both novice and experienced, know that the key to a successful project lies in the details. One such detail is achieving the perfect consistency of Elmer’s glue – an essential skill for any crafter. The first step is understanding the different types of Elmer’s glue available and their individual uses. Once you’ve selected the right product for your needs, it’s time to thin it out.
Fortunately, thinning out glue is a common practice in crafting circles, and there are several methods to achieve this. From water to vinegar, rubbing alcohol or other solvents – each method has its own unique benefits. However, it’s important to mix thoroughly and test before using on your project.
The advantages of thinned-out Elmer’s glue are numerous: easier application, faster drying time and increased durability. It can also be used as a sealant or protective coating on various materials and mixed with other materials like paint or glitter for unique textures and effects. But beware of common mistakes such as adding too much water or not stirring enough.
By following these tips and tricks, you’ll soon become an expert at thinning out Elmer’s glue with ease every time.