Got a masterpiece ready to grace your bathroom or kitchen, but not sure how to stick it securely to ceramic tile? Fear not. We’ve got the inside scoop on nailing the adhesive game for tile décor. With a few handy tips and some know-how, you’ll have your artwork hanging strong in no time.
First things first, give that tile surface a good scrub. Say goodbye to dirt, grime, and residue by using a mild detergent and warm water. Once it’s squeaky clean, make sure to let it dry completely before diving into the adhesive process.
Now, let’s talk sticky stuff. For lightweight items like towel hooks or small decor pieces, double-sided adhesive strips are your best bet. These little wonders provide solid adhesion while allowing for easy removal without leaving a trace behind. Just make sure you pick high-quality strips specifically designed for tile surfaces.
If you’ve got something heavier in mind, like shelves or mirrors, consider going heavy-duty with silicone-based construction adhesives or epoxy glues. These bad boys mean business when it comes to bonding power and will keep your treasures hanging tight for the long haul. Keep in mind that these options are more permanent, so plan their placement carefully before committing.
To ensure top-notch adhesion, always follow the instructions provided by the adhesive manufacturer. Whether you’re applying it directly onto the tile or onto the item itself, stick to their guidelines like glue (pun intended). And don’t forget about curing time. Different adhesives require different amounts of time to set properly.
Here’s a pro tip: lend your adhesive some extra support during its setting stage. Grab some painter’s tape to hold your item in place or use a temporary wedge as backup until that glue is rock solid.
Last but not least, be patient. Give that adhesive ample time to cure before putting any weight or stress on it. Rushing this step could spell disaster, leading to potential damage or detachment.
In a nutshell, sticking something securely to ceramic tile is all about preparation, the right adhesive choice, and following proper techniques. With these tricks up your sleeve, you’ll be decorating those tile surfaces like a pro. Happy sticking.
Choosing the Right Adhesive
Contents
When it comes to sticking something to ceramic tile, selecting the right adhesive is crucial for a strong and durable bond. With a wide range of adhesives available on the market, it can be overwhelming to choose the perfect one for your specific project.
In this guide, we will explore the key factors to consider when selecting an adhesive, along with some popular options that are commonly used for ceramic tile applications.
Factors to Consider:
Purpose and Surface:
Consider the purpose of the bond and the surface you are working with. Is it a delicate decorative item or a more substantial object? The weight and size of the item will determine the type of adhesive required. Additionally, take into account whether the ceramic tile is glazed or unglazed as this can affect the bonding process.
Waterproof and Heat Resistance:
Depending on the location of your ceramic tiles, you may need an adhesive that is waterproof and heat resistant. If you are attaching something in a bathroom or near a kitchen stove where it will be exposed to moisture or high temperatures, ensure that the adhesive can withstand these challenging conditions.
Adhesive Types:
There are several types of adhesives suitable for ceramic tile applications. Here are a few commonly used ones:
- Epoxy Adhesives: Renowned for their strength and durability, epoxy adhesives are ideal for heavy-duty applications. They require mixing before application and provide excellent bonding on various materials.
- Construction Adhesives: Designed specifically for construction projects, these adhesives offer formidable bonding properties. They can be applied directly onto the ceramic tile using a caulking gun or putty knife.
- Silicone Adhesives: Known for their flexibility and versatility, silicone adhesives are suitable for bonding objects that require some movement or expansion.
Adhesive Application:
Follow the manufacturer’s instructions for proper application. Thoroughly clean the ceramic tile surface before applying the adhesive to ensure there are no contaminants that could hinder the bond. Apply the adhesive evenly and avoid using excessive amounts, as this can lead to messy results.
Drying and Curing Time:
Different adhesives have varying drying and curing times. Allow sufficient time for the adhesive to dry and cure properly before subjecting it to any stress or load. This will ensure a strong bond and prevent the object from detaching from the ceramic tile.
Epoxy Adhesive
When it comes to sticking objects to ceramic tile, you need an adhesive that can withstand the test of time. Enter epoxy adhesive – a remarkable two-part bonding marvel that offers both strength and durability. In this comprehensive guide, we will delve into the fascinating world of epoxy adhesive, exploring its properties, applications, and step-by-step instructions for successful usage. So let’s dive into the enchanting realm of epoxy adhesive and unlock the secrets of creating an unbreakable bond.
Properties of Epoxy Adhesive:
Epoxy adhesive is a versatile and high-performance bonding agent that consists of two components: resin and hardener. When these parts are combined in the correct proportions, they undergo a chemical reaction that transforms them into an incredibly strong and durable adhesive. Here are some key properties of epoxy adhesive:
- Superior Bonding Strength: Epoxy adhesive forms an exceptional bond that can withstand heavy loads and resist shear forces. It surpasses other adhesives in terms of its ability to bond to a wide range of materials, including ceramics, glass, metals, and plastics.
- Chemical Resistance: Epoxy adhesive exhibits excellent resistance to chemicals, making it suitable for applications where exposure to harsh substances is expected.
- Temperature Tolerance: Epoxy adhesive can withstand extreme temperatures, ranging from freezing cold to scorching heat. This makes it ideal for both indoor and outdoor use.
Applications of Epoxy Adhesive:
The versatility of epoxy adhesive makes it an invaluable tool in various industries and everyday applications. Here are some common uses:
- Construction and Renovation: Epoxy adhesive is widely employed in construction projects for bonding ceramic tiles, stone countertops, and decorative elements. Its ability to adhere to non-porous surfaces like glass and metal makes it an excellent choice for fixing hooks, towel racks, and other fixtures.
- Automotive and Aerospace: Epoxy adhesive plays a crucial role in vehicle and aircraft manufacturing, bonding composite materials, metal components, and electrical systems.
- Electronics: The electronics industry relies on epoxy adhesive for encapsulating and protecting delicate electronic components, ensuring their longevity and stability.
Step-by-Step Usage Guide:
To achieve optimal results with epoxy adhesive, proper preparation and application techniques are essential. Here is a step-by-step guide:
- Surface Preparation: Thoroughly clean the ceramic tile using a mild detergent and water solution, ensuring it is free from dirt, dust, or grease. Dry the surface completely to create an ideal canvas for the adhesive masterpiece.
- Mixing the Components: Follow the manufacturer’s instructions to mix the epoxy adhesive components. Squeeze equal amounts of resin and hardener onto a disposable surface, then use a small stick or brush to blend them thoroughly. Take your time to ensure a homogenous mixture.
Construction Adhesive
If you’ve ever marveled at the magic behind securely bonding ceramic tile, you’ve arrived at the perfect destination. In this enlightening blog post, we will unravel the mysteries of construction adhesive, equipping you with the essential steps for achieving an unyielding and resilient bond. So, brace yourself for a journey into the world of construction adhesive.
Step 1: Selecting the Perfect Construction Adhesive:
Not all construction adhesives are created equal, especially when it comes to ceramic tile. Seek out an adhesive that dances harmoniously with ceramic tile bonding. This ensures optimal adhesion while safeguarding your precious tiles from any potential harm.
Step 2: Test Before You Trust:
Before committing to a full-scale operation, conduct a small test application on an inconspicuous area of your ceramic tile. This allows you to scrutinize any adverse reactions like discoloration or damage. Better safe than sorry, they say.
Step 3: Prepping Your Surface:
Cleanliness reigns supreme. Purify the ceramic tile surface thoroughly using a mild detergent and warm water. Bid farewell to any dirt, grease, or debris that may undermine the adhesive’s efficacy. Rinse liberally and ensure the surface basks in complete dryness before proceeding.
Step 4: Precision Application:
Apply the construction adhesive with surgical precision—a thin, even layer on the back of your object or directly onto the ceramic tile surface. Pay homage to the manufacturer’s instructions regarding the recommended amount and technique for application.
Step 5: Allow Time for Curing:
Patience becomes your greatest ally. Grant the adhesive ample time to dry fully before exposing it to any pressure or weight. This fosters a robust bond while thwarting any unwelcome mishaps. Follow the manufacturer’s prescribed drying time for a guaranteed masterpiece.
Step 6: Revel in Your Bonded Triumph:
You have triumphed over the art of using construction adhesive on ceramic tile. Now, you can boldly showcase your bonded masterpiece without the nagging fear of it loosening or disintegrating.
Double-Sided Tape
Prepare to embark on a captivating journey as we unveil the steps to achieving a seamless, professional bond that will leave your creations securely adhered to ceramic surfaces.
Step 1: The Right Tape for the Job
Just as a magician carefully selects their tools, choosing the appropriate double-sided tape is crucial. Look for tape specifically designed for smooth surfaces, such as ceramic tile. Seek out labels that mention “smooth surface” or “ceramic tile” compatibility, ensuring optimal adhesion and a flawless finish.
Step 2: Cleanse and Prepare for Success
Before any magic trick, preparation is key. Cleanse your ceramic tile surface with mild detergent and warm water, banishing any dirt, dust, or debris that may interfere with the tape’s adhesive properties. Allow the surface to dry completely before proceeding, setting the stage for a perfect bond.
Step 3: Measure with Precision
Like a master illusionist, precision is paramount. Measure the required length of double-sided tape and cut it accordingly. Remember, it’s better to have too much than too little; an extra inch may be just what you need to achieve perfection.
Step 4: Unveiling the Hidden Adhesive Power
Peel off one side of the protective backing from the double-sided tape, exposing its hidden adhesive power. With careful precision, press this exposed adhesive side onto the back of the item you wish to stick. Apply even pressure across every inch of adhesive contact for a secure bond that defies gravity.
Step 5: The Final Act of Enchantment
The climax is here. Peel off the remaining protective backing from the other side of the tape, revealing its second adhesive surface. With steady hands and unwavering focus, position your item with the attached tape onto the ceramic tile surface exactly where you desire it. Apply firm pressure across the entire surface, activating the magical bond between tape and tile.
You now possess the secrets to harnessing the power of double-sided tape on ceramic tile.
With careful preparation, precise measurements, and a touch of firm pressure, you can achieve a strong, reliable bond that will leave your creations securely adhered to ceramic surfaces.
Remember, this trick is best suited for lightweight or temporary applications. For heavier or long-term adherence needs, consider alternative adhesive options like epoxy or construction adhesive.
Surface Preparation
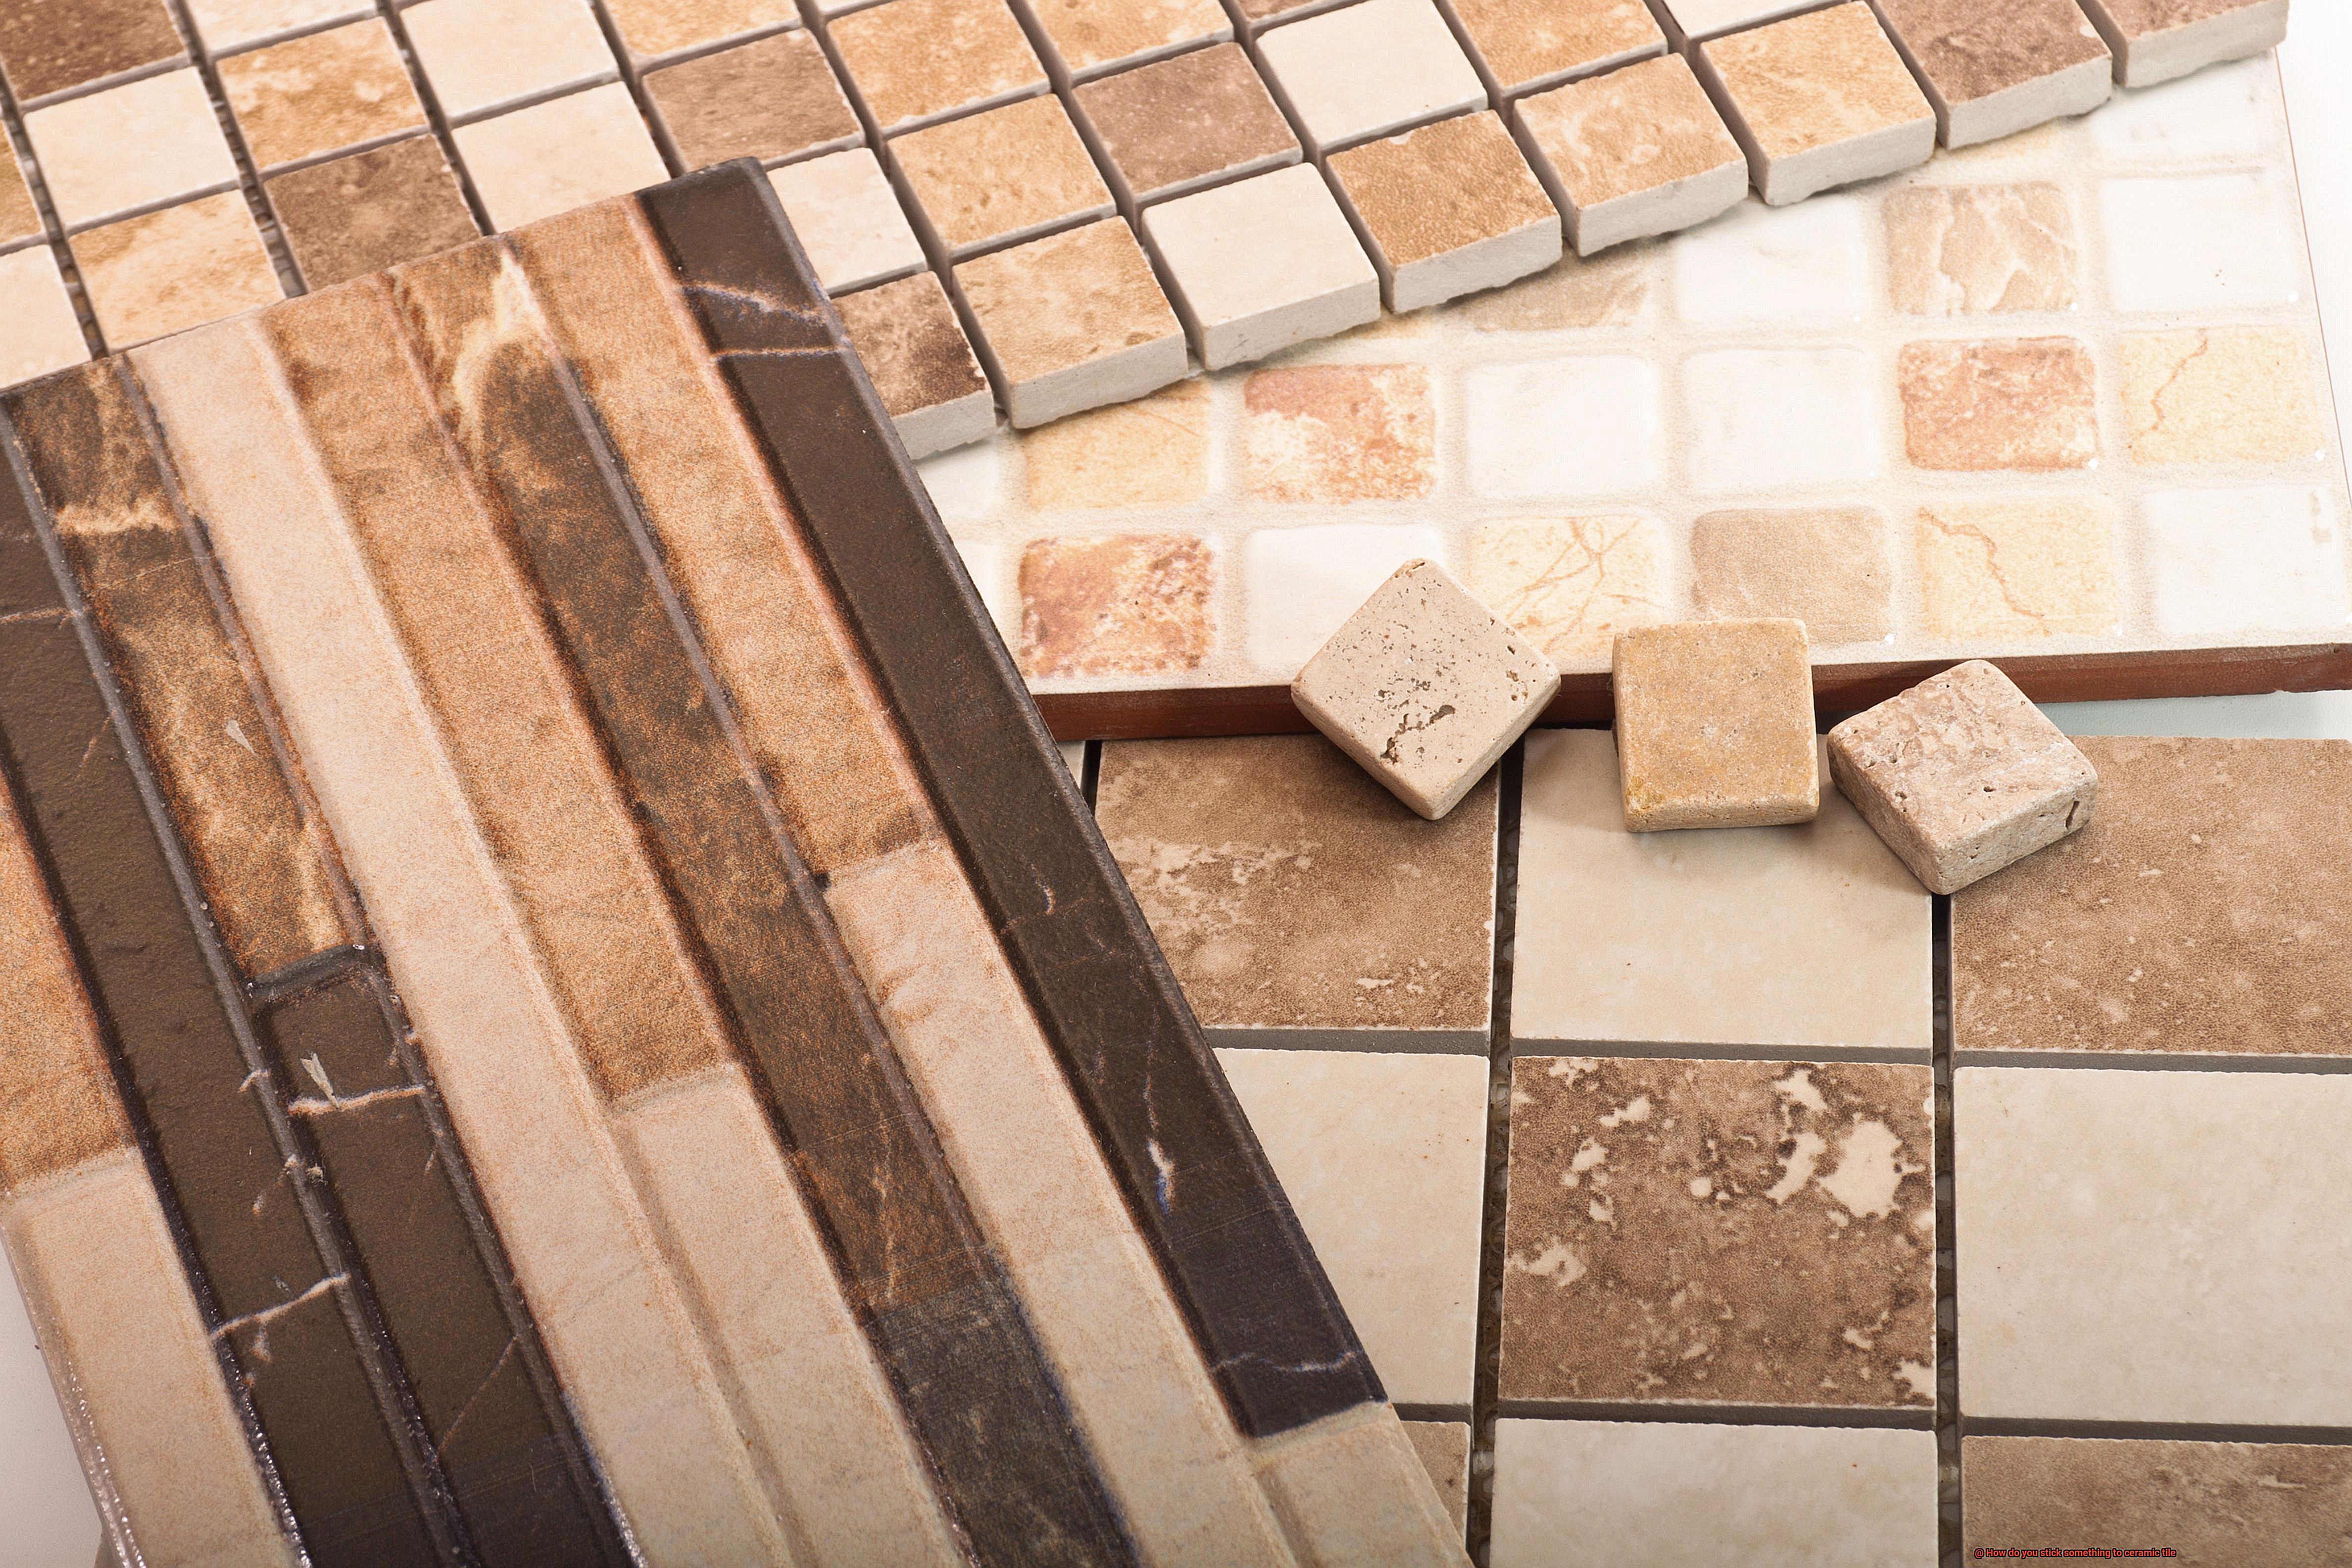
Today, we will unveil the importance of proper surface preparation when attempting to adhere something to this beautiful yet sometimes challenging surface. So grab your tools (or in this case, cleaning supplies), and let us embark on this captivating journey.
Cleanliness is Key:
The first secret to a successful bond is cleanliness. Before even considering applying any adhesive, ensure that your ceramic tile is squeaky clean. Dirt, dust, or grease can act as sneaky villains, sabotaging the adhesive’s ability to bond effectively. Arm yourself with a mild detergent or non-abrasive cleaner suitable for ceramic surfaces and give that tile a thorough scrub.
Dry it Up:
Now that your tile is sparkling clean, banish any lingering moisture. Remember, moisture is the arch-nemesis of adhesion. Grab a clean cloth or towel and wipe away any excess water. Allow ample time for the tile to dry completely before moving on to the next step.
Roughen the Surface:
Ah, the secret behind every successful bond – texture. Ceramic tiles often boast a smooth and glossy finish that makes it challenging for adhesives to work their magic. Fear not. Employ some fine-grit sandpaper and gently sand the surface. This trick creates a rougher texture that enhances adhesion without damaging your precious tile. A gentle touch is all you need for this enchanting act.
Enter the Bonding Primer:
For an extra touch of sorcery, consider using a bonding primer on your ceramic tiles before applying adhesive. This special elixir strengthens the bond between the tile and the adhesive, ensuring a secure attachment that will withstand the test of time. Simply follow the primer manufacturer’s instructions, and you will be on your way to achieving a bond that even Houdini would envy.
Special Tiles, Special Treatments:
Remember, not all ceramic tiles are created equal. Some may require specialized surface preparation techniques for optimal adhesion. For instance, glazed ceramic tiles may need a little etching or roughening of the glaze layer before applying adhesive. Consult the manufacturer’s guidelines or seek professional advice to uncover the perfect trick for your specific type of ceramic tile.
Weight and Size of Object
In the realm of sticking objects to ceramic tiles, a seemingly simple task holds within it a world of intricacies. The weight and size of the object play a pivotal role in this magical act, demanding careful consideration when choosing the adhesive that possesses just the right enchanting properties.
In this article, we embark on a journey to explore the diverse types of adhesives available, delve into the realm of different weights and sizes of objects, and unlock the secrets to selecting the perfect adhesive for your ceramic tile project.
Types of Adhesives:
For lightweight objects like delicate decorations or lightweight frames, the realm of general-purpose adhesives offers an array of options. Strong double-sided tape or adhesive putty, with their convenience and user-friendly nature, work wonders. These magical creations require no mixing or drying time. However, they may prove inadequate for larger or weightier objects.
When it comes to heavyweights such as majestic mirrors, sturdy shelves, or grandiose frames, only the mightiest adhesives will suffice. Enter the realm of epoxy-based adhesives or construction adhesives, possessing extraordinary bonding powers capable of withstanding the mighty burdens placed upon them.
Considerations for Choosing the Right Adhesive:
- Cleanliness is Key: Before embarking on your adhesive adventure, ensure that the ceramic tile surface sparkles with pristine cleanliness. Rid it of all dust, dirt, or grease that could jeopardize the bond between tile and adhesive. Unleash mild detergent and water as your trusted allies, followed by thorough drying to ensure a surface ready for enchantment.
- Application Techniques: As you venture forth into this magical realm, heed the instructions bestowed upon you by the adhesive manufacturer. Some adhesives demand a harmonious union of two components before application, while others stand ready to serve. Bestow even application upon both the ceramic tile and the object yearning to be attached.
- Firmly Press and Hold: Once the adhesive has been summoned, press the object firmly onto the ceramic tile and hold it captive for a few moments. This sacred act allows the adhesive to forge an unbreakable bond, ensuring its permanence in the annals of your project.
- Size Matters: If the object you seek to attach boasts a large surface area, embrace wisdom and apply the adhesive in small sections rather than all at once. This measured approach bestows upon you superior control, ensuring that each section adheres with utmost fidelity.
- Bridging the Gaps: When confronted with objects bearing uneven or textured surfaces, ponder the utilization of an adhesive endowed with gap-filling properties. This magical potion shall bridge any gaps or irregularities between object and ceramic tile, weaving a secure bond within every intricate crevice.
Mechanical Fasteners
Today, we are going to explore the tried and true method of mechanical fasteners. These little wonders, including screws, nails, bolts, or anchors, possess incredible power when it comes to securing objects onto ceramic tile surfaces.
So, grab your tool belt and let’s dive into the magical realm of mechanical fasteners.
Before you embark on your journey of drilling holes into the exquisite ceramic tiles, it is essential to locate the studs or support beams behind the tile surface. This critical step ensures a solid foundation for your fasteners and protects the tile from any potential damage.
You can use a stud finder or rely on your intuition by tapping on the tile surface, distinguishing between a hollow sound (indicating an empty space) and a solid sound (revealing a stud or beam).
Once you have successfully identified the studs or support beams, mark their locations with a pencil or tape for easy reference during installation. Now it’s time to create pilot holes. These humble openings act as guides for your fasteners and prevent any unfortunate cracking or breaking of the delicate ceramic tile.
Remember to use drill bits specifically designed for ceramic tile, such as diamond-tipped or carbide-tipped bits – they are your steadfast companions in this endeavor.
After diligently drilling the pilot holes, insert your chosen fasteners and tighten them securely. But be mindful not to go overboard with the tightening. Excessive force can lead to unsightly cracks or breakages in those exquisite tiles – and that is definitely not what we desire.
If you are attaching an object that demands multiple fasteners, ensure that they are evenly spaced and aligned for a balanced and secure installation. And here comes the final enchanting touch – give your attached object a gentle tug or shake to check if it is firmly in place. If it feels loose or unstable, tighten those fasteners a tad more or consider adding additional ones for that extra touch of support.
Now, it is important to mention that while mechanical fasteners are undoubtedly reliable, they may leave behind visible holes or marks on the tile surface. So, if aesthetics hold significance in your pursuit, you might want to explore alternative options, such as adhesives or mounting systems.
qrNu0g_zC74″ >
Conclusion
When it comes to sticking something to ceramic tile, there are a few tried and true methods that you can rely on.
Whether you’re looking to hang a picture frame or attach a hook, these tips will ensure your item stays securely in place. One popular option is using adhesive hooks or strips specifically designed for tile surfaces.
These handy tools provide a strong hold without damaging the tile. Another effective method is using epoxy or construction adhesive, which creates a durable bond between the item and the tile.
For smaller items, double-sided tape can do the trick, offering a temporary solution that can easily be removed when needed.

