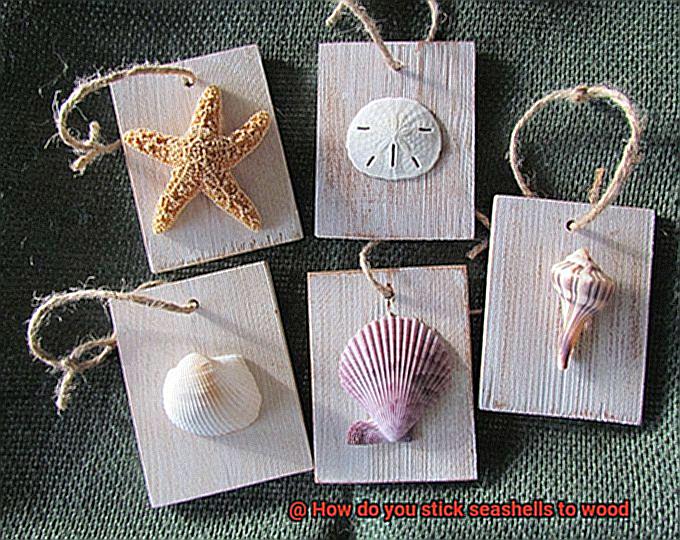
Ah, seashells – nature’s tiny masterpieces that never fail to mesmerize. Their intricate patterns, vibrant hues, and captivating textures have bewitched collectors for centuries. If you’re like me and have amassed a treasure trove of seashells from your beach escapades, it’s high time we bring their timeless allure into our homes. And what better way to showcase these oceanic gems than by sticking them to wood?
Whether you dream of crafting a one-of-a-kind wall display, sprucing up a picture frame, or adding pizzazz to a plain wooden tray with seashell art, mastering the art of secure adhesion is key. But fret not, my friend. I’ve got you covered with an all-encompassing guide on how to conquer this craft.
But before we dive in headfirst, let me pose a tantalizing question: How can we make the awe-inspiring essence of the ocean stick to seemingly incompatible wood? It’s a riddle that has intrigued creative souls throughout history.
In this blog post, we’ll unravel the secrets behind successful seashell adhesion to wood. Brace yourself for an array of ingenious techniques – think epoxy resin wizardry, hot glue sorcery, adhesive putty mastery, and even traditional methods involving drilling and wiring. Each approach comes with its own set of perks and considerations that we’ll explore together. By the end, you’ll be armed with the knowledge needed to choose the perfect method for your artistic vision.
Let’s embark on this thrilling journey through the realm of seashell artistry where science dances with beauty and craftsmanship meets innovation. Get ready to unlock secrets that will elevate your seashell collection beyond imagination – enchanting all who lay eyes upon it. So gather ’round fellow décor enthusiasts; let’s make waves with stunning seashell creations that blend the wonders of the ocean with the warmth of wooden artistry.
What You Need to Stick Seashells to Wood
Contents
Transforming seashells into stunning works of art or adding a touch of coastal charm to your home decor is made possible by sticking seashells to wood. However, achieving a secure and long-lasting bond between these two materials requires the right tools and techniques.
In this comprehensive guide, we will explore the essential materials you need and provide step-by-step instructions to successfully stick seashells to wood, unleashing your creativity in the process.
Materials Needed:
Strong Adhesive Options:
- Two-part epoxy adhesive: This versatile adhesive creates a durable bond suitable for porous wood and non-porous seashells. It withstands various weather conditions, including exposure to water and UV rays.
- Marine-grade glue: Specifically designed for outdoor use, this adhesive is water-resistant, humidity-resistant, and can endure sunlight exposure. Choose a marine-grade glue suitable for bonding porous materials like seashells and wood.
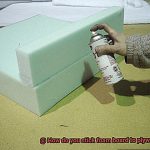
- Hot glue: While quick and easy to use, hot glue may not provide as strong of a bond as epoxy resin or marine-grade glue. Keep in mind that hot glue may not be as durable in extreme weather conditions or if exposed to moisture.
Cleaning Agents:
- Mild detergent and water solution: Use this solution to remove dirt, debris, and residue from seashells.
- Vinegar and water mixture: An effective cleaning agent for seashells.
Sandpaper:
- Fine-grit sandpaper: Use this to create a rough texture on the wood surface, ensuring better adhesion.
Mixing Container:
- Disposable mixing container: Essential for properly mixing the components of epoxy adhesive.
Applicators:
- Brush or spatula: Use this to apply a thin layer of adhesive onto the wood surface.
- Toothpick or small brush: Perfect for applying adhesive directly onto smaller seashells, ensuring precision.
Tweezers or Small Pliers:
- These tools will come in handy for holding and positioning seashells during the application process.
Sealant or Topcoat (optional):
- If desired, use a sealant or topcoat to enhance the appearance of seashells and provide an added layer of protection.
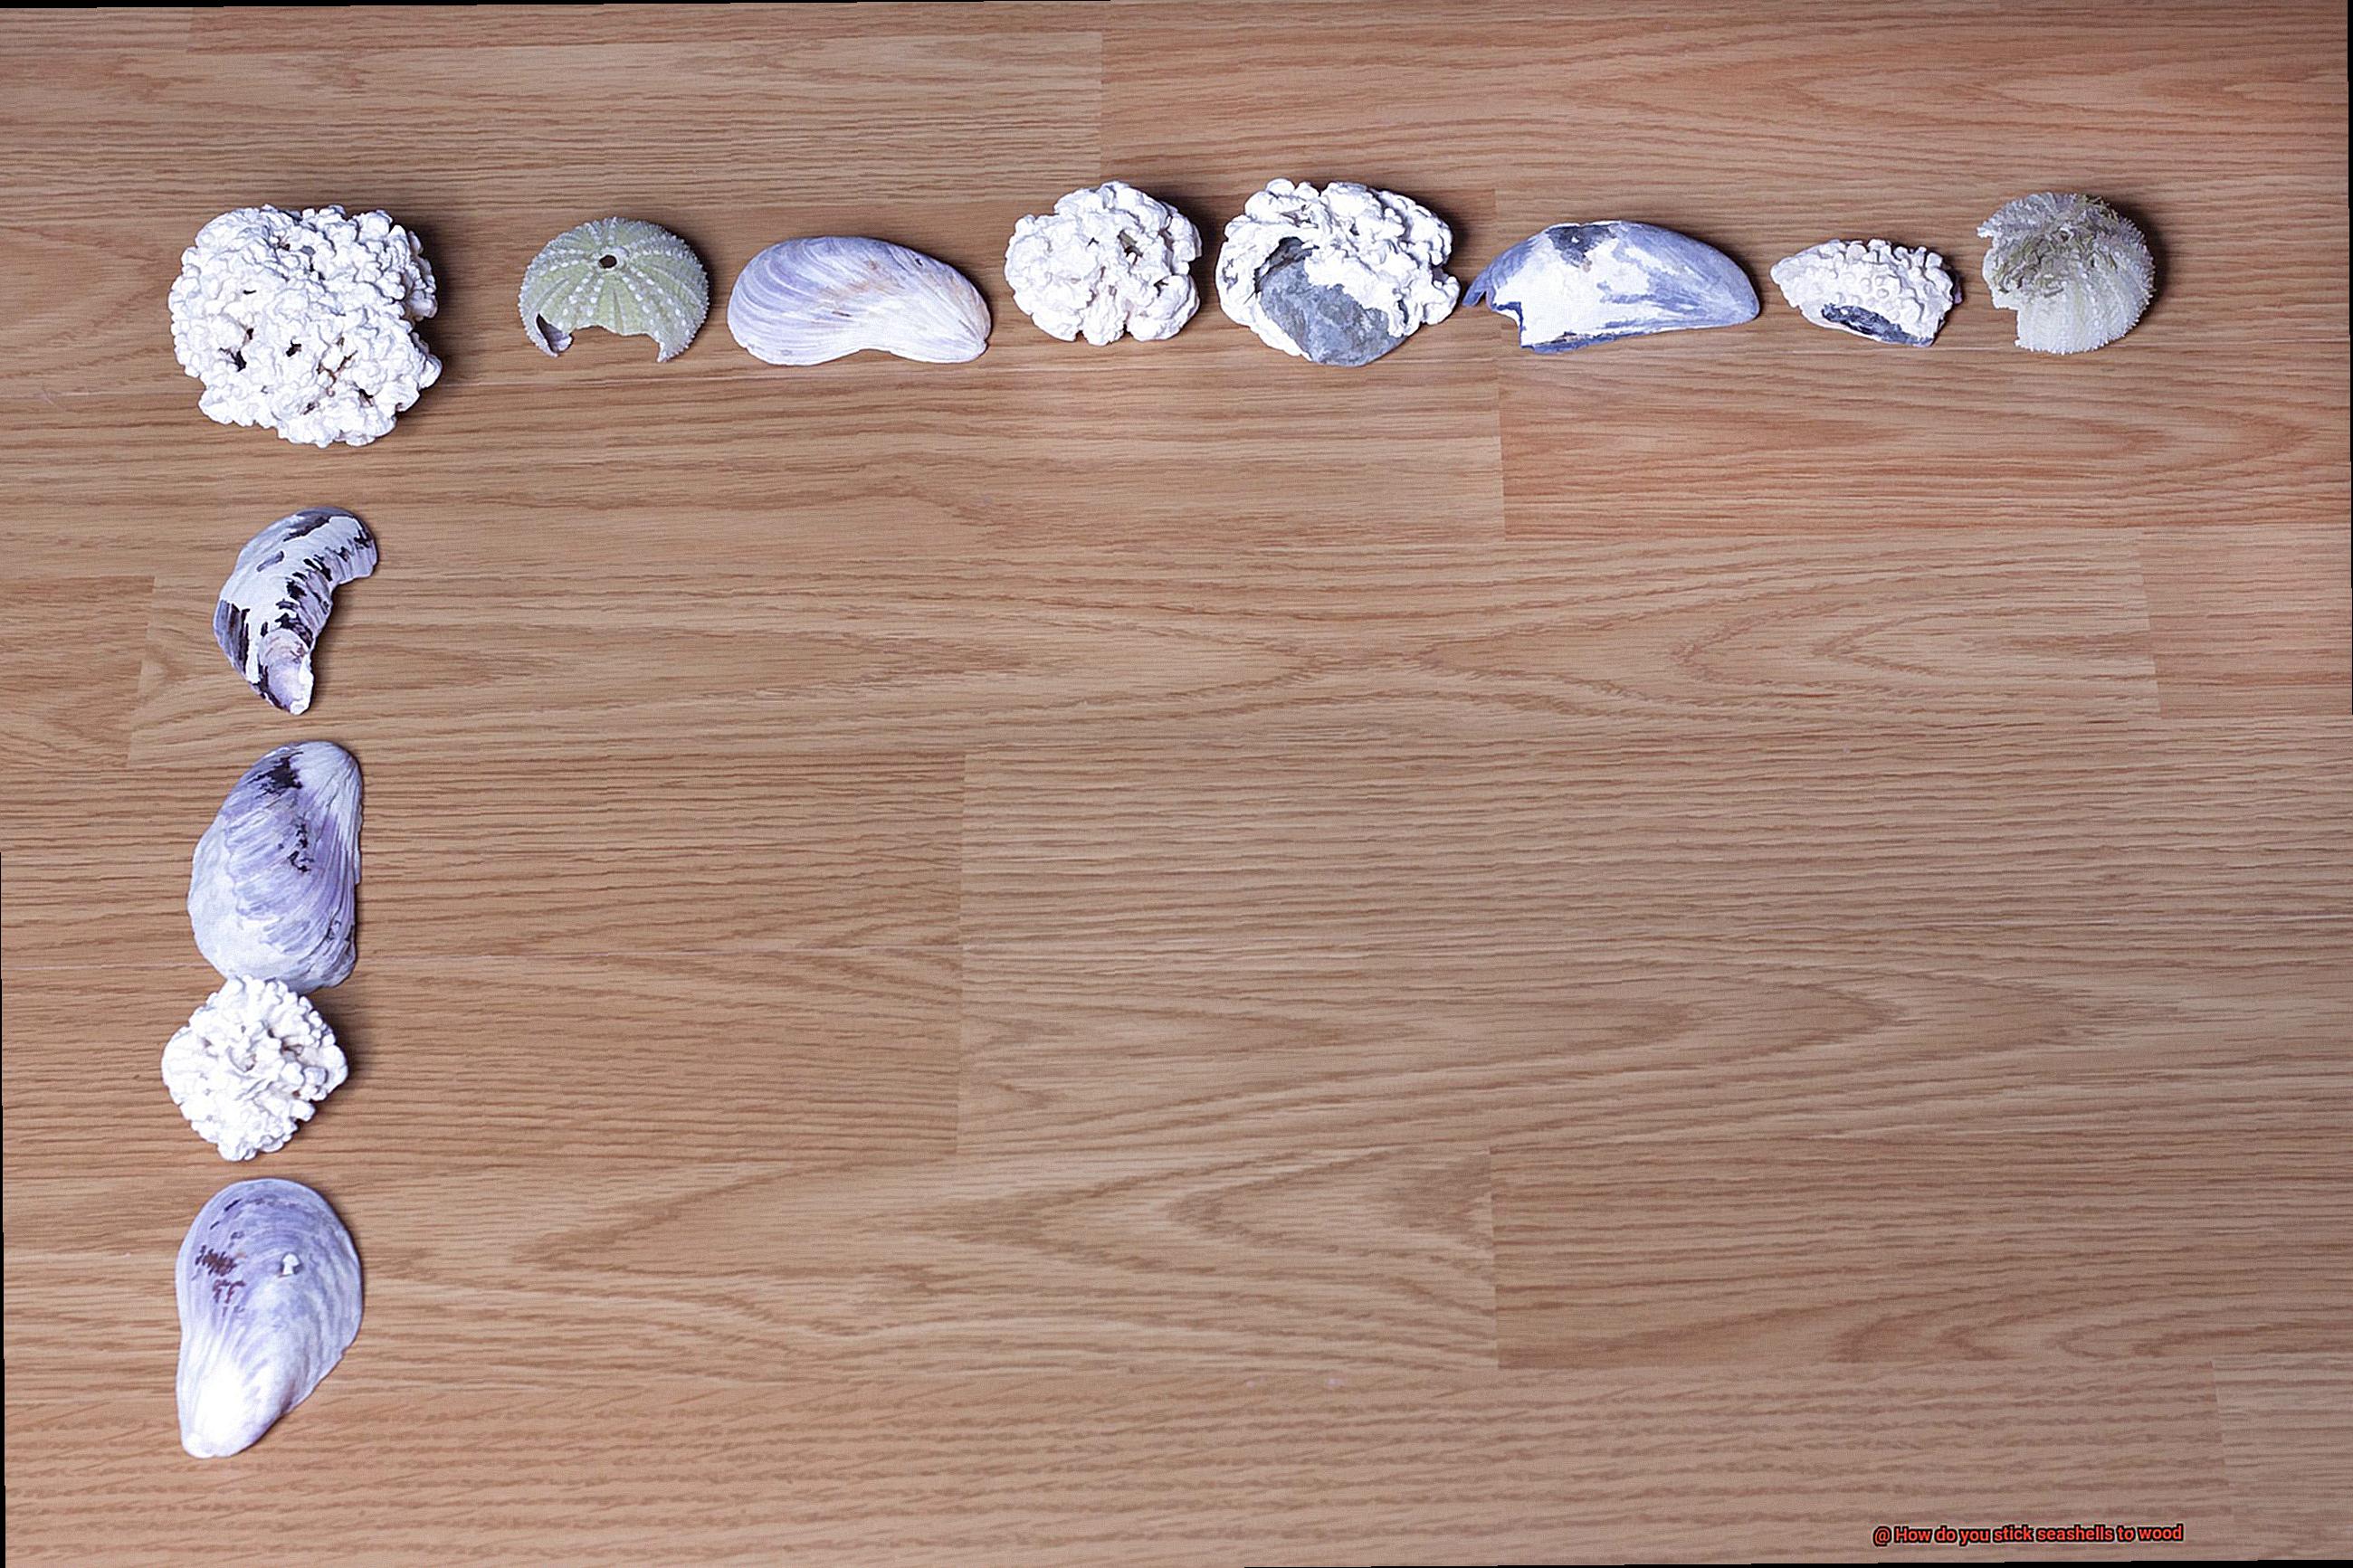
Preparing the Seashells
Get ready to discover the secrets to creating a strong and long-lasting bond between seashells and wood. Let’s dive in and explore the key steps to preparing seashells for attachment:
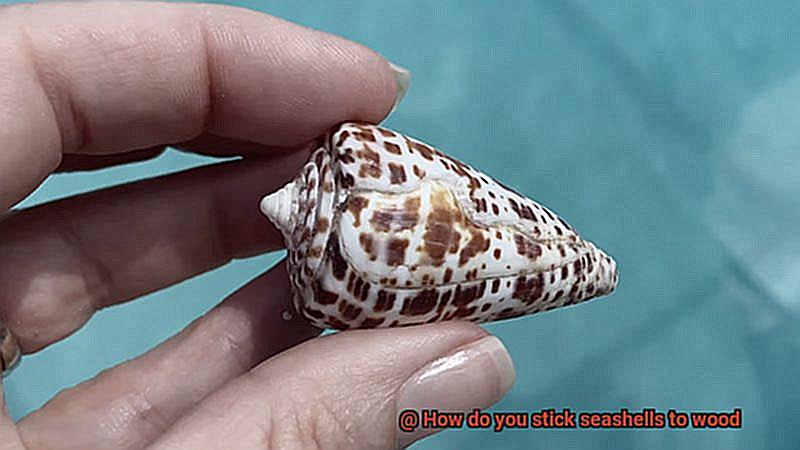
- Cleanse and Purify: Before sticking those seashells onto wood, it’s crucial to ensure they are spotless. Give them a thorough rinse under running water to eliminate any loose debris that may have hitched a ride from the beach. For those stubborn dirt spots, gently scrub the shells using a soft brush or toothbrush. Remember, we want to handle these delicate beauties with care, so avoid harsh chemicals or abrasive cleaners.
- Bid Farewell to Organic Matter: Sometimes, seashells cling onto remnants of marine life like algae or barnacles. To bid farewell to these uninvited guests, create a soothing soak by mixing water with mild dish soap. Allow the shells to luxuriate in this mixture for a few hours, letting it loosen up any organic matter. Then, give them another gentle scrub, using your trusty brush or toothbrush. Rinse them off with clean water and let them bask in the sun until completely dry.
- Illuminate with Bleaching (optional): Are you aiming for seashells that radiate brightness and uniformity? Then bleaching may be the key. Prepare a solution by combining equal parts water and hydrogen peroxide in a container. Submerge your shells in this magical concoction, allowing them to soak for several hours or even overnight if you desire an extra level of white brilliance. However, tread carefully, as prolonged exposure to bleach can weaken these delicate treasures. Rinse thoroughly with water after bleaching and ensure they are fully dry.
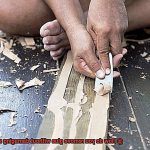
- Smooth It Out with Sanding (optional): For shells with rough or uneven surfaces, sanding is the secret ingredient to creating a smooth and adhesive-friendly exterior. Embrace the power of fine-grit sandpaper as you gently sand the shells, paying close attention to any rough edges or bumps. This step not only enhances the bond between the shell and wood but also elevates the overall appearance of your seashells. Once the sanding is complete, give them another round of cleaning to remove any dust or debris.
Preparing the Wood Surface
In our previous section, we plunged into the depths of seashell adhesion, discovering the secrets to creating a bond as unyielding as the ocean’s tide. Today, we embark on a new expedition as we uncover the pivotal steps for preparing the wood surface before attaching those exquisite seashells. So gather your sandpaper, and let’s dive headfirst into this captivating process.
Step 1: Cleanse the Wood
Step 2: Embrace the Sanding Ritual
Now that our wood is impeccably clean, it’s time to lavish it with some tender loving care through the art of sanding. Grab hold of your trusty sandpaper and begin crafting a rough texture on the wood surface. This textured canvas will serve as an inviting embrace for the adhesive, forging a robust bond that will endure the test of time. Always remember to glide your sandpaper in harmony with the wood grain to avoid any untoward mishaps.
Step 3: Part Ways with Existing Finishes
Visualize this step as an extraordinary transformation for your wood surface. If there’s any trace of paint or varnish adorning your magnificent piece, it’s time to bid adieu and unleash the power of heavy-duty tools like paint strippers or sandpaper. Our desired outcome is direct contact between seashells and the bare wood, allowing for a profound connection that highlights true beauty.
Applying Epoxy Adhesive
Immerse yourself in the captivating beauty of seashells, as they gracefully merge with a wooden canvas through the power of epoxy adhesive. As a seasoned expert in this craft, I am here to guide you through the intricacies of applying epoxy adhesive, ensuring your seashell masterpiece withstands the test of time.
Step 1: The Power of Purity
Embark on your artistic journey by embracing purity. Prepare the stage by delicately cleansing both seashells and wooden surface, using a soft cloth or mild detergent solution. Bid farewell to dirt, dust, and oil that may hinder the adhesive’s tenacity.
Step 2: Creating a Bond
Now, let’s embark on the quest for a formidable union. With sandpaper or a sanding block in hand, gently roughen the wooden surface. This subtle act empowers the epoxy adhesive to adhere with unwavering strength, forging an unbreakable bond between seashells and wood.
Step 3: Reverence for Instructions
Every masterpiece requires meticulous attention to detail. Familiarize yourself with the manufacturer’s instructions for your chosen epoxy adhesive; they hold the key to success. Mixing ratios and curing times vary, so let their wisdom guide you towards perfection.
Step 4: The Finesse of Application
Armed with your customized epoxy adhesive blend, let your artistic prowess shine. Utilize a small brush, toothpick, or wooden stick as your instrument, delicately spreading a thin and even layer of adhesive onto the prepared wood surface. This precision ensures an enchanting bond without any unsightly excesses.
Step 5: Artistry in Placement
Compose your symphony of seashells upon the adhesive-covered wood canvas. Each shell should be arranged meticulously to satisfy your artistic sensibilities. With utmost care, press each shell firmly into place, allowing your vision to take shape.
Step 6: Erasing Imperfections
Should any excess adhesive dare to escape the edges of your masterpiece, fear not. A clean cloth or paper towel is your trusty ally. Swiftly wipe away any surplus before it sets, leaving behind a pristine work of art.
Arranging and Securing Seashells
In this guide, we will delve into the mesmerizing process of arranging and securing seashells, allowing you to unleash your inner artist and create stunning masterpieces that capture the essence of the sea. Let’s embark on this artistic journey together and witness the magic unfold.
Designing Your Seashell Composition:
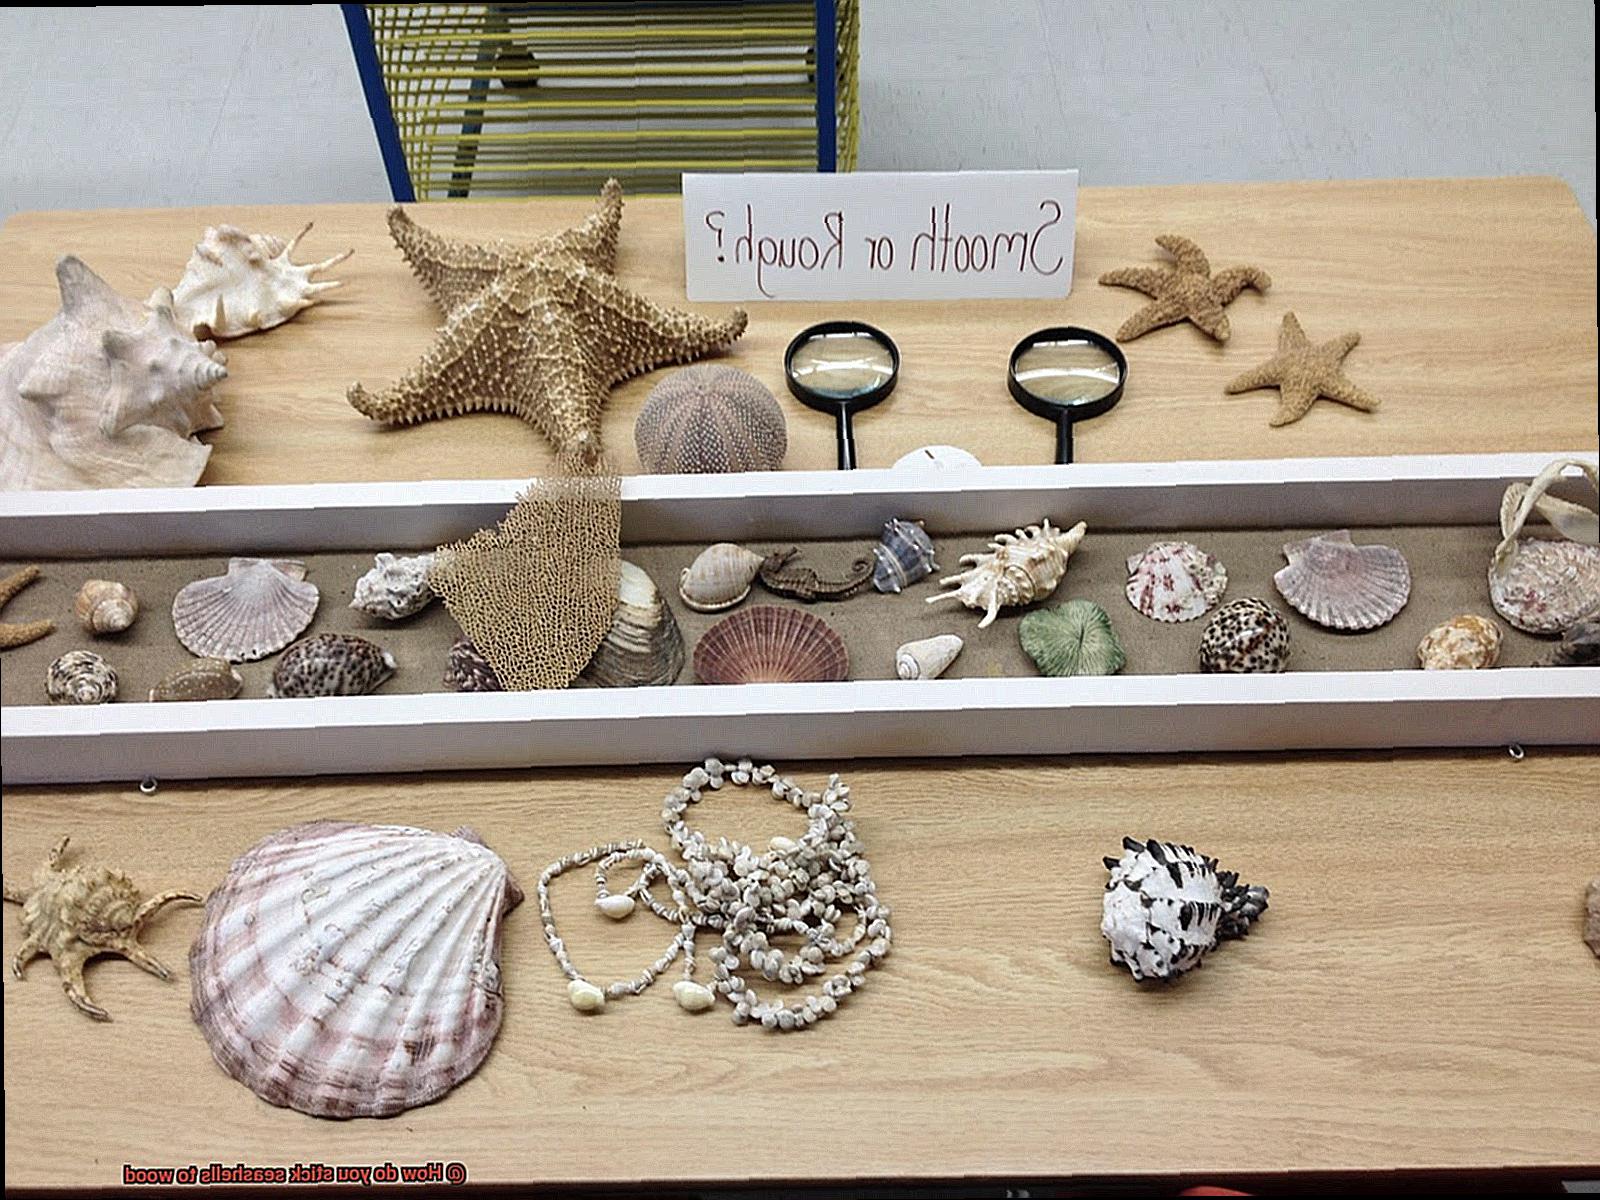
Before we dive into the realm of adhesive wonders, let’s pause and appreciate the art of composition. The arrangement of seashells is an art form in itself, where size, shape, and color dance harmoniously to create a visual symphony. Experiment with different layouts, letting your creativity flow until you find the perfect arrangement that speaks to your soul. Let each shell tell its own story while contributing to the grand narrative of your artwork.
Cleaning Your Shells:
Just as a painter prepares their canvas, we must ensure our shells are clean and ready for their artistic destiny. Begin by rinsing them with water, washing away any remnants of sand or debris. Then, immerse them in a gentle mixture of water and mild detergent, allowing them to soak for a few minutes. With a soft brush, delicately scrub away any lingering dirt or residue. Rinse once more and patiently wait for them to dry completely before proceeding.
Securing Your Shells with Adhesives:
Now comes the pivotal moment – securing your precious seashells onto the welcoming embrace of wood. Explore the adhesive wonders available to you, catering to your preference and the intended use of your masterpiece.
Epoxy Resin or Super Glue:
For those seeking an unbreakable bond that withstands the test of time, epoxy resin or super glue are your trusted companions. With careful precision, apply a small amount of adhesive to the back of each shell, pressing it onto the wood with intention and finesse. Allow the connection to solidify for a few seconds, ensuring an unyielding union. This method is perfect for permanent installations or pieces that may encounter the gentle caress of moisture.
Curing the Adhesive
As you embark on this artistic journey, let’s delve into the captivating process of curing the adhesive and creating a bond that will withstand the test of time.
The first step in this captivating process is selecting the perfect adhesive. With a plethora of options like epoxy resin, super glue, and hot glue at your fingertips, it’s essential to find the one that harmonizes with both your seashells and the wood surface. Each adhesive boasts its own unique curing time and requirements, so take the time to explore and discover your ideal match.
Now that you’ve found your adhesive soulmate, it’s time to prepare the wood canvas. Imagine it as a blank slate eagerly awaiting your artistic touch. Ensure its purity by banishing any dust, dirt, or grease that may hinder the bonding process. A clean and dry surface is the foundation for a bond that will stand strong.
With the stage set, it’s time to apply a whisper-thin layer of adhesive. Remember, less is more. Use a brush or applicator to gracefully spread the adhesive across the area where your seashells will dance. By employing this technique, you’ll prevent excess glue from escaping and marring the visual splendor.
Now comes the moment of magic – placing the seashells onto their glued habitat. Begin with larger shells, allowing them to take center stage. As your masterpiece unfolds, fill in any gaps with smaller shells, creating a symphony of shapes and sizes that will secure a bond beyond measure. Gently press each shell to ensure a seamless connection between adhesive and seashell. We wouldn’t want any wayward shells interrupting this dance of unity.
As you step back and admire your growing masterpiece, exercise a touch of patience. Allow ample time for the adhesive to cure completely – a transformation that varies depending on the adhesive you’ve chosen. Consult the manufacturer’s instructions for guidance, ensuring that no disturbances or movements compromise the bond’s strength and endurance.
Inspecting the Bond Strength
In the realm of artistic endeavors, few things are as captivating as the fusion of seashells and wood. A delicate dance that requires precision and endurance, it all hinges on one critical aspect: the bond strength. Today, we embark on a journey to unlock the mysteries surrounding inspecting the bond strength between seashells and wood. Let us don our detective hats and delve into the depths of this captivating inspection adventure.
The Power of Inspection:
Inspecting bond strength is not a mere ritual; it is an indispensable step to ensure the longevity and resilience of your seashell masterpiece. By evaluating the strength and security of the bond, you can rest assured that your seashells will remain firmly affixed, defying the forces of time.
The Simple Test:
Our inspection quest commences with a straightforward yet revealing test. Handpick a few seashells that have found their place on the wood surface and gently attempt to pry them off using either your nimble fingers or a small tool. If they yield easily or betray signs of frailty, it’s an undeniable sign that reinforcements are in order.
Stress Tests: Pushing Boundaries:
Now, let us push these seashells to their limits. Apply pressure from various angles and observe if they hold steadfastly in their designated spots. Employ a gentle tap with a small hammer (be cautious.) to ascertain if they maintain their position or dare to detach. These stress tests will unveil the true might of the bond, ensuring that your seashells stand resolute against external forces.
Long-Term Adhesion:
Our watchful eyes must not waver as we observe our seashells over time. Vigilantly scan for any telltale signs of peeling, cracking, or detachment. Rejoice in triumph if your seashells remain securely fastened, bearing no visible damage. This is the mark of a robust and unwavering bond.
Factors at Play:
Inspecting bond strength transcends mere testing; it encompasses a myriad of factors pivotal to its success. The adhesive at hand holds paramount importance, for each type possesses a unique strength and set of properties. Select an adhesive specifically formulated for the harmonious bonding of seashells and wood.
Additional Tips for Sticking Seashells to Wood
Embarking on a creative journey to bring the essence of the ocean into your living space is an exciting endeavor. Sticking seashells to wood allows you to craft stunning art pieces or unique decor items. In this article, we will delve deeper into additional tips that will elevate your seashell art by ensuring a secure bond between the delicate shells and the sturdy wood, resulting in timeless artwork.
Clean and Dry: The First Step towards Success
Preparing both the seashells and the wood surface is paramount to achieve a strong bond. The presence of dirt, sand, or moisture on the shells can hamper the effectiveness of the adhesive. Treat your seashells to a gentle bath using mild detergent and water or a solution of vinegar and water. Thoroughly rinse them and allow them to dry completely before proceeding.
Sanding for Enhanced Adhesion
Creating a textured surface on the wood can significantly improve adhesion. Let fine-grit sandpaper be your ally in this quest. Gracefully glide it across the wooden surface, imparting a gentle roughness that aids in better grip and a stronger bond. Once done, meticulously wipe away any residual dust or debris using a clean cloth.
Choose the Right Adhesive for Your Masterpiece
Not all adhesives are created equal when it comes to sticking seashells to wood. To ensure success, consider the size and weight of your seashells before selecting an adhesive. Epoxy resin or construction adhesive are perfect options for heavier shells or outdoor displays, while clear craft glue or hot glue are suitable for smaller shells. Tailor your choice based on the specific demands of your project.
Apply Adhesive with Precision
Exercising precision during the application stage is vital for creating a secure bond between seashells and wood. Opt for direct application of the adhesive onto the wood surface rather than the shells themselves. This technique grants you superior control and coverage. Employ a brush or spatula to achieve a thin, even layer of adhesive, ensuring that it encompasses the entire area where the seashells will be affixed. For smaller shells, employ a toothpick or small brush to apply adhesive directly onto each shell.

Press and Hold for an Enduring Connection
To establish a long-lasting bond, gently but firmly press each seashell into place after positioning it atop the adhesive. Take a moment to hold each shell securely in position, allowing the adhesive time to set. Clamps or heavy objects can be employed as allies, maintaining the seashells’ placement while the adhesive dries. Remember, patience is the key ingredient in this artistic process.
bs7vvVgC8WA” >
Conclusion
When it comes to sticking seashells to wood, there are a few methods you can try.
One option is using a strong adhesive like epoxy or hot glue. These adhesives provide a secure bond that will keep your seashells in place.
Another method is using a clear sealant or varnish to attach the shells. This not only sticks them to the wood but also adds a protective layer.
Additionally, you can use small nails or screws to secure the shells if they have holes or gaps that allow for attachment. Whichever method you choose, make sure to clean and dry both the shells and the wood surface before applying any adhesive.
Lastly, remember to handle the seashells with care as they are delicate and can break easily.