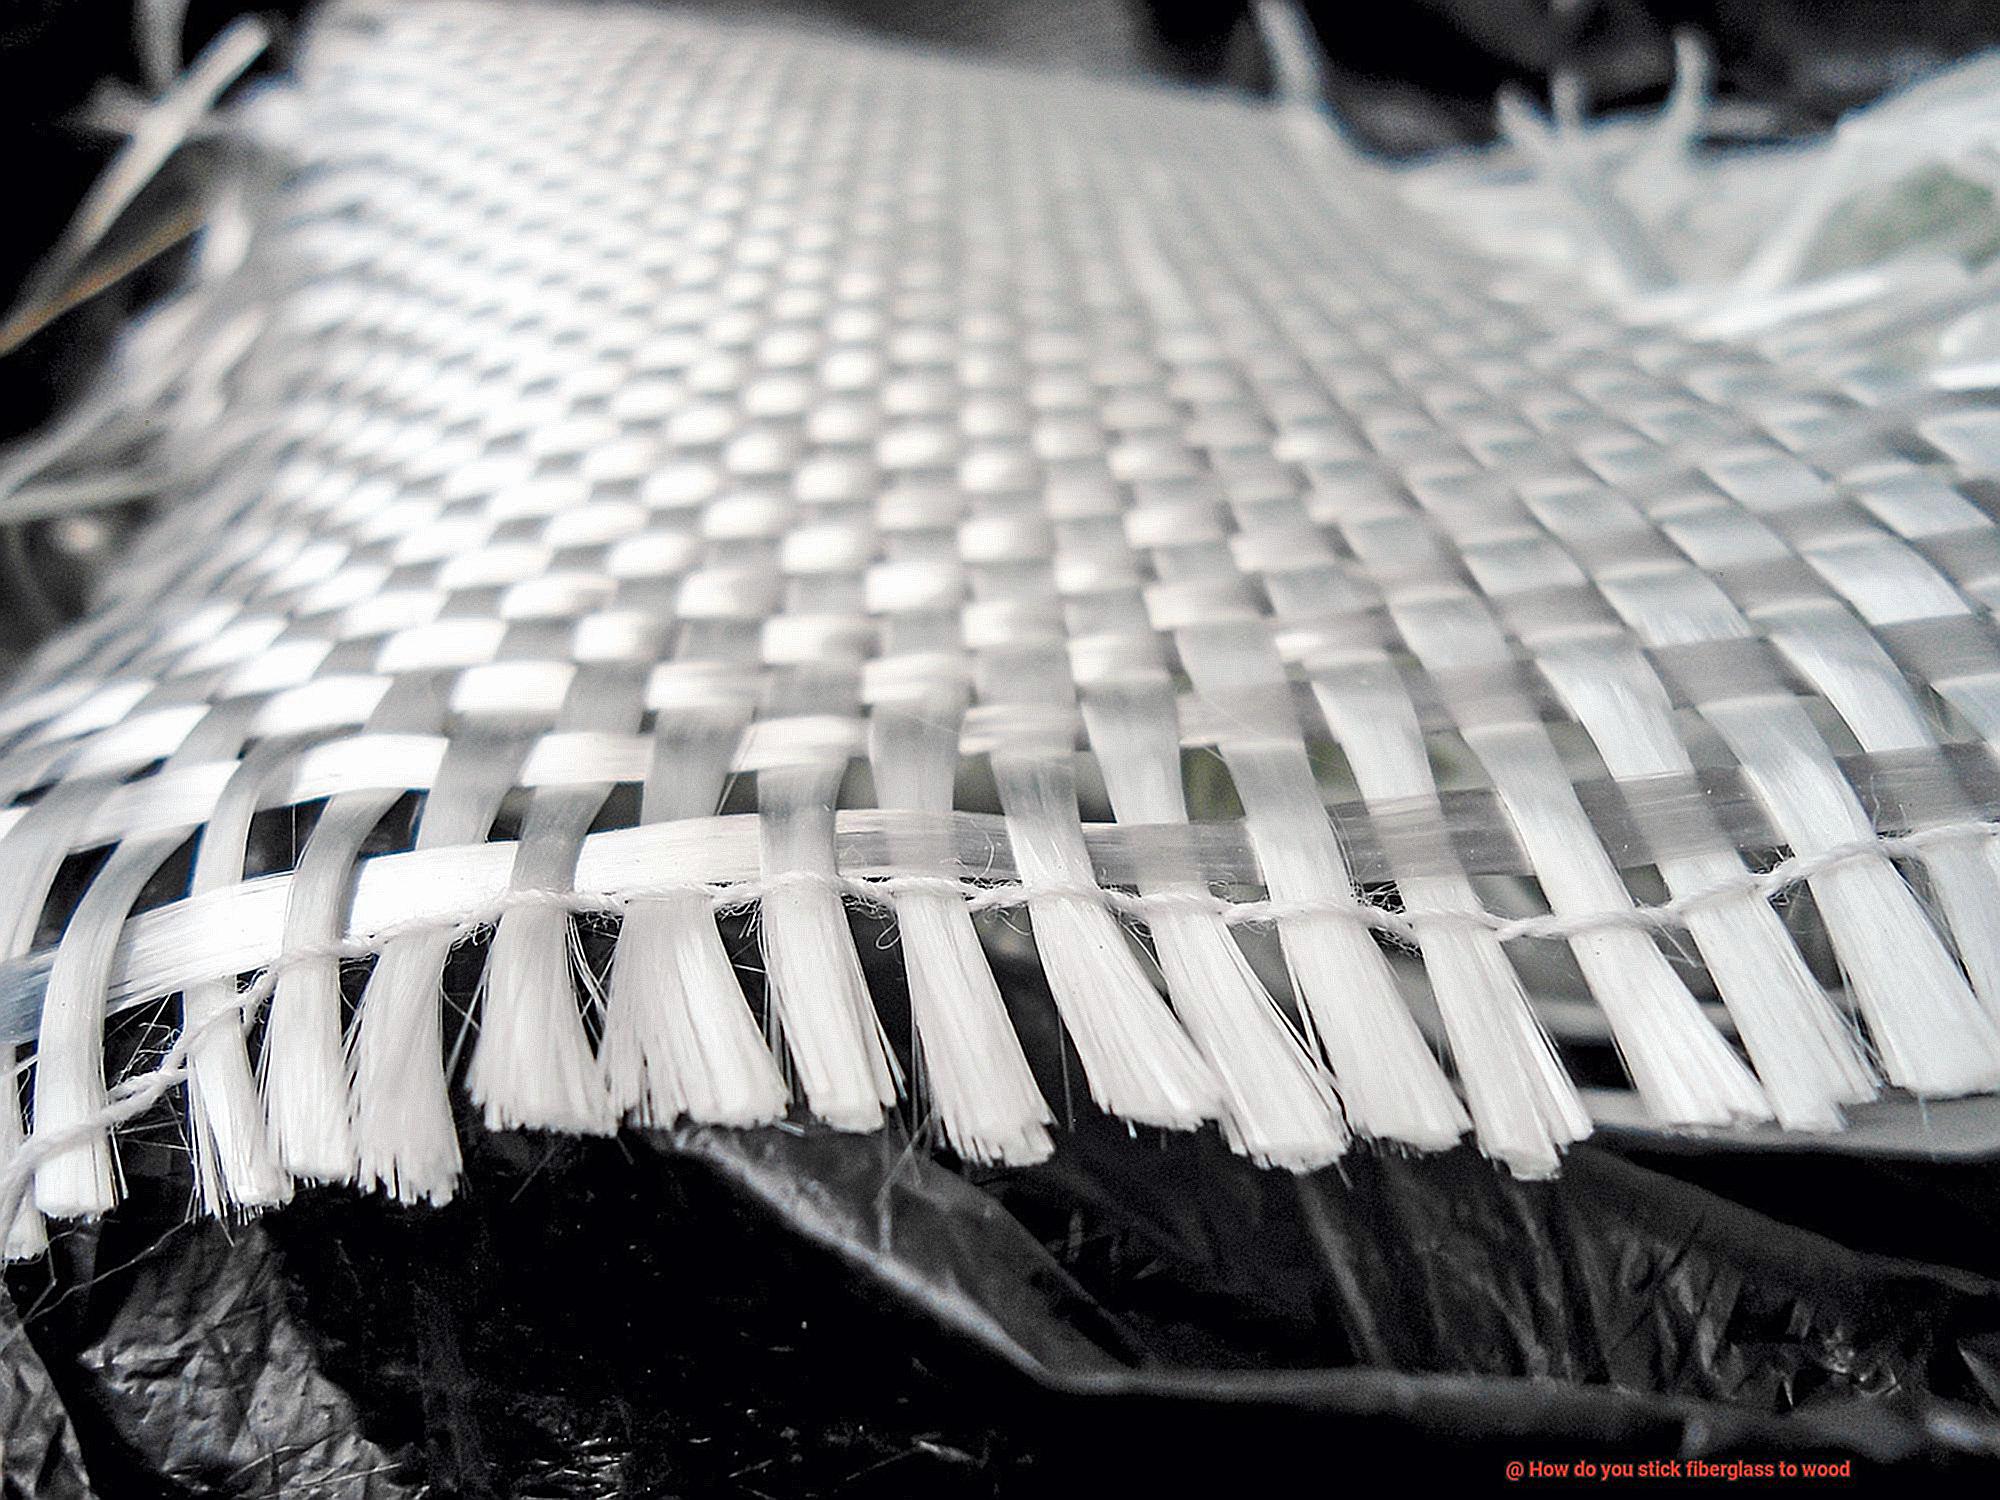
Ever wondered how to seamlessly blend the robustness of wood with the unyielding resilience of fiberglass? Imagine sleek boats, glistening in the sun, their fiberglass shells hugging the wooden framework like a sailor’s tight knot. How do they accomplish this feat? Fear not, my fellow craftsmen and DIY enthusiasts. Today, we dive into the captivating realm of sticking fiberglass to wood.
Within this all-encompassing guide, we unveil long-hidden secrets that have baffled woodworking aficionados for years. Whether you’re crafting bespoke furniture, restoring vintage vessels, or creating awe-inspiring art installations, mastering the fusion of fiberglass and wood will elevate your projects to new levels of toughness and elegance.
In this blog post, we explore three fundamental techniques employed by professionals to achieve flawless adhesion between these two materials. With precision and finesse, we reveal the step-by-step process of preparing the wood surface, selecting the perfect adhesive, and skillfully applying fiberglass.
Throughout this journey, we share proven tips and essential tricks honed through years of experience. We tackle common challenges head-on and offer effective solutions that empower you to conquer obstacles and achieve extraordinary results.
So whether you’re an experienced woodworker seeking to expand your repertoire or a budding enthusiast yearning to bring your brilliant ideas to life, join us on this exhilarating adventure. Get ready to unravel mysteries and master the art of bonding fiberglass to wood – taking your creations to breathtaking new dimensions of strength and beauty.
Preparation: Cleaning the Surfaces
Contents
- 1 Preparation: Cleaning the Surfaces
- 2 Preparing the Wood: Roughening the Surface
- 3 Applying Adhesive: Mixing Epoxy Resin
- 4 Applying Adhesive: Spreading on Both Surfaces
- 5 Bonding Fiberglass to Wood: Aligning and Placing
- 6 Securing Bond: Using Clamps or Weights
- 7 Curing Adhesive: Following Manufacturer’s Instructions
- 8 Finalizing Bond: Filling Gaps or Imperfections
- 9 Conclusion
Unlocking the secret to a flawless and enduring bond between fiberglass and wood lies in the meticulous preparation of the surfaces. This comprehensive guide will take you on a journey through the vital steps of cleaning the surfaces before applying adhesive. By following these steps, you can guarantee an unbreakable connection between these two materials.
Step 1: Assemble Your Arsenal of Cleaning Supplies
Embark on your surface-cleaning adventure by gathering all the necessary supplies. Arm yourself with a mild detergent or soap, a soft brush or sponge, pristine water, fine-grit sandpaper, a vacuum cleaner or compressed air, and don’t forget to don gloves and protective gear like goggles.
Step 2: Embark on the Wood Surface Cleansing Crusade
Prepare your wood surface for its transformation. Utilize a gentle concoction of mild detergent or soap solution and wield your trusty soft brush or sponge to delicately scrub away any hint of dirt or grime. Be cautious not to unleash harsh chemicals or abrasive materials that could inflict harm upon the wood. Pay meticulous attention to areas where adhesive will be applied.
Step 3: Rinse and Dry – The Final Touch for Wood
After purging the wood surface of impurities, douse it thoroughly with pristine water. Ensure that not even a speck of soap residue remains. Once rinsed, grant the wood surface ample time to luxuriate in utter dryness. Remember, moisture is the nemesis of adhesion, so be certain that the wood is bone-dry before proceeding.
Step 4: Conquering Contaminants on the Fiberglass Frontier
Now, set your sights on the fiberglass surface. Employ a gentle amalgamation of mild detergent or soap solution and wield your trusty soft brush or sponge to delicately scrub away any trace of dirt or grease. Focus your efforts on areas that will embrace the adhesive, eliminating any contaminants that may thwart the bonding process.
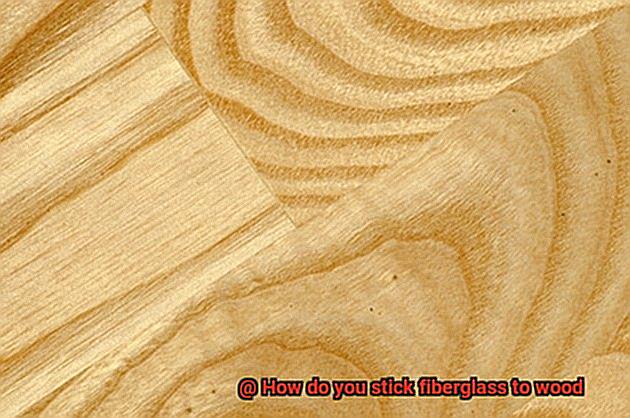
Preparing the Wood: Roughening the Surface
In our previous expedition, we conquered the contaminants on the fiberglass frontier through the art of surface cleansing. Today, we embark on a crucial mission to achieve an unyielding bond between fiberglass and wood: roughening the wood surface. So grab your sandpaper, don your protective gear, and let’s dive into this wood surface cleansing crusade.
Step 1: Thoroughly Purify the Wood Surface
Before we can unleash the power of roughness, we must ensure a pristine canvas. Arm yourself with a mild detergent or wood cleaner and wage war against dirt, dust, and debris that dare to challenge our adhesive’s superhero abilities. With a gentle touch from a soft brush or sponge, cleanse every crevice of the wood, leaving no trace of impurities behind. Once the battle is won, rinse off the cleanser with pure water and grant the wood ample time to bask in the glory of complete air-drying.
Step 2: Sanding – The Mighty Weapon
Now that our wood surface stands purified and dry, it’s time to summon our mighty weapon – sandpaper. Sanding holds the key to unlocking the raw power of roughness, creating an irresistible texture for an unbreakable bond with fiberglass.
- Coarse-Grit Sandpaper: Begin the assault with coarse-grit sandpaper, boasting an abrasive strength of 80 or 100 grit. This formidable force will eradicate any remnants of smoothness or existing finish from the wood’s surface. Envision yourself as a warrior of wood, moving in circular motions across every inch. Apply measured pressure, ensuring consistency throughout.
- Finer-Grit Sandpaper: After taming the initial roughness with your coarse-grit ally, it’s time to refine our battleground. Switch to finer-grit sandpaper, wielding the power of 120 or 150 grit. Continue the circular motions, turning the wood’s surface into a masterpiece of controlled roughness. Seek out any lingering smooth or glossy areas, for they too must succumb to the might of roughness.
Applying Adhesive: Mixing Epoxy Resin
Prepare to unlock the secrets of epoxy resin and embark on a journey to create unyielding connections between fiberglass and wood. As we dive into the captivating world of mixing epoxy resin, we will unravel the mysteries behind flawless bonds. Grab your measuring tools as we explore the mesmerizing process that leads to unbreakable wonders.
Cleanliness is Key:
In our quest for perfection, cleanliness stands as our first line of defense. Prepare your wooden surface for battle by unleashing the power of sandpaper, eradicating any dust, debris, or lingering coatings.
With a pristine surface ready for action, employ a solvent like acetone or denatured alcohol to wipe away any remnants and achieve the pinnacle of purity.
The Perfect Mix:
Now that our surfaces are pristine, let us venture into the heart of epoxy resin – its perfect mix. This adhesive hero is composed of two components: the resin and the hardener. To ensure impeccable bonding strength, adhere strictly to the manufacturer’s instructions regarding the correct ratio.
Embrace accuracy by employing measuring tools like graduated cups or syringes to achieve a seamless fusion of resin and hardener.
Stir It Up:
With our components measured with precision, it is time to unleash the alchemical magic within us. Slow and steady wins the race in this realm. Take a clean container and stir the mixture gently yet consistently for 2-3 minutes. As you stir, ensure that no streaks or unblended portions mar our potion of power.
The Extras:
Some epoxy resins crave an extra touch of greatness to enhance their bonding abilities. These additions can manifest as thickening agents, structural fibers, or other additives. Consult your manufacturer’s guidelines to determine if your specific application calls for any supplementary ingredients. Should the need arise, introduce these extras to our mixture and blend thoroughly until every drop embodies their enriching properties.
Applying Adhesive: Spreading on Both Surfaces
In our previous adventure, we delved into the art of creating unbreakable bonds by mastering the mixing of epoxy resin. Now, brace yourselves as we embark on the next chapter in our journey: applying adhesive and spreading it on both fiberglass and wood surfaces.
Get ready to uncover the secrets behind achieving a strong and flawless bond between these two materials. So grab your brushes, rollers, and spreaders as we dive into this captivating topic.
Step 1: Cleanliness is Key
Before we dive into the world of adhesives, let’s start with a foundation of cleanliness. Remember, even the mightiest adhesive won’t work its magic if there’s dirt, dust, or grease in its way. So, make sure to thoroughly clean both the fiberglass and wood surfaces. A clean slate sets the stage for a triumphant bond.
Step 2: Choosing the Right Tools
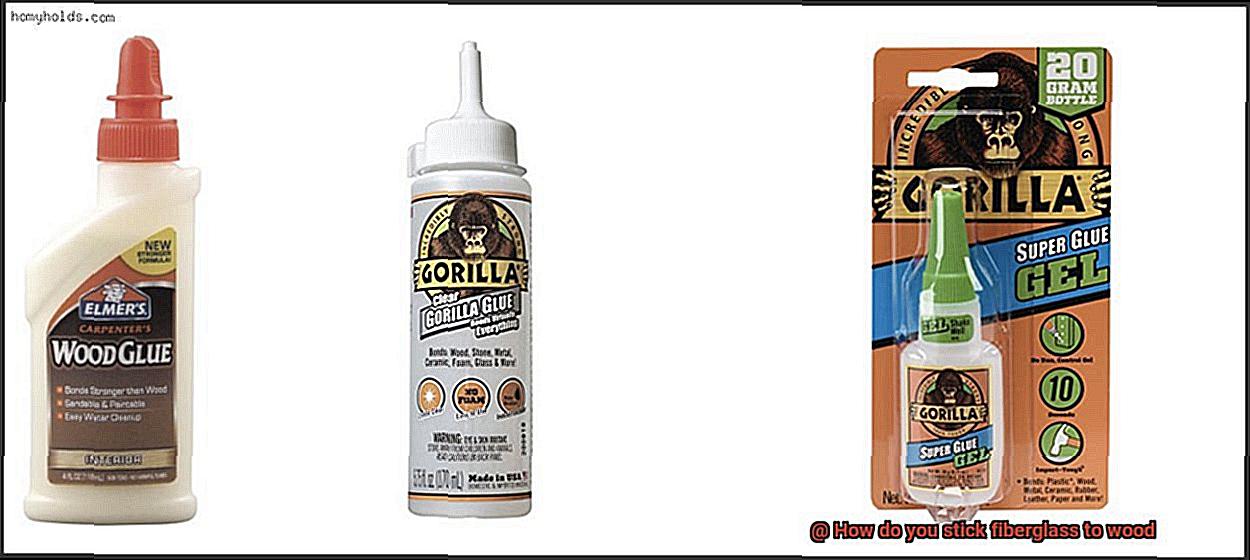
Now that our surfaces are pristine, it’s time to arm ourselves with the right tools for spreading adhesive. Whether you prefer a brush, roller, or spreader, ensure that it is suitable for the task at hand. Look for an adhesive specifically designed for bonding fiberglass to wood – trust me, they’re worth their weight in gold.
Step 3: Thin is In
To establish a solid foundation for our bond, we’ll start with a thin layer of adhesive on both surfaces. This initial coat acts as a primer, ensuring a good grip for what lies ahead. Apply it evenly and watch the magic unfold.
Step 4: Patience is a Virtue
Now that we’ve laid down our first layer of adhesive, we must exercise the virtue of patience. Allow the adhesive to become tacky before proceeding. This might take a few minutes (follow the manufacturer’s instructions), but trust me, it’s a crucial step on our path to a rock-solid bond.
Step 5: Doubling Down for Strength
Once the adhesive has reached its tacky state, it’s time to double down on our efforts. Apply a second layer of adhesive on both surfaces to reinforce the bond. This extra step will help us achieve a connection that can withstand the test of time.
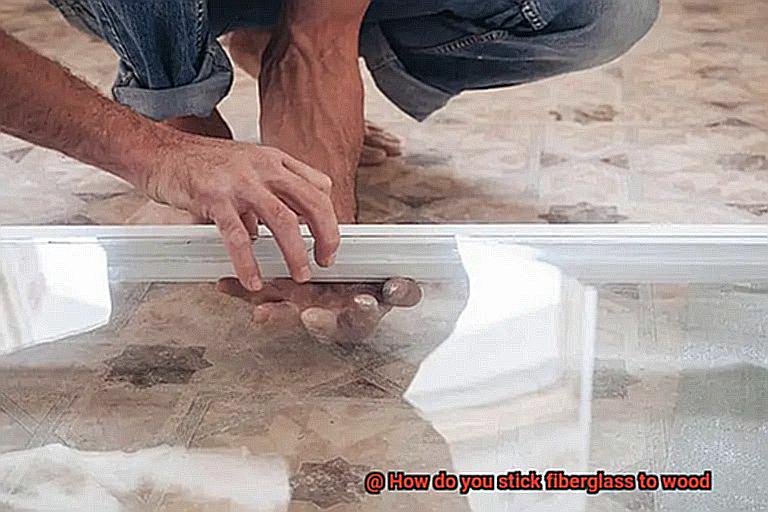
Bonding Fiberglass to Wood: Aligning and Placing
In our quest to achieve the ultimate bond between fiberglass and wood, we’ve already covered the importance of cleanliness and adhesive application. Now, let’s dive into the critical process of aligning and placing fiberglass onto wood. Get ready to wield your clamps and witness the magic unfold.
Prepare for Perfection:
Before embarking on this bonding journey, we must ensure that both the fiberglass and wood surfaces are flawlessly clean. Bid farewell to dirt, grease, and contaminants that could hinder adhesion. With a suitable cleaner or solvent in hand, cleanse these surfaces meticulously. This meticulousness will lay the foundation for an unbreakable bond.
Align with Precision:
Alignment holds the key to a seamless bond between fiberglass and wood. To achieve this, employ clamps or any other suitable tools at your disposal. These trusty companions will ensure that the fiberglass and wood are perfectly aligned, leaving no room for gaps or unevenness in the bond. Let precision be your guiding principle.
Place with Grace:
Now comes the moment to bring fiberglass and wood together in harmony. Begin at one end and gently press down the material onto the surface. This graceful approach minimizes the risk of air bubbles or trapped moisture, which can weaken the bond. Take your time, savor each step, and let your patience shine through.
Apply Pressure Evenly:
Creating a uniform bond requires even pressure across the entire surface of the fiberglass. Equip yourself with a roller or apply manual pressure using a clean cloth or sponge. This careful application ensures consistent adhesion, eliminating any potential weak spots in the bond. Let your touch be firm yet gentle.
Tackling Larger Projects:
When dealing with larger pieces of fiberglass and wood, adaptability is key. Consider applying adhesive in sections or employing multiple clamps to secure the materials properly. This strategic approach prevents any shifting or movement during the bonding process, guaranteeing a sturdy and reliable bond. Embrace the challenge with confidence.
Respect the Cure:
Now that you’ve aligned and placed the fiberglass onto the wood, it’s time to exercise patience. Honor the manufacturer’s instructions regarding adhesive application and curing time. Each adhesive has its specific requirements for temperature, humidity, and curing duration. Grant your bond the time it needs to cure fully, rewarding you with unparalleled strength.
Securing Bond: Using Clamps or Weights
In the battle to secure the bond between fiberglass and wood, two contenders emerge – clamps and weights. These techniques offer different solutions for achieving a strong and durable connection. Let’s explore the world of clamps and weights to determine which method will reign supreme in your next bonding endeavor.
Clamps: The Versatile Hero
Clamps, the dependable sidekick, come in various sizes and designs, offering flexibility for different projects. Here’s how to harness their power when securing the bond between fiberglass and wood:
- Prepare with Precision: Ensure both the wood and fiberglass surfaces are meticulously clean and free from any debris, creating an optimal adhesion surface.
- Evenly Apply Adhesive: Spread adhesive or glue on the wood surface where the fiberglass will be attached. Use just enough to create a thin, uniform layer.
- Position and Firmly Press: Carefully align the fiberglass over the adhesive and firmly press it onto the wood, establishing initial contact between the materials.
- Embrace the Clamp Brigade: Strategically place clamps along the edges of the fiberglass, evenly spaced to provide sufficient pressure without causing damage.
- Time is of the Essence: Leave the clamps in place for the recommended curing time specified by the adhesive manufacturer. Patience is key to achieving a robust bond.
Weights: The Unexpected Champion
When clamps fall short, weights step up as the underdog hero, particularly effective for larger surfaces or unconventional shapes. Here’s how to unleash their strength:
- Prepare and Apply with Care: Follow the same preparation steps as with clamps, ensuring clean surfaces and applying adhesive evenly to the wood.
- Perfect Positioning: Carefully position the fiberglass over the adhesive and press it down firmly, ensuring a solid contact between the materials.
- Gravity at Work: Distribute weights evenly over the fiberglass, ensuring full coverage of the surface area. The weight should exert enough pressure without distorting the materials.
- Let it Settle: Just like with clamps, exercise patience and allow the adhesive to fully cure according to the manufacturer’s instructions.
Curing Adhesive: Following Manufacturer’s Instructions
Today, we embark on a journey into the realm of sticking fiberglass to wood. Brace yourselves, for we are about to unveil the secret to creating an unbreakable bond. Get ready to unlock the full potential of your adhesive by following the manufacturer’s instructions for curing. Join us as we explore the fascinating world of curing adhesive and discover how it can revolutionize your projects.
Step 1: Decode and Conquer
Before venturing into this adhesive odyssey, arm yourself with knowledge by delving into the manufacturer’s instructions. Each adhesive has its own unique requirements, and understanding them is crucial. Embrace the power of information and watch as it transforms your adhesive endeavors.
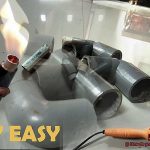
Step 2: Ignite the Fire (But Tread Carefully)
Now that you hold the key to success, let’s explore different curing methods. One method that sets ablaze the potential of your adhesive is heat application. Underneath its fiery touch, adhesives awaken and form an unyielding union between fiberglass and wood.
A heat gun or a heat lamp can be your trusty companions, evenly distributing warmth across the glued area. But beware, my friends, excessive heat can wreak havoc on your surfaces. Exercise caution and wield this power responsibly.
Step 3: Embrace the Breeze
If you prefer a more serene approach or if your adhesive craves a breath of fresh air, air drying is your path to triumph. Certain adhesives require exposure to the elements for complete curing. Unleash their true potential by leaving the glued area uncovered, allowing nature’s gentle touch to work its magic.
However, remember this sacred rule – disturb not the drying adhesive, for even the faintest disturbance can weaken the bond it seeks to forge.
Step 4: The Dance of Mother Nature
Ah, the beauty of the natural world. As you dance with adhesive, consider the environmental factors that sway its destiny. Temperature and humidity hold the key to unlocking its full potential. Seek solace in a stable environment, where temperature and humidity levels remain unwavering. Beware, my friends, for extreme fluctuations can disrupt the rhythm of your adhesive symphony.
Finalizing Bond: Filling Gaps or Imperfections
In our previous chapter, we learned about the power of adhesive and various methods of joining these two materials. Now, we dive deeper into the final step of ensuring a strong and durable connection – filling gaps or imperfections. So, let’s grab our putty knives and embark on this journey towards perfection.
The Importance of Addressing Gaps and Imperfections:
Before we proceed, it’s essential to understand why addressing gaps is crucial for a rock-solid bond. These gaps can arise from uneven surfaces or imperfect adhesive application, undermining the strength and durability of the connection. By filling these gaps, we create a seamless and unyielding union that can withstand the test of time.
Enter Epoxy Filler: A Match Made in Bonding Heaven:
When it comes to bridging gaps between fiberglass and wood, epoxy fillers are our trusty sidekicks. These specialized fillers are specifically designed to bond effectively with both materials, making them the ideal choice for this task. With their two-part system comprising resin and hardener, they ensure a strong and durable bond that stands up to even the most demanding conditions.
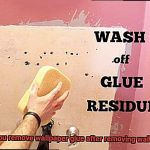
Preparing the Surface: Cleanliness is Key.
Just like any great adventure, preparation is key to success. Before applying the epoxy filler, ensure that the surface is pristine. Remove any dirt, dust, or grease that might interfere with the bonding process. Additionally, lightly sanding the wood surface creates a rougher texture, enhancing adhesion and ensuring a sturdy connection.
Applying the Epoxy Filler: Bridging the Gap.
Now comes the exhilarating part – bridging those gaps with the epoxy filler. Armed with a trusty putty knife or a similar tool, spread the filler evenly across the gap, ensuring it fills up completely. Work swiftly and decisively, for epoxy fillers have a tendency to harden rapidly.
zzfWNOtV01o” >
Conclusion
When it comes to sticking fiberglass to wood, there are a few key steps you need to follow. First, make sure the surface of the wood is clean and free from any dirt or debris. This will ensure a strong bond between the fiberglass and the wood.
Next, apply a layer of epoxy resin to the wood surface. Epoxy resin is a strong adhesive that will create a durable bond with the fiberglass. Use a brush or roller to evenly spread the resin over the wood, making sure to cover the entire surface.
Once the resin is applied, carefully place the fiberglass onto the wood. Smooth out any wrinkles or air bubbles by gently pressing down on the fiberglass. Make sure it adheres securely to the resin-coated wood.
To further reinforce the bond, apply another layer of epoxy resin over the fiberglass. This will help seal it in place and provide additional strength.
Allow sufficient time for the epoxy resin to cure and dry completely before handling or applying any additional finishes to your project.
In conclusion, sticking fiberglass to wood requires proper surface preparation, application of epoxy resin, careful placement of fiberglass, and an additional layer of resin for reinforcement.