There’s an undeniable allure to the sleek feel and timeless charm of brass. Whether it’s gracing a vintage furniture piece or adding a contemporary touch, this versatile metal has captivated the hearts of craftsmen and artisans alike. But here’s the burning question: how can you securely fasten brass to wood like a pro?
In this blog post, we’re about to unveil the secrets behind achieving a rock-solid bond between brass and wood, ensuring your creations withstand the test of time. So all you tinkers, woodworkers, and DIY enthusiasts out there, get ready for an exclusive guide tailored just for you.
Imagine breathing new life into a treasured family heirloom or crafting a jaw-dropping masterpiece that leaves your guests in awe. That’s the power of effectively securing brass to wood. From intricate inlays to robust mounts, we’ll explore various techniques that guarantee flawless results every single time.
As we embark on this adventure together, we’ll dive into tried-and-true methods such as screws, brass tacks, adhesives, and even the art of dovetail joinery. Each technique possesses its own unique charm and functional benefits, but our main focus is creating a connection that stands strong against the passage of time.
Join us on this journey as we unlock the mysteries behind securing brass to wood, transforming your visions into extraordinary tangible creations. Get ready for step-by-step instructions, expert advice, and insider tips that will elevate your woodworking game to astonishing new heights.
Let’s dive deep into this captivating art form – where brass and wood unite in beauty and strength.

Fastening Brass to Wood with Screws or Nails
Contents
- 1 Fastening Brass to Wood with Screws or Nails
- 2 Advantages of Using Screws and Nails
- 3 Pre-Drilling Pilot Holes for Screws and Nails
- 4 Choosing the Appropriate Size and Type of Screw or Nail
- 5 Securing Brass to Wood with Adhesives
- 6 Types of Adhesives Suitable for Bonding Brass and Wood
- 7 Using Epoxy to Secure Brass to Wood
- 8 Using Super Glue (Cyanoacrylate) to Secure Brass to Wood
- 9 Using Polyurethane Glue to Secure Brass to Wood
- 10 Preparing the Surfaces Before Applying Adhesives
- 11 Conclusion
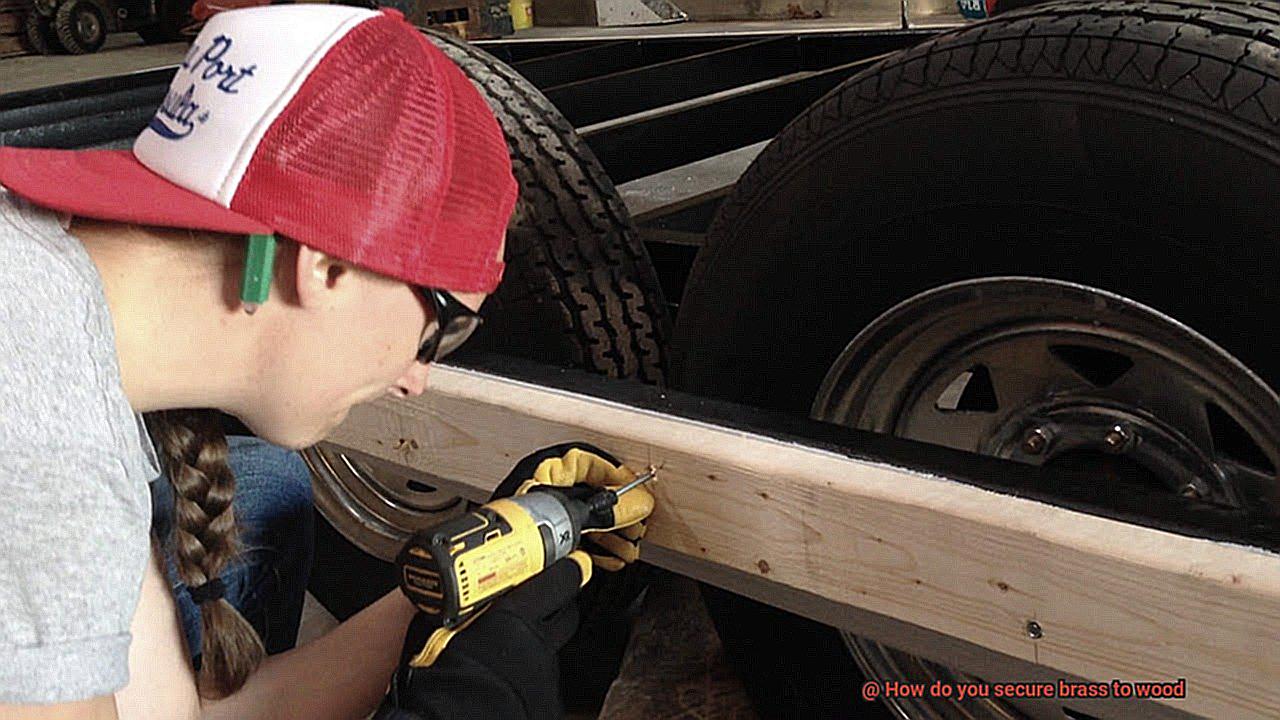
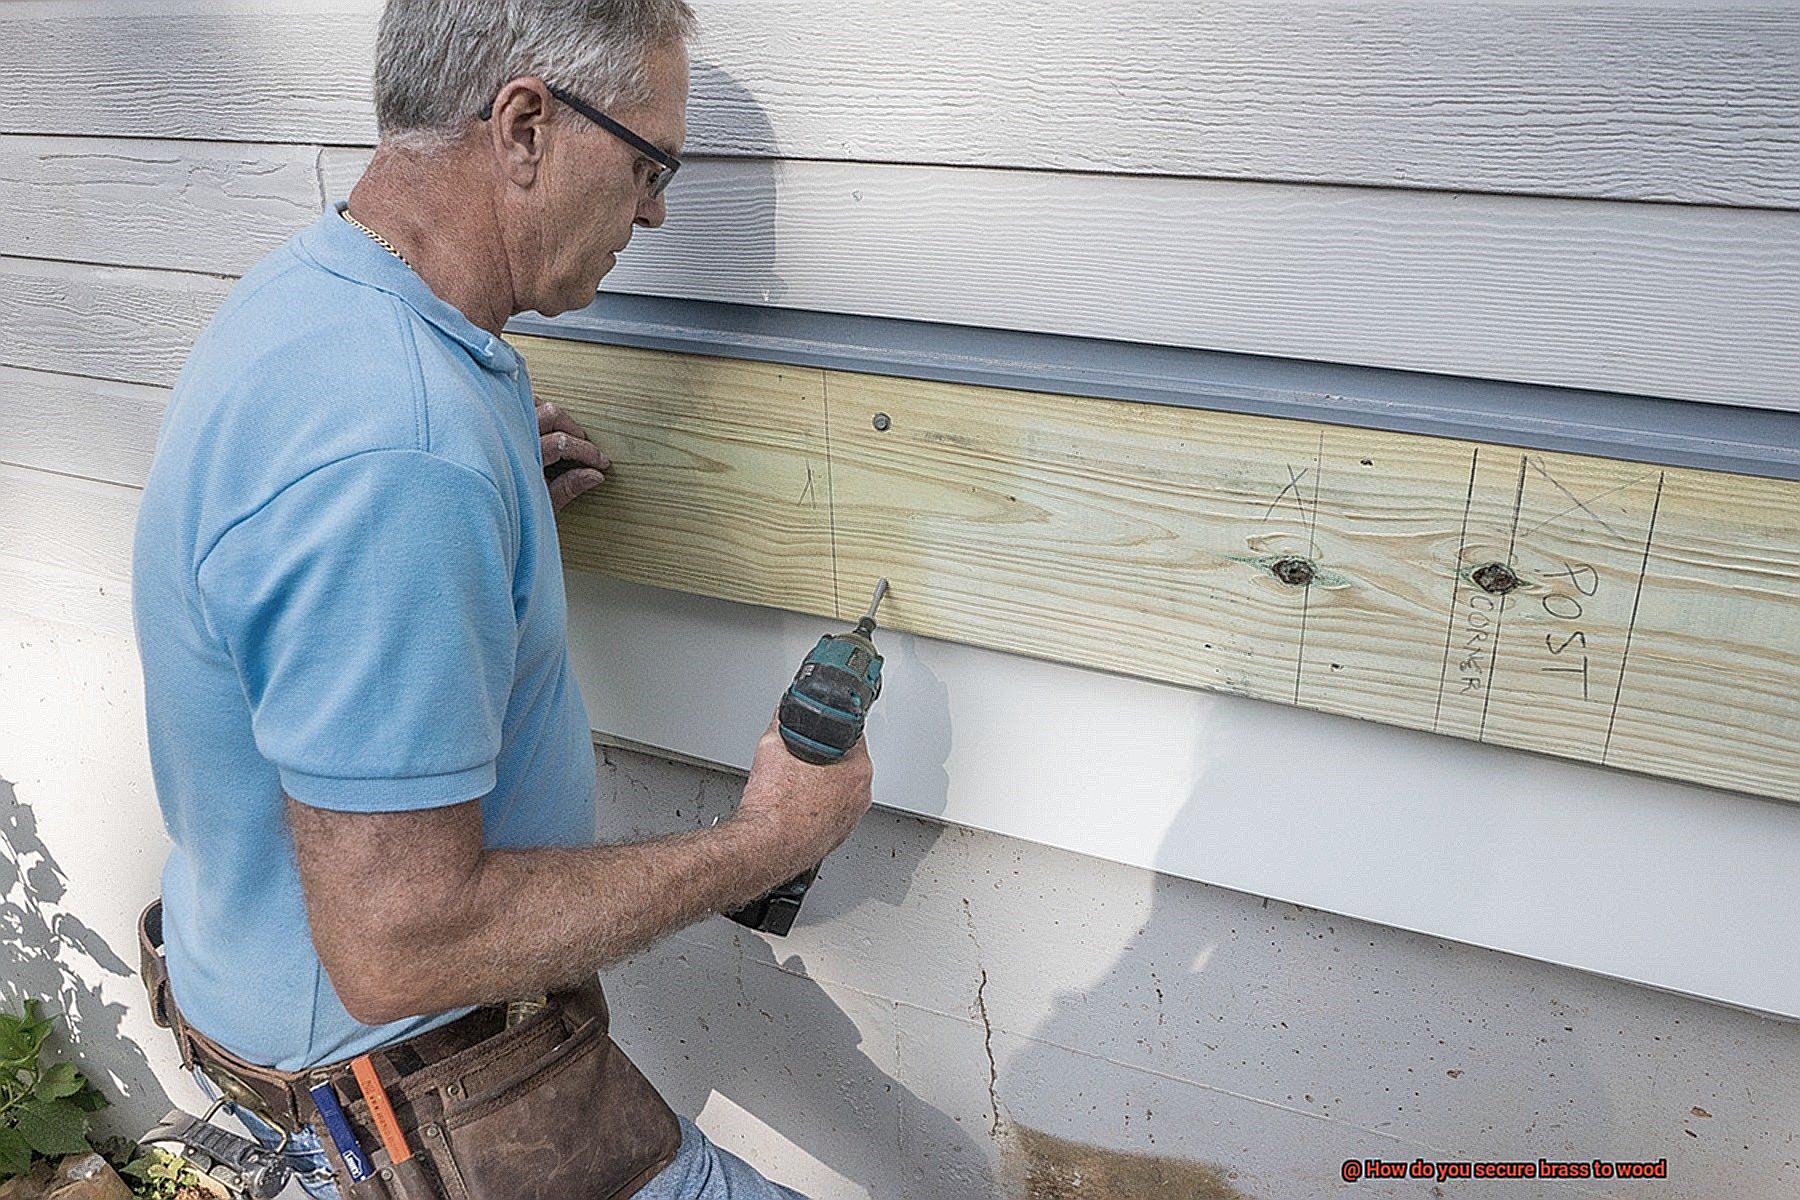
Elevate your woodworking projects to new heights by seamlessly incorporating brass elements. Whether you’re crafting furniture, creating decorative pieces, or constructing musical instruments, fastening brass to wood is a time-tested technique that guarantees both reliability and aesthetic appeal. In this comprehensive guide, we will delve into the art of fastening brass to wood using screws or nails, ensuring a secure and enduring bond that will captivate and impress.
Preparing for Success:
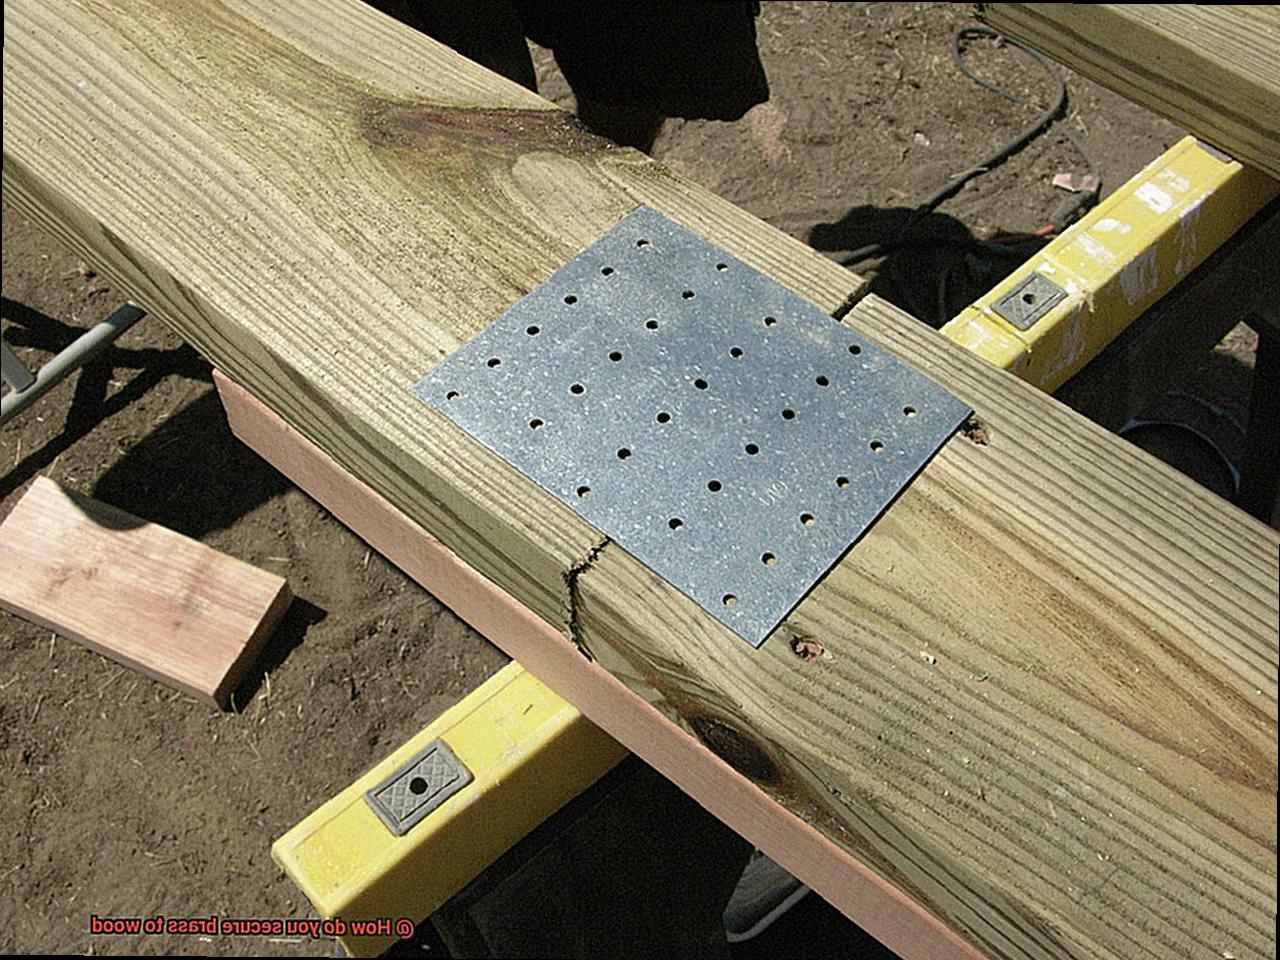
Embark on your fastening journey by meticulously preparing the wood surface. To prevent any mishaps during the process, it is essential to pre-drill pilot holes in the wood. This crucial step becomes even more vital when working with hardwoods or delicate, thin pieces of wood. By selecting the correct drill bit size, you guarantee a flawless fit for the screws or nails, preventing any unsightly splitting or cracking of the wood.
Selecting the Right Fastener:
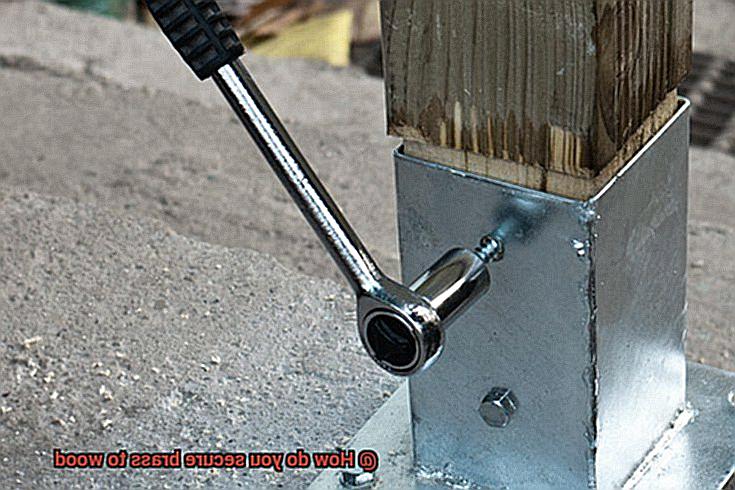
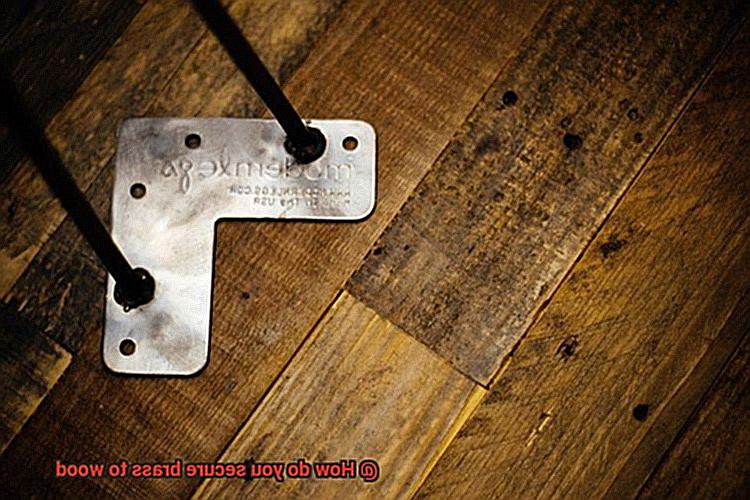
In the realm of securing brass to wood, screws reign supreme due to their exceptional holding power and ease of removal if necessary. With an array of sizes and types available, such as flathead, Phillips head, or hex head, you have the freedom to choose the perfect screw for your specific application and personal preferences.
Screw It Tight:
With your pilot holes drilled and the brass piece aligned on the wood surface, it’s time to embark on fastening glory. Insert the screw through any mounting holes in the brass and guide it into the awaiting pilot holes. Armed with a screwdriver or power drill, gradually tighten the screw until it finds its sweet spot of secureness. Exercise caution not to overtighten, as excessive force can cause irreparable damage to both the wood and brass.
Nailing It Down:
For lighter applications or those featuring thinner brass pieces, nails emerge as an enticing alternative for fastening brass to wood. Unlike screws, nails eliminate the need for pre-drilled pilot holes, simplifying the process without compromising strength.
Advantages of Using Screws and Nails
Are you ready to take your woodworking projects to the next level? Look no further than the powerful duo of screws and nails. In this guide, we’ll explore how these trusty fasteners can revolutionize your brass-to-wood connections. So, grab your tool belt and get ready for a thrilling journey into the advantages of using screws and nails.
Advantage #1: Unyielding Strength and Stability
When it comes to securing heavy brass to wood, strength and stability are non-negotiable. Luckily, screws and nails are up to the challenge. With their remarkable design, these fasteners create an unbreakable bond that can withstand intense forces and pressures. Say goodbye to wobbly attachments and hello to rock-solid stability.
Advantage #2: Effortless Installation in the Blink of an Eye
Time is precious in the world of woodworking. That’s why screws and nails are a game-changer. Unlike fussy adhesives or cumbersome clamps, these fasteners offer lightning-fast installation. Within minutes, you can effortlessly insert them into the wood, instantly achieving a secure attachment. With screws and nails, efficiency is just a twist or a hammer strike away.
Advantage #3: The Power of Adjustability and Reusability (Screws Only)
Enter the realm of screws, where adjustability reigns supreme. Unlike nails that commit to a single position, screws offer the freedom to fine-tune your attachment. With a simple turn of a screwdriver, you can partially insert them and adjust the tightness as needed. This flexibility allows for easy modifications or disassembly, proving that versatility is the key to perfection.
Advantage #4: The Master Key of Versatility
Imagine having an entire arsenal at your fingertips. That’s what screws and nails offer – a vast array of sizes, lengths, and types to suit every need. Whether you’re dealing with wood screws, machine screws, or nails of different gauges and lengths, these fasteners have got you covered. With their versatility, you’ll never be limited in your creative pursuits.
Pre-Drilling Pilot Holes for Screws and Nails
Today, we embark on a journey that will elevate your craftsmanship to new heights – the art of pre-drilling pilot holes for screws and nails when securing brass to wood. If you desire flawlessly executed projects that exude elegance, strength, and precision, then pay close attention. Grab your favorite cup of inspiration, settle in, and let’s unlock the secrets to achieving flawless brass-to-wood connections.
Why Pre-Drill Pilot Holes?
Picture this: You’ve poured your heart and soul into creating a stunning piece out of brass, only to have it marred by cracked wood or damaged metal due to haphazard fastening. A tragic outcome indeed. Fear not, for pre-drilling pilot holes are here to save the day. These miniature marvels act as guides, directing your screws or nails into the wood without splitting or causing any harm. With their assistance, you can achieve secure, professional results that showcase your woodworking prowess.
Choosing the Right Tools:
As we embark on this quest for perfection, arm yourself with an indispensable duo – a trusty drill and a perfectly sized drill bit. Remember, precision starts with choosing the correct bit diameter that matches your screws or nails. A snug fit is key to ensuring stability and preventing any mishaps along the way.
Marking the Way:
Before we unleash the power of our drill, take a moment to mark the spots where you intend to secure the brass onto the wood. Simple pencil marks serve as guiding stars in this creative universe. Embrace these marks as beacons of precision, leading you towards masterpiece-worthy results.
Drilling with Finesse:
With unwavering determination and finesse, hold your drill perpendicular to the wood surface – a stance that screams accuracy. Position the tip of your drill bit on one of those meticulously placed marks and apply gentle pressure. As you begin drilling, keep a watchful eye to ensure your drill remains straight and aligned with your markings. Remember, patience becomes the brush that paints perfection.
Choosing the Appropriate Size and Type of Screw or Nail
When it comes to securing brass to wood, there’s more to it than just aesthetics. It’s about creating a strong and long-lasting connection that will stand the test of time. To achieve this, selecting the right size and type of screw or nail is of utmost importance. Let’s delve into why this decision matters and how you can make the best choices.
Size Matters: Finding the Perfect Fit
Size plays a crucial role in determining the stability of your attachment. You need to consider both the thickness of the brass and the depth of the wood. Using a screw or nail that’s too short won’t penetrate deep enough into the wood, resulting in a weak hold. Conversely, opting for one that’s too long can lead to protrusion or even splitting of the wood.
To ensure the perfect fit, follow this simple rule of thumb. For screws, choose a length that is at least two-thirds the thickness of the brass plus the thickness of the wood. For example, if your brass plate is 1/8-inch thick and your wood board is 3/4-inch thick, you’ll need a screw that’s at least 3/4 inch long (2/3 x 1/8 + 3/4 = 3/4). This will provide sufficient penetration into the wood while maintaining enough thread engagement for a secure hold.
The same principle applies to nails. Select a length that is at least two-thirds the thickness of the brass plus one-third of the thickness of the wood. Using our previous example, a 1/2-inch nail (2/3 x 1/8 + 1/3 x 3/4 = 1/2) will penetrate deeply into the wood without causing any damage.
Choosing the Right Material: Brass or Stainless Steel
While size is crucial, selecting the appropriate type of screw or nail is equally important. When securing brass to wood, it’s recommended to use either brass or stainless steel screws or nails. These materials offer exceptional durability and are resistant to corrosion, ensuring that your attachment will remain strong and intact over time.
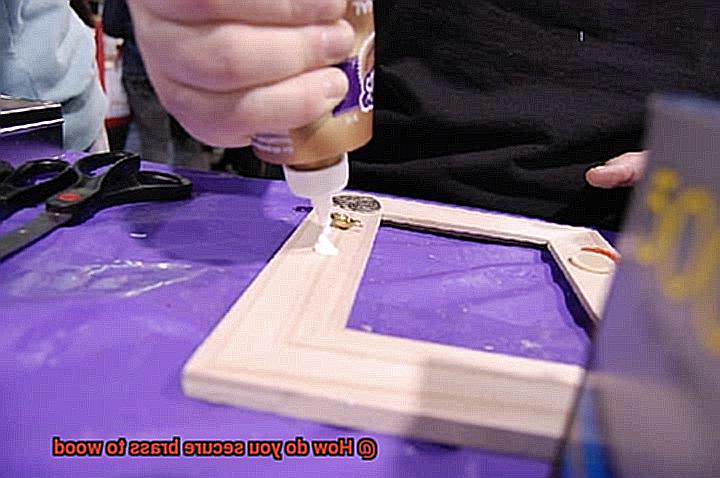
Securing Brass to Wood with Adhesives
When it comes to joining brass and wood, the right adhesive is crucial for creating a connection that will endure the test of time. While traditional methods like screws and nails may do the job, using adhesives offers a seamless and visually appealing solution. In this comprehensive guide, we will explore various types of adhesives specifically designed for securing brass to wood, as well as the necessary steps to ensure a successful bond.
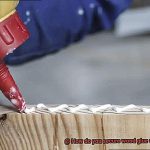
One widely favored adhesive for this task is epoxy. Comprised of two components – resin and hardener – epoxy adhesives are formulated to deliver exceptional bonding strength between metal and wood surfaces. This versatile adhesive can be used on both porous and non-porous surfaces, making it a popular choice.
Before applying epoxy adhesive, it is crucial to meticulously clean both the brass and wood surfaces, ensuring they are free from any dust, dirt, or oils that could compromise the bond. A simple wipe down with a clean cloth or the use of a mild solvent will suffice. Proper surface preparation is essential in achieving a robust and reliable bond.
Once the surfaces are clean, apply a thin, even layer of epoxy adhesive using a brush or spatula. Take care to remove any excess adhesive to avoid mess or overflow. The next step involves firmly pressing the brass and wood surfaces together to maximize contact and bonding. To hold the pieces in place while the adhesive cures, consider using clamps or weights that won’t damage the materials. Following the manufacturer’s instructions regarding curing time and temperature is crucial for obtaining optimal results with the specific epoxy adhesive being used.
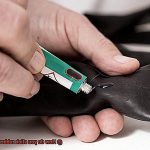
Another adhesive option for securing brass to wood is cyanoacrylate glue, better known as super glue. This fast-acting adhesive forms a strong connection between metal and wood surfaces. However, it is important to note that cyanoacrylate glue may not offer the same level of durability as epoxy adhesive in certain applications.
When working with cyanoacrylate glue, it is essential to apply it sparingly. Excess glue can create a messy appearance and may not bond as effectively. Prior to application, ensure that the surfaces are clean and dry. Once applied, press the brass and wood pieces firmly together for a few seconds to allow the adhesive to bond.
Types of Adhesives Suitable for Bonding Brass and Wood
Are you searching for the ideal adhesive to join brass and wood together? Look no further. In this article, we will explore a variety of adhesives suitable for bonding brass and wood. Whether you’re working on a craft project or a furniture repair, finding the right adhesive is crucial for a strong and long-lasting bond. Let’s dive in and discover the best options.
Epoxy Adhesive: Unleash the Power of Versatility.
When it comes to bonding brass and wood, craftsmen around the world turn to epoxy adhesive. This remarkable adhesive consists of two components – a resin and a hardener – that must be mixed before application. Once applied, epoxy creates an unbreakable bond capable of withstanding high temperatures, moisture, and even chemicals. Its versatility makes it perfect for decorative crafts as well as functional repairs.
Polyurethane Adhesive: Flexibility at Its Finest.
For those seeking an adhesive that offers some flexibility between brass and wood without compromising the bond, look no further than polyurethane adhesive. This fantastic adhesive forms a robust and flexible bond, making it ideal for applications that involve vibrations or slight movements. Additionally, its resistance to moisture ensures a secure bond, even in outdoor projects.
Cyanoacrylate Adhesive: Swift Solutions Made Simple.
When it comes to quick fixes or bonding small brass components, cyanoacrylate adhesives, also known as super glue, are the ultimate choice. These adhesives bond rapidly and provide an initial high level of strength. However, they may not be suitable for larger or load-bearing applications as they can become brittle over time.
Contact Cement: A Versatile Option for Every Project.
For woodworking projects that demand a strong bond between brass and wood surfaces, contact cement is the go-to adhesive. By applying it evenly on both sides, contact cement adheres to both materials, creating a reliable bond. Its impressive heat resistance and moderate moisture resistance make it an excellent choice for indoor projects.
Wood Glue: The Traditional and Trustworthy Option.
Wood glue, also known as carpenter’s glue or PVA glue, can also be used to bond brass and wood. However, it’s crucial to select a wood glue with exceptional bonding strength that works well on both porous and non-porous surfaces. Some wood glues may not adhere effectively to brass, so it’s recommended to check the product specifications or consult the manufacturer before use.
Using Epoxy to Secure Brass to Wood
You have a vision – a stunning brass piece harmoniously melded with a wooden surface. Fear not, for I am here to unveil the secrets of using epoxy to achieve this sublime fusion. Brace yourself for a journey through the depths of adhesion as we explore the wonders of epoxy and its ability to securely bind brass to wood. Prepare yourself for an adventure marked by meticulous preparation, precise application, and rewarding results.
Before delving into the realm of epoxy, let us first pay homage to the importance of preparation. To ensure a bond that withstands the test of time, both the brass and wood surfaces must be treated with respect. Banish any impurities by meticulously cleansing the surfaces with a clean cloth or, if needed, a gentle detergent. By granting them this pristine state, you lay the foundation for a bond that defies gravity.
Now, let us dive into the heart of the matter – mixing epoxy. This formidable adhesive often comes in two parts that must be united in equal proportions. Heed the commandments inscribed upon the manufacturer’s instructions and perform a ritualistic dance of thorough mixing. Only then shall you unleash the full potential of epoxy’s binding powers.
With your epoxy concoction at your disposal, it is time to adorn your surfaces with its transformative touch. Anoint both the brass and wood with an even layer of epoxy using a brush or spatula. Embrace this moment, for it is crucial to achieve an application that is both generous and uniform – an embrace that breathes life into an unyielding connection. Should you err and apply too much epoxy, fear not. A gentle swipe shall cleanse your creation before it cures.
And now, dear traveler, we approach the pinnacle of our journey – where brass meets wood in a dance of solidarity. Position your brass piece upon its wooden stage and press firmly, forging a bond that shall defy the whims of fate. Should your brass piece demand additional support, call upon the ancient allies of clamps and weights to hold it steadfast during the curing process. Yet, be ever vigilant, for the curing time inscribed upon the epoxy packaging is your guiding star, leading you to a union of unparalleled strength.
Using Super Glue (Cyanoacrylate) to Secure Brass to Wood
In our quest for the perfect bond between brass and wood, we have explored the magical world of epoxy. Today, we embark on a new adventure as we dive into the realm of super glue, also known as cyanoacrylate adhesive. Prepare to be captivated by its quick-drying properties and formidable bonding strength. Let us uncover the secrets of using super glue to secure brass to wood and unlock a world of endless possibilities. Are you ready? Let’s begin.
Cleanliness: The Foundation of a Rock-Solid Bond
Before we embark on this bonding journey, it is imperative to ensure that both the surfaces of the brass and wood are pristine. Banish any dust, dirt, or debris with a gentle wipe using a clean cloth or mild solvent. Remember, a clean surface sets the stage for an unbreakable bond.
Roughen Up for Success
To create an even stronger bond, unleash the power of sandpaper or a file to gently roughen the surfaces of both the brass and wood. This slight abrasion provides the super glue with a gripping surface, guaranteeing a connection that will stand the test of time.
Activate Your Bond
Elevate your bond to new heights by applying a small amount of activator or primer to both the brass and wood surfaces before applying the super glue. This extra step enhances the strength of your attachment, ensuring security that defies all odds.
Dispense with Precision
In the realm of super glue, precision reigns supreme. Apply a small amount onto one surface only, bearing in mind that super glue expands upon contact with air or moisture. Utilize this powerful adhesive sparingly and with utmost care.
Press and Hold: The Dance of Unity
As you press the brass firmly against the wood surface, exert even pressure across every inch. Hold this embrace for a few minutes, allowing the adhesive to weave its magic and create a bond that defies separation. Remember, the key to a secure attachment lies in this dance of unity.
Using Polyurethane Glue to Secure Brass to Wood
Today, we unveil the extraordinary capabilities of polyurethane glue, a force to be reckoned with when it comes to securing brass to wood. So don your gloves and prepare to unlock the secrets of harnessing polyurethane glue like a true master.
Step 1: Prepare for Bonding
Set the stage for victory by ensuring that both your brass and wood surfaces are pristine. Bid farewell to dirt, dust, and grease as you wipe them away with a clean cloth or conquer stubborn grime with a touch of mild detergent.
Step 2: Apply Polyurethane Glue
Behold the star of our show – polyurethane glue. With a steady hand, apply a thin layer of this mighty adhesive onto one of your chosen surfaces. Remember, dear artisans, that less is more in this case, as our glue possesses the remarkable ability to expand when it encounters moisture.
Step 3: Press and Align
With glue in place, summon your precision and gently press the brass onto the wood surface. Take a moment to savor the exquisite satisfaction of perfect alignment. As you exert even pressure, rejoice in the knowledge that optimal contact between brass and wood is being forged.
Step 4: Allow Time for Curing
Patience becomes the virtuous companion of any skilled crafter when working with polyurethane glue. Grant it the time it deserves to dry and cure according to the manufacturer’s instructions. This mystical process may take several hours or perhaps an entire night. During this sacred period, resist any temptation to disturb the nascent bond, for its strength and endurance depend upon this solitude.
Step 5: Trim Excess Glue
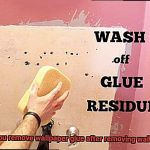
As our adhesive masterpiece reaches full maturity, you may notice a touch of excess glue that has dared to venture beyond its designated boundaries. Fear not. Equip yourself with a sharp knife or sandpaper and delicately trim away the unwanted surplus. Exercise caution, dear artisans, for we shall not allow harm to befall our precious brass or wood surfaces.
Preparing the Surfaces Before Applying Adhesives
Today, we delve into the enigmatic realm of securing brass to wood with unwavering strength and resilience. But before we embark on this adhesive odyssey, let us uncover the essential steps in preparing surfaces before applying adhesives. Prepare your tools, don your crafting hat, and let us forge ahead.
Step 1: The Canvas of Purity
As a painter seeks a pristine canvas, so must you ensure the immaculacy of your brass and wood surfaces. Cleanse them thoroughly, banishing any lingering dirt, dust, or debris. With a gentle touch of a clean cloth or brush, bid farewell to these interlopers that would hinder your bond.
Step 2: The Artistry of Smoothness
A masterpiece requires flawless strokes, just as your adhesive bond necessitates smoothness. Embrace the power of fine-grit sandpaper, caressing the wood’s surface to eliminate rough patches and irregularities. Grant your creation the gift of seamless harmony.
Step 3: The Vanquishers of Dust
Ah, sanding… an act that leaves remnants in its wake. But fear not. Tame those pesky particles with a tack cloth or a damp counterpart. Sweep away the remnants of sanding, leaving behind a pristine canvas primed for adhesion. A clean slate sets the stage for unyielding unity between brass and wood.
Step 4: The Seal of Protection
Wood possesses secrets and vulnerabilities that demand our attention. If working with porous wood or suspecting moisture’s meddling ways, employ a wooden sealer or primer. Craft a barrier between wood and adhesive, fortifying your bond against adversity and bestowing it with unmatched strength.
Step 5: The Adhesive Acolyte
With surfaces immaculate, the time has come to select the adhesive worthy of your artistry. Epoxy adhesives, known for their unparalleled strength, emerge as champions in this realm. Be discerning, choosing an adhesive that embraces both brass and wood materials. Let your creation be cradled by the best.
jqetrLcfiGU” >
Conclusion
Securing brass to wood can be a challenging task, but with the right techniques and materials, you can achieve a strong and durable bond. One method is to use screws or nails specifically designed for woodworking projects. These fasteners have threads that grip the wood securely while also providing a solid hold on the brass.
Another option is to use adhesive products that are specially formulated for bonding metal to wood. Epoxy resin, for example, is known for its excellent adhesion properties and can create a reliable bond between brass and wood. Apply the epoxy to both surfaces, press them firmly together, and allow it to cure according to the manufacturer’s instructions.
If you’re looking for a more decorative approach, consider using brass hardware such as hinges or brackets. These can be attached to the wood using screws or nails, creating both functionality and visual appeal.
To ensure a successful attachment, it’s important to prepare the surfaces properly. Sanding both the brass and wood will remove any dirt or oxidation that could hinder adhesion. Additionally, using a primer or sealer on the wood before attaching the brass can help promote better bonding.
In conclusion, securing brass to wood requires careful consideration of materials and techniques. Whether you choose screws, adhesive products, or decorative hardware, proper preparation and attention to detail will result in a secure and aesthetically pleasing connection between these two materials.