Not only will this ensure the mirror stays in place, but it will also prevent accidents and damage. Remember to gather the necessary tools, measure and mark the spots for attachment, choose the appropriate clips or brackets, and securely fasten them to the frame.
Double-check the stability of the mirror and make any necessary adjustments. With a little effort and attention to detail, you can enjoy your mirror’s beauty while keeping it safely attached for years to come.
Stay tuned for our detailed step-by-step guide on how to secure a mirror to a wooden frame.
What You Need to Secure a Mirror to a Wooden Frame
Contents
- 1 What You Need to Secure a Mirror to a Wooden Frame
- 2 Securing a Mirror with Clips or Brackets
- 3 Securing a Mirror with Adhesive Products
- 4 Additional Support for Larger and Heavier Mirrors
- 5 Preparing the Mirror and Frame Before Attaching
- 6 How to Attach the Mirror to the Frame
- 7 Safety Considerations for Securing a Mirror to a Wooden Frame
- 8 Conclusion
Securing a mirror to a wooden frame requires careful preparation and the right tools and materials. Here is a step-by-step guide on how to do it:
- Measure and prepare the mirror and frame: Use a measuring tape to determine the exact dimensions of both the mirror and the wooden frame. Ensure that the mirror fits perfectly within the frame. Clean both surfaces thoroughly, removing any dust or debris.
- Choose the right adhesive: There are different types of mirror adhesive available, such as mirror mastic or silicone adhesive. Mirror mastic is a thick paste adhesive that provides strong bonding for mirrors. Silicone adhesive is a clear, flexible adhesive that is also suitable for securing mirrors. Choose the one that suits your needs and follow the manufacturer’s instructions for drying and curing times.
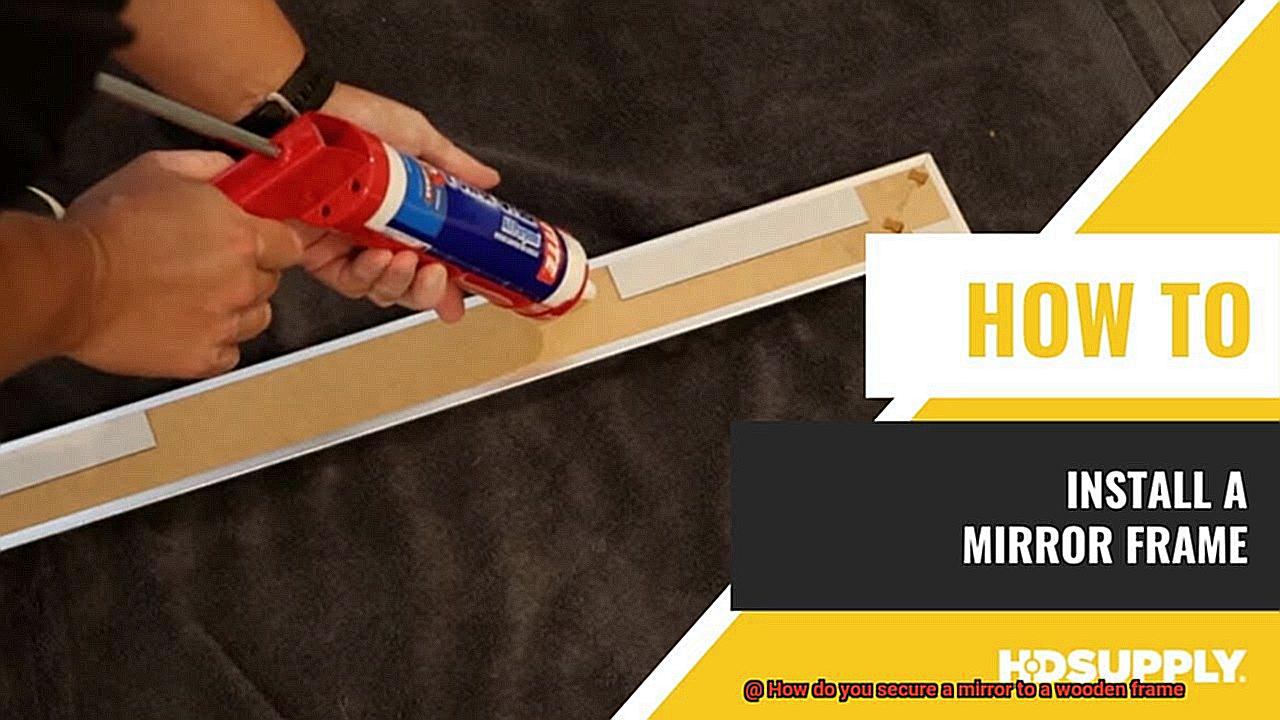
- Apply the adhesive: Using a caulking gun, apply the mirror adhesive evenly and smoothly onto the back of the mirror. Be sure to cover the entire surface that will come into contact with the wooden frame.
- Attach mirror clips or brackets: Decide whether you will use mirror clips or brackets to hold the mirror in place. Mirror clips are small metal brackets that can be screwed into the wooden frame, while mirror brackets provide a more secure attachment for larger and heavier mirrors. Use a screwdriver or drill to attach the clips or brackets securely to the frame.
- Align and press the mirror into place: With someone’s assistance, carefully align the mirror with the wooden frame. Gently press it into place, ensuring that it adheres properly to the adhesive and rests securely on the clips or brackets.
- Securely attach the wooden frame to the wall: To ensure stability, make sure that the wooden frame itself is securely attached to the wall using appropriate wall anchors or screws.
Safety precautions:
- Wear safety goggles and gloves when working with mirrors and adhesives to protect your eyes and hands.
- Follow all manufacturer instructions for safe handling and use of the adhesive.
- Use caution when handling and lifting larger mirrors, as they can be heavy and fragile.
Securing a Mirror with Clips or Brackets
Securing a mirror with clips or brackets is a simple yet crucial task to ensure that your mirror remains firmly in place on a wooden frame. By following a few easy steps, you can confidently hang your mirror and create a stunning centerpiece in your space.
First, start by measuring the width and height of the mirror. This will help you determine the number of clips or brackets needed and their proper placement. Choose clips or brackets that are made of sturdy metal and designed to provide a secure hold, ensuring they are suitable for the thickness and weight of your mirror.
Next, mark the positions for the clips or brackets on both the mirror and the wooden frame using a pencil. It is important to align them properly to ensure that the mirror hangs straight. To prevent any splitting or cracking of the wood, pre-drill pilot holes for the screws that will attach the clips or brackets. Use a drill bit that matches the size of the screws.
Now, it’s time to attach the clips or brackets. Securely fasten them to both the mirror and the wooden frame using screws, making sure not to over-tighten as this could damage the mirror or frame. With the clips or brackets securely attached, carefully hang the mirror onto the wooden frame by aligning them with each other. It’s always helpful to have someone assist you during this step to ensure proper alignment.
Once the mirror is hung, check for levelness. Use a leveler tool or measure from various points to ensure that the mirror is hanging straight and is level. Make any necessary adjustments to achieve perfect alignment.
Lastly, remember to regularly check and tighten the clips or brackets. Periodically inspect them for signs of wear or loosening, and if necessary, tighten them to maintain the stability of the mirror and prevent any accidents.
Securing a Mirror with Adhesive Products
Securing a mirror to a wooden frame using adhesive products offers a convenient and effective solution that eliminates the need for visible clips or brackets. Not only does this method provide a strong bond, but it also gives the mirror a sleek and seamless appearance, enhancing the overall aesthetic of any space.
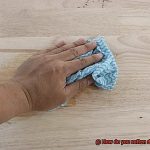
Mirror adhesive is one of the best adhesive products for this task. Specifically designed for bonding mirrors to various surfaces, including wood, mirror adhesive comes in a tube or cartridge form, making it easy to apply. Before applying the adhesive, it is crucial to ensure that both the mirror and the wooden frame are clean and free from dust, oil, or any other contaminants. A thorough wipe-down with a clean cloth or mild cleaner should do the trick.
To begin securing the mirror, apply the mirror adhesive in a continuous bead along the perimeter of the mirror’s back surface. It is important to follow the manufacturer’s instructions regarding the amount of adhesive to use. Once applied, carefully position the mirror onto the wooden frame, pressing it firmly to create a strong bond.
During the curing process, some mirror adhesives may require additional support. Temporary supports like clamps or weights can be used to hold the mirror in place until the adhesive fully sets. Following the manufacturer’s instructions regarding drying and curing times is crucial for proper bonding and stability.
In addition to mirror adhesive, there are other adhesive products available in the market that can be used to secure mirrors to wooden frames, such as construction adhesives or liquid nails. However, it is essential to choose ones specifically suitable for bonding mirrors and wood together.
Regardless of the type of adhesive product used, it is recommended to allow sufficient time for the adhesive to cure completely before subjecting the mirror to any stress or movement. This will ensure a strong and long-lasting bond between the mirror and wooden frame.
Additional Support for Larger and Heavier Mirrors
When it comes to mounting larger and heavier mirrors on wooden frames, it is crucial to consider additional support measures to ensure stability and safety. Here are some key points to keep in mind:
- Reinforce the Frame: Strengthening the wooden frame is the first step in providing additional support for a larger and heavier mirror. Opt for thicker or sturdier wood for the frame construction. Adding crossbars or support beams within the frame helps distribute the weight evenly.
- Utilize Mirror Clips: Mirror clips are a reliable method of securing mirrors to wooden frames. These metal clips come in various sizes and styles to accommodate different mirror thicknesses. Attach them to the back of the mirror and screw them into the wooden frame for a secure hold.
- Apply Adhesive Backing: In addition to using mirror clips, adhesive backing can offer extra support. Apply double-sided tape or mirror adhesive between the back of the mirror and the wooden frame. This ensures a more secure attachment, preventing movement or shifting.
- Install Supporting Brackets: Larger and heavier mirrors benefit from supporting brackets installed on the wall behind them. These brackets firmly hold the bottom edge of the mirror against the wall, providing added stability. Ensure that both the wall and the wooden frame securely hold these brackets.
- Reinforce with Wire: Another effective method for providing additional support is reinforcing with wire. Crisscross wire across the back of the mirror to create a grid-like structure. Fasten the wire securely to both sides of the wooden frame, enabling it to bear the weight of the mirror.
- Seek Professional Assistance: If you are uncertain about securing a larger or heavier mirror, it is advisable to seek professional help. Professional installers or handymen possess the necessary expertise to assess your specific requirements and offer expert advice on suitable support methods.
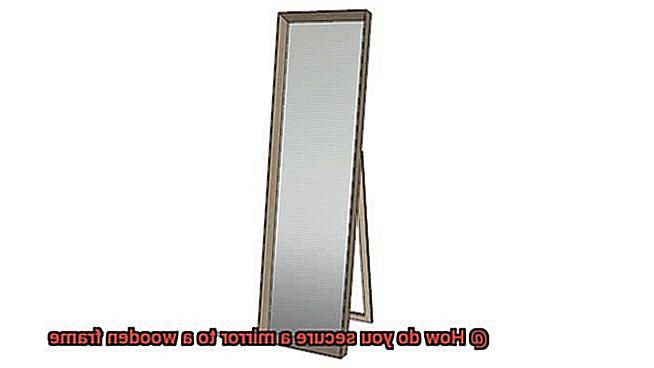
Preparing the Mirror and Frame Before Attaching
Preparing the mirror and frame before attaching is a crucial step in ensuring a secure and long-lasting bond between the two surfaces. Neglecting proper preparation can result in a weak attachment that may not withstand the test of time. Let’s dive into the essential steps to follow in preparing the mirror and frame:
- Cleanse the mirror: Begin by thoroughly cleaning the mirror to eliminate any dirt, dust, or smudges that could hinder adhesion. Utilize a glass cleaner or a mixture of water and vinegar for optimal results. Gently apply the cleaning solution to a soft cloth or paper towel, ensuring every inch of the mirror surface is cleansed.
- Polish the frame: Next, shift your attention to the wooden frame. Employ a mild soap and water solution to cleanse it, avoiding harsh chemicals or abrasive materials that could potentially harm the wood. Pay special attention to crevices and corners, gently scrubbing them with a soft brush or sponge.
- Allow ample drying time: After cleaning both the mirror and frame, allow sufficient time for them to dry completely. This step is crucial to guarantee proper bonding when attaching.
- Inspect for damages: Once dry, meticulously inspect both the mirror and frame for any damages or defects. Scrutinize the mirror surface for cracks, chips, or scratches, while examining the wooden frame for signs of warping or splintering. Address any issues found before proceeding with attachment.
- Perform necessary repairs: If damages are detected, it is imperative to repair them before attaching the mirror. Utilize a clear epoxy resin or glass repair kit to fill in cracks or chips on the mirror surface. For wooden frames, employ wood filler or putty to address any holes or gaps.
- Smooth rough edges: To ensure better adhesion, sand down any rough edges on the frame using fine-grit sandpaper. This will create a smooth surface that promotes a strong bond.
- Apply primer: Before attaching the mirror, apply a primer to the wooden frame. This step is crucial in creating a stronger bond between the frame and adhesive, enhancing the overall attachment.
How to Attach the Mirror to the Frame
Attaching a mirror to a wooden frame is a simple process that can be done using various methods. One popular option is to use mirror clips. To begin, measure and mark the desired position on the frame where you want the mirror to be attached. Next, attach the clips evenly spaced along the top and bottom edges of the frame. Make sure that the clips align with the thickness of the mirror. Gently place the mirror into the clips, ensuring that it sits securely. Finally, tighten the screws on each clip to secure the mirror in place.
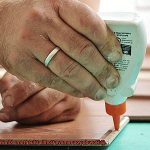
Another method is to use adhesive. This option is suitable for smaller mirrors or lightweight frames. Before applying the adhesive, clean and dry both the mirror and frame surfaces. Then, spread a thin layer of adhesive onto the back of the mirror, making sure it is evenly spread. Carefully place the mirror onto the frame, aligning it properly, and press firmly to create a strong bond. Allow enough time for the adhesive to cure before moving or hanging the mirror.
For larger and heavier mirrors, it is recommended to use mirror mounting brackets for added support. Determine where you want the mirror on the frame and mark it accordingly. Attach two mounting brackets on each side of the frame, making sure they are level and aligned with each other. Lift and position the mirror onto the brackets carefully, ensuring it rests securely. Finally, tighten the screws on each bracket to secure the mirror in place.
J-channel is commonly used for mounting mirrors in bathrooms. Measure and cut the J-channel to match the width of the mirror. Attach it to the wall or frame using screws or adhesive, ensuring it is level and secure. Lower the mirror into the channel, allowing it to rest on the bottom lip. For added security, use adhesive or mirror clips to secure the top edge of the mirror.
When attaching a mirror to a wooden frame, it is important to take safety precautions. Ensure that the wooden frame is sturdy enough to support the weight of the mirror. If needed, reinforce the frame or seek professional help. Additionally, wear protective gloves and eyewear when handling mirrors to avoid accidents or injuries.
Safety Considerations for Securing a Mirror to a Wooden Frame
When it comes to securing a mirror to a wooden frame, safety should be a top priority. A mirror is not only a functional piece but also a decorative one, and improper installation can lead to accidents and injuries. Therefore, it is crucial to consider some safety measures when attaching a mirror to a wooden frame.
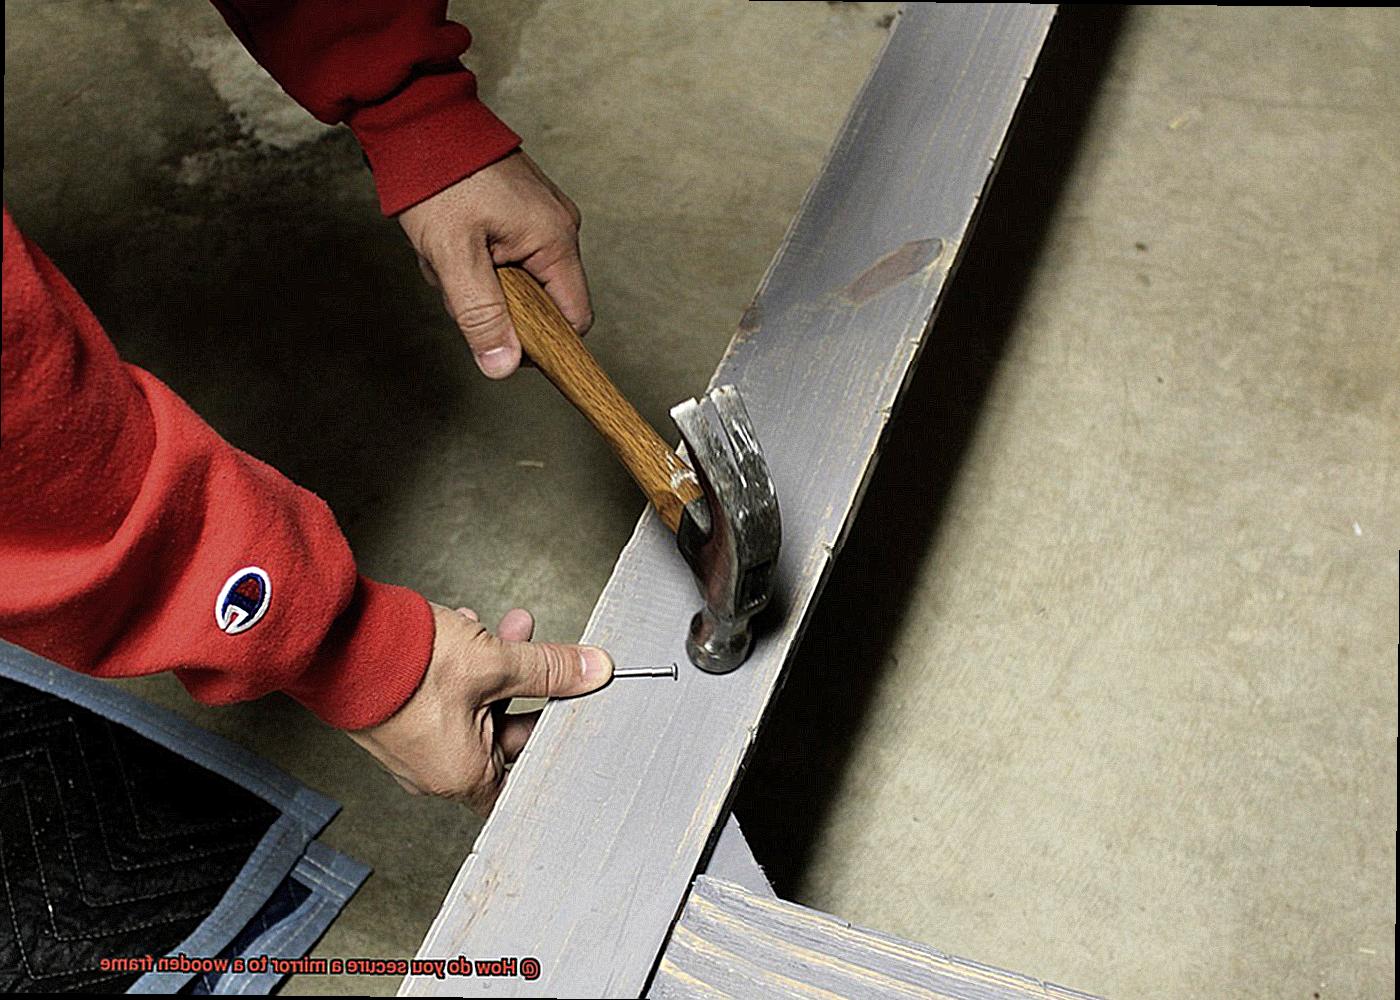
One important aspect to consider is the weight of the mirror. Mirrors come in various sizes and thicknesses, and each one has a specific weight. Before securing the mirror, it is essential to determine its weight and ensure that the wooden frame can support it adequately. Underestimating the weight of the mirror can lead to an insecure installation, causing the mirror to fall off and potentially cause harm.
Another safety consideration is the type of adhesive or mounting hardware used. There are different options available, such as adhesive tapes, mirror clips, or brackets. It is crucial to choose a method that is suitable for the specific type of mirror and wood frame being used. Some mirrors may require specialized adhesive or mounting systems due to their size or weight. It is recommended to consult with a professional or follow the manufacturer’s instructions to ensure the proper selection and installation of the adhesive or mounting hardware.
Furthermore, it is important to clean and prepare the surface before attaching the mirror. Any dirt, dust, or grease on the wooden frame can affect the adhesion and stability of the mirror. Cleaning the surface thoroughly and allowing it to dry before installation will help ensure a secure attachment. Additionally, roughing up the surface of the wood slightly can improve adhesion for certain types of adhesives.
In addition to considering the weight and adhesive, it is also essential to take precautions during the installation process itself. When handling large mirrors or heavy wooden frames, it is advisable to have assistance from another person to prevent accidents or injuries. Working in a well-lit and spacious area can also minimize the risk of mishaps. Furthermore, using protective gear such as gloves and safety goggles can provide additional safety during the installation process.
Lastly, regular maintenance and inspection of the mirror and wooden frame are crucial for ensuring ongoing safety. Over time, adhesives may weaken or deteriorate, and the frame may experience wear and tear. It is important to periodically check the security of the mirror and frame, ensuring that they remain firmly attached. Any signs of damage or weakness should be addressed promptly to prevent any potential accidents.
snFmWCTFHIk” >
Conclusion
In conclusion, securing a mirror to a wooden frame is a breeze when armed with the right tools and techniques. With a dash of caution and a sprinkle of know-how, your mirror will stay put for years to come.
First things first, gather your trusty tools: measuring tape, adhesive, mirror clips or brackets, and screws. Measure and mark the perfect spots on both the mirror and frame for attachment. Precision is key.
Now it’s time to choose the star of the show – the adhesive. Mirror mastic or silicone adhesive are top contenders in this game. Apply it evenly onto the back of the mirror, then securely fasten those mirror clips or brackets to the frame using a screwdriver or drill.
For those larger-than-life mirrors that demand extra support, reinforcements are in order. Strengthen that frame with crossbars or support beams to distribute weight like a pro. And don’t forget about wire or supporting brackets installed on the wall behind the mirror for added stability.
Before you dive into attaching your masterpiece, make sure both surfaces are squeaky clean. Banish dust and debris from both the mirror and frame using appropriate cleaning solutions. Give them ample drying time before moving forward.
Safety first. Protect those peepers with goggles and slip on some gloves before tackling this project. And if you’re dealing with hefty mirrors or weighty frames, call in backup to avoid any mishaps.
To keep things rock solid over time, regularly check and tighten those clips or brackets. Stay vigilant for any signs of wear or damage on both the mirror and frame – nip them in the bud ASAP.
By following these steps while keeping safety at the forefront of your mind, you’ll secure that stunning mirror to its wooden frame like a seasoned pro.

