Are you tired of staring at that outdated wallpaper in your home? You’re not alone. Many homeowners feel the same way. But removing old wallpaper can be a daunting task, leaving behind sticky, stubborn residue on your walls. And let’s face it – nobody wants to deal with that.
Removing wallpaper glue can be frustrating and time-consuming if not done properly, but don’t worry. We’ve got you covered with the best tips and tricks to remove wallpaper glue successfully. From traditional methods like water and soap to more modern techniques like steamers and chemical removers, we’ll provide step-by-step instructions for each method.
We understand that every homeowner has different needs and budgets, so we’ll also highlight the pros and cons of each technique. That way, you can choose the best solution for your specific situation.
So say goodbye to that pesky wallpaper glue and hello to a fresh, clean surface ready for your next décor adventure. Keep reading to discover the most effective ways to remove wallpaper glue after removing wallpaper.
Different Types of Wallpaper Glue
Contents
When it comes to removing wallpaper glue, there’s no one-size-fits-all solution. The type of glue used plays a significant role in determining the best removal method. Here are five subtopics that will help you understand the different types of wallpaper glue and how they affect removal.
Cellulose-Based Glue
Cellulose-based glue is a common type of wallpaper adhesive made from plant-based materials. It’s often used in traditional wallpaper applications and is easy to remove using warm water and a sponge or scraper. The glue dissolves in water, making it easy to scrape away with a putty knife or scraper. However, be careful not to damage the wall underneath while removing it.
Starch-Based Glue
Starch-based glue is commonly found in pre-pasted wallpaper and can be more challenging to remove than cellulose-based glue. A mixture of hot water and vinegar can be effective in removing starch-based glue. Mix equal parts of hot water and white vinegar in a spray bottle, spray the mixture liberally onto the wallpaper, and let it sit for several minutes before scraping away with a putty knife or scraper.
Vinyl-Based Glue
Vinyl-based wallpaper glue is a modern type commonly used in wallpaper applications. This type of glue is especially stubborn to remove as it’s not water-soluble. It requires a solvent-based solution or steam to soften the adhesive before it can be scraped away. Follow the instructions carefully when using a chemical remover, as some removers require dilution or multiple applications.
Clay-Based Adhesive
Clay-based adhesive is known for its strong adhesion and can be particularly challenging to remove. It may require a combination of scraping, sanding, and using a solvent-based solution. Use caution when handling such adhesives as they may contain harmful chemicals that require protective gear.
Specialty Wallpaper Adhesives
Specialty wallpaper adhesives designed for specific applications, such as heavy-duty or moisture-resistant wallpapers, may require their unique removal methods. Be sure to read and follow the instructions carefully when dealing with specialty wallpaper adhesives.
In conclusion, understanding the type of wallpaper glue used is crucial in determining the best removal method. Different types of wallpaper glue have varying degrees of adhesion and solubility, making them more or less challenging to remove.
Removing Water-Based Wallpaper Glue
Removing water-based wallpaper glue may seem like a daunting task, but with the right supplies and approach, it can be a breeze. As an expert in this area, I’ve compiled some simple steps to help make the process easier.
Firstly, gather all necessary supplies: a bucket of warm water, a sponge, a scraper or putty knife, and vinegar or fabric softener (if required). Once you have everything you need, it’s time to get started.
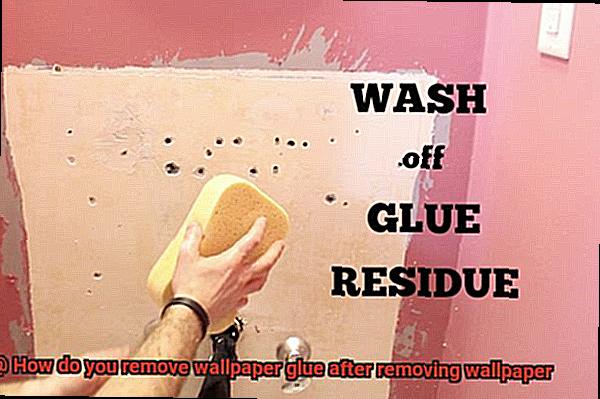
Begin by dampening the wallpaper glue with warm water and let it sit for a few minutes. This will help to loosen the glue and make it easier to remove.
Using a scraper or putty knife, gently scrape away the wallpaper glue from the wall. Take care not to damage the wall surface underneath.
If the glue is being stubborn, consider adding vinegar or fabric softener to your warm water solution. These substances can help break down the glue and make it easier to remove.
Once all of the wallpaper glue has been removed, use a clean sponge and fresh warm water to wipe down the walls and remove any remaining residue.
It’s essential to note that if you are removing wallpaper glue from drywall or other delicate surfaces, it may be best to consult a professional to avoid causing damage.
Removing Stubborn Wallpaper Glue with Chemical Removers
Removing stubborn wallpaper glue can be a daunting task, but with the right chemical remover and safety precautions, it can become a breeze. As an expert in this area, I have compiled some simple steps to help you remove stubborn wallpaper glue with chemical removers.
Step 1: Prioritize Safety
Before beginning the process, it is crucial to prioritize safety. Be sure to wear protective gloves and eyewear, and work in a well-ventilated area to minimize fumes.
Step 2: Choose Your Chemical Remover Wisely
When it comes to chemical removers, there are two main types: solvent-based and water-based. Solvent-based removers are stronger and faster-acting but can also be more hazardous. Water-based removers are generally safer but may require more time and effort to achieve the desired results. Choose the one that best suits your needs and preferences.
Step 3: Apply the Chemical Remover
Using a brush or roller, apply the chemical remover onto a small section of the wall. Be sure to follow the recommended amount of time specified on the product label before moving on to the next step.
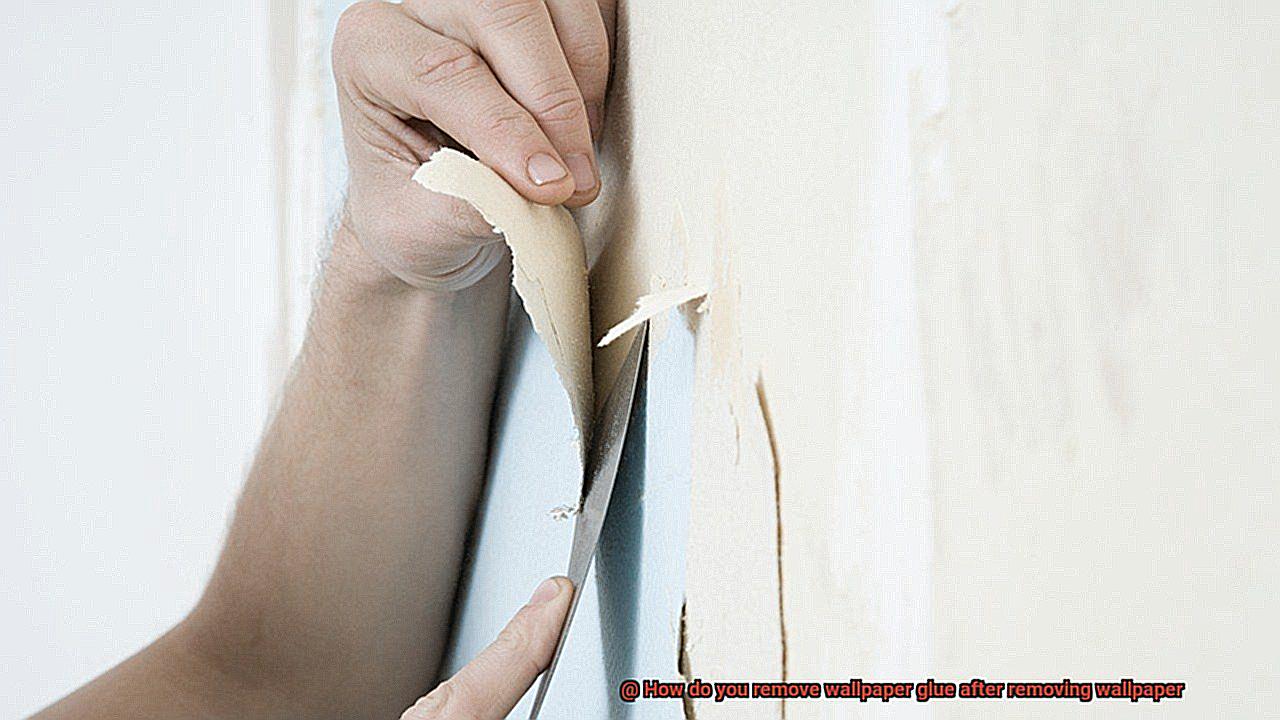
Step 4: Scrape Away the Glue
Once the glue has softened, use a scraper or putty knife to gently remove it from the wall. It may take several applications of the chemical remover and scraping before all of the glue is removed.
Step 5: Clean Up
Once all of the glue has been removed, be sure to thoroughly clean the walls with soap and water or a mild detergent solution to remove any residue from the remover.
Using a Steamer to Remove Wallpaper Glue
There’s a solution that’s both efficient and effective – using a steamer.
Picture this: hot water vapor being used to soften and loosen the glue, making it as easy as pie to scrape off with a putty knife or scraper. Now, that’s a game-changer.
But how do you use a steamer? First, fill it with water and let it heat up according to the manufacturer’s instructions. Once ready, hold the steamer against the wallpaper for several seconds, ensuring every inch is covered. This will cause the glue to soften and become simpler to remove.
It’s imperative that you work in small sections when using a steamer, so that the glue doesn’t get the chance to cool and harden again before you can remove it. And don’t forget, if the glue is particularly stubborn, using a scraper or putty knife can help.
Safety is of utmost importance when using a steamer. Although it’s an effective method of removing wallpaper glue, make sure you take precautions to protect yourself from burns or other injuries. Wear protective gloves and clothing, keep the steamer away from children or pets, and work in a well-ventilated area as the steam can be quite hot and may cause respiratory irritation.
Cleaning the Wall After Removal of Glue
Now, it’s time to clean up the mess left behind. But don’t worry, cleaning the wall after removing glue is a straightforward process that anyone can do with a little bit of knowledge and the right tools.
- Before you get started, gather your materials: a sponge, warm water, scraper or putty knife, bucket, cleaning solution (such as vinegar or commercial wallpaper remover), and a clean towel or rag. Once you have everything at hand, follow these simple steps:
- Step 1: Moisten the glue residue with warm water. This will help to soften the glue and make it easier to remove. But be careful not to soak the wall too much, as this can cause damage.
- Step 2: Use a scraper or putty knife to gently scrape off the softened glue residue. Be careful not to damage the wall surface or create any scratches while doing this. If the glue residue is stubborn and won’t come off easily, use a cleaning solution such as vinegar or commercial wallpaper remover. Follow the instructions carefully when using commercial products.
- Step 3: After removing all the glue residue from the wall surface, it’s important to thoroughly clean the area using warm water and a sponge. This will help to remove any remaining traces of glue or cleaning solution from the wall.
- Step 4: Dry the area using a clean towel or rag. Make sure that there’s no moisture left on the wall surface before moving on to any further decorating or renovation work.
- Step 5: In some cases, you may find that the wall surface has become damaged or discolored due to the removal of wallpaper and glue. If this is the case, you may need to do some additional repair work such as patching up holes or repainting the wall.
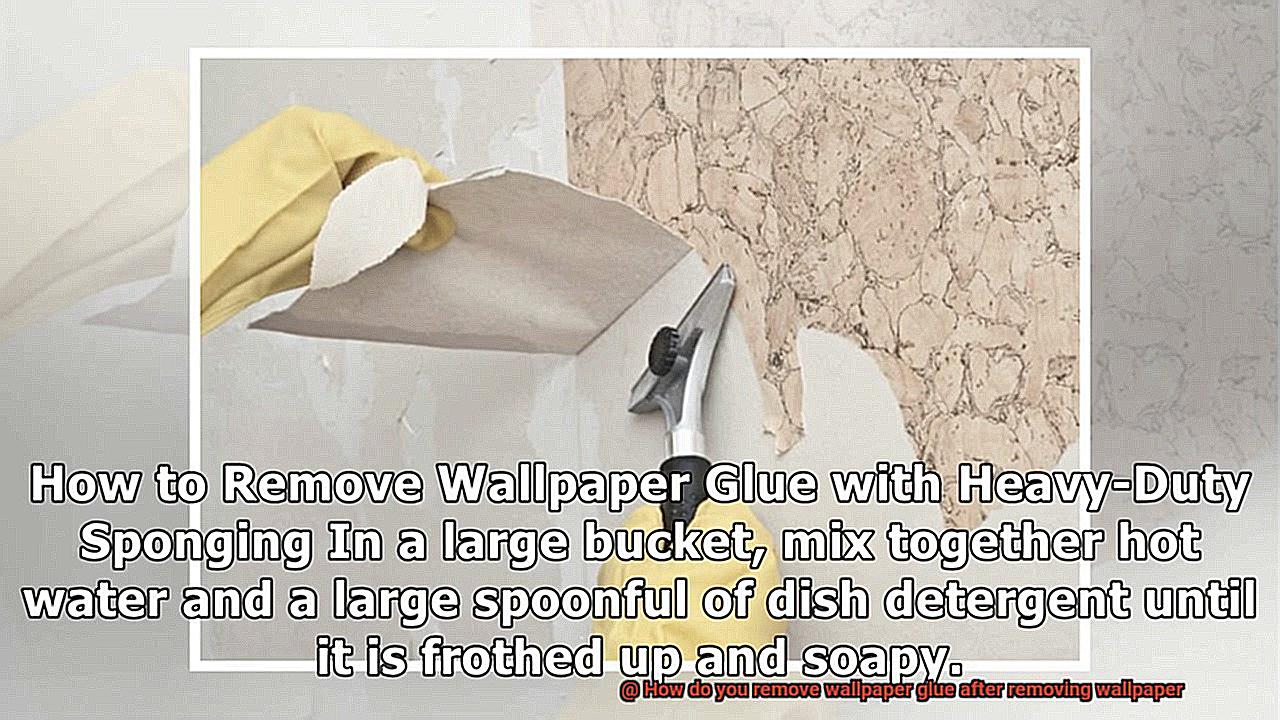
Cleaning the wall after removing wallpaper glue may seem like a daunting task, but it’s an essential part of the process if you want to achieve a smooth and clean wall surface that’s ready for your next decorating project. By following these simple steps and using the right tools and materials, you can get the job done in no time.
Tips for Effective Removal of Wallpaper Glue
Removing wallpaper glue might seem like a daunting task, but with the right techniques, it can be done effectively. Here are five sub-sections explaining tips for the effective removal of wallpaper glue.
Preparations are Key:
Before you begin, make sure to prepare the area. Remove any nails or screws from the wall and cover electrical outlets to avoid damage. Having a clean and clear workspace will ensure a smoother and faster process.
The Power of Warm Water:
Warm water is an effective way of loosening wallpaper glue. Apply warm water to the wall using a sponge or spray bottle, and let it sit for a few minutes. This will help dissolve the glue and make it easier to remove.
The Handy Wallpaper Scraper:
Invest in a wallpaper scraper as it is a tool that can help you remove the glue quickly and easily. You can purchase one at your local hardware store or online. It is an essential tool that will make your work much easier and faster.
Consider Wallpaper Removal Solution:
If warm water alone does not work, consider using a wallpaper removal solution. These solutions are available at most home improvement stores and are designed to dissolve wallpaper glue. Follow the manufacturer’s instructions carefully, and then scrape off the glue.
Be Patient:
Removing wallpaper glue can take time, so be patient and don’t rush the process. Take breaks if needed to avoid frustration. Work in small sections, making sure to thoroughly remove all of the glue before moving on to the next section. Rome wasn’t built in a day.
tZ3xyOuLnKk” >
Conclusion
Removing wallpaper glue can seem like a daunting task, but fear not. With the right techniques and tools, you can remove it effectively. It’s crucial to understand the type of wallpaper glue used as it determines the best removal method. The degree of adhesion and solubility varies from one type of wallpaper glue to another, making some more challenging to remove than others.
You have several options for removing wallpaper glue successfully. Traditional methods like warm water and soap work well for water-based wallpaper glue. Letting it sit for a few minutes before gently scraping it off with a scraper or putty knife can help. If you’re dealing with stubborn residue, chemical removers or steamers can also be effective. However, be sure to take safety precautions when using these methods.
Once you’ve removed the wallpaper glue, cleaning the wall is essential to achieve a smooth surface that’s ready for your next decorating project. Investing in a wallpaper scraper and covering electrical outlets beforehand can make the process easier and more efficient.
Patience is key when removing wallpaper glue – it may take time to get rid of all the residue thoroughly.

