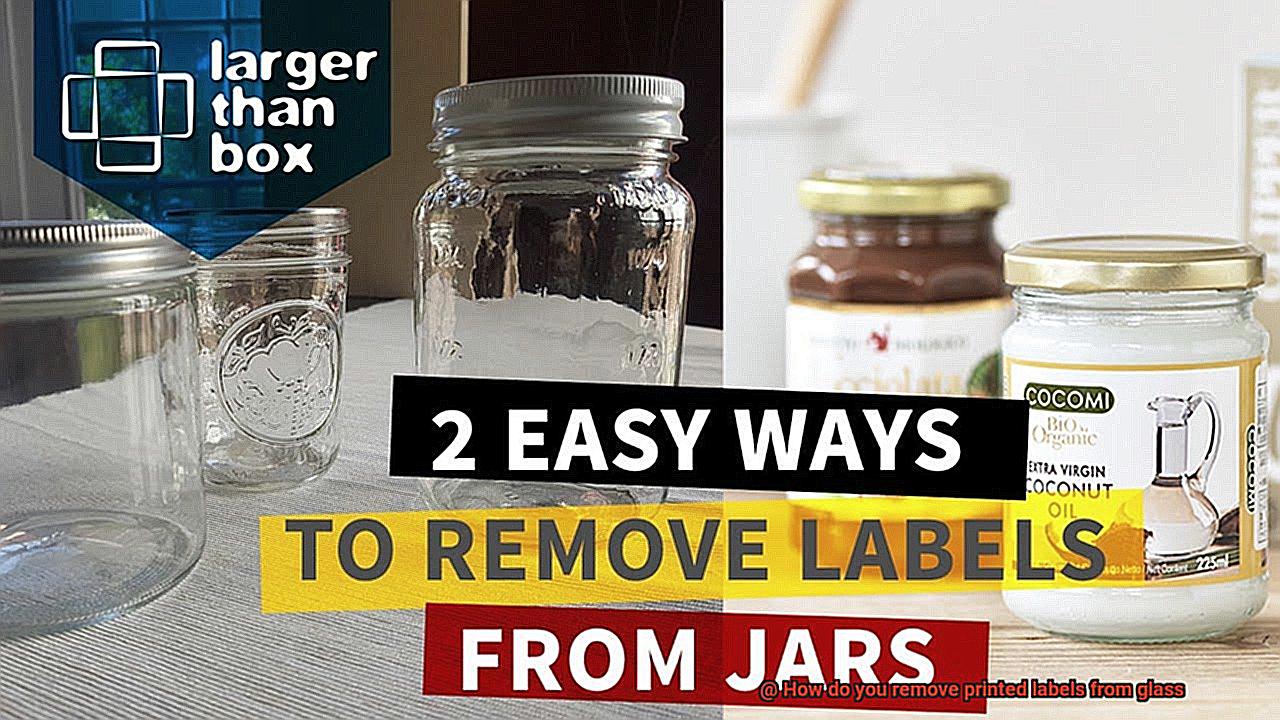
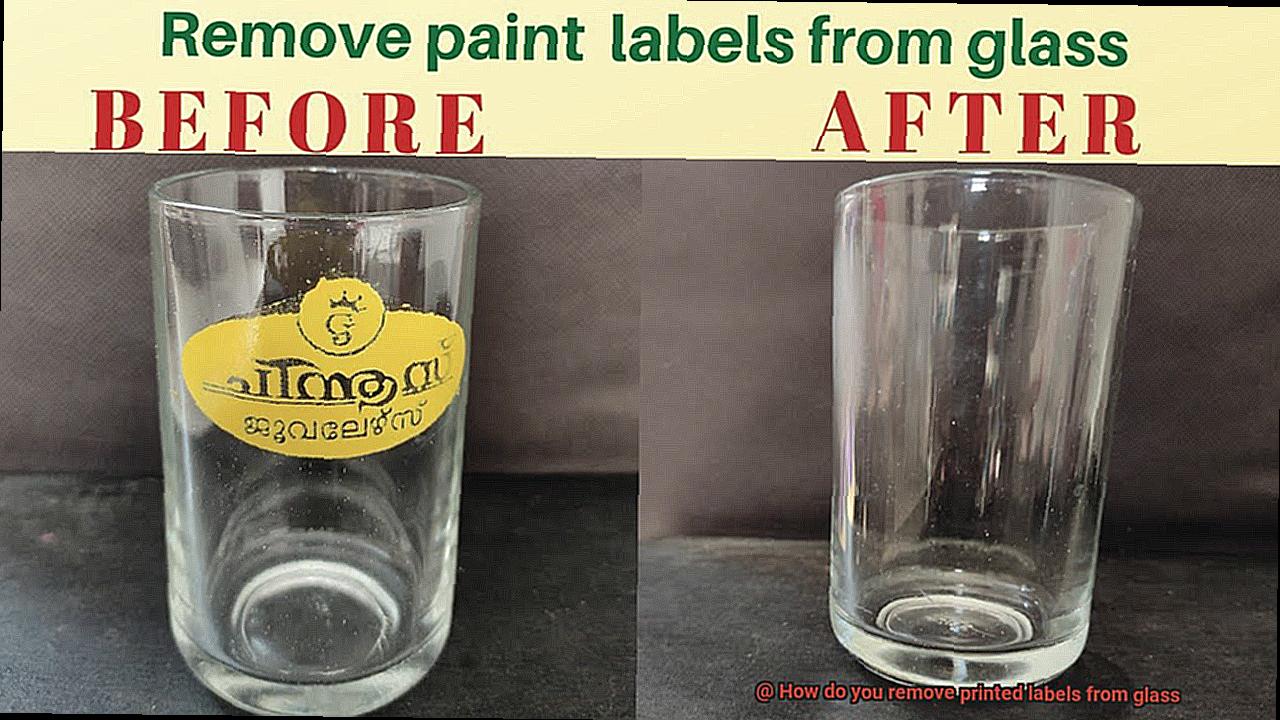
Ever been captivated by a stunning glass jar or bottle, only to be deterred by stubborn labels that refuse to budge? We’ve all been there, tirelessly scraping away at those pesky stickers, fearing damage to the delicate glass surface. But fret not, my friend, for today we reveal the long-awaited secrets to safely and effortlessly rid your glass of those printed labels. Get ready for a label-free canvas that’s just waiting for your creative touch.
Imagine the endless possibilities of repurposing or upcycling glass containers without the sticky gunk and residue. Picture your beloved glassware gleaming, devoid of any remnants from its previous life. With our expert tips, you too can experience this seemingly magical transformation.
In this all-encompassing guide, we’ll walk you through step-by-step on the most effective methods to bid farewell to printed labels on glass. We’ll explore a range of techniques – from household heroes to specialized products – that promise to banish even the most stubborn adhesive remnants.
Our journey begins with unraveling the science behind these clingy labels, understanding why they stick around for so long. From there, we’ll embark on an exploration of powerful yet gentle solutions that have stood the test of time. Brace yourself for the transformative powers of natural ingredients, the enchantment of heat, and the miracles brought forth by commercial adhesive removers.
So whether you’re a glass enthusiast, a passionate DIYer, or simply someone tired of unsightly labels cluttering your cupboards, come join us on this enlightening adventure as we unlock the secrets to removing printed labels from glass. Let’s set sail towards label-free perfection.
What is a Printed Label?
Contents
- 1 What is a Printed Label?
- 2 Common Methods for Removing Labels from Glass
- 3 Using Warm Water and Dish Soap
- 4 Using Vinegar
- 5 Using Rubbing Alcohol or Nail Polish Remover
- 6 Specialized Adhesive Removers
- 7 Testing the Method on an Inconspicuous Area
- 8 Following Manufacturer’s Instructions and Safety Guidelines
- 9 Conclusion
Step into the enchanting world of printed labels, where artistry meets functionality on glass surfaces. These adhesive wonders have become an essential part of our everyday lives, serving a myriad of purposes in various industries. Join us as we embark on a journey exploring the composition, applications, and significance of printed labels in branding and information dissemination.
Composition of Printed Labels:
Printed labels are masterpieces crafted from three key elements: a base material, an adhesive layer, and a top coating. The base material, handpicked for its unique characteristics, can range from paper to vinyl, polyester, or transparent materials. Each choice reflects specific needs such as durability, flexibility, and the desire for seamless integration on glass surfaces.
The adhesive layer, the magical bond between label and glass, is a formulation that ensures steadfast attachment while being easily removable when required. This adhesive marvel endures temperature fluctuations, humidity, and even encounters with water or chemicals.
To preserve the printed label’s allure and safeguard its design from the ravages of time, a top coating is applied. Like a guardian angel, this coating can be glossy or matte, offering a protective shield against scratches, fading, and other mishaps that could tarnish its visual splendor.
Applications of Printed Labels:
Printed labels are superheroes found in various industries, transforming mundane glass surfaces into captivating canvases. Let’s explore their superpowers:
- Branding: With every stroke of design brilliance, printed labels breathe life into brand identities by showcasing logos, slogans, and distinctive motifs. They are the emblem that distinguishes products from their competitors and captures consumers’ attention.
- Product Information: Like tiny messengers of truth, printed labels unveil vital information to consumers. From product names to ingredients, usage instructions to safety warnings, these labels ensure transparency and compliance with regulations.
- Marketing Magic: High-quality printed labels wield the power to captivate the hearts and minds of consumers. Their visual allure acts as a siren’s call, beckoning potential buyers to explore and embrace the product. A well-crafted label can leave an indelible mark, igniting desire and inspiring purchase decisions.
Common Methods for Removing Labels from Glass
I am here to share with you a treasure trove of common methods for removing labels from glass. No matter if it’s a stubborn sticker or a relic from years past, these techniques will have your glass looking brand new in no time.
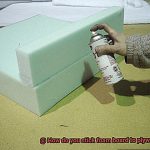
Let’s start with heat, a popular choice among label liberators. Grab a hairdryer or pop that glass in the oven and let the magic happen. The heat works its charm by softening the adhesive, making it a breeze to peel off the label. Just remember to tread carefully, as too much heat can send your beloved glassware crashing down.
If chemicals are more your style, solvents are your saviors. These specially designed potions dissolve the adhesive, allowing you to effortlessly peel off the label. Just make sure to choose a solvent that’s gentle on glass and follow the instructions diligently. We wouldn’t want any accidental damage spoiling the party.
For those who prefer going au naturel, household heroes like vinegar and rubbing alcohol come to the rescue. These humble substances work their magic by dissolving the adhesive, making label removal a breeze. Sure, it might take a little longer than using solvents, but it’s worth it for those seeking eco-friendly solutions.
But what about those labels that cling on like stubborn barnacles? Well, my friend, scraping is your secret weapon. Armed with a razor blade or scraper tool, you can delicately scrape off the label from the glass surface. Just remember to handle with care to avoid unsightly scratches on your precious glassware.
If patience is your virtue, soaking is your ally. Immerse that glass in warm soapy water and let it work its wonders. The label will start to loosen its grip, making it easier to bid adieu. This method is particularly effective for those persistent labels that have overstayed their welcome.
But wait, before you embark on your label-removing journey, a word of caution. Always test these methods on a small, inconspicuous area first to avoid any unwanted damage or discoloration. And remember, removing labels from glass requires time and effort, so be patient and persistent. Your glassware will thank you for the transformation.
Using Warm Water and Dish Soap
Prepare to witness the mesmerizing power of warm water and dish soap as they work in harmony to free your glass treasures from the clutches of stubborn labels. Join us on this thrilling journey as we unlock the secrets to label removal success, bringing newfound freedom and beauty to your cherished glassware.
To understand the enchantment behind this method, we must first recognize the individual roles played by warm water and dish soap. Warm water emerges as a benevolent force, gently loosening the adhesive grip of the label, while dish soap acts as a relentless warrior, breaking down any lingering oils or residue that dare to mar the glass surface. Together, they form an unstoppable duo, destined to conquer.
Now, prepare your tools for this extraordinary endeavor. Seek out a basin or sink ready to be filled with just the right temperature of warm water – a perfect balance between hot and cold. Into this vessel, add a few drops of trusty dish soap, swirling them together like a master alchemist concocting a potion of power.
The time has come to immerse your glass item into this magical elixir. Allow it to soak and bask in the warmth and cleansing energy of the solution for a few minutes. This period of rest grants the adhesive no respite, weakening its stronghold and preparing it for inevitable defeat.
As the minutes pass, ready your weapons – a sponge or cloth. With gentle yet purposeful strokes and circular motions, lovingly scrub away the label from your glassware. Feel the satisfaction as it begins to surrender, peeling away with ease.
But what if the label proves more resistant than anticipated? Fear not, brave warriors. Call upon reinforcements in the form of a plastic scraper or even your own trusty fingernail. Approach with caution and care, skillfully scraping away any lingering adhesive without causing harm to the precious glass beneath.
With the label vanquished, it is time for a cleansing ritual. Rinse your glass thoroughly with clean water, washing away any remnants of soap or adhesive that may linger. Observe as the glass emerges, pristine and untainted, ready to reclaim its rightful place in your collection.
Using Vinegar
I am here to share with you the magical powers of vinegar in banishing those stubborn labels away. Vinegar, a versatile and natural cleaning agent, has acidic properties that work wonders in breaking down the adhesive used in sticking labels. So grab your white vinegar, paper towels, and let’s dive into the step-by-step process of using vinegar to restore the glory of your glass collection.
First things first, prepare the glass surface. Clean it meticulously, ensuring not a speck of dirt or debris remains. We want that vinegar to work its magic without any hindrance. Next, immerse a cloth or paper towel in white vinegar until it is saturated but not dripping. The amount of vinegar needed will depend on the size and stubbornness of the label.
Now comes the fun part. Place the vinegar-soaked cloth or paper towel onto the label, making sure it covers every inch. Gently press down to establish a strong bond between the vinegar and label. Let it marinate for about 10-15 minutes, allowing the vinegar to penetrate and weaken the adhesive. This is where the real battle begins.
After letting it sit, commence peeling off the label from one corner. If it clings stubbornly, fear not. Repeat steps 3 and 4, allowing the vinegar to further break down the adhesive. Persistence is key in this quest for label-free glass.
But wait, there’s more. In some cases, remnants of adhesive residue may linger on the glass even after removing the label. Fret not. Reapply vinegar to a clean cloth or paper towel and gently rub the residue until it lifts off. We want our glass treasures to shine bright like diamonds.
If there are still remnants of the label or residue clinging onto your glass like a stubborn child, bring out your trusty plastic scraper or an old credit card. Gently scrape off those tenacious bits, taking utmost care not to mar the glass surface. We want our glass treasures to remain unharmed and flawless.
And there you have it, my fellow label-fighting warriors. With the power of vinegar in your hands, your glass collection will be liberated from the clutches of those pesky printed labels. So go forth and restore the beauty of your cherished treasures. Remember, a little vinegar goes a long way in this noble quest.
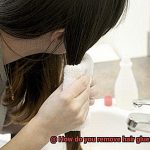
Using Rubbing Alcohol or Nail Polish Remover
Labels on glass can be an unwelcome eyesore, tainting the elegance of your cherished glassware collection. But fret not, my fellow label-haters. In this captivating guide, we will delve into the enchanting world of label removal using the dynamic duo of rubbing alcohol and nail polish remover. Armed with nothing but a cloth or sponge, prepare to embark on a journey to rid your glass surfaces of those pesky labels once and for all.
Unveiling the Magic of Rubbing Alcohol
- Rubbing alcohol, or isopropyl alcohol, possesses remarkable solvent properties that can effortlessly dissolve adhesive substances.
Gather Your Arsenal
- Equip yourself with a trusty cloth or sponge and a modest amount of rubbing alcohol.
Dampen and Conquer
- Moisten the cloth or sponge with rubbing alcohol, channeling your inner label-destroyer, and gently rub the edges of the label.
- Witness the label surrendering its grip on the glass as you continue your determined assault.
- Persistence is key—keep rubbing until every last trace of the label is vanquished, replenishing your weapon with more rubbing alcohol if necessary.
Erasing All Evidence
- Once the label has been defeated, employ a clean cloth or sponge to eradicate any lingering adhesive residue.
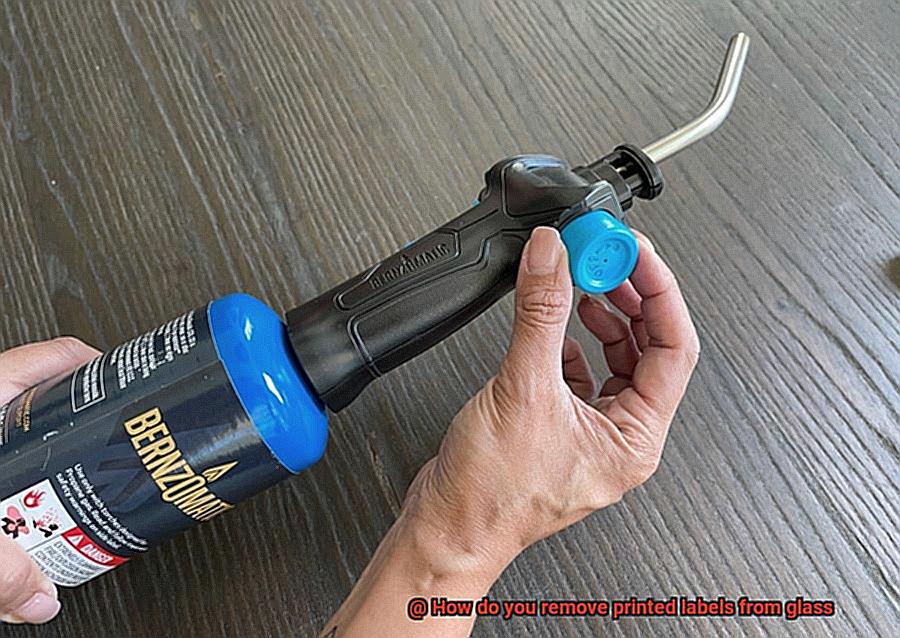
Specialized Adhesive Removers
Well, fear not. I am here to introduce you to the fascinating world of specialized adhesive removers. These incredible products are specifically formulated to tackle all types of adhesives, including those found on printed labels. With their powerful solvents and chemicals, they effortlessly break down the adhesive bond without causing any harm to your precious glass surfaces. It’s like having a superhero in a bottle, ready to save the day.
One of the most popular types of specialized adhesive removers is the citrus-based solvent. Imagine the natural citrus extracts, like orange oil, swooping in to dissolve the adhesive and make it a breeze to remove. These citrus-based removers not only work wonders but also leave your glass surfaces spotless. No residue or stains left behind, just sparkling clean glass that shines like new.
Another hero in the world of specialized adhesive removers is the gel formula. This mighty gel is directly applied to the label or adhesive residue, penetrating deep into the adhesive and breaking down its bond with the glass. But remember, this hero requires some time to work its magic. Follow the product instructions carefully for optimal results. Apply a generous amount of gel, let it sit for a few minutes, and watch as it effortlessly loosens that stubborn label.
Once the gel has had time to work its wonders, it’s time for some gentle scraping action. Grab a plastic scraper or even a trusty old credit card (we won’t judge.) and carefully scrape off the label. Be cautious not to scratch the glass surface. If there are any remnants of adhesive left behind, simply reapply the gel remover and repeat the scraping process until every last trace of adhesive is vanquished.
Now, it’s important to keep in mind that specialized adhesive removers may vary in effectiveness depending on the type of adhesive used on the label. Some adhesives might require multiple applications or additional techniques for complete removal. So, don’t be discouraged if it takes a little extra effort to bid farewell to that persistent adhesive.
Before embarking on your label removal adventure, remember to test the adhesive remover on a small, inconspicuous area of the glass to ensure compatibility and avoid any potential damage. Additionally, it’s advisable to wear protective gloves and work in a well-ventilated area when using specialized adhesive removers, as some products may emit strong odors or contain harsh chemicals.
Testing the Method on an Inconspicuous Area

Labels on glass surfaces can be a stubborn adversary, but fear not. Armed with the right adhesive removers, you can conquer these sticky foes and restore your glass to its pristine state. However, before embarking on your label removal mission, there’s a crucial step you can’t afford to skip – testing the method on an inconspicuous area. This hidden hero move can save you from potential disasters. Join us as we uncover the why and how of this essential step.
Assessing Effectiveness: Unleashing the Right Superpower
Just like superheroes possess unique powers, adhesive removers come in various forms – citrus extracts, gel formulas, solvents, or even natural alternatives like vinegar or baking soda. By testing on an inconspicuous area, you can evaluate which method wields the strongest power against your specific label and glass combination. It’s like trying out different superpowers to see which one defeats the evil adhesive.
Preventing Damage: Shielding Your Glass Fortress
Glass is a delicate material, and using the wrong adhesive remover or technique can leave behind unsightly damage. That’s where testing on an inconspicuous area swoops in to save the day. By selecting a small and hidden spot, such as a corner or edge, you can gauge any potential risks without jeopardizing the entire glass surface. It’s like donning a protective shield before entering battle with the label monster.
Cleaning the Battlefield: Preparing for a Fair Fight
Before commencing your label removal experiment, it’s crucial to thoroughly clean the inconspicuous test area using mild soap and water. This ensures that no interfering substances or residues are present on the glass, guaranteeing accurate test results. Think of it as clearing the battlefield of hidden traps or obstacles that could hinder your success.
Observing Signs of Victory or Defeat: Detective Work at its Finest
Once you’ve applied the chosen removal method to the inconspicuous area, it’s time to play detective and closely observe the results. Keep a keen eye out for any changes in the glass’s appearance, such as discoloration or cloudiness. Should you notice any adverse effects, don’t panic. You can swiftly halt the process and switch to a different method. It’s like having a secret weapon up your sleeve.
Following Manufacturer’s Instructions and Safety Guidelines
In our quest to conquer stubborn labels on glass surfaces, we’ve explored various techniques and tools. But before we dive into battle, it’s essential to equip ourselves with the most important superpower of all – following manufacturer’s instructions and safety guidelines. Trust me, this is one power you don’t want to overlook. Let’s explore why it’s crucial to abide by these instructions and how they can save the day.
The Power of Specificity:
Different manufacturers mean different instructions. Each product has its own unique formula, and by following the manufacturer’s guidelines, we ensure that we’re using the right approach for that particular adhesive type. So, before embarking on your label-removing mission, carefully read and understand the instructions provided by the manufacturer of your chosen product.
The Power of Protection:
Glass can be delicate, just like a superhero’s secret identity. By following safety guidelines, we shield our precious glass fortress from potential harm. Wear protective gloves, goggles, or masks – depending on the chemicals or tools involved in the label removal process. Suit up, heroes – safety first.
The Power of Effectiveness:
Manufacturer’s instructions and safety guidelines are not just there for decoration; they’re designed to ensure effective label removal. Follow these instructions precisely to maximize our chances of success without damaging the glass surface. Taking shortcuts or ignoring these guidelines may result in ineffective label removal or even worse – unintended consequences.
The Power of Research:
Locating and accessing manufacturer’s instructions might seem like a secret code-breaking mission, but fear not. Check the packaging of your chosen product for any included instructions. If that doesn’t suffice, visit the manufacturer’s website or contact their customer support for guidance. Remember, knowledge is power.
jr9eppXF4y0″ >
Conclusion
Removing printed labels from glass can be a frustrating task, but fear not.
There are several effective methods you can try. One option is to use a mixture of warm water and dish soap.
Simply soak the glass in this solution for a few minutes, then gently scrub away the label with a sponge or cloth. Another approach is to apply rubbing alcohol directly onto the label and let it sit for a few minutes before wiping it away.
Just remember to test any substance on a small area of the glass first to ensure it doesn’t cause damage.