Imagine stumbling upon a captivating glass bottle, its elegant shape igniting your creative spirit. You envision transforming it into a work of art or the perfect container for your concoctions. But alas, an unsightly label clings stubbornly to its delicate surface.
Fear not, fellow crafters and upcyclers. Removing labels without damage is an art form in itself. It’s a delicate dance that requires precision, skill, and a touch of finesse.
In this guide, we’ll unveil the secrets to accomplishing this feat. We’ll explore tried-and-true techniques that will liberate your glass bottles from their labels, leaving them pristine and unscathed.
Main Points:
- The Soaking Technique: Immerse your bottle in warm water and dish soap, letting the labels loosen their grip as you prepare for removal.
- Harnessing Heat: Embrace the power of a hairdryer or boiling water to tackle stubborn labels. Controlled heat works wonders in releasing adhesive properties.
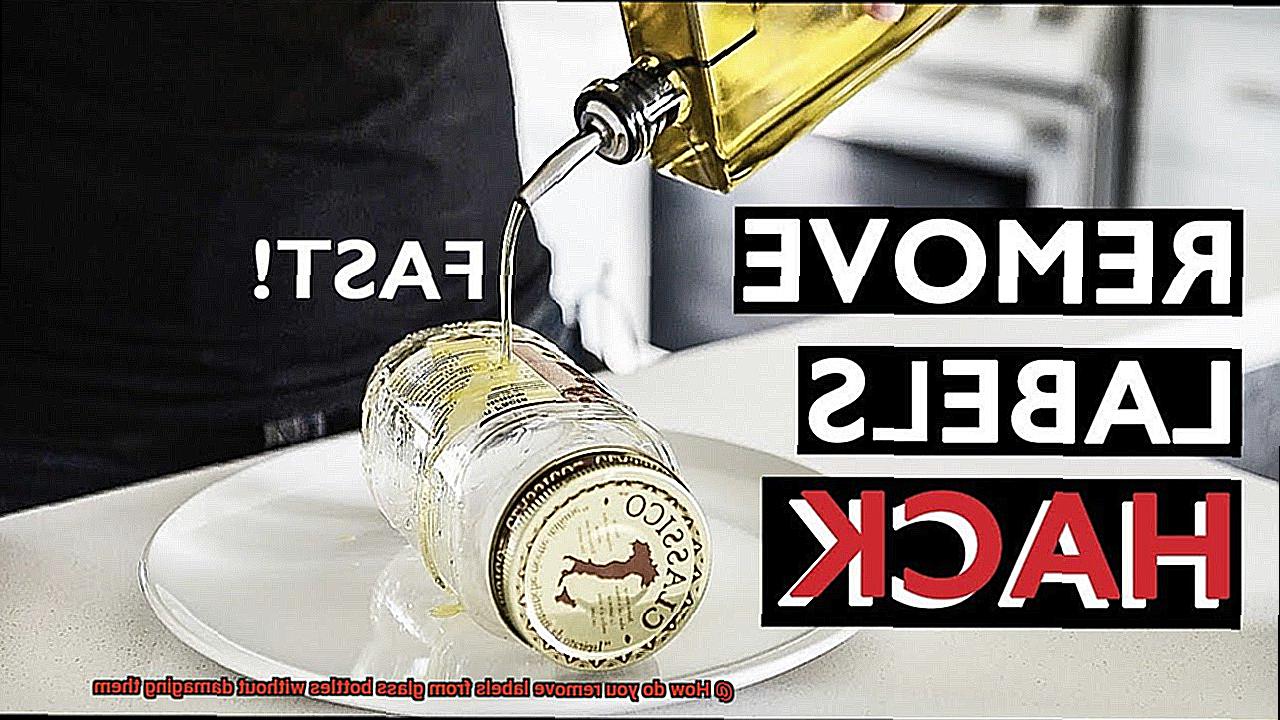
- Acetone’s Tender Touch: Discover the wonders of acetone-based solutions for safe and effective label removal without harming the glass surface.
- Going Natural: Explore eco-friendly adhesive removers like vinegar and baking soda as gentle alternatives to harsh chemicals.
- Finishing Flourish: Banish any lingering glue residue to restore your glass bottle’s luster and charm.
Armed with these invaluable tools and techniques, you’re ready to embark on your label-removing odyssey without fear of damaging your beloved glass bottles. Gather your supplies, summon patience, and let preservation’s magic unfold as you breathe new life into these timeless vessels of creativity. Together, let’s unlock the hidden potential of glass bottles—one label removal at a time.
What You Need to Know Before Removing Labels from Glass Bottles
Contents
- 1 What You Need to Know Before Removing Labels from Glass Bottles
- 2 Using Hot Water and Soap as a Label Removal Method
- 3 Leveraging Vinegar to Remove Labels from Glass Bottles
- 4 Removing Labels from Glass Bottles with Baking Soda and Oil
- 5 Utilizing Rubbing Alcohol or Nail Polish Remover for Stubborn Adhesive
- 6 Tips for Easier Label Removal
- 7 Potential Issues That Can Arise When Removing Labels From Glass Bottles
- 8 Professional Assistance for Difficult Label Removal
- 9 Conclusion
Removing labels from glass bottles can be a daunting task, but with the right knowledge and preparation, you can tackle it like a pro. In this comprehensive guide, we will walk you through the essential factors to consider before attempting label removal. From gathering the necessary materials to understanding the type of adhesive used, we have got you covered.
Gather the Necessary Materials:
Before embarking on your label removal journey, make sure you have all the essential tools at your disposal. Grab a bowl or basin filled with warm water, dish soap, a trusty sponge or cloth, and don’t forget your secret weapon—a scraper or razor blade. These items will make the process easier and more efficient.
Choose the Right Type of Glass Bottle:
Not all glass bottles are created equal when it comes to label removal. Some labels put up more resistance than others due to the adhesive used. Opt for bottles with paper or plastic labels, as they tend to be easier to work with compared to those stubborn foil or metallic labels.
Consider the Age of the Label:
Labels age just like fine wine, and their condition affects how easy or difficult they are to remove. Older labels may be brittle and prone to tearing, while newer ones can be extra sticky and challenging to get off. Take a moment to determine the label’s age before devising your removal strategy.
Determine if the Label is Water-Soluble or Oil-Based:
Labels come in different flavors—water-soluble or oil-based. Water-soluble labels can be effortlessly removed by soaking them in water, while oil-based labels demand stronger solvents like rubbing alcohol or vinegar for effective removal. Understanding the type of adhesive used will help you select the most suitable method.
Test a Small Area First:
Don’t dive headfirst into label removal without testing the waters. Apply a tiny amount of water or solvent on a hidden part of the bottle and observe for any adverse reactions or damage. This precautionary step ensures the label removal process won’t harm your precious bottle.
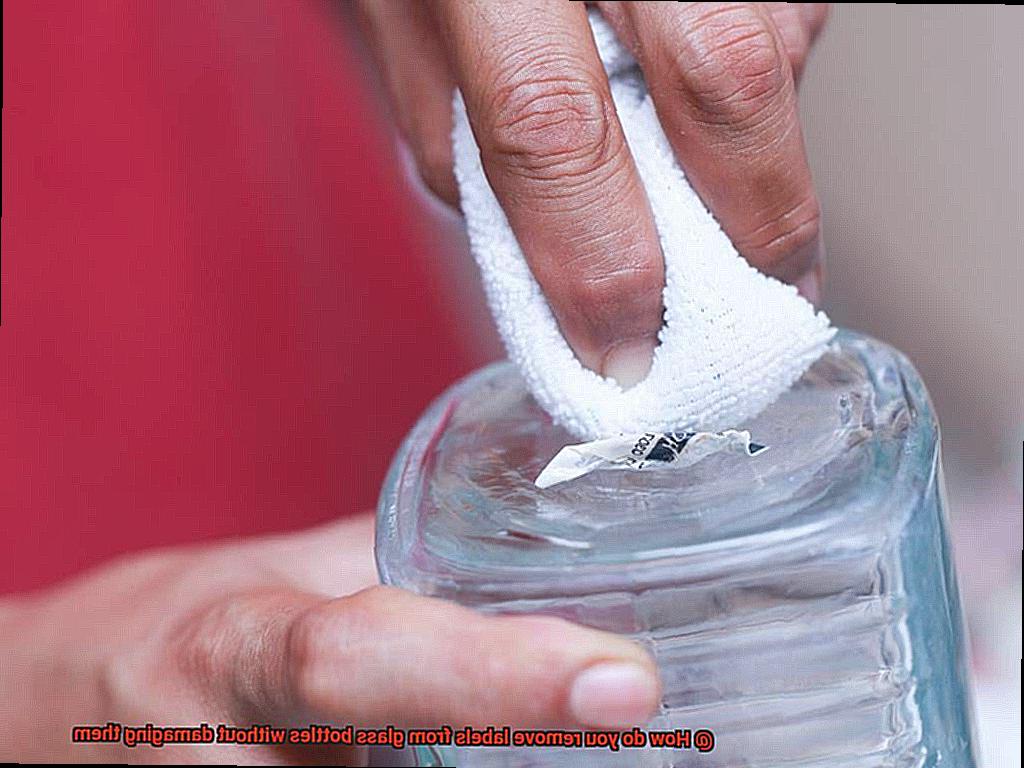
Using Hot Water and Soap as a Label Removal Method
Labels on glass bottles can be notoriously stubborn, refusing to budge no matter how hard we try. But fear not, my friends, for I am about to reveal a secret that will make label removal a breeze – the dynamic duo of hot water and soap. This tried-and-tested method will have those pesky labels surrendering in no time, leaving your bottles pristine and ready for their next adventure. So, gather your materials and let’s dive into the magical world of hot water and soap label removal.
Step 1: Gather Your Arsenal – Prepare for Victory.
Before we embark on our label removal journey, let’s ensure we have all the necessary tools at hand. Grab a sink or basin, hot water, dish soap, a trusty sponge or cloth, and a towel for drying. With this arsenal by your side, you’ll be unstoppable.
Step 2: Heat Things Up – Warmth is the Key
Now that we’re armed with our materials, it’s time to infuse some heat into the battlefield. Fill your sink or basin with hot water, making sure it’s comfortably warm to the touch. We don’t want any burnt fingers hindering our mission.
Step 3: Soapy Solution – The Secret Potion
To supercharge our label removal process, add a few drops of dish soap to the hot water. Gently mix it up, creating a glorious soapy solution that will work wonders. This potion is our secret weapon against stubborn labels.
Step 4: Take the Plunge – Submerge and Conquer
With our potent soapy solution ready, it’s time to take the plunge. Carefully immerse the glass bottle into the warm embrace of the water, ensuring the label is fully submerged. We want those adhesive bonds to weaken under the gentle persuasion of heat and soap.
Step 5: Patience is Key – Let Magic Work Its Charm
Now, my friends, comes the time for patience. Allow your bottle to soak in the hot, soapy water for a minimum of 10-15 minutes. This crucial step allows the adhesive to soften and bid its final farewell, making it easier for the label to part ways with the glass. Take this moment to find peace and tranquility amid the anticipation of victory.
Leveraging Vinegar to Remove Labels from Glass Bottles
This natural and non-toxic solution is a game-changer when it comes to label removal. In this comprehensive guide, we will walk you through the step-by-step process of leveraging vinegar to effortlessly remove labels from glass bottles. Get ready to witness the magic unfold as we unlock the secrets of vinegar.
Step 1: The Vinegar-Water Solution – Your Secret Weapon
Prepare for label removal success by gathering your supplies: a container or sink, warm water, and, of course, vinegar. While white vinegar is the go-to choice, don’t underestimate the power of apple cider vinegar. Fill your container with warm water and generously add vinegar until the bottle is completely submerged in this potent potion.
Step 2: Let the Vinegar Work its Marvels
Allow the vinegar-water solution to work its magic by gently placing your glass bottle into the mixture. Let it soak for approximately 30 minutes, giving the vinegar’s acidity ample time to break down the adhesive holding those labels hostage.
Step 3: Scrubbing Away Label Woes
After the soaking period, arm yourself with a sponge or cloth soaked in the vinegar-water solution. Begin gently scrubbing the label, reveling in how effortlessly the adhesive starts to dissolve. Peel off that stubborn label with newfound ease. For those particularly resilient labels or sticky residue, fear not. Equip yourself with a scrub brush or an old toothbrush dipped in the vinegar-water solution. Apply a little extra elbow grease, but remember to tread lightly to safeguard against any potential scratches on the glass surface.
Step 4: Spot-Treat and Rinse – A Thorough Finishing Touch
If traces of adhesive persist, fear not, for there is a spot-treating solution. Immerse a cotton ball in undiluted vinegar and target those stubborn areas. Allow the vinegar to work its magic for a few minutes, further loosening the adhesive’s grip. Then, with a clean cloth, wipe away the remnants of the adhesive. Once satisfied with your label-free bottle, rinse it thoroughly with water, ensuring no traces of vinegar remain. Dry the bottle with a clean towel or let it air dry to complete the process.
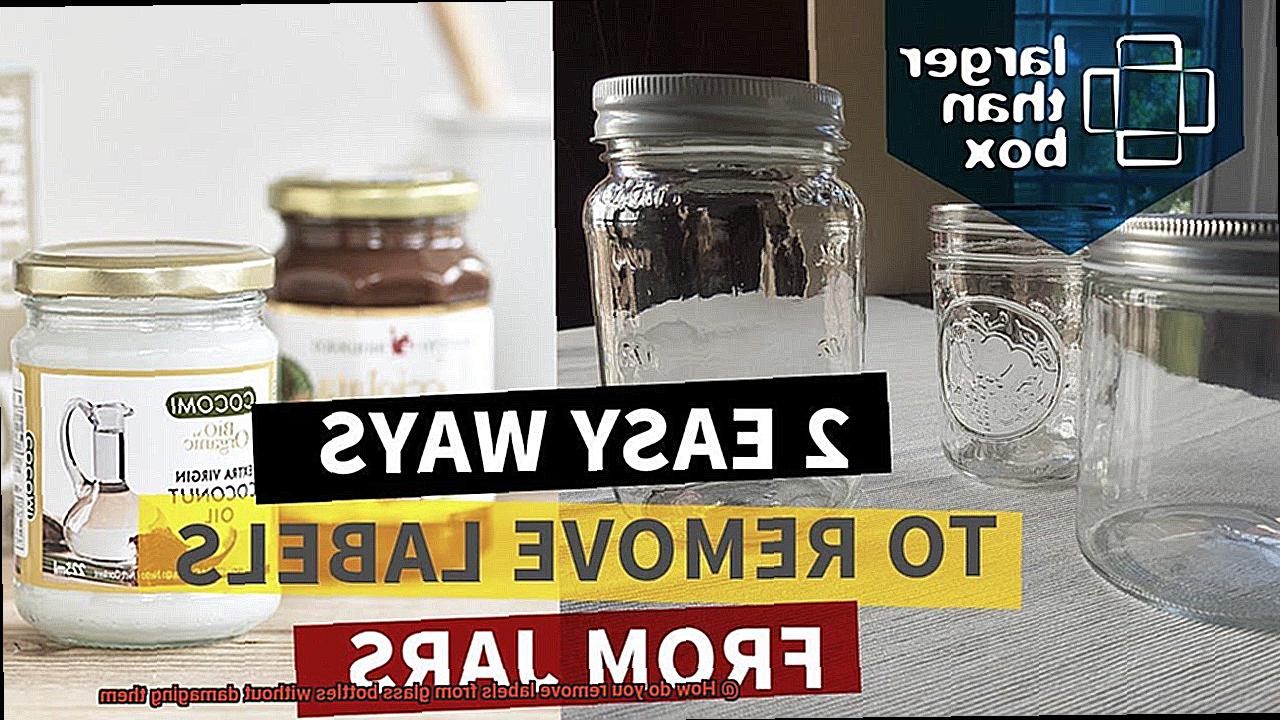
Removing Labels from Glass Bottles with Baking Soda and Oil
Labels on glass bottles can be a frustrating obstacle, but fear not. In this guide, we will reveal the secrets of using baking soda and oil as a magical solution to effortlessly remove those stubborn labels. Prepare to witness the enchantment unfold as your glass bottle emerges label-free and ready for a new purpose.
Why Baking Soda and Oil?
Before we embark on the step-by-step process, let’s understand why baking soda and oil make the perfect duo for label removal. Baking soda, also known as sodium bicarbonate, is not only a pantry staple but also a gentle abrasive that delicately lifts labels and adhesive residue from glass surfaces. In addition, oil acts as a lubricant, dissolving the adhesive and ensuring a damage-free label removal.
Step 1: Create the Magic Potion
Begin this enchanting process by mixing equal parts baking soda and oil (try vegetable or olive oil) in a bowl. Stir until you create a thick paste, reminiscent of a mystical potion. Get ready to unleash its power.
Step 2: Apply the Potion
Using your fingertips or a spatula, generously apply the paste directly onto the label, ensuring complete coverage. Let this mystical mixture work its way through the label, weakening its hold on the glass.
Step 3: Let It Work Its Magic
Now it’s time to let the potion weave its wonders. Allow the paste to sit on the label for approximately 10 minutes. During this waiting period, the baking soda and oil blend penetrates deep into the adhesive, making it easier to remove.
Step 4: Abracadabra. Scrub Away Label Woes
After patiently waiting, take hold of a soft cloth or sponge and begin gently scrubbing the label in circular motions. Watch as the mild abrasiveness of the baking soda works its magic, effortlessly lifting the label off the glass surface. Don’t worry, the oil’s lubricating properties safeguard against any scratches or damage.
Step 5: Repeat if Necessary
In some instances, particularly with stubborn labels, you may need to repeat the process. Fear not; simply apply more of your magical paste and persistently scrub until the label is entirely removed. Remember, persistence is key to unlocking the magic.
Utilizing Rubbing Alcohol or Nail Polish Remover for Stubborn Adhesive
We have the ultimate solution for you. Get ready to witness the enchantment of rubbing alcohol and nail polish remover as they effortlessly dissolve adhesive and restore your bottles to their former glory. Prepare to be amazed.
Rubbing Alcohol: The Mighty Solvent
Rubbing alcohol, also known as isopropyl alcohol, possesses superhero-like abilities when it comes to tackling adhesives. Here’s how you can harness its power:
- Test before triumph: Prior to embarking on your adhesive removal mission, conduct a small test on an inconspicuous area of the glass bottle to ensure no damage or discoloration occurs.
- Dampen and conquer: Arm yourself with a cloth or cotton ball soaked in rubbing alcohol. Gently rub it over the adhesive residue, applying just the right amount of pressure. Watch as the adhesive surrenders to the might of rubbing alcohol.
- Persistence pays off: In cases of more tenacious adhesive, don’t lose hope. Repeat the process until the residue submits to your determination. Remember, patience is key.
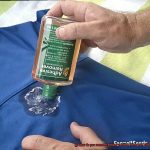
Nail Polish Remover: Not Just for Nails
Never underestimate the secret weapon known as nail polish remover, or acetone. While its primary purpose is to banish nail polish, it can also vanquish adhesive residue on glass bottles. Follow these steps for victory:
- Breathe in fresh air: Ensure you work in a well-ventilated area when handling acetone to avoid inhaling its potent fumes.
- Apply with precision: Equip yourself with a cloth or cotton ball and carefully apply a small amount of acetone to it. Methodically rub it over the adhesive residue, taking care not to let it touch your skin.
- Safety first, always: Remember, acetone is highly flammable. Keep it far from open flames or heat sources, and store it safely away from the reach of children and pets.
When All Else Fails: The Quest Continues
Although rubbing alcohol and nail polish remover triumph over most adhesives, there may be a few formidable foes that refuse to surrender. Fear not, for there are alternative methods you can employ. Consider using adhesive removers specifically designed to conquer even the toughest adhesive residues.
Tips for Easier Label Removal
Have you ever stumbled upon a stunning glass bottle, only to be foiled by a clingy label that refuses to let go? Fear not, for we have the secrets to effortlessly remove those sticky nuisances without causing any harm to the delicate glass. Get ready to become a label-removal maestro with these easy techniques.
- The Soaking Sensation: Begin your label-removal journey by immersing the glass bottle in a warm soapy bath for a good 15-20 minutes. This gentle soak works its magic, loosening the adhesive grip and making the label surrender more easily. For an extra boost, add a few drops of vinegar or dish soap to enhance the soaking process. Let the transformative powers of warm water do their work.
- The Gentle Scrub Dance: Once the label has soaked up enough relaxation time, it’s time to coax it off gently. Using a soft sponge or cloth, lovingly scrub away any excess residue. Remember, grace and patience are key here. Move in small circular motions, ensuring not to apply too much pressure that could lead to unsightly scratches on the glass surface. Slowly and carefully, bid farewell to that stubborn label.
- Heat and Defeat: When labels decide to put up a fierce fight, it’s time to bring out the big guns—heat. Grab your trusty hairdryer or heat gun and aim it a few inches away from the label. With a sweeping motion, direct the warm air towards the enemy adhesive for approximately 30 seconds. Watch as the glue surrenders under the heat’s seductive spell, making it easier than ever to peel off the defeated label.
- The Solvent Savior: Some labels just refuse to budge, no matter how much coaxing they receive. In these dire situations, reach for an adhesive remover or solvent. Dab a small amount onto a cloth or sponge, then gently massage it onto the label. Allow the remover to work its magic for a few minutes, dissolving the adhesive’s grip. Once the label has been defeated, triumphantly peel it off, reveling in your victory.
- Nature’s Allies: For those who prefer a more natural approach, look no further than the pantry. Oils such as coconut oil, olive oil, or baby oil can be your secret weapons in the battle against labels. Generously apply your chosen oil onto the label and let it sit for several minutes. Witness as the oil breaks down the adhesive’s resolve, allowing you to effortlessly peel off the label and emerge victorious.
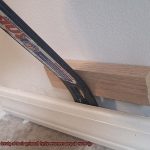
Remember, when faced with stubborn labels or adhesive residue, a scraper or razor blade can be your trusted allies. Hold the tool at a slight angle and carefully scrape away the remnants of resistance. Tread cautiously to avoid any harm to the glass surface, employing slow and gentle movements to ensure a pristine outcome.
Potential Issues That Can Arise When Removing Labels From Glass Bottles
Picture this: you’ve got a collection of glass bottles just waiting to be transformed into stunning decor pieces. But before you can unleash their true potential, you must conquer the challenge of removing those stubborn labels.
I am an expert in this field, and I’m here to guide you through the potential issues that may arise during this delicate process. So grab your favorite glass bottle and prepare to embark on a captivating journey.
Sticky Situation: Adhesive Residue
Prepare yourself for the sticky aftermath that often follows label removal. Strong adhesives can leave behind a tenacious residue that clings to the glass, marring its beauty. This unsightly mess not only tarnishes the bottle’s appearance but also attracts unwanted dirt and dust.
Arm yourself with the right techniques and specialized products to effectively eradicate this residue while preserving the glass’s pristine condition.
Handle with Care: Scratches and Abrasions
Glass bottles, fragile works of art, are susceptible to scratches and abrasions if not treated with utmost care. As you strive to banish those labels, beware of inadvertent scratches caused by improper tools or techniques.
Safeguard your precious bottles by employing gentle methods and utilizing tools specifically designed for delicate glass surfaces. Remember, a gentle touch is all it takes to preserve their flawless allure.
The Printed Paradox: Removing Directly Printed Labels
Intricately designed labels directly printed or painted onto glass present an even greater challenge. Preserving the integrity of these exquisite designs while removing the labels requires a delicate touch and unwavering attention. Navigate this treacherous path by employing gentle techniques and utilizing specialized tools that safeguard the printed or painted design on the glass, ensuring its timeless beauty remains intact.
Fragile Friends: Minimizing Breakage Risk
Behold the fragile nature of glass bottles, for they demand our utmost protection during label removal. Mishandling or applying excessive force can shatter their delicate existence. Embrace caution as your steadfast companion and implement necessary measures to minimize the risk of breakage. Remember, each graceful bottle holds a world of potential within its fragile embrace.
Professional Assistance for Difficult Label Removal
Discovering the hidden beauty of your glass bottle collection goes beyond finding the perfect display spot. It also involves conquering the challenge of removing stubborn labels without causing any damage. While DIY methods may work for some labels, others require professional assistance. In this captivating blog post, we will delve into the world of professional label removal and explore why it is essential when faced with difficult label removal from glass bottles.
Harnessing the Power of Experience:
When it comes to tackling stubborn labels, experience is a priceless asset. Professional label removal services specialize in safely removing labels from a variety of surfaces, including delicate glass bottles. With their extensive knowledge and expertise, they have encountered every type of adhesive, allowing them to conquer even the most stubborn labels without leaving behind any residue or damage.
Unlocking Specialized Equipment and Techniques:
Professional label removal services are armed with an arsenal of specialized equipment and techniques tailored specifically for delicate surfaces like glass. From cutting-edge adhesive dissolving solutions to gentle peeling methods, these experts have all the tools necessary to ensure your bottles remain unscathed throughout the removal process.
Embracing Glass Restoration Specialists:
Glass restoration specialists offer another avenue for label removal assistance. These skilled professionals possess the artistry and know-how to safely remove stubborn labels from your precious glass bottles without causing any scratches or abrasions. Equipped with an impressive array of solvents and cleaning agents formulated for delicate surfaces, they can dissolve adhesives with precision while preserving the integrity and beauty of the glass.
Seeking Manufacturer Recommendations:
Sometimes, turning to the source yields the best results. Contacting the manufacturer of your glass bottles or the company responsible for producing the labels can provide invaluable insights and recommendations for effective label removal.
They may offer specific products or techniques designed specifically for their bottles, ensuring a safe and efficient removal process.
BAeMqYOF_IY” >
Conclusion
Removing labels from glass bottles without causing damage requires careful attention and the right techniques. By following these steps, you can successfully remove labels and preserve the integrity of your glass bottles.
First, gather your supplies. You will need hot water, dish soap, a sponge or soft cloth, rubbing alcohol, and a plastic scraper or credit card. These items will help you tackle even the most stubborn labels.
Start by filling a sink or basin with hot water and adding a few drops of dish soap. Submerge the bottle in the soapy water and let it soak for about 15 minutes. This will loosen the adhesive on the label.
After soaking, take the bottle out of the water and gently scrub it with a sponge or soft cloth to remove any remaining residue. Be cautious not to scratch or damage the glass surface.
If there are still traces of adhesive left on the bottle, apply some rubbing alcohol to a clean cloth and rub it onto the sticky areas. The alcohol will dissolve the adhesive, making it easier to wipe away.
For particularly stubborn labels, use a plastic scraper or credit card to gently scrape off any remaining residue. Be gentle to avoid scratching the glass.
Once you have removed all traces of adhesive, rinse the bottle thoroughly with warm water to remove any soap or alcohol residue. Dry it carefully with a clean towel.
To give your glass bottle that extra shine, you can polish it with glass cleaner or vinegar solution. This step is optional but can enhance its appearance.
In conclusion, removing labels from glass bottles without damaging them is possible with patience and proper techniques.