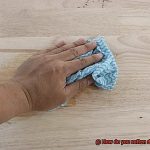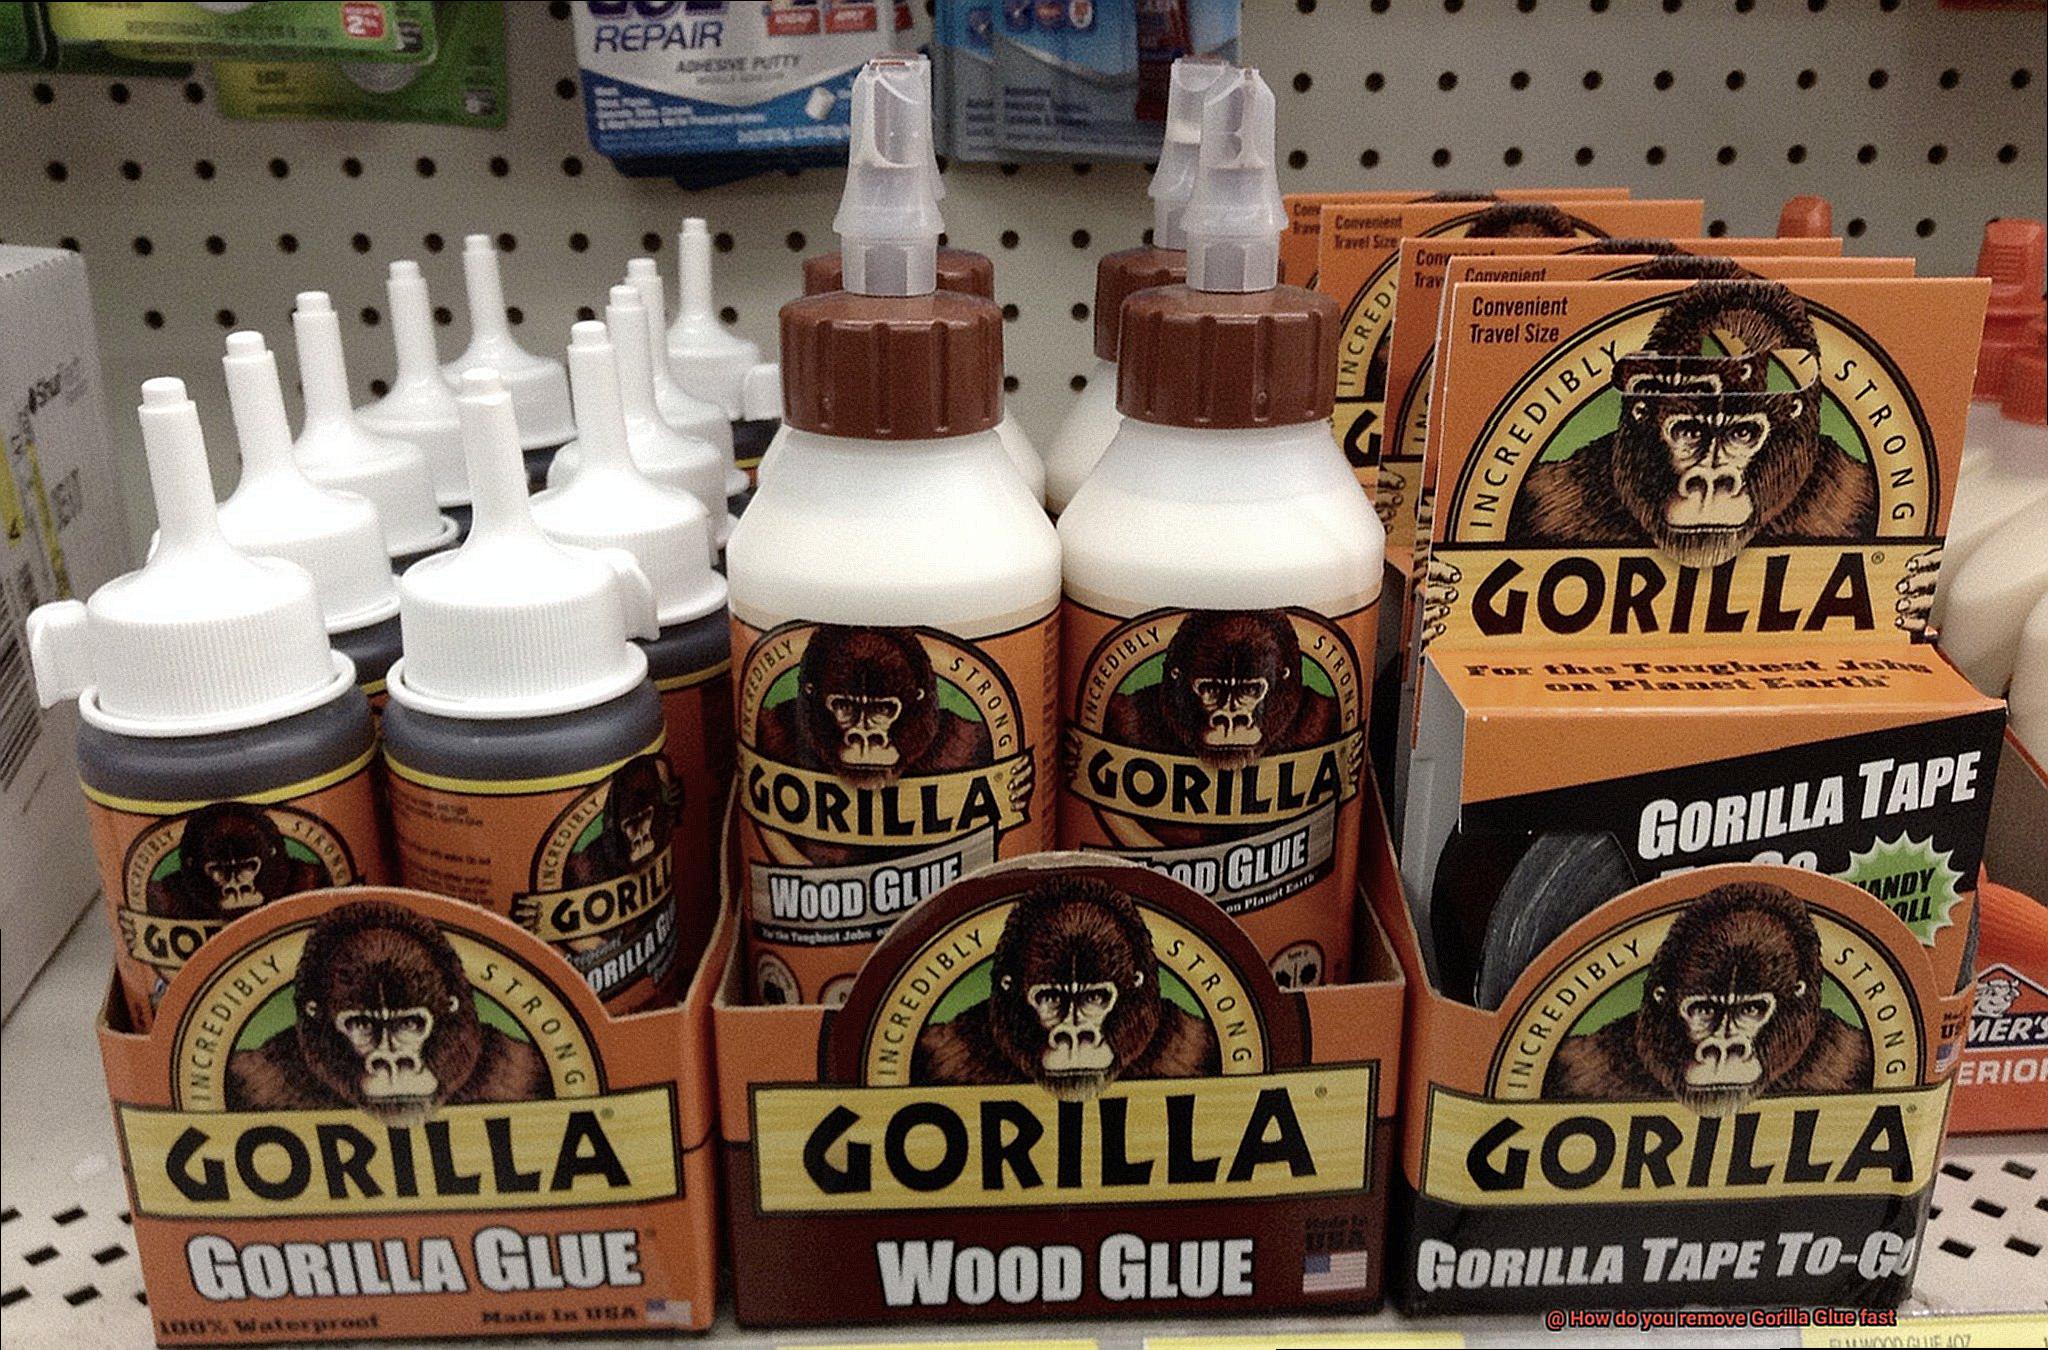
Ever found yourself trapped in the clutches of Gorilla Glue, desperately searching for an escape route? Well, fear not. You’ve stumbled upon a treasure trove of knowledge that will liberate you from this sticky situation faster than you can say “adhesive liberation”. Whether it’s an accidental spill or a stubborn old adhesive you’re dealing with, removing Gorilla Glue fast might seem like an impossible task. But fret not, my fellow fixer-uppers, because we’re here to be your trusty guides on this seamless journey.
Imagine a life free from pesky glue residue, where scrubbing becomes a thing of the past and your beloved possessions remain unharmed. In this comprehensive guide, we’ll explore the secrets to dissolving Gorilla Glue like a pro, leaving no trace behind.
Our adventure starts by understanding the properties of this formidable adhesive. We’ll unravel the mysteries behind its unruly grip and uncover the most effective methods to break free from its clutches. From everyday household ingredients to specialized products, we’ll dive into a treasure trove of options that will help you bid adieu to stubborn Gorilla Glue once and for all.
Get ready to be captivated as we unveil the fascinating world of guerrilla warfare against Gorilla Glue. Discover the hacks, tips, and tricks used by seasoned DIY enthusiasts and professionals alike. Unleash your inner problem-solver armed with the knowledge to tackle any glue-related obstacle head-on.
So buckle up and embark on this extraordinary journey to conquer Gorilla Glue once and for all. With our step-by-step instructions and insider secrets, you’ll be equipped to tackle any adhesive challenge in record time. Say goodbye to sticky situations and embrace a life of adhesive liberation.
Method 1: Acetone
Contents
- 1 Method 1: Acetone
- 2 Method 2: Heat
- 3 Method 3: Mechanical Methods
- 4 Method 4: White Vinegar
- 5 Method 5: Isopropyl Alcohol
- 6 Pros and Cons of Different Removal Methods
- 7 Safety Precautions When Removing Gorilla Glue
- 8 Tips for Effective Removal of Gorilla Glue
- 9 Conclusion
In this comprehensive guide, we will unravel the secrets of Method 1: Acetone, the ultimate solution for banishing Gorilla Glue. Brace yourself as we delve into the realm of this powerful solvent, capable of dissolving and eliminating this adhesive nuisance with ease. Let’s embark on this journey to conquer that stubborn glue.
Unleashing the Power of Acetone:
Acetone, a household solvent found in every corner, stands as a formidable weapon against Gorilla Glue on various surfaces. However, exercise caution, for acetone should only be applied to surfaces resistant to its effects, such as glass, metal, or specific types of plastic. Prior to engaging acetone, it is crucial to conduct a discreet test on a small area to ensure no damage or discoloration ensues.
Step-by-Step Guide:
Step 1: Assemble your Arsenal
Prepare your tools of triumph:
- Pure acetone (found in nail polish remover or paint thinner)
- Immaculate cloth or sponge
- Optional plastic scraper
- Mild soap and water for cleansing
- Protective gloves and eyewear (for safeguarding)
Step 2: Test the Waters
Before commencing the acetone assault on the glued surface, test its compatibility in an inconspicuous spot. This strategic maneuver will prevent any unexpected damage from derailing your conquest.
Step 3: Drench the Cloth
Saturate a pristine cloth or sponge with acetone, ensuring it remains soaked but not dripping.
Step 4: Unleash the Acetone Fury
Gently dab the saturated cloth or sponge onto the Gorilla Glue, diligently covering every inch of the adhesive menace with acetone.
Step 5: The Waiting Game
Grant the acetone a few minutes to work its magic on the glue, softening it and rendering it vulnerable for removal.
Step 6: Peeling off the Shackles
Armed with either a plastic scraper or your nimble fingers, cautiously peel off the now malleable Gorilla Glue from the surface. Take care not to exert excessive force or employ sharp objects that may mar or harm the surface.
Method 2: Heat
In our previous segment, we explored the power of Acetone, a formidable solvent that defeats Gorilla Glue. But today, we’re turning up the heat – quite literally. Get ready to unleash the fiery power of Method 2: Heat to conquer that stubborn adhesive beast.
Grab your hairdryers, heat guns, and irons because we’re about to learn how to melt away Gorilla Glue with a touch of warmth.
The Process:
Hairdryer or Heat Gun:
Armed with a trusty hairdryer or heat gun set on low, direct the warm air towards the Gorilla Glue. With a sweeping motion, move the dryer back and forth, heating up the glue until it becomes pliable and easier to remove.
Plastic Scraper or Soft Cloth:
Once the Gorilla Glue has succumbed to the heat’s embrace and become softer, take a plastic scraper or a soft cloth in hand. Gently scrape or wipe away the now malleable glue from the surface. Exercise patience and thoroughness to ensure no trace of adhesive remains.
Iron Method:
For those seeking an alternative approach, an iron can also work wonders in melting away Gorilla Glue. Begin by placing a protective layer of parchment paper or aluminum foil over the adhesive, guarding both the glue and iron from direct contact.
Low/Medium Heat Setting:
Set your iron to a low or medium heat setting, then gently press it onto the parchment paper or foil covering the glue. The heat will transfer through the protective layer, effectively softening the glue’s grip.
Peel or Scrape:
Once the Gorilla Glue has yielded under the iron’s gentle persuasion, you can choose to peel it off using your fingers or employ a scraper to remove any lingering residue. Remember, caution is key to avoid damaging the surface.
Safety First:
While heat proves a formidable ally in the battle against Gorilla Glue, taking precautions is paramount for our safety:
- Keep the Heat Source Moving: Continuously move your hairdryer, heat gun, or iron to prevent overheating and potential surface damage.
- Avoid Flammable Materials: Ensure that heating tools are kept away from any flammable substances, creating a safe working environment.
Method 3: Mechanical Methods
Unlike the more commonly used techniques, mechanical methods involve physically breaking or scraping off the glue from the surface. Let’s delve into these exciting techniques and explore how they can help us conquer that stubborn adhesive.
First up in our arsenal of mechanical methods is the trusty scraper or putty knife. With its sharp, flat edge, this tool allows us to gently scrape away the glue. Just remember to exercise caution and be gentle to avoid any damage to the underlying surface.
But wait, there’s more. Sanding is another powerful technique at our disposal. Armed with sandpaper or a sanding block, we can gradually sand down the glue until it vanishes into thin air. However, keep in mind that sanding can be a time-consuming process and may require multiple passes with different grits of sandpaper. Before going all-in, it’s wise to test this method on a small, inconspicuous area to ensure compatibility with your surface.
For larger areas or tougher Gorilla Glue stains, it’s time to bring out the heavy artillery – a power sander. These electric or pneumatic wonders make sanding a breeze, saving you precious time and effort. Whether it’s a belt sander, orbital sander, or detail sander, each type has its unique advantages and specific uses. Just remember to prioritize safety by following guidelines and wearing protective gear like goggles and a dust mask.
But wait, we’re not done yet. Heat can also be harnessed as a mechanical method to soften Gorilla Glue for removal. This involves applying heat using either a heat gun or a hairdryer set on high heat. The heat softens the glue, making it easier to scrape off. However, keep in mind that constant movement of the heat source is crucial to prevent surface damage or accidental burns.
Before unleashing our mechanical might, it’s important to consider the nature of the surface and the glue itself. Some materials may be more delicate and susceptible to damage from scraping or sanding. Applying excessive force or using abrasive materials can lead to undesirable consequences. Therefore, it’s always wise to conduct a test on a small, inconspicuous area to ensure compatibility and minimize any potential risks.
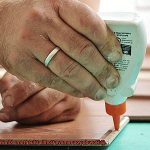
Method 4: White Vinegar
Unlock the power of white vinegar and conquer that stubborn Gorilla Glue with ease. This versatile household ingredient is like a superhero, ready to tackle all sorts of tough stains and messes. And when it comes to removing Gorilla Glue, white vinegar is your secret weapon. Not only is this method effective, but it’s also super easy to execute. So, let’s dive into the fascinating world of white vinegar and learn how to use it like a pro.
To get started, gather your materials. You’ll need:
- White vinegar: Make sure you have enough to cover the affected area.
- A soft cloth or sponge: This will be your trusty sidekick in applying the vinegar and gently scrubbing away the glue.
- Warm water: This will help rinse off any vinegar residue.
Now that you have your arsenal ready, let’s begin the removal process:
- Step 1: Dampen your cloth or sponge with white vinegar. Ensure it’s saturated but not dripping. We want just the right amount of vinegar power.
- Step 2: Channel your inner Jedi and gently rub the affected area with the vinegar-soaked cloth or sponge. Apply some pressure to loosen up that stubborn glue. Feel the adhesive properties of Gorilla Glue crumbling beneath your fingertips.
- Step 3: Keep rubbing until you witness the magic happening before your eyes – the glue breaking down and becoming less sticky. But don’t fret if there are stubborn spots; simply reapply more white vinegar and continue scrubbing.
- Step 4: Congratulations, you’ve successfully dissolved the glue. Now, rinse off any vinegar residue by using warm water. We want to leave no trace of vinegar behind.
- Step 5: Give yourself a pat on the back for defeating Gorilla Glue like a true hero. The final step is to dry the surface thoroughly with a clean cloth. Your victory is complete.
Before you embark on your white vinegar adventure, remember these important points. While white vinegar is generally safe for various surfaces, it’s always wise to test it on a small, inconspicuous area first to avoid any unwanted damage or discoloration. And if you’re dealing with delicate surfaces or materials, consult the manufacturer’s instructions or seek professional advice to prevent any mishaps.
Method 5: Isopropyl Alcohol
We have already witnessed the power of white vinegar, but now it is time to unveil a new hero – isopropyl alcohol, also known as rubbing alcohol. Prepare yourself for an epic journey as we delve into the realm of non-porous surfaces and discover how this versatile solution can help us vanquish the resilient grip of Gorilla Glue.
The Battle Plan:
Before we embark on this heroic quest, let us gather our supplies: a clean cloth or sponge, high-concentration isopropyl alcohol (preferably 90%), and, of course, gloves to protect your hands. Remember, dear warriors, to choose a well-ventilated area to avoid the wrath of those fumes.
Suit up, Warrior:
Don your gloves like a valiant knight, shielding your skin from the potential drying effects of isopropyl alcohol.
Dampen and Dab:
Moisten your cloth or sponge with the isopropyl alcohol and gently dab the Gorilla Glue stain. Exercise caution, for excessive rubbing may cause harm to the surface.
Let It Soak:
Grant the isopropyl alcohol some time to unleash its magic by allowing it to penetrate the glue for a few minutes. This gentle assault will soften the adhesive’s grip and make it easier to conquer.
Gentle Scraping Skills:
Equip yourself with a trusty plastic scraper or even your own fingernail. Employ your delicate scraping skills to remove the softened glue. Remember, precision is paramount – avoid scratching or damaging the surface.
Repeat if Necessary:
Should any tenacious remnants of glue persist, fear not. Simply reapply the isopropyl alcohol and repeat the process until every last trace of Gorilla Glue has been obliterated.
Cleanse the Battlefield:
As the battle nears its end, it is time to cleanse the battlefield. Utilize a clean cloth or sponge drenched in warm, soapy water to meticulously cleanse the area and eradicate any residue left behind by the adhesive.
Pros and Cons of Different Removal Methods
We are about to delve into the realm of adhesive removal. From the mighty acetone to the gentle rubbing alcohol, and even the fiery heat and tenacious mechanical methods, we will equip you with the knowledge to choose your removal strategy wisely.
Acetone: Breaking Down Barriers
Pros:
- Effectively breaks down Gorilla Glue.
- Easily accessible in most households or hardware stores.
Cons:
- Harsh on certain surfaces, risking discoloration or damage if mishandled.
- Strong odor necessitates usage in a well-ventilated area.
Rubbing Alcohol: A Milder Touch
Pros:
- Gentler option compared to acetone, reducing the risk of damage.
- Readily available and effectively dissolves Gorilla Glue.
Cons:
- Takes longer to break down the glue compared to acetone.
- Requires additional rubbing or scrubbing for complete removal.
Heat: Harnessing the Power
Pros:
- Softens the glue, facilitating easier removal.
- Particularly advantageous for fabric or clothing surfaces.
Cons:
- Excessive heat can harm certain materials or even cause burns.
- Demands caution, low heat settings, and continuous monitoring of treated surfaces.
Mechanical Methods (Scraping/Sanding): The Gritty Path
Pros:
- Effective in removing dried Gorilla Glue from hard surfaces.
Cons:
- Requires physical effort and may leave behind unsightly scratches or rough patches.
- Caution is crucial when employing sharp tools to avoid injury or further damage.
Alternative Methods (Citrus-based solvents/Adhesive removers): Unconventional Allies
Pros:
- Can be harnessed effectively for Gorilla Glue removal.
Cons:
- Varying effectiveness; not as readily available as acetone or rubbing alcohol.
- Potential risks or drawbacks unique to each product.
Safety Precautions When Removing Gorilla Glue
Today, we embark on a daring quest to conquer Gorilla Glue. But before we charge into battle, let us arm ourselves with the necessary precautions to ensure a safe journey. With the right gear and precautions in place, we shall emerge victorious, unscathed by the formidable grip of this powerful adhesive. So grab your safety goggles and gloves, and let us venture forth.
Protect Your Skin and Eyes:
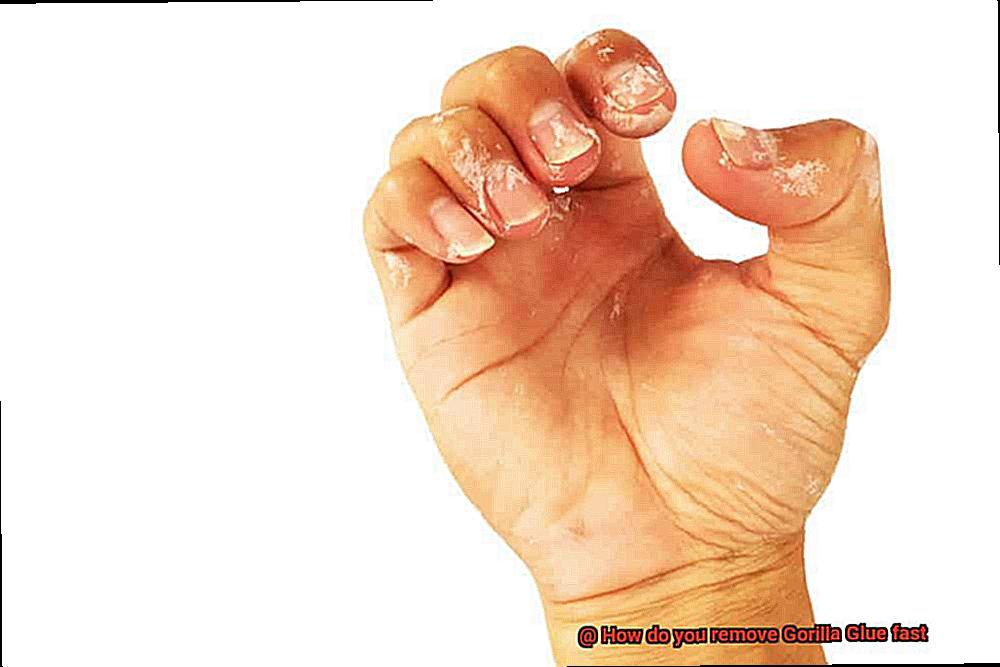
Our first line of defense is shielding ourselves from the potential wrath of Gorilla Glue. This polyurethane-based marvel can cause irritations and burns upon contact with skin or eyes. Thus, don your protective gloves and safety goggles. These stalwart companions shall be your armor against Gorilla Glue’s relentless grip.
Work in a Well-Ventilated Area:
Now, let us turn our attention to the very air we breathe. Gorilla Glue emits fumes that can leave you dizzy or irritate your respiratory system if inhaled excessively. Fear not. Open those windows wide and let the breeze disperse the fumes. Or, employ fans to enhance air circulation. For those embarking on this quest indoors, equip yourself with a respirator mask designed to combat chemical fumes. Preserve your lungs’ vitality.
Handle with Care – No Excessive Force or Sharp Objects:
The allure of a sharp tool may tempt you to engage in a battle of strength against Gorilla Glue. But halt. Excessive force or sharp objects may lead to unintended injuries or damage to the surface beneath. Instead, choose a gentler approach. Utilize solvents or heat to soften the adhesive before commencing removal. Remember, my comrades, patience shall be our greatest virtue in this endeavor.
Follow Instructions and Choose the Right Solvents:
Ah, solvents – our secret allies in this battle against Gorilla Glue’s tenacity. But before unleashing their power, let us peruse the sacred texts provided by the manufacturer. Different solvents possess distinct effectiveness and safety precautions. Thus, select one attuned to the specific surface at hand. Additionally, to ensure our safety, toil in a well-ventilated space and adhere to proper storage and disposal guidelines. Safety must forever be our guiding star.
Tips for Effective Removal of Gorilla Glue
Gorilla Glue is notorious for its incredibly strong bond, but removing it doesn’t have to be a daunting task. In this comprehensive guide, we will share five expert tips for effectively and safely removing Gorilla Glue from various surfaces. By following these techniques, you can ensure a hassle-free removal process without causing any damage.
Act Quickly: Time is of the Essence
The key to successfully removing Gorilla Glue is to address it as soon as possible. Whether it’s a spill or an unwanted adhesive, swift action is crucial. The longer the glue sits, the harder it becomes to remove. So, if you notice any spills or excess glue, don’t delay—tackle it immediately for the best results.
Acetone: The Ultimate Solvent
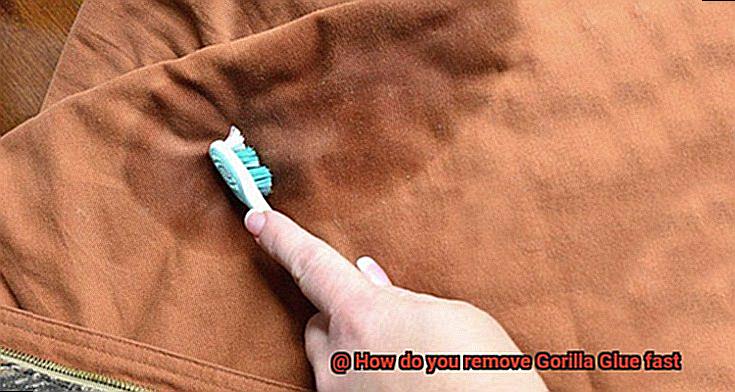
When dealing with Gorilla Glue on smooth surfaces like glass or metal, acetone is your ultimate savior. Acetone is a powerful solvent that can break down the glue and make it easier to remove. You can find acetone in most nail polish removers or purchase pure acetone from hardware stores. To use acetone, soak a cloth or cotton ball in it and apply it directly to the affected area. Allow the acetone to penetrate the glue for a few minutes before gently scrubbing the area with a soft-bristle brush or sponge. Repeat this process until the glue is completely removed. Remember to test acetone on a small, inconspicuous area first to ensure it won’t cause any damage.
Heat: Softening the Stronghold
For fabrics, wood, or other porous surfaces, heat can work wonders in loosening Gorilla Glue’s grip. Grab a hairdryer or heat gun and set it to low heat. Direct the warm airflow onto the glue until it becomes soft and pliable. Then, carefully scrape it off using a plastic scraper or your fingernail. Be cautious not to apply excessive heat or keep it on for too long, as this can potentially damage the surface.
Alternative Solvents: Vinegar and Isopropyl Alcohol
If acetone or heat methods are not suitable for your particular situation, there are alternative solvents you can try. White vinegar and isopropyl alcohol (found in rubbing alcohol) both work effectively in breaking down Gorilla Glue’s bonds. Soak a cloth or cotton ball in your choice of solvent and gently rub the affected area. Allow the solvent to sit for a few minutes to penetrate the glue before using a soft-bristle brush or sponge to scrub away the adhesive. Keep in mind that these alternative solvents may not be as potent as acetone, so you may need to repeat the process multiple times or use a combination of methods to achieve the desired results.
QYmZSDjLQ9A” >
Conclusion
Removing Gorilla Glue quickly can be a daunting task, but fear not. There are several effective methods that can help you tackle this sticky situation with ease.
One option is to use acetone, which is a powerful solvent commonly found in nail polish remover. Simply soak a cloth or cotton ball in acetone and gently rub it onto the affected area. The glue should start to soften and dissolve, allowing you to easily remove it.
Another alternative is to try using isopropyl alcohol. This versatile substance can also break down Gorilla Glue effectively. Apply the alcohol onto a cloth or sponge and gently scrub the glue until it starts to loosen and come off.
For those who prefer natural solutions, vinegar can be surprisingly effective at removing Gorilla Glue. Soak a cloth or paper towel in vinegar and place it over the glue for about an hour. The acid in the vinegar will gradually break down the adhesive, making it easier to scrape off.
If all else fails, heat can be your secret weapon against stubborn Gorilla Glue. Use a hairdryer or heat gun on a low setting to warm up the glue without damaging the surface beneath it. As the glue softens, carefully peel it away with your fingers or a plastic scraper.
Remember to always test these methods on a small, inconspicuous area first to ensure they won’t damage your material. And don’t forget to wear gloves and work in a well-ventilated area for added safety.
By following these tips and tricks, you’ll be able to remove Gorilla Glue fast and efficiently, leaving no trace of its sticky presence behind.