They bring life and character to our laptops, car windows, and even everyday household items. But what happens when it’s time to bid farewell to these adorned stickers, only to find stubborn glue residues clinging on for dear life? We’ve all been there, desperately scraping away at the sticky mess without causing any damage. But fear not. With a few tried-and-true methods up our sleeves, removing glue from decals has become a breeze.
In this blog post, we’re going to unveil the secrets of adhesive liberation. From household remedies to store-bought solutions, we’ll explore various techniques that will help you confidently tackle those sticky situations head-on. So let’s dive in and discover ways to restore your beloved items to their original, glue-free glory. Are you ready? Let’s get started.
What is Glue and Decals?
Contents
- 1 What is Glue and Decals?
- 2 Heat Method: Hairdryer or Heat Gun
- 3 Solvents and Chemicals for Adhesive Removal
- 4 Gentle Detergent and Soapy Solution
- 5 Mechanical Methods: Plastic Scrapers or Credit Cards
- 6 Specialized Adhesive Removers
- 7 Cleaning and Drying the Surface After Removal
- 8 The Best Method for Your Situation
- 9 Conclusion
Glue and decals are powerful tools that can transform surfaces and add a personal touch to various objects. However, when it comes to removing glue residue from decals, many people find themselves in a sticky situation. In this article, we will dive into the fascinating world of glue and decals, uncovering their properties, and providing practical solutions for effectively removing glue residue.
Understanding Glue:
Glue is more than just a sticky substance; it’s the invisible force that brings things together. Made from synthetic polymers or natural materials like animal hides or plant resins, glue comes in liquid, gel, or solid forms. Its versatility makes it indispensable in crafting, woodworking, construction, and countless other applications.
Decoding Decals:
Decals are the superheroes of personalization. These decorative stickers or labels, crafted from vinyl or paper material, come in an array of shapes, sizes, and designs. Whether you want to customize your car, embellish your walls or furniture, or spruce up everyday items, decals are the go-to solution for adding flair and individuality.
Removing Glue Residue from Decals – Techniques and Tips:
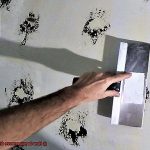
- Heat Application: Harness the power of heat by using a hairdryer or heat gun to soften the adhesive. Once it’s warmed up, gently scrape off the residue with a plastic scraper or credit card. Be careful not to overheat the decal or surface.
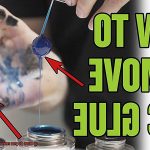
- Solvent Power: Unleash the secret weapon of adhesive removers or solvents designed specifically for glue removal. Follow the instructions diligently and test on a small area first to ensure compatibility with the decal and surface material.
- Gentle Soapy Solution: For delicate decals and sensitive surfaces like electronics or vehicles, create a gentle soapy solution by mixing mild detergent or dish soap with warm water. Use a soft cloth or sponge to softly rub the solution onto the glue residue.
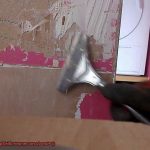
- Mechanical Means: Sometimes, brute force is the answer. Employ plastic scrapers or credit cards to lift and peel off the adhesive. Remember to handle with care and avoid scratching or damaging the decal or surface beneath.
- Specialized Adhesive Removers: When all else fails, turn to the specialists. There are adhesive removers available that require a longer dwell time to dissolve the glue. Follow the instructions, let them sit on the residue, and then tackle the removal process.
Heat Method: Hairdryer or Heat Gun
When it comes to removing glue from decals, the heat method is a popular choice among crafters and DIY enthusiasts. By using either a hairdryer or a heat gun, you can soften the glue and make it easier to peel off. But which tool should you choose? Let’s explore the differences between the two and provide some safety tips along the way.
Hairdryer:
A hairdryer is a common household tool that many of us already have on hand. It typically produces lower heat levels compared to a heat gun, making it a safer option for delicate or sensitive surfaces. If your decal is on painted wood or plastic, a hairdryer is your go-to choice to avoid any potential damage.
Safety tips for using a hairdryer:
- Start with low heat settings and gradually increase if needed.
- Direct the heat towards the edges of the decal, working your way towards the center.
- Use a plastic scraper or your fingers to gently peel off the softened glue.
- Avoid using sharp tools that can scratch or damage the surface.
- For any residual glue, try rubbing with a cloth soaked in rubbing alcohol or using a commercial adhesive remover.
- Clean and dry the surface thoroughly after removing the glue.
Heat Gun:
If you’re dealing with a more robust surface like metal or glass, a heat gun may be your weapon of choice. Heat guns can reach higher temperatures and are capable of quickly softening and removing stubborn glue.
Safety tips for using a heat gun:
- Exercise caution as high temperatures can cause burns or damage certain materials.
- Start with low heat settings and gradually increase if necessary.
- Keep the heat gun moving at all times to avoid overheating one spot.
- Direct the heat towards the edges of the decal, gradually working towards the center.
- Use a plastic scraper or your fingers to gently peel off the softened glue.
- Avoid using sharp tools that can scratch or damage the surface.
- Clean and dry the surface thoroughly after removing the glue.
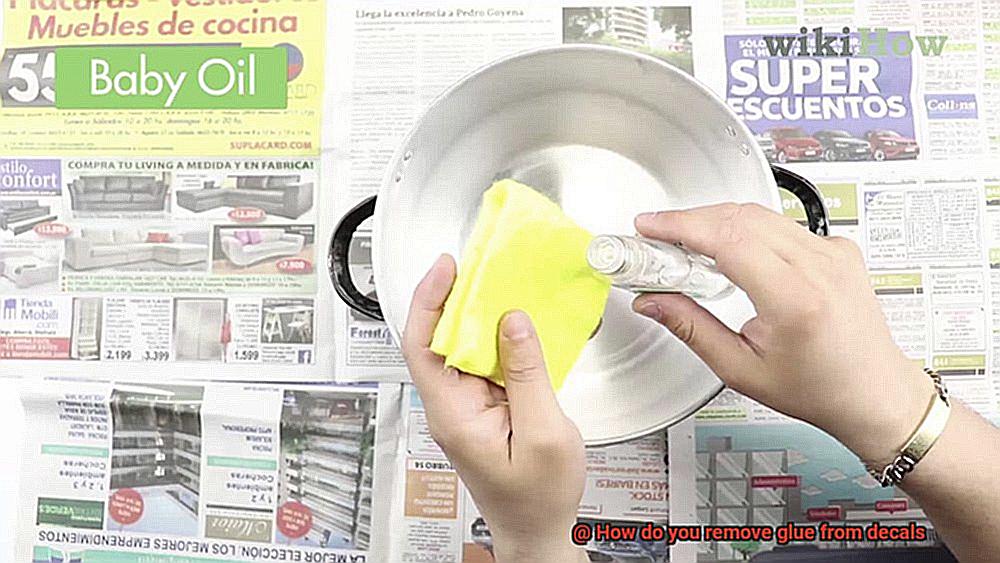
- Citrus-based Solvents: Harnessing the natural power of citrus extracts, these removers work wonders in breaking down different types of adhesives. They soften the glue, making it a breeze to scrape off or wipe away. Remember to test them on a small area first before going all-in.
- Gel or Paste Formulations: Thick and mighty, gel or paste adhesive removers are your go-to when it comes to tackling stubborn or old glue residues. Apply them directly to the adhesive and let them work their magic by breaking down the molecular structure of the glue for effortless removal.
- Spray Formulations: Say goodbye to hard-to-reach areas or curved surfaces with spray adhesive removers. Their precise application allows you to target specific spots, making decal removal a walk in the park.
- Always follow the manufacturer’s instructions for even application and recommended amounts.
- Allow the product enough time to penetrate the adhesive and do its job.
- Equip yourself with appropriate tools like a plastic scraper or cloth for safe and effective removal.
- After using an adhesive remover, give the surface a thorough cleaning with soap and water to remove any remaining residue.
Solvents and Chemicals for Adhesive Removal
Removing adhesive can be a challenging task, especially when stubborn glue residue clings to your beloved decals. But fear not. We have a formidable arsenal of solvents and chemicals that will make this daunting mission a breeze. Join us as we explore the diverse range of solvents and chemicals, each with their unique powers, that can save the day.
Isopropyl Alcohol: The Gentle Hero
Isopropyl alcohol, also known as rubbing alcohol, is a versatile solvent that effortlessly dissolves a wide range of adhesives without causing harm to your precious decals. This mighty hero is easily accessible at pharmacies or supermarkets. To wield its power, simply soak a cloth or cotton ball in isopropyl alcohol and gently massage it onto the adhesive. Allow it to penetrate the glue for a few minutes before wiping it away.
Acetone: The Mighty Warrior
Acetone stands as a powerful solvent capable of conquering even the most stubborn adhesives. However, caution must be exercised when using acetone, as it can inflict damage upon certain types of decals, particularly those crafted from plastic or vinyl. Before unleashing this warrior, conduct a patch test on an inconspicuous area to ensure it won’t cause any harm or discoloration.
Citrus-based Solvents: The Safely Scented Alternative
For decals made of plastic or vinyl, citrus-based solvents offer a safer option. Derived from the essence of citrus fruits, these solvents effectively dismantle adhesives without causing any damage or distress. Their gentle nature makes them perfect for delicate surfaces. You can acquire these safer alternatives at hardware stores or through online platforms. To wield their power, apply a small amount onto a cloth or sponge and gently rub it onto the adhesive until it dissolves.
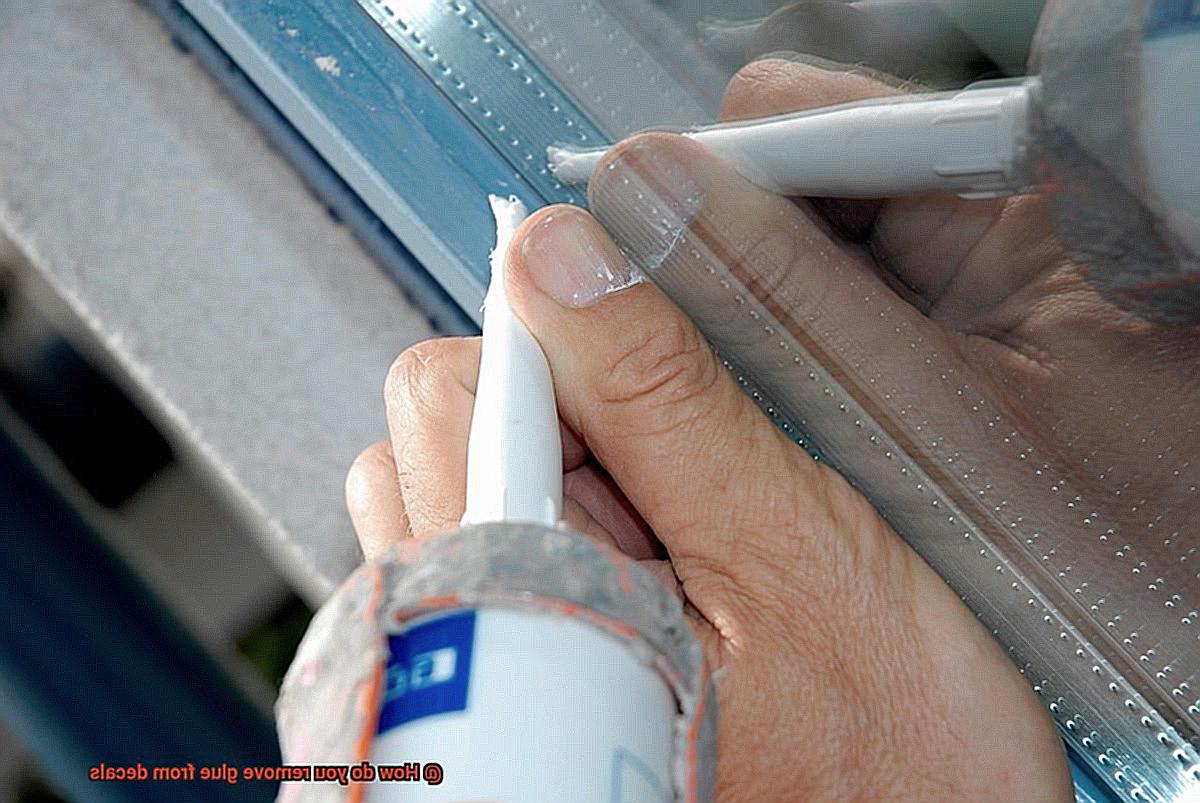
Specialized Adhesive Removers: The Heavy-duty Warriors
In the face of stubborn or heavy-duty adhesives, specialized adhesive removers emerge as the indomitable warriors you need by your side. These products are meticulously crafted to combat formidable adhesives, and they generally pose no threat to most decals. You can find them at automotive or hardware stores. Always consult the provided instructions for specific application methods, ensuring their maximum effectiveness.
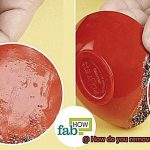
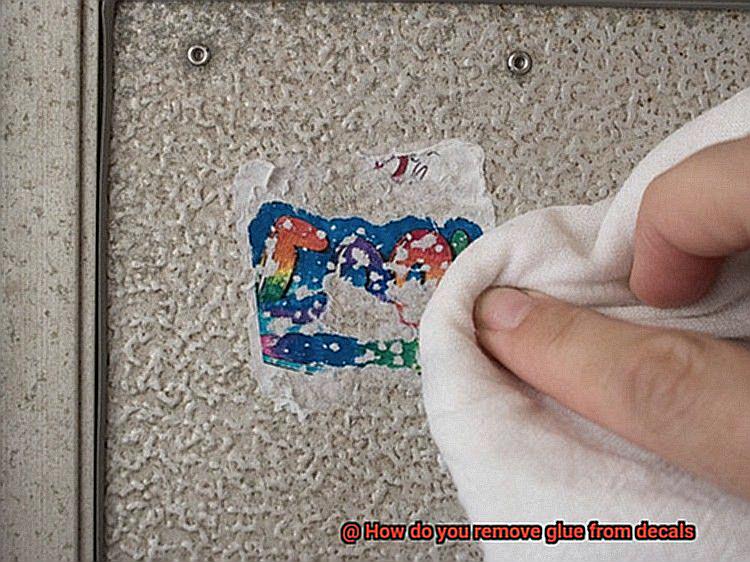
Gentle Detergent and Soapy Solution
Introducing the powerful combination of gentle detergent and soapy solution, a dynamic duo that will banish glue residue without causing any harm to your precious decals.
The secret behind the effectiveness of gentle detergent and soapy solution lies in their ability to break down the adhesive properties of glue. When these solutions are mixed with warm water, they become a force to be reckoned with, ready to tackle even the most stubborn glue stains.
To begin the process, simply mix a small amount of gentle detergent or dish soap with warm water. The exact measurements will depend on the size of the affected area, but a general rule of thumb is one part detergent or soap to four parts water.
Once your soapy solution is prepared, apply it generously to the affected area and allow it to sit for a few minutes. This allows the solution to penetrate the glue and weaken its grip on the surface of your decals.
Now comes the fun part – gently scrubbing the area with a soft sponge or cloth. Remember to use light circular motions and avoid rubbing too hard, as this could damage the decal. The goal is to lift the glue off the surface without causing any harm.
After scrubbing, rinse the area thoroughly with clean water to remove any residue. If needed, repeat the process until all traces of glue have been completely eradicated.
It’s important to note that while this method is generally safe for most types of decals, it’s always wise to test the solution on a small, inconspicuous area first. This ensures that it doesn’t cause any damage or discoloration.
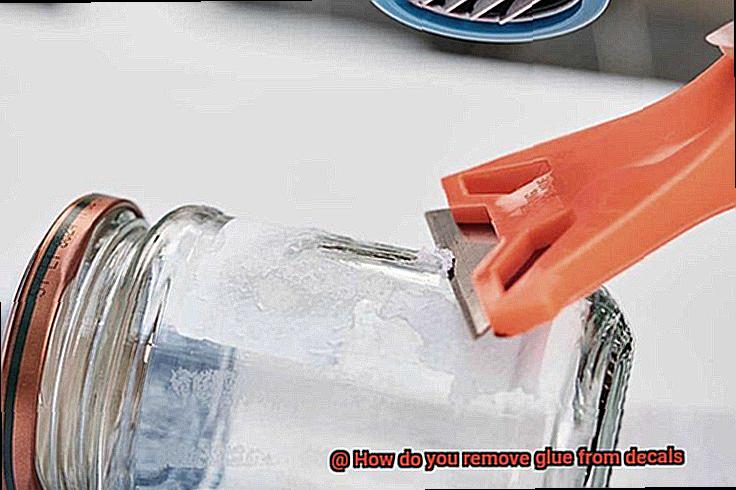
Mechanical Methods: Plastic Scrapers or Credit Cards
Look no further than the mighty plastic scraper and trusty credit card. These mechanical methods offer a non-abrasive solution to tackle adhesive woes, without causing any damage to the surface.
Plastic scrapers, crafted from nylon or polypropylene, possess the perfect balance of flexibility and sturdiness. They effortlessly scrape off adhesive residue, acting as the superheroes of glue removal. But what if you don’t have a plastic scraper on hand? Fear not. Your ever-reliable credit card can come to the rescue. Just remember to use the side opposite the magnetic strip to avoid accidental scratches.
Now, let’s delve into the nitty-gritty of how to use these mechanical methods effectively. First, apply heat to the decal using a hairdryer or heat gun. This softens the adhesive, making it easier to remove. Next, gently slide your chosen tool under the edge of the decal and lift it away from the surface using slow, steady motions. Simultaneously, scrape off any residual glue.
Encountering stubborn areas that refuse to let go is not uncommon. Combat this issue by applying rubbing alcohol or adhesive remover onto a cloth or cotton swab. Dab the affected area and allow the solution to sit for a few minutes, dissolving the glue. Then, resume scraping with your plastic scraper or credit card to remove any remaining residue.
However, exercise caution. Begin with minimal pressure and gradually increase if necessary. Avoid excessive force that could inadvertently damage the surface. Additionally, always test adhesive removers or solvents on a small, inconspicuous area before extensive application.
Specialized Adhesive Removers
We’ve all experienced the frustration of dealing with sticky residue left behind by stickers, decals, or tape. But fret not. In this blog post, we’ll dive into the world of specialized adhesive removers and unveil the secrets to effortlessly and safely removing glue from various surfaces. So grab your trusty plastic scraper or reliable credit card, because we’re about to embark on a journey to a glue-free paradise.
Types of Specialized Adhesive Removers:
Safe Usage Tips:
A word of caution:
While specialized adhesive removers are generally effective, they may not be suitable for all types of glue or decals. If you’re unsure, it’s best to seek professional advice or consult the decal manufacturer for specific removal instructions.
Cleaning and Drying the Surface After Removal
Today, let’s delve into the often-overlooked world of cleaning and drying surfaces after removing those pesky decals. A clean and dry surface is not only essential for a flawless canvas for your next creative endeavor but also for restoring the beauty of your space. So, let’s roll up our sleeves and get to work.
Step 1: Gather Your Supplies
Before we begin, make sure you have the following items on hand: a mild detergent or soap, warm water, a soft cloth or sponge, rubbing alcohol or acetone (for stubborn residue), clean water for rinsing, and a clean towel for drying.
Step 2: Gentle Scrubbing
Start by mixing your mild detergent or soap with warm water. Dip your soft cloth or sponge into the mixture and gently scrub the surface to remove any remaining glue residue. Remember, gentle is the keyword here – we don’t want to damage the surface.
Step 3: Tackling Stubborn Residue
If the glue residue is being stubborn, it’s time to bring out the big guns – rubbing alcohol or acetone. But wait. Before you go all-in, test these solvents on a small, inconspicuous area to ensure they won’t damage or discolor the surface. Once you’re confident, apply a small amount onto a clean cloth and gently rub the affected area until the residue disappears.
Step 4: Rinse Thoroughly
After successfully bidding farewell to all traces of glue, rinse the surface thoroughly with clean water. This step ensures that no cleaning solution or solvent residue is left behind.
Step 5: The Art of Drying
Ah, now we come to the crucial step of drying. Grab your clean towel and gently pat-dry the surface. Avoid using heat sources like hairdryers, as they can wreak havoc on certain materials. Instead, let the surface air dry naturally, allowing it to achieve a pristine state of dryness.
Step 6: A Close Inspection
Now that the surface is dry, take a closer look. Do you spot any missed glue residue? If so, repeat the cleaning steps as needed until every nook and cranny is adhesive-free. Perfection is key.
Step 7: Ready for a Fresh Start
Congratulations. Your surface is now clean and dry, serving as the perfect foundation for your next decal adventure. Whether you’re reapplying decals or leaving it gloriously bare, you’ve achieved a flawless canvas that will make any DIY enthusiast proud.
The Best Method for Your Situation
Decals are great for personalizing your belongings, but removing the adhesive residue can be tricky. Fear not. In this article, we’ll explore the best methods for removing glue from decals based on your situation.
Warm Soapy Water:
For a gentle approach, try warm soapy water. Soak a cloth in mild detergent or dish soap mixed with warm water. Gently rub the cloth over the decal, rinse with clean water, and pat dry. Perfect for water-based glues and safe for most surfaces.
Rubbing Alcohol:
When dealing with stubborn glues, turn to rubbing alcohol. Dab a cotton ball or cloth with rubbing alcohol and apply it to the glue. Let it sit to dissolve the adhesive, then gently rub away the residue. Rinse and dry thoroughly.
Vinegar:
Vinegar is a household hero in glue removal. Mix equal parts white vinegar and warm water. Apply the solution to the glued area using a cloth or sponge, let it sit, then scrape off the glue with a plastic scraper or fingernail. Rinse and dry completely.
Heat:
Sometimes, stubborn glue needs extra heat to loosen its grip. Use a hairdryer on low heat setting a few inches away from the decal. Heat the glue briefly, then peel off using your fingers or a plastic scraper. Be cautious not to overheat and damage the surface.
Commercial Adhesive Removers:
If all else fails or you prefer specialized products, try commercial adhesive removers. Follow instructions and do a patch test before applying to the entire decal or surface.
t6zgyeeeawU” >
Also Read: How To Remove Glue From Clothing Stickers? – Glue Things
Conclusion
Removing glue from decals can be a pesky task, but fear not.
There are several effective methods that can come to your rescue. One option is to use warm soapy water and gently scrub the decal with a soft cloth or sponge.
Another technique involves applying rubbing alcohol or nail polish remover onto a cotton ball and carefully dabbing it onto the glue until it loosens. For stubborn residue, you can try using a plastic scraper or credit card to scrape away the glue without damaging the decal.
Remember to always test any product on a small, inconspicuous area first to ensure it won’t cause any damage.