Imagine this: You’re on an epic road trip, cruising through breathtaking landscapes with the wind in your hair, when suddenly, you spot an ugly residue on your beloved car’s exterior. Glue. That pesky adhesive can cling to your vehicle like nobody’s business, whether it’s from a decal, sticker, or some other source. But fear not. We’ve got your back with the ultimate guide on how to remove glue from your car without harming its flawless paintwork.
Accidentally glued something to your car? Dealing with remnants of a long-forgotten sticker? Removing glue can be nerve-wracking. The last thing you want is a patchy or lackluster finish on your car’s surface. But worry not. Our tried-and-true methods will ensure your car stays unscathed while bidding farewell to that stubborn glue.
In this blog post, we’ll explore effective techniques that’ll help you say goodbye to glue without leaving any trace behind. From household remedies and gentle solvents to specialized products – we’ve got it all covered. We’ll dive into the advantages of each method, highlighting their unique benefits and safety precautions.
Moreover, we’ll talk about the importance of patch testing and share some handy maintenance tips for keeping your car’s paint in pristine condition. Remember, prevention is better than cure.
So if you’re tired of endlessly searching “how to safely remove glue from car paint,” hop on board this informative journey as we uncover the best methods for achieving a glue-free car bliss. Get ready to restore your vehicle’s charm without compromising its flawless exterior.
Understanding the Types of Glue Used on Cars
Contents
- 1 Understanding the Types of Glue Used on Cars
- 2 What Are the Risks of Removing Glue from Car Paint?
- 3 How to Remove Glue from a Car without Damaging Paint
- 4 Method 1: Using an Automotive Adhesive Remover
- 5 Method 2: Applying Heat to Soften the Glue
- 6 Method 3: Rubbing with Soapy Water
- 7 Method 4: Using a Clay Bar
- 8 Safety Tips for Removing Glue from Car Paint
- 9 Conclusion
Glue is an essential component in cars, serving to bond parts together and secure various components. The types of glue used on cars vary in characteristics and purposes. This article aims to explore these different types of glue and their specific qualities, enabling car owners to remove glue without harming the paint.
Adhesive Tape:
Adhesive tape is a versatile glue commonly employed in automotive applications. Available in various forms like double-sided tape, foam tape, and automotive-grade tape, it provides a robust bond capable of withstanding vibrations and movements. This adhesive acts as a powerful force, securing trim and moldings firmly in place.
Epoxy Adhesive:
Renowned for its exceptional bonding strength, epoxy adhesive is resistant to heat and chemicals. It finds extensive use in bonding metal parts together as well as repairing cracks and breaks in car components. Imagine epoxy as the superhero of glues, ensuring metal parts remain securely attached even under the harshest conditions.
Silicone Adhesive:
Silicone adhesive exhibits flexibility, waterproof properties, and resistance to heat, making it an ideal choice for sealing gaps, joints, and seams within vehicles. Additionally, it can be used for securing glass or mirrors onto car surfaces. Picture silicone adhesive as an impenetrable sealant that keeps water out and guarantees a tight connection between different car parts.
Polyurethane Adhesive:
Polyurethane adhesive is a favored option for bonding car panels together due to its exceptional strength and resistance to weathering and vibrations. It plays a significant role in the manufacturing process by securely attaching components like doors, hoods, and trunks. Polyurethane adhesive acts as the superhero glue that ensures all of a car’s body parts remain intact regardless of weather conditions.
Specialty Adhesives:
Specialty adhesives are designed for specific car applications. For instance, windshield adhesive is specifically formulated for bonding windshields to car frames, ensuring a secure and watertight seal. These specialized glues possess unique properties tailored to their specific purposes, further enhancing the safety and functionality of the vehicle.
Having a comprehensive understanding of the various types of glue used on cars is crucial for safely removing glue without causing damage to the paint. Each type of glue possesses distinct characteristics and serves specific purposes, ranging from providing a strong bond to sealing gaps and joints.
Armed with this knowledge, car owners can approach glue removal with confidence, employing the appropriate techniques and products.
What Are the Risks of Removing Glue from Car Paint?
Imagine yourself as a hero, determined to eradicate every trace of stubborn glue from your car’s pristine paint. But before you embark on this daring mission, it’s crucial to understand the lurking risks that could jeopardize your vehicle’s appearance. In this expert guide, we will unveil the dangers involved in removing glue from car paint and equip you with the knowledge to conquer them. Are you ready to unveil the secrets? Let’s delve into the shadows.
The Nemesis of Scratching and Scraping:
Like a formidable enemy, scratching or scraping the paint is a risk that must be defeated. Mishandling tools or using abrasive materials with excessive force may unintentionally damage the paint surface. Remember, gentle strokes with suitable tools are your allies against this peril.
Chemical Adversaries:
Beware. Disguised as glue removers or solvents, certain villains carry harsh chemicals that pose a threat to your car’s paintwork. These nefarious substances can eat away at the paint or cause it to fade and lose its luster. Shield your precious paint by selecting glue removers specifically designed for automotive use and carefully following instructions.
Heat: A Double-Edged Sword:
Heat can be a powerful tool in your arsenal against adhesive residue, but wield it with caution. Excessive heat, like that from a hairdryer or heat gun, can inflict irreversible damage upon your car’s paint job. Uncontrolled application may result in unsightly bubbling or blistering. Remember, moderation is the key – apply heat sparingly and maintain a safe distance.
Age and Condition: The Unseen Vulnerabilities:
Just as superheroes age gracefully, so does car paint. The risks associated with removing glue vary depending on the age and condition of the paintwork. Older or worn-out surfaces are more susceptible to damage than their newer, well-maintained counterparts. Before embarking on your mission, evaluate the state of your paintwork to determine the level of caution required.
Mistakes and Accidents: The Kryptonite of Inexperience:
Even the mightiest heroes stumble, and attempting to remove glue without proper knowledge and experience is no exception. Missteps and accidents can escalate the damage, leading to a real-life superhero catastrophe. When in doubt, seek professional assistance to ensure a safe and triumphant mission.
How to Remove Glue from a Car without Damaging Paint
We’ve all encountered that dreadful moment when a sticker or adhesive residue refuses to leave our car’s pristine paint. But fret not. With the right methods and a touch of patience, you can bid farewell to glue without leaving a trace. In this comprehensive guide, we’ll explore five foolproof techniques to tackle this sticky situation with finesse.
Method 1: Heat It up, Soften It Out.
Harness the power of heat to melt away the stubborn glue without harming your car’s paint. Grab a hairdryer or heat gun and set it on a low setting. Maintain a safe distance while applying gentle heat to the glue. Keep the heat source in continuous motion to prevent any accidental paint damage. As the glue softens, employ a plastic scraper or credit card to gently scrape it off. Watch in awe as the glue effortlessly surrenders its grip.
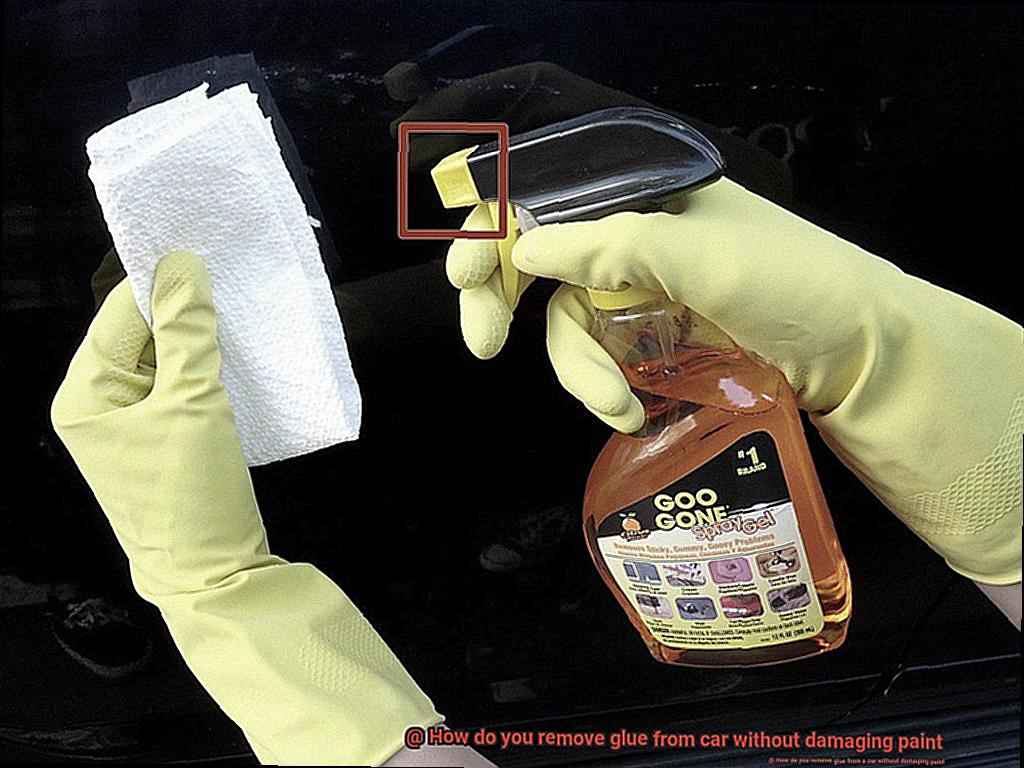
Method 2: Safe Solvents for Stellar Results
If heat alone doesn’t do the trick, turn to specialized solvents or adhesive removers designed explicitly for automotive surfaces. Apply a small amount of the solvent onto a clean cloth and delicately rub it onto the glue. Witness as the adhesive dissolves before your eyes, leaving no trace behind. Remember to perform a patch test on an inconspicuous area beforehand to ensure compatibility with your car’s paint.
Method 3: Natural Magic – Vinegar and Cooking Oil
Embrace nature’s bounty by employing vinegar or cooking oil to banish that pesky glue from your car’s paintwork. Soak a cloth in vinegar and lay it over the glue for a few minutes. Then, tenderly rub the cloth over the adhesive until it succumbs and relinquishes its attachment. Alternatively, apply a small amount of cooking oil onto a cloth and gently massage it onto the glue. Experience the power of these household heroes as they dissolve the glue without harm.
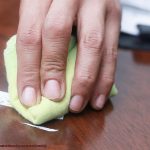
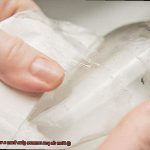
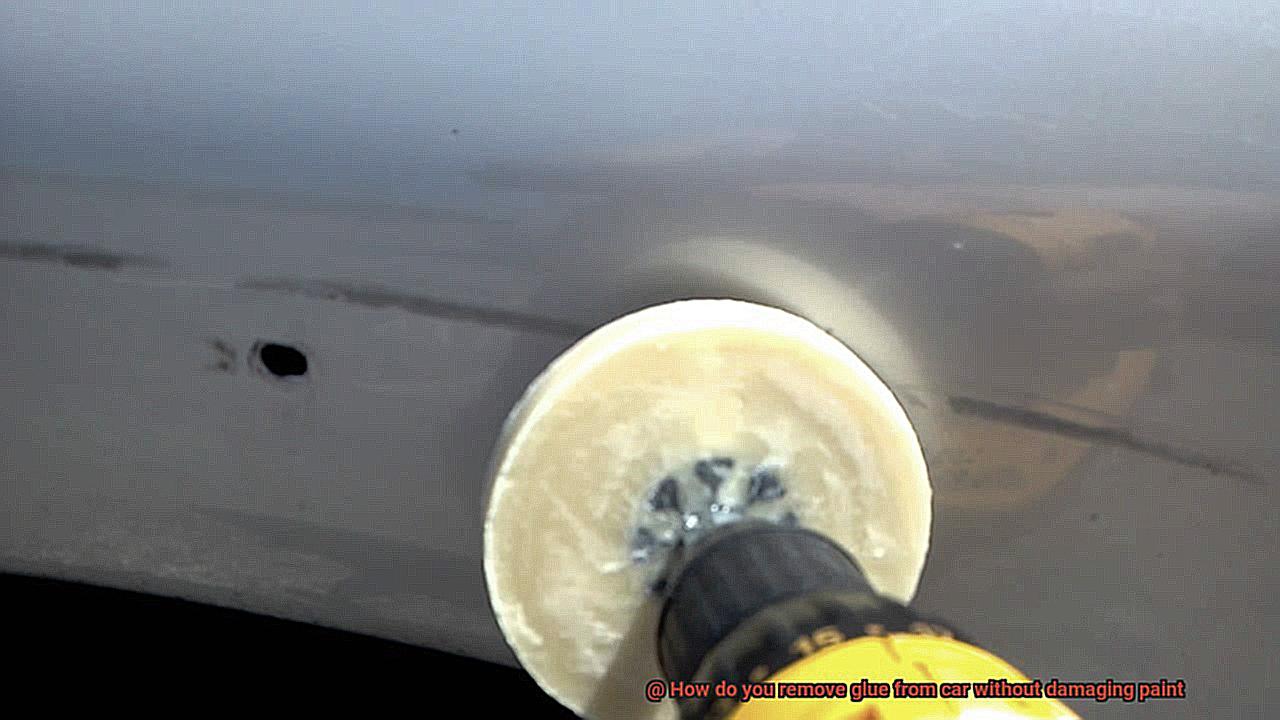
Method 4: Clay Bar Charm
When all else fails, it’s time to call upon the enchanting clay bar. Crafted explicitly to remove contaminants from car surfaces, this magical tool is gentle yet effective. Knead the clay bar until it becomes soft and pliable, then glide it over the adhesive residue using a back-and-forth motion. Marvel as the clay bar captures the glue, leaving your paintwork spotless and smooth.
Method 5: Seek Expert Assistance
If you find yourself facing a particularly stubborn glue predicament or lack confidence in your DIY skills, it’s wise to enlist professional help. Reputable auto detailers or body shops possess the expertise and tools necessary to delicately remove glue without causing harm. Though it may come at a higher cost, the peace of mind and flawless results are well worth the investment.
Method 1: Using an Automotive Adhesive Remover
Are you tired of those stubborn glue residues on your car’s paint? Say goodbye to the hassle and hello to a pristine shine with the incredible power of automotive adhesive removers.
These magical potions are specifically designed to eliminate adhesive residues from various surfaces without causing any damage. Available in sprays, gels, or liquids, they are easily obtainable at automotive supply stores or online. But before we dive into the step-by-step process, let’s cover some essential information.
To ensure safe and effective use, it is crucial to read and follow the instructions provided by the manufacturer. Once you have your trusty adhesive remover in hand, gather the necessary materials: the adhesive remover itself, a clean microfiber cloth or sponge, and don’t forget your gloves to protect your hands.
Now, let’s work our magic. Take a small amount of the adhesive remover and apply it onto a clean cloth or sponge. With gentle pressure, rub the affected area in a circular motion. This motion helps break down the adhesive residue and loosen it from the surface. Remember, patience is key – you want to take your time for a safe removal process that won’t damage your car’s paint.
If you encounter stubborn or thick glue, fear not. Apply some additional adhesive remover and continue the gentle rubbing process. Avoid vigorous rubbing to prevent any harm to the paint. Instead, embrace the power of gentle pressure and watch as the glue starts to dissolve and come off like a disappearing act.
Once all traces of glue are removed, wipe down the area with a clean cloth or sponge dampened with water. This final step ensures that any remaining residue from the adhesive remover is eliminated. Finish off by thoroughly drying the area with a clean cloth.
Before you call it a day, take a moment to inspect the surface for any lingering glue. If necessary, repeat the process until your car’s paint is free from any adhesive residues.
With this simple yet effective method, you can bid farewell to those pesky glue remnants and say hello to a pristine shine that will make your car look brand new.
Method 2: Applying Heat to Soften the Glue
Fear not, my friend. I have a solution that will blow your mind: applying heat to soften that pesky glue. Trust me, it’s like witnessing pure magic.
Before we dive into the details, let me give you a quick recap. In the previous section, we explored the wonders of automotive adhesive removers, specially formulated to eliminate glue residue without causing any harm. Just apply the remover to a clean cloth or sponge, gently rub the affected area in circular motions, and watch as the glue dissolves and disappears. Finish off with a wipe down using water and a clean cloth for that brand-new shine.
But what if you don’t have an adhesive remover on hand? Well, that’s where the power of heat comes into play. By heating up the glue, you can soften it and make it a breeze to remove without any damage to your car’s paint. So, let’s jump right into the process.
There are several ways to apply heat and soften glue on your car’s surface. Grab a hairdryer, a heat gun, or even some hot water – the choice is yours. But remember, no matter which method you choose, keep the heat source at a safe distance from your precious car to avoid any overheating or paint damage.
If you opt for a hairdryer or heat gun, start by setting it to a low or medium heat setting. Direct the warm air towards the glue and move it back and forth across the affected area. This ensures an even distribution of heat and guarantees maximum effectiveness.
As you apply heat to that stubborn glue, something truly mesmerizing happens. The once unyielding adhesive starts to soften and become more pliable. It’s like witnessing the downfall of a supervillain. Once the glue reaches its softest state, simply grab a plastic scraper or use your nimble fingers to scrape or peel it off. But remember, say no to metal scrapers – they can leave unsightly scratches on your car’s paint.
Method 3: Rubbing with Soapy Water
Imagine the thrill of driving down the road, feeling on top of the world, only to have your joy shattered by a stubborn blob of glue clinging to your car’s paint. Don’t despair. I’m here to reveal a mesmerizing solution that will make that glue vanish without leaving a trace. Get ready to embark on an incredible journey into the world of rubbing with soapy water.
Step 1: Gather Your Materials
Prepare yourself for this glue-removing adventure by gathering a few simple items. Create a warm solution of mild dish soap and water, ensuring you choose a gentle soap that won’t harm your car’s precious paintwork.
Step 2: Dip and Rub
Take a soft cloth or sponge and immerse it in the soapy water solution. With gentle determination, begin rubbing the glue spot in circular motions. The goal is to loosen and lift the glue without causing any harm to the delicate paint. Let persistence be your guiding light.
Step 3: Patience is Key
Removing glue from your car requires a touch of patience. If the glue has hardened or dried, it may take some time and repeated efforts to completely dissolve it. Don’t lose hope. Continue rubbing until you witness the satisfying disappearance act.
Step 4: Rinse and Dry
Bid farewell to the defeated glue by rinsing the area with clean water, ensuring every trace of soapy residue is washed away. Then, lovingly dry the spot with a soft cloth. Behold. Your car’s paint is liberated from the clutches of that pesky adhesive.
Important Considerations:
While rubbing with soapy water is a gentle and effective method, it may not conquer formidable foes like super glue or industrial-strength adhesives. In such cases, it’s wise to explore alternative methods or seek professional assistance. We wouldn’t want you to be forever haunted by an unsightly glue spot.
Finishing Touches:
After triumphantly removing the glue, consider adding a final touch. Apply a layer of wax or polish to the affected area, not only safeguarding your car’s paint but also restoring its glorious shine. Witness your car’s transformation into a flawless beauty once more.
Method 4: Using a Clay Bar
Well, get ready to discover the mesmerizing power of Method 4: Using a Clay Bar. This enchanting tool is a beloved favorite among professional detailers for its ability to vanquish contaminants and banish glue residue from your car’s paint. So, grab hold of your clay bar and prepare to embark on a captivating journey towards a flawlessly clean car.
Before we dive into the magic of the clay bar, let’s ensure that your car is fully prepared. Begin by giving it a thorough wash and dry to rid it of any loose dirt or debris. This crucial step sets the stage for the clay bar to work its wonders without any hindrances.
Now, it’s time to unleash the clay bar and unveil its secret weapon – the lubricant. Spritz the lubricant onto the area plagued by glue residue. This divine concoction creates a silky smooth surface, allowing the clay bar to glide effortlessly without leaving a trace of scratches or harm to your car’s precious paint.
With the stage perfectly set, take a small piece of the clay bar and mold it into a delightful pancake shape. As if casting a spell, gently rub the clay bar back and forth over the glue residue. Watch in awe as the clay bar starts to weave its magic, effortlessly lifting away the glue residue and other contaminants, leaving behind a pristine surface.
Should you encounter stubborn remnants of glue residue, fear not. Simply fold the clay bar to expose a fresh section and continue your charmed assault until every last trace of glue is eradicated. Remember, this is your moment to shine, so take your time and relish in the satisfaction of witnessing the disappearing act performed by the clay bar.
Once all signs of glue residue have been banished, gracefully wipe away any excess lubricant and residue with a clean microfiber cloth. Step back and behold your masterpiece – a car that gleams as if it has just emerged from the showroom, radiating pure perfection.
Safety Tips for Removing Glue from Car Paint
When it comes to removing glue from your car’s paint, safety should be your top priority. The last thing you want is to accidentally damage your vehicle while trying to get rid of that stubborn adhesive. In this article, we will delve into some crucial safety tips to keep in mind when removing glue from your car’s paint. By following these guidelines, you can ensure that your car’s shine remains intact throughout the process.
Gear Up for Protection:
Before you begin the glue removal process, don’t forget to suit up with protective gear. Slip on a pair of gloves to shield your hands from any potential chemical reactions. Additionally, wear safety goggles to safeguard your eyes against any splashes or fumes that may arise during the glue removal process. With these protective measures in place, you can work confidently and worry-free.
Breathe Easy in a Well-Ventilated Space:
Glue removers often emit strong fumes that can be harmful if inhaled for an extended period. To avoid any respiratory discomfort or health risks, choose a well-ventilated area for your work station. An open garage or an outdoor space with adequate airflow would be ideal. Enhance ventilation by using a fan or opening windows. Breathing fresh air will make the glue removal process more comfortable and ensure your safety.
Perform a Patch Test for Peace of Mind:
To prevent any unwanted surprises, always conduct a patch test before applying the glue remover directly to your car’s paint. Select a small, inconspicuous area on the vehicle and follow the instructions provided by the manufacturer for applying the remover. This precautionary step will help you determine whether the product is safe for use and won’t cause any damage or discoloration to your car’s paintwork.
Stick to Instructions Like Glue:
Each glue remover may have its own specific instructions and recommended application methods. It is imperative to carefully read and follow the instructions provided by the manufacturer.
By adhering to these guidelines, you can ensure that you are using the product correctly, minimizing risks, and achieving the desired results without compromising your car’s paint.
Embrace Gentle Techniques for a Flawless Finish:
When it comes to removing glue from your car’s paint, a gentle approach is key. Avoid using abrasive tools or aggressive scrubbing motions as they can easily scratch or damage the paint.
Instead, opt for soft, non-abrasive materials such as a cloth or sponge soaked in the glue remover. Let the remover sit on the affected area for a few minutes to soften the glue before gently wiping it away. This technique will help preserve the integrity of your car’s paint and leave it looking pristine.
E6Jdy-7oshc” >
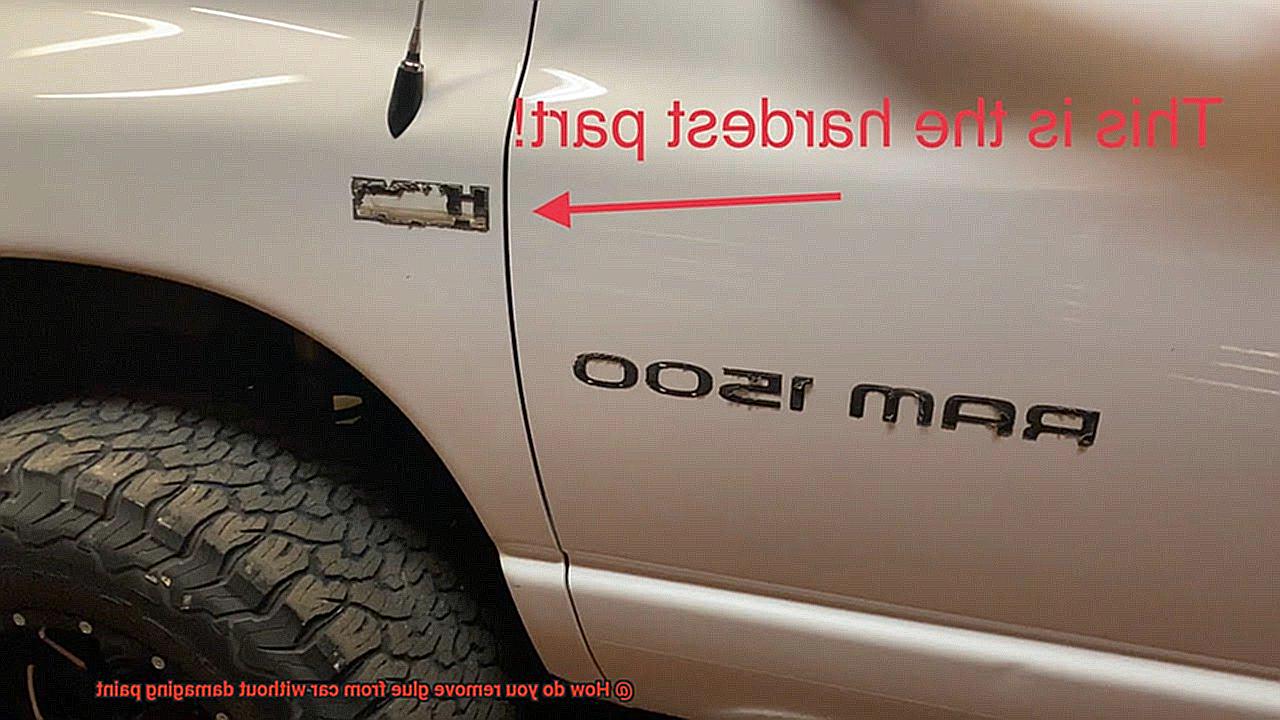
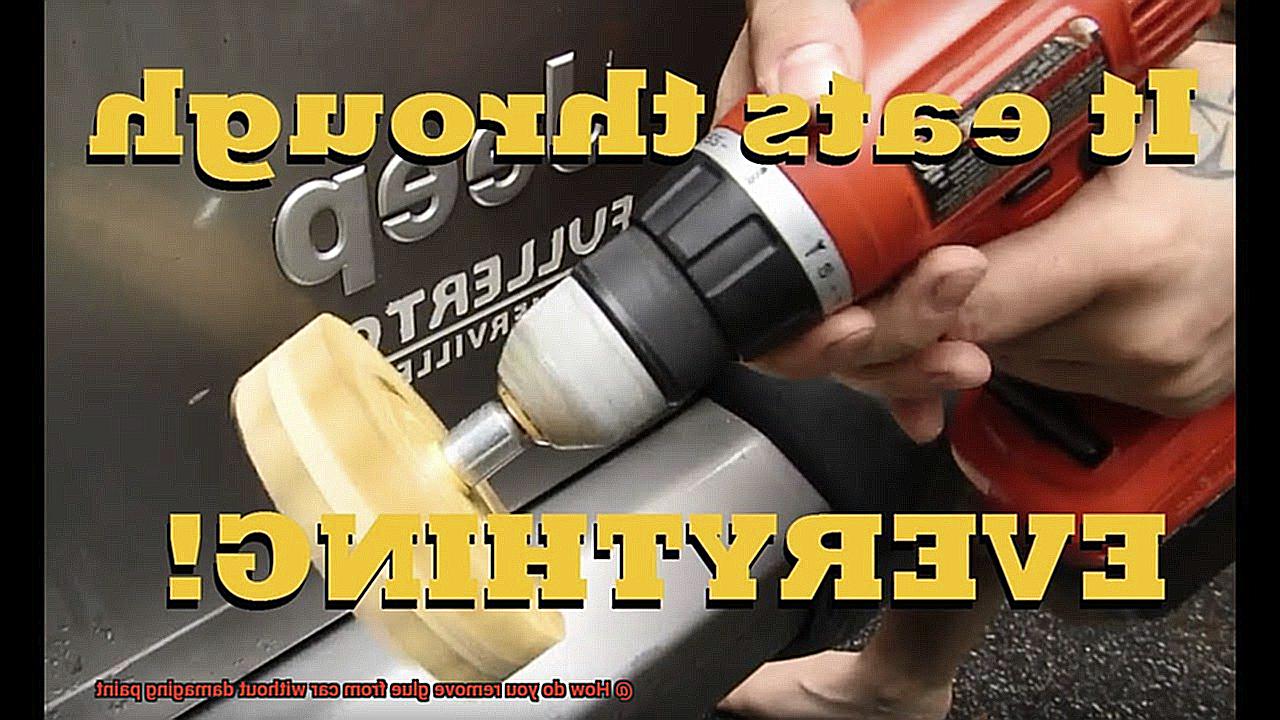
Also Read: How do you remove glue from a car without damaging paint?
Conclusion
Removing glue from a car without causing any harm to the paint can be quite a challenge. However, with the right techniques and products, you can effectively get rid of that stubborn adhesive residue. It’s important to approach this task with caution and patience to avoid any unintended damage.
One method you can try is using a gentle adhesive remover specifically designed for automotive use. These products are formulated to dissolve glue without harming the paint surface. Apply the remover onto a clean cloth and gently rub it onto the affected area in circular motions. Allow it to sit for a few minutes, then wipe it away with another clean cloth.
If you don’t have an adhesive remover on hand, there are some household items that can do the trick as well. One such item is rubbing alcohol or isopropyl alcohol. Dampen a cloth with alcohol and gently rub it onto the glue until it starts to loosen. Again, use circular motions and be patient as you work at it.
Another household remedy is using warm soapy water. Mix some mild dish soap with warm water and apply it to the glue spot using a soft sponge or cloth. Gently scrub the area until the glue begins to dissolve. Rinse off the soapy residue with clean water and dry thoroughly.
In some cases, heat can also help loosen the glue. You can use a hairdryer on low heat setting to warm up the adhesive, making it easier to remove. Keep the dryer at a safe distance from the car’s surface and continuously move it around to avoid overheating one spot.
Remember, regardless of which method you choose, always test it on a small inconspicuous area of your car first to ensure that there is no adverse reaction or damage to the paintwork.
To summarize, removing glue from your car without damaging its paint requires careful attention and patience. Whether you opt for an adhesive remover, rubbing alcohol, warm soapy water, or heat, take your time and work gently.