Imagine a sunny day, your thirst growing stronger by the minute. You reach for your trusty water bottle, only to find it smothered in sticky residue from an old label or adhesive. Frustration sets in, and you wonder how on earth you can remove that stubborn glue without causing any damage. But fear not, fellow adventurers. Today, I have the perfect solution that will leave your water bottle sparkling clean and ready for your next escapade.
Ever wondered what secret concoctions are lurking in those commercial glue removers? Well, worry no more. I’m about to unveil a tried-and-true method that uses everyday household items. But before we dive into this treasure trove of wisdom, let me set the scene:
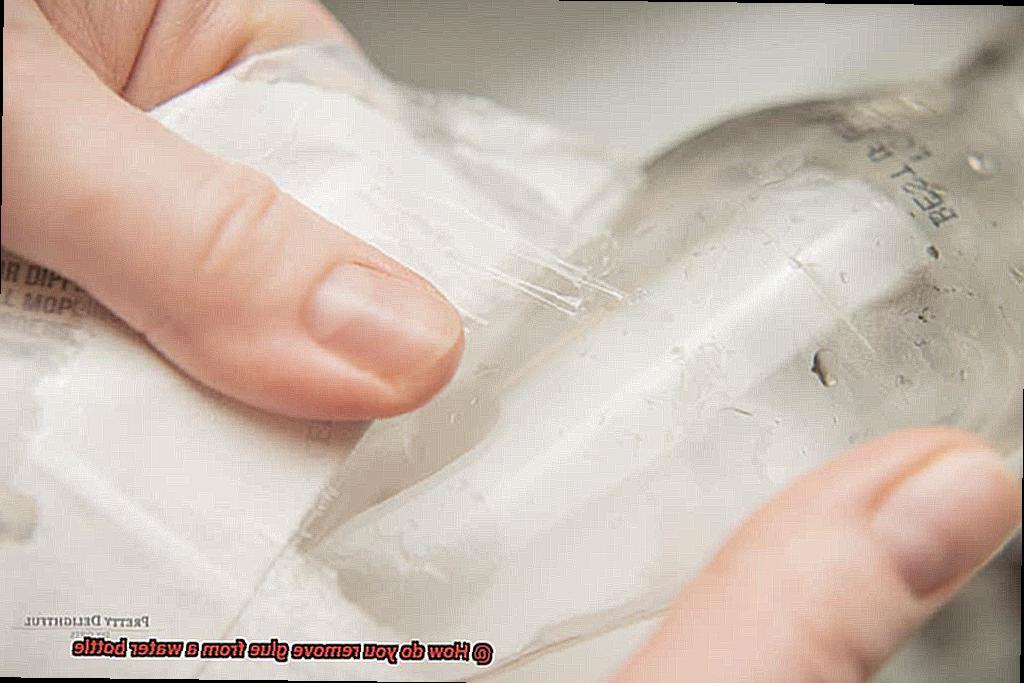
Picture yourself armed with a water bottle sealed shut with adhesive from a sticker or label. It’s time to embark on our quest. In this article, we’ll explore a diverse range of methods to rid your beloved water bottle of glue, whether it’s made of plastic or stainless steel.
Our journey will take us through the magical powers of baking soda, lemon juice, vinegar, and even the surprising versatility of peanut butter. We’ll discover the gentle yet effective nature of soaking and uncover quick fixes using soft cloths or sponges.
So whether you’re an eco-warrior seeking natural remedies or simply a curious soul eager to tackle this sticky situation head-on, get ready. This adventure will equip you with all the knowledge you need to banish glue from your water bottle and restore it to its former pristine glory.
Now grab yourself a cup of tea, get cozy, and prepare to unlock the enchanting world of glue removal methods. Your water bottle will thank you later.
What is Glue and How Does it Stick?
Contents
Glue, a remarkable substance that has been used for centuries, possesses the power to join materials together. Whether it’s repairing a broken item or embarking on a complex woodworking project, glue plays an indispensable role.
But have you ever pondered the science behind how glue actually works and sticks materials together? In this captivating exploration, we will delve into the intricate world of glue and unravel the mysteries behind its adhesive properties.
The Composition of Glue:
Glue is composed of polymers, a base material that can be either natural or synthetic. Natural glues, derived from plants or animals, have stood the test of time. However, synthetic glues, crafted from chemicals, offer enhanced performance and versatility.
Curing Process:
Once applied to a surface, glue undergoes the transformative process known as curing. This process involves the drying and hardening of the glue, creating a tenacious bond between the surfaces being joined.
The specific curing method can vary depending on the type of glue employed. Some glues necessitate exposure to air for drying, while others may require heat or moisture to initiate the curing process.
Surface Compatibility:
To ensure a robust bond, surface compatibility is of utmost importance. A clean surface free from dirt, dust, or oil is crucial for optimal adhesion. Rough or porous surfaces provide an advantageous advantage as they allow for a greater area of attachment, resulting in a mechanical interlocking effect.
Types of Adhesives:
Glues encompass an array of adhesive types, each possessing unique properties and applications. Some common adhesive types include cyanoacrylate (super glue), epoxy, polyvinyl acetate (PVA), and hot melt adhesives. These adhesives are carefully formulated to cater to different materials and purposes.
External Factors:
In addition to surface compatibility and adhesive type, external factors such as temperature and pressure significantly impact the bonding strength of glue. Certain glues thrive under specific temperature conditions, while others require pressure to establish a firm bond. Adhering to the instructions provided by the glue manufacturer is critical to ensuring optimal performance.
Tips for Removing Glue from a Water Bottle
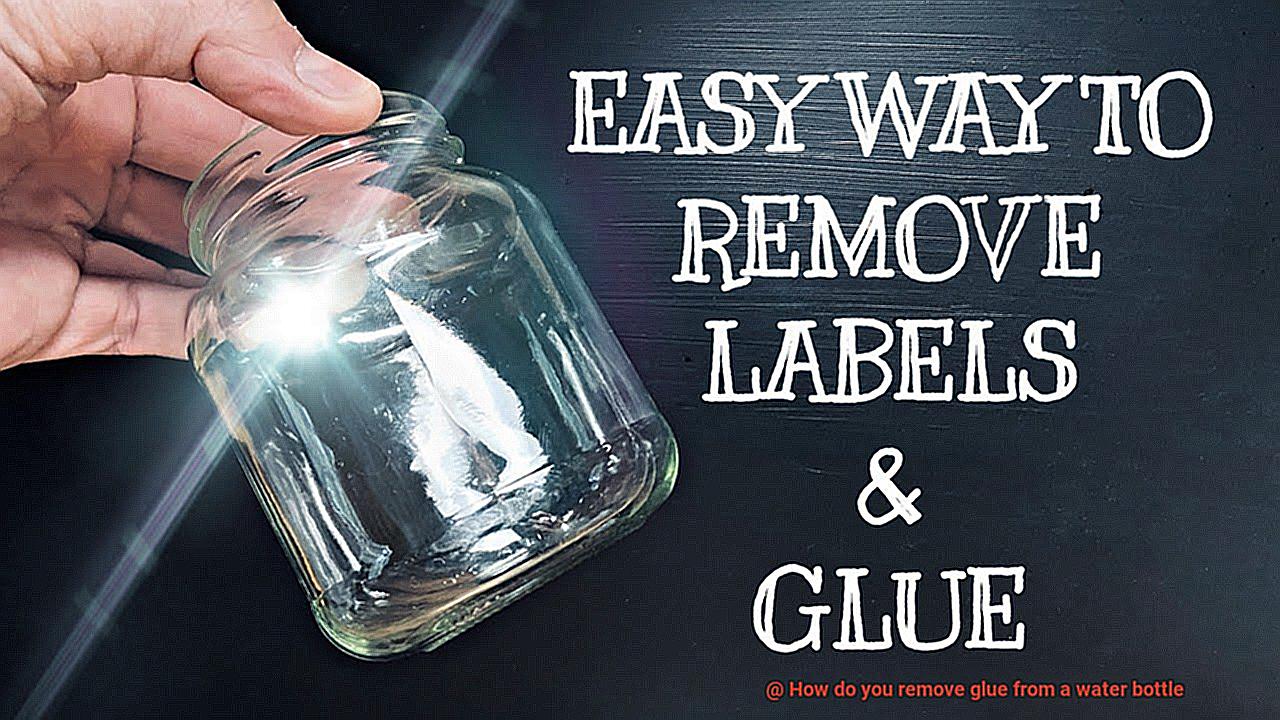
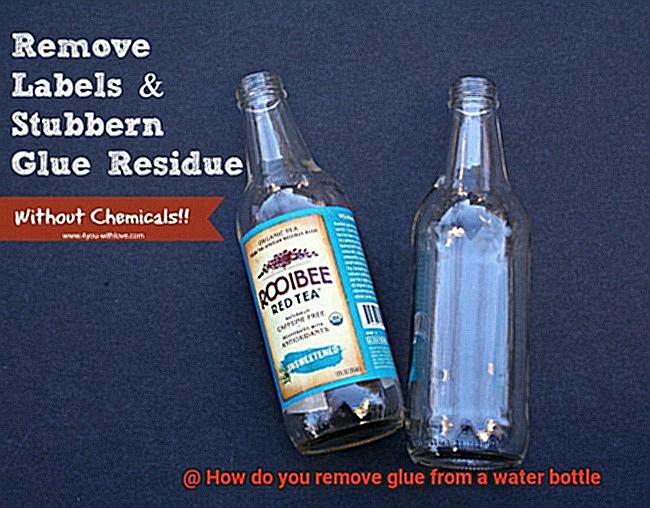
Don’t let stubborn glue residue hinder your reuse or recycling efforts with water bottles. With the right techniques and materials, you can bid farewell to that sticky mess. In this comprehensive guide, we will provide you with expert tips and tricks to safely and effectively remove glue from a water bottle, ensuring a clean and ready-to-use container every time.
Warm Soapy Water: A Gentle Start
When it comes to removing glue, starting with warm soapy water is a safe and simple method. Fill the bottle with warm water, add a few drops of dish soap, and let the magic happen.
As the soap seeps into the adhesive, it softens the glue. Armed with a scrub brush or sponge, gently work your way around the affected area using circular motions. To ensure a residue-free finish, rinse the bottle thoroughly with clean water.
Vinegar: Nature’s Adhesive Remover
For an environmentally-friendly solution, vinegar is your go-to adhesive remover. Soak a cloth or sponge in vinegar and apply it directly to the glue. Allow the acetic acid in vinegar to work its magic for a few minutes, breaking down the adhesive. With determination and vigor, scrub away the softened glue using a brush or sponge. Once you’ve triumphed over the sticky situation, rinse the bottle well to eliminate any lingering vinegar scent.
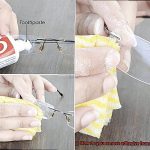
Rubbing Alcohol: Dissolve and Wipe Away
Harnessing its solvent properties, rubbing alcohol or isopropyl alcohol proves to be an effective adhesive remover. Moisten a cloth or cotton ball with rubbing alcohol and delicately rub it onto the glue until it begins to dissolve. As the adhesive loosens its grip, diligently wipe away the remnants using a clean cloth or sponge. However, exercise caution when working with plastic bottles, as alcohol may cause discoloration or damage. Always perform a small patch test beforehand.
Baking Soda: A Natural Abrasive Cleaner
For those stubborn glue stains, baking soda emerges as a natural abrasive cleaner, ready to tackle the challenge. Mixing baking soda with water creates a paste-like consistency that works wonders on tough adhesives.
Apply the paste directly onto the affected area and employ gentle circular motions with a cloth or sponge. The abrasive nature of baking soda aids in lifting off the glue. For an extra boost, consider adding a dash of vinegar or dish soap to the paste.
Method 1: Warm Soapy Water
- Say goodbye to those pesky glue stains with Method 1: Warm Soapy Water. This simple yet effective technique can be easily done at home using common household items.
- To begin, gather your supplies: warm water, dish soap, a sponge or cloth, and a bowl or sink. Fill the bowl or sink with warm water, ensuring that it is a comfortable temperature to handle. Add a few drops of dish soap to create a soapy mixture that will work wonders on the glue.
Now it’s time to dive into action. Submerge your water bottle in the warm soapy water, making sure the glue-covered area is fully immersed. Allow it to soak for approximately 10-15 minutes, giving the warm water and soap enough time to loosen the stubborn glue.
Once the soaking period is over, grab your trusty sponge or cloth and gently scrub away the glue from the water bottle. The combination of warm water and soap works together to break down the adhesive properties of the glue, making removal a breeze. Remember to be gentle while scrubbing to avoid any damage to the bottle’s surface.
If you encounter any stubborn residue that refuses to budge, don’t worry. Bring out a soft-bristle toothbrush or an old toothbrush to tackle those remaining bits of glue. The bristles provide extra friction, helping to loosen the glue without causing any harm.
With all the glue successfully removed, it’s time for a thorough rinse. Use clean water to wash away any soap residue from your water bottle. After rinsing, dry the bottle with a clean towel or simply let it air dry before putting it back into use.
It’s worth noting that this method works best for plastic or glass water bottles. If you have a metal water bottle, it’s advisable to consult the manufacturer’s instructions or explore alternative methods to prevent potential damage.
Method 2: Rubbing Alcohol or Nail Polish Remover
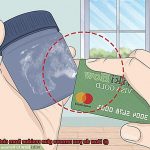
Welcome back, fearless glue warriors. If you’ve faced defeat with the warm soapy water method, fear not. Method 2 is here to unleash the power of rubbing alcohol or nail polish remover and rid your water bottle of those stubborn glue stains. So, grab your cotton balls or cloth and prepare to be amazed by the magic of these everyday solutions.
But how do these ordinary household items work their wonders? Well, it’s all thanks to their secret weapons – powerful chemicals that have the ability to dissolve and break down the adhesive properties of glue. Let’s harness their power and banish those glue stains once and for all.
To embark on this epic quest, gather your supplies: a trusty cotton ball or cloth and a small amount of either rubbing alcohol or nail polish remover. These items are your weapons in this battle against adhesive foes, so make sure you have them at the ready before you begin.
Now it’s time to prepare for combat. Dampen your cotton ball or cloth with your chosen solution – rubbing alcohol or nail polish remover. Remember, a little goes a long way, so don’t drench it in the solution. We want to be precise in our attack.
With your weapon prepared, gently commence your assault on the affected area of your water bottle where the glue has taken hold. Feel the power of the solution as it begins to dissolve the very essence of the adhesive, making it weak and vulnerable.
But beware, dear warriors, for this may not be a swift victory. The strength and thickness of the glue may require multiple rounds of attack. Do not falter. Persistence is key in this battle against sticky foes. Repeat the process as many times as necessary until victory is achieved.
Once the glue has been vanquished and lies defeated before you, it is time to remove any remnants of its existence. Take a clean cloth or paper towel and wipe away the residue. Let your water bottle shine once more, liberated from the clutches of its sticky past.
Method 3: Acetone
Welcome back, fearless glue warriors. If the previous methods didn’t quite cut it, fear not, because we’ve saved the best for last – Method 3: Acetone. This powerful solvent is here to help you conquer those stubborn glue stains on your water bottle once and for all. But before we delve into the steps, let’s take a closer look at the magical properties of acetone.
Acetone, a colorless liquid with a strong odor, is commonly found in nail polish removers and industrial cleaning agents. Its superpower lies in its ability to break down adhesive properties, making it the perfect weapon against those relentless glue residues. However, acetone can be a bit harsh, so be sure to test it on a small, inconspicuous area of your water bottle to avoid any unwanted damage or discoloration.
Now that we’ve covered the basics, let’s dive into the nitty-gritty of using acetone to remove glue from your water bottle. Here are the steps you need to follow:
Step 1: Gather your arsenal
To wage war against these sticky foes, arm yourself with acetone (of course), cotton balls or a soft cloth, gloves (to protect your hands), and ensure you’re in a well-ventilated area. Safety is paramount, my fellow warriors.
Step 2: Don your battle gear
Protect your hands from any accidental irritation by putting on your trusty gloves before handling acetone.
Step 3: Apply the magic potion
Take a cotton ball or soft cloth and moisten it with just enough acetone – we don’t want it dripping wet. This will be your secret weapon against the glue.
Step 4: Launch your attack
Now comes the exciting part – start rubbing the acetone-soaked cotton ball or cloth over the glue in circular motions. Apply gentle pressure to break down that stubborn adhesive bond. Remember, persistence is key, so keep at it.
Step 5: Stay vigilant until victory
Depending on the type and amount of glue, it may take a few minutes of dedicated rubbing for the adhesive to surrender completely. Channel your inner warrior spirit and keep going until that glue is nothing but a distant memory.
Method 4: Vinegar
In our previous sections, we armed you with powerful weapons like acetone to conquer those stubborn adhesive stains on your water bottle. But today, we’re introducing a new contender in the battle against glue – vinegar.
Yes, you heard it right. That humble bottle of vinegar sitting in your pantry can be your secret weapon in removing glue from your water bottle. Vinegar is not only known for its culinary uses but also for its acidic properties that can break down substances like glue.
To begin your vinegar-powered mission, gather a clean cloth or sponge, white vinegar, and warm water. Soak the cloth or sponge in warm water and wring out any excess liquid. Now, pour some vinegar onto the damp cloth or sponge, and you’re ready to take on the glue.
Apply the vinegar-soaked cloth or sponge directly onto the glue-covered area of your water bottle. Gently rub the glue in circular motions, allowing the vinegar to work its magic and dissolve the adhesive. Remember, no need for excessive scrubbing – we want to remove the glue, not damage your beloved bottle.
As you keep rubbing with the vinegar-soaked cloth or sponge, you’ll start to see the glue loosening its grip. This process may take a few minutes or longer depending on the strength of the glue and how long it has been stuck.
Once you notice the glue softening, it’s time to bring out your secret weapon – your fingers or a soft-bristled brush. Use them to gently scrape away the softened adhesive. Take care during this step to avoid scratching or damaging your water bottle. We’re here to remove glue, not create new battle scars.
If some stubborn glue residue remains after scraping, fear not. Simply apply more vinegar onto the affected area and repeat the rubbing and scraping motions until every last trace of glue surrenders to your vinegar prowess.
After successfully removing all traces of glue, don’t forget to give your water bottle a thorough rinse with warm water. This will ensure that any residual vinegar or adhesive is washed away. And if you want to go the extra mile, you can even use a mild dish soap to give your bottle a sparkling finish.
Method 5: Heat
Throughout our journey, we have explored various methods to conquer this adhesive menace – from the mighty vinegar to the gentle touch of warm water. But now, it’s time to bring out the big guns and turn up the heat. Get ready to witness the unstoppable power of method 5: heat.
But wait, you might be wondering, how can heat possibly help in removing glue from a water bottle? Prepare to be amazed as we delve into the fascinating world of research. Heat has a magical ability to soften glue, making it crumble under its power. It’s like watching glue melt away, leaving you victorious in this sticky situation.
Let’s now embark on a journey through sub-topics and explore different ways you can wield the power of heat to bid farewell to glue on your water bottle:
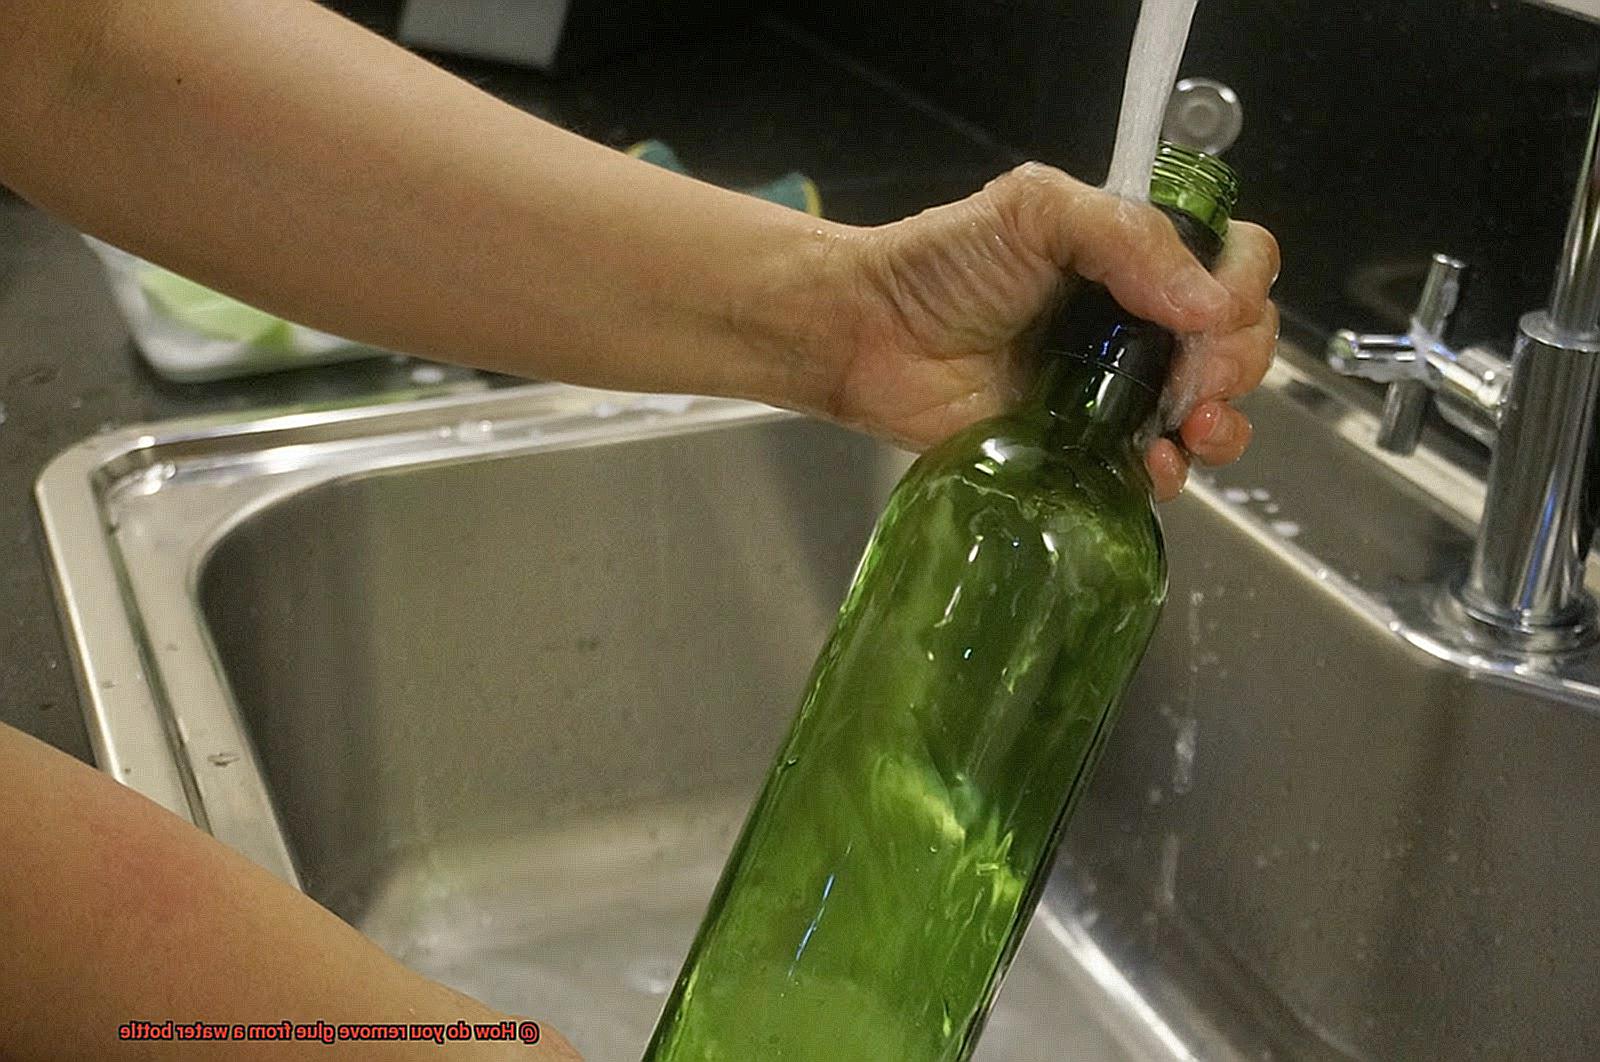
Hot Water Bath:
- Immerse your water bottle in a bowl or sink filled with hot water (remember, not boiling.).
- Allow it to bask in the warmth for a few minutes, letting the heat work its enchantment on the glue.
- As the glue begins to lose its grip, you’ll notice it loosening its hold.
- Armed with a soft cloth or sponge, gently massage the softened glue in circular motions, dissolving it with ease.
- If any stubborn remnants remain, repeat this process until every trace surrenders to your relentless pursuit.
Hairdryer Delight:
- Grab hold of your trusty hairdryer and set it to a low or medium heat setting.
- Direct the hot air towards the stubborn glue on your water bottle.
- Move the hairdryer back and forth, ensuring that every inch of the adhesive is exposed to the scorching heat.
- But beware. Exercise caution and avoid overheating the bottle to prevent any damage.
- As you witness the glue softening under the intense heat, seize the moment and gently scrub away the softened residue with a soft cloth or sponge.
- Remember, patience is your ally. Avoid using abrasive materials that could mar the pristine surface of your beloved water bottle.
Safety Precautions When Using Solvents and Heat to Remove Glue
In our previous chapter, we delved into the incredible power of heat to conquer glue on a water bottle. But before you embark on this adhesive adventure, let us equip you with the knowledge of safety precautions when using solvents and heat. Prepare to enter the realm of safety and emerge victorious against the adhesive menace.
Ventilate Your Battlefield:
When engaging in combat with glue using solvents, ensure you work in a well-ventilated area. Solvents release fumes that can be toxic or irritating to your respiratory system. Open those windows wide or enlist the aid of fans to create a refreshing breeze. Let the air flow freely and minimize your exposure to these chemical foes.
Don Your Protective Armor:
Like a valiant knight preparing for battle, protect yourself from harm. Equip yourself with protective gloves and goggles. Solvents have the potential to cause skin irritation or burns, so create a barrier between your precious skin and these chemical adversaries. And don’t forget your trusty goggles; they’ll shield your eyes from any splashes or fumes that dare to intrude.
Mask Up for Safety:
Inhaling the fumes of potent solvents is an absolute taboo. Don your mask or respirator as a shield against airborne particles or vapors that may wreak havoc if inhaled. Breathe easy, my fearless warrior, as you face the adhesive challenge head-on.
Beware the Flame Dragon:
Handling flammable solvents requires utmost caution. Keep these volatile substances far away from open flames, sparks, and banish all thoughts of smoking while in their presence. Store flammable solvents in cool, well-ventilated areas, far removed from any heat sources. Safety must always reign supreme.
Heat: Handle with Care and Grace:
Now, let us explore the art of utilizing heat to triumph over the adhesive enemy. Whether through hot water or a majestic heat gun, similar safety precautions must be observed.
Glove Up and Maintain Your Distance:
Hot objects demand respect. Safeguard your hands from burns by donning heat-resistant gloves or employing tongs when handling them. Maintain a safe distance from the heat source, avoiding direct contact with scorching surfaces. Let us ensure that your delicate hands remain unscathed throughout this noble quest.
66SCRfNKdog” >
Conclusion
Removing glue from a water bottle can be a pesky problem.
Thankfully, there are several effective methods to tackle this sticky situation. One option is using warm soapy water and a scrub brush to gently remove the glue residue.
Another method involves applying an adhesive remover or rubbing alcohol to dissolve the glue. For tougher cases, you can try using a mixture of baking soda and coconut oil as a natural adhesive remover.
Remember to rinse the bottle thoroughly after removing the glue to ensure it’s safe for use.