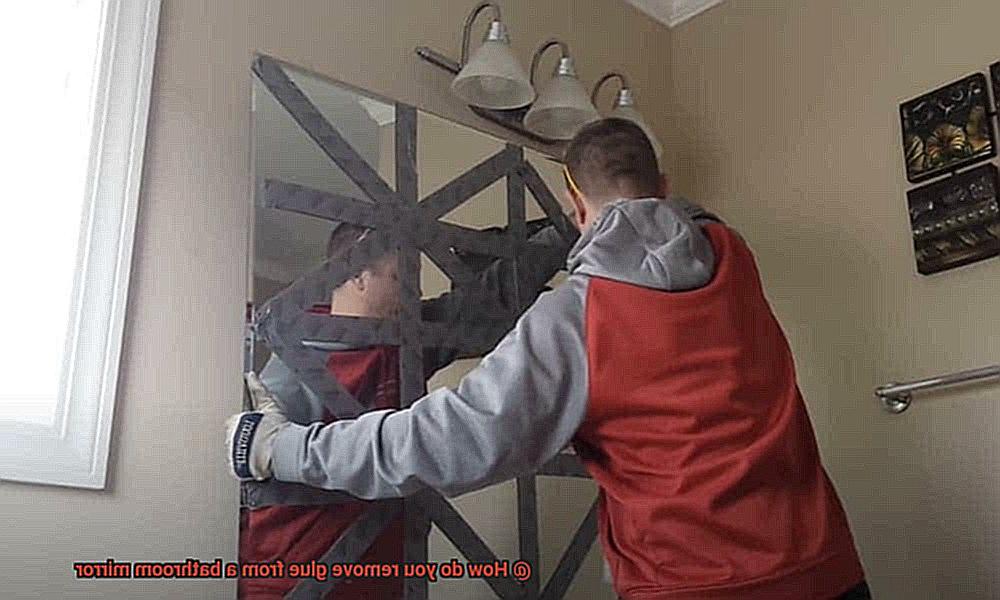
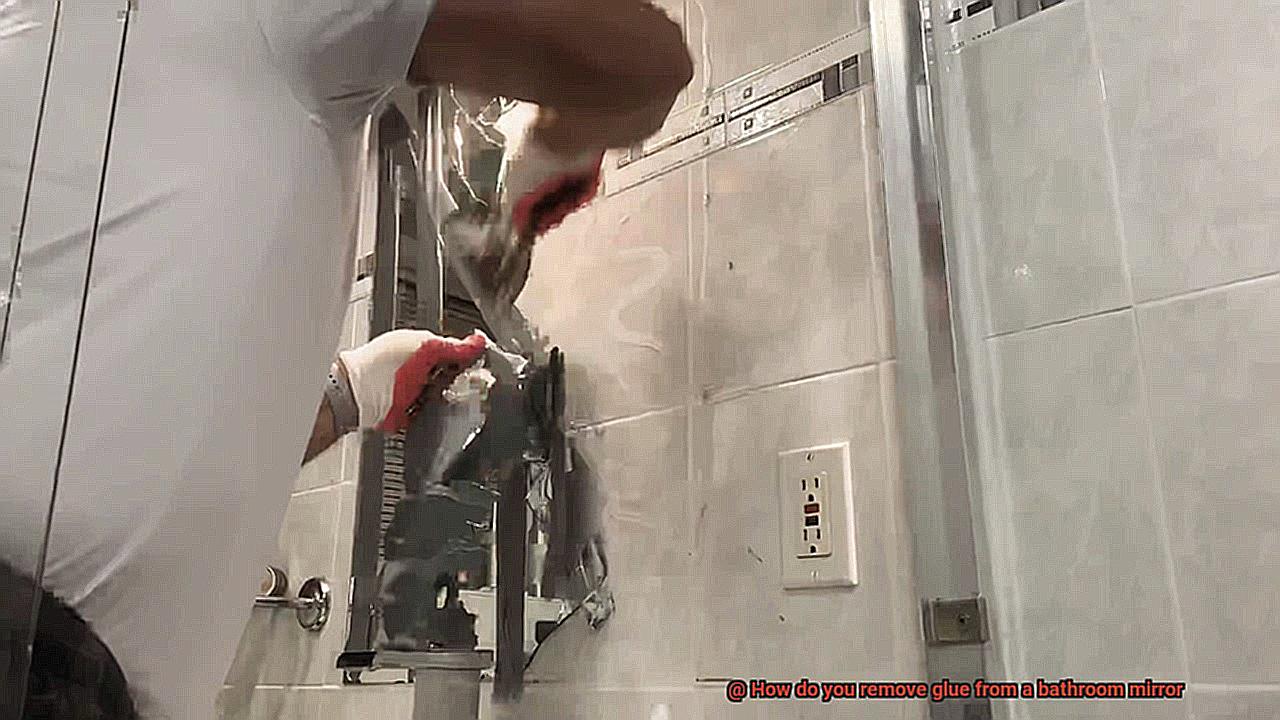
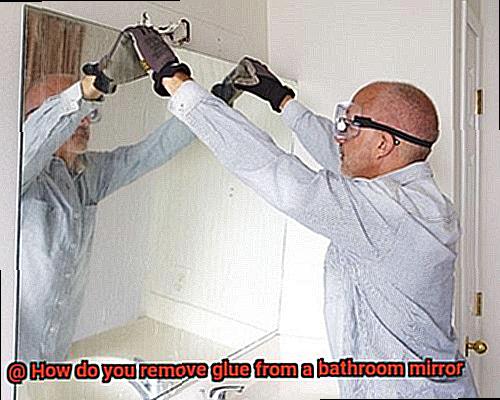
Ever had the frustrating experience of trying to get rid of that pesky glue on your bathroom mirror? Trust me, we’ve all been there.
Whether it’s from sticking up decorations or a DIY project gone wrong, dealing with glue on a mirror can be a real headache. But don’t worry, my friend, because I’ve got the solution you’ve been searching for.
So grab your cleaning gear and get ready for some serious glue removal magic.
Understanding the types of glue commonly used on mirrors
Contents
- 1 Understanding the types of glue commonly used on mirrors
- 2 Method 1: Warm soapy water
- 3 Method 2: Vinegar solution
- 4 Method 3: Rubbing alcohol
- 5 Method 4: Acetone (with caution)
- 6 Method 5: Commercial adhesive removers
- 7 Tips for safely removing glue from a bathroom mirror
- 8 Precautions to take when using chemicals or solvents
- 9 Conclusion
Mirrors are not only functional but also serve as decorative elements in our homes. Whether you’re attaching a mirror to a wall or securing decorative pieces, choosing the right type of glue is crucial. In this article, we will explore the different types of mirror glue commonly used, their specific applications, and effective removal methods. Let’s dive into the world of mirror adhesives.
Types of Mirror Glue:
- Silicone Adhesive: For a strong and durable bond, silicone adhesive is the go-to choice for attaching mirrors to walls. Applied as a continuous bead around the back perimeter, this adhesive offers excellent resistance to moisture and temperature changes. Consider using silicone adhesive for your bathroom mirrors, where humidity levels tend to be higher.
- Construction Adhesive: Another popular option for mirror installation is construction adhesive. This glue is applied in small dots or lines on the back of the mirror and provides a robust bond that can withstand moisture and temperature fluctuations. It’s a versatile choice for various mirror sizes and installations.
- Mirror Mastic: Specifically designed for mirrors, mirror mastic is a thick paste that ensures a strong bond while also providing added safety. Applied with a notched trowel, it helps prevent mirrors from shattering if they break. Mirror mastic is an ideal choice when security is paramount.
- Double-sided Tape: When it comes to temporary or lightweight mirrors, double-sided tape is a convenient option. Applied in strips or squares on the back of the mirror, it offers a less permanent bonding solution. Perfect for quick changes or temporary installations.
Removing Mirror Glue:
Proper removal of mirror glue is essential to avoid damaging the mirror surface. Here are some effective techniques:
- Warm Soapy Water: Begin by filling a basin with warm water and adding a few drops of dish soap. Dip a soft cloth or sponge into the soapy water and gently rub the glue residue on the mirror. Rinse with clean water and dry thoroughly.
- Vinegar Solution: Create a solution by mixing equal parts white vinegar and warm water in a spray bottle. Spray the solution onto the glued areas of the mirror and let it sit for a few minutes. Gently scrub away the glue residue with a soft cloth or sponge, then rinse and dry.
- Rubbing Alcohol: Apply rubbing alcohol to a cotton ball or pad and dab it onto the glue residue. Allow it to sit for a few minutes before gently rubbing away the adhesive with a soft cloth or sponge. Rinse thoroughly and dry.
- Acetone (with caution): Always test a small, inconspicuous area of the mirror first to ensure that acetone does not damage it. If safe, apply a small amount of acetone to a cloth or cotton ball and gently rub the glue residue until it loosens. Rinse thoroughly with water and dry immediately.
Method 1: Warm soapy water
When it comes to removing pesky adhesive remnants from your bathroom mirror, there’s a simple and accessible method that you don’t want to overlook: warm soapy water. This method is not only effective but also gentle enough to ensure that your mirror’s surface remains undamaged.
To get started, you’ll need a few items: a bowl or basin, warm water, mild dish soap, a soft cloth or sponge, and a clean towel. Once you have everything prepared, it’s time to dive in.
Begin by filling the bowl or basin with warm water and adding a few drops of mild dish soap. Gently mix the solution until it forms a nice soapy mixture. Now, take your soft cloth or sponge and dampen it in the warm soapy water. Make sure to wring out any excess liquid – we don’t want a drippy mess on our hands.
With your damp cloth or sponge in hand, it’s time for the fun part. Gently rub the glue residue on the mirror using circular motions and light pressure. The warmth and soap in the solution will work their magic, breaking down the adhesive properties of the glue and making it easier to remove.
Keep rubbing until you start to see the glue loosening and dissolving. If there are stubborn areas, don’t hesitate to reapply more warm soapy water. Just remember to be patient and avoid using excessive force or abrasive materials that could scratch your mirror.
Once the glue has loosened up, grab a clean towel and wipe away the residue. Rinse your cloth or sponge thoroughly and wipe down the mirror with clean water to remove any lingering soap residue. Finally, use a dry towel to dry the mirror, ensuring that no streaks or water spots are left behind.
While warm soapy water is an effective method for removing glue from a bathroom mirror, it’s important to note that it may not work for all types of adhesives. Stronger glues like epoxy or super glue might require alternative methods. If you’re unsure about using this method on your specific mirror type, it’s always a good idea to test it on a small inconspicuous area first.
Method 2: Vinegar solution
In this guide, we will unveil a simple and cost-effective method that utilizes the power of vinegar to eliminate those stubborn adhesive stains from your mirror. Get ready to say hello to a crystal-clear reflection.
Step 1: Prepare the Vinegar Solution
Get your hands on a spray bottle and combine equal parts of white vinegar and warm water. Give it a vigorous shake to ensure the ingredients are thoroughly mixed. This dynamic duo of vinegar and water will work wonders on that pesky glue.
Step 2: Apply the Vinegar Solution
Spray the vinegar solution directly onto the glue stain on your mirror, ensuring complete coverage. Vinegar possesses natural acidic properties that effectively break down adhesive substances, easing their removal.
Step 3: Allow Time for Magic
Give the vinegar solution some time to work its magic. Let it sit on the glue stain for approximately 10-15 minutes. This allows the vinegar to penetrate the adhesive, softening it and making it easier to scrub away.
Step 4: Gently Scrub Away
Take a soft cloth or sponge and begin gently scrubbing the glue stain in circular motions. Observe how the vinegar solution has loosened the adhesive, enabling effortless removal. Persist until every trace of glue has vanished.
Step 5: Rinse and Revel in Brilliance
Once you have successfully eliminated the glue, rinse your mirror with clean water to ensure no lingering vinegar residue remains. This final step guarantees a streak-free finish, leaving your mirror brilliantly clear.
Step 6: Dry with Tender Care
To prevent the emergence of water spots or streaks, employ a clean, dry cloth or paper towel to delicately wipe your mirror dry. Admire your accomplishment and revel in the satisfaction of a glue-free reflection.
Method 3: Rubbing alcohol
Say goodbye to those stubborn glue stains on your bathroom mirror with the secret weapon in your cleaning arsenal – rubbing alcohol. This versatile household item can work wonders when it comes to removing glue, but not all rubbing alcohols are created equal. Look for one that contains at least 70% isopropyl alcohol for maximum effectiveness.
Now, let’s dive into the step-by-step process of using rubbing alcohol to banish those pesky glue stains. Gather your supplies: rubbing alcohol, a clean cloth or sponge, and a trusty plastic scraper or an old credit card.
- Step 1: Moisten your cloth or sponge with rubbing alcohol. You want it to be damp but not soaking wet. We don’t want any unnecessary drips here.
- Step 2: Gently dab the cloth or sponge onto the glued area of the mirror. Allow the rubbing alcohol to work its magic and penetrate the glue for a few minutes. This will help loosen up the adhesive and make it easier to remove.
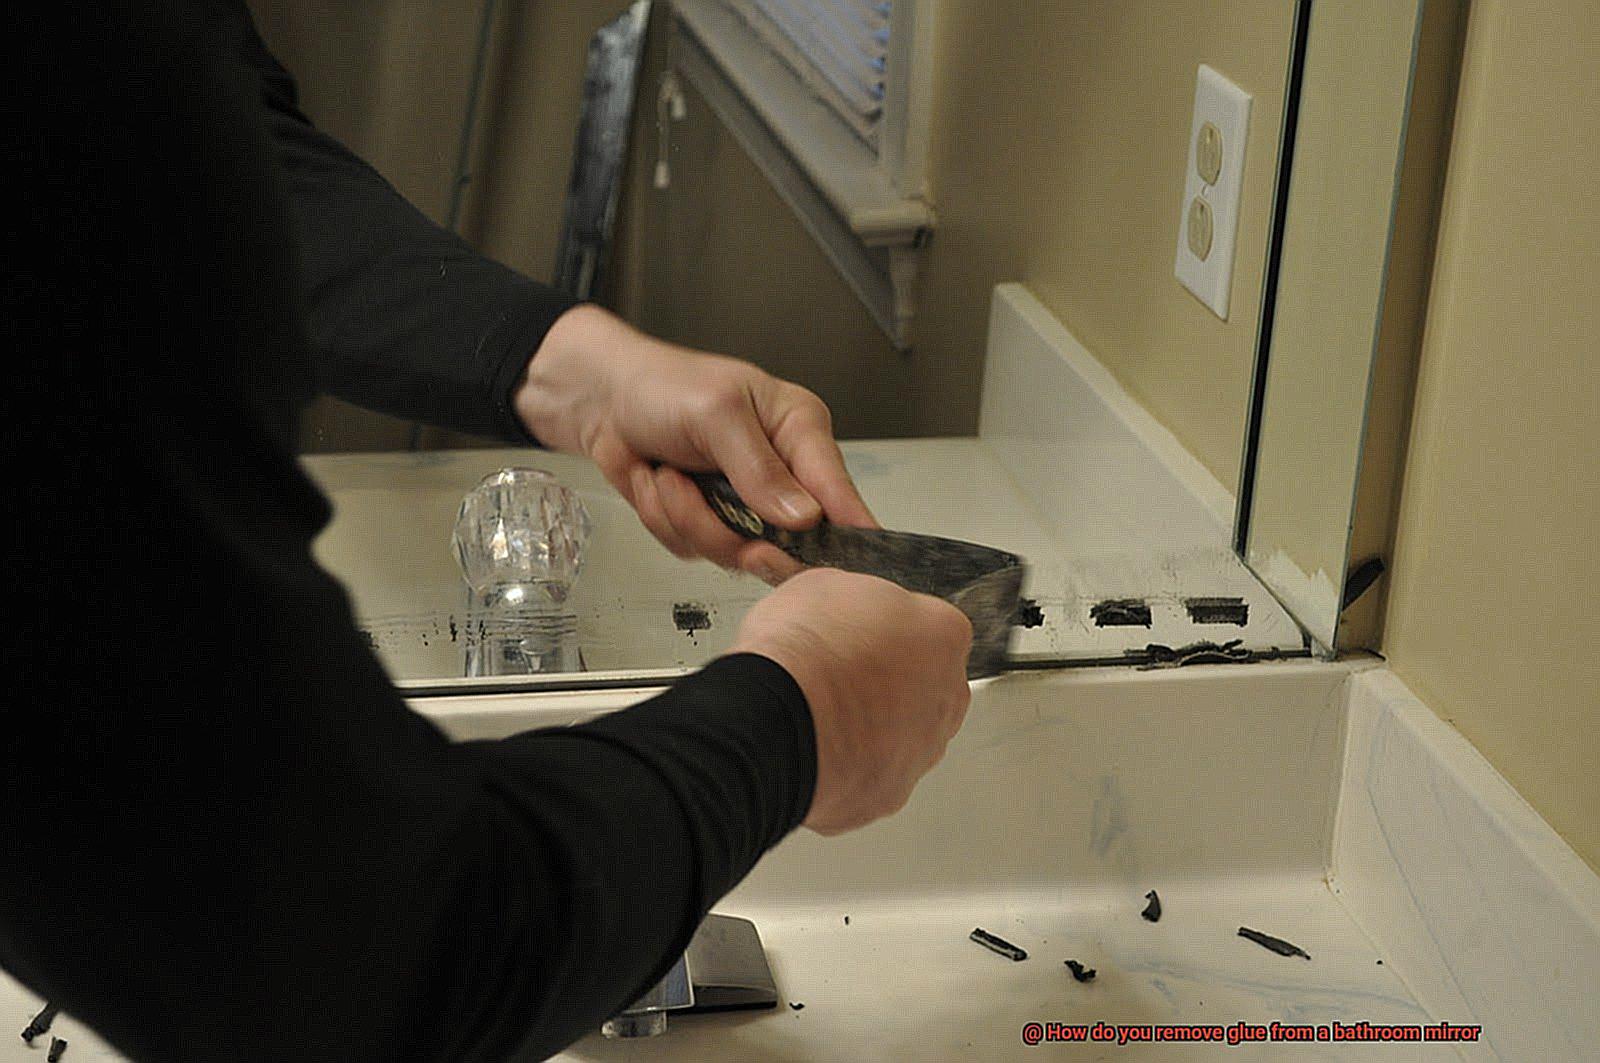
- Step 3: Now, it’s time to bring out your secret weapon – the plastic scraper or old credit card. With a gentle touch, start scraping away the glue from the mirror’s surface. Remember, we want to be cautious here. Applying too much pressure or using a sharp object could potentially scratch or damage the mirror.
- Step 4: As you scrape away, periodically wipe off the loosened glue with your damp cloth or sponge. This will prevent any residue from spreading or getting in your way.
- Step 5: If there are some stubborn areas that refuse to budge, don’t fret. Apply a little more rubbing alcohol and let it sit for a few extra minutes. This extra soak should do the trick and make those stubborn spots easier to scrape away.
- Step 6: Once all traces of glue have been successfully banished from your mirror’s surface, it’s time to give it a final clean. Grab a fresh cloth or sponge and some warm soapy water. Give your mirror a good wipe down, making sure to remove any residue from the rubbing alcohol.
- Step 7: To achieve that picture-perfect finish, dry your mirror thoroughly with a clean towel or a trusty microfiber cloth. This will prevent any pesky streaks from appearing and leave you with a mirror that sparkles like new.
Method 4: Acetone (with caution)
Discovering a stubborn glue stain on your bathroom mirror can be frustrating, but fear not. Acetone, a potent solvent capable of dissolving adhesive like magic, is the answer you’ve been looking for. However, it’s crucial to approach this method with caution to avoid any potential damage to your mirror. In this comprehensive guide, we will walk you through the step-by-step process of using acetone to eliminate glue stains from your bathroom mirror, ensuring a flawless and pristine finish.
Materials You’ll Need:
To successfully remove glue stains using acetone, gather the following materials:
- Acetone: Ensure that the acetone you acquire is pure and devoid of any additional ingredients. Hardware or home improvement stores typically stock this versatile solvent.
- Cotton balls or soft cloth: Trusty tools for applying the acetone, cotton balls or a soft cloth will facilitate the removal process.
- Safety goggles and gloves: Protect yourself against potential splashes or contact with this potent chemical by donning safety goggles and gloves.
Step-by-Step Guide:
- Prioritize Safety: Begin by ensuring your safety goggles and gloves are properly worn. Remember, safety always comes first.
- Apply Acetone: Dampen a cotton ball or soft cloth with acetone, making sure it is adequately soaked without dripping excessively.
- Gentle Dabbing: Carefully dab the acetone-soaked cotton ball or cloth onto the glue stain. Avoid vigorous rubbing or scrubbing to prevent any unsightly scratches.
- Allow Time for Penetration: Give the acetone a few minutes to sit on the glue stain, allowing it ample time to penetrate and dissolve the adhesive.
- Delicately Wipe Away: Using a clean cloth, gently wipe away the softened glue. Apply minimal pressure to prevent any potential damage to the mirror surface.
- Repeat if Necessary: For stubborn remnants of glue, reapply acetone, allowing it to sit before wiping again. Continue this process until all traces of glue are eradicated.
- Rinse and Dry: Once all glue is removed, rinse the mirror surface with clean water and thoroughly dry it using a soft cloth.
Precautions:
It is of utmost importance to handle acetone with caution, as improper usage can harm your bathroom mirror. Before proceeding, test a small, inconspicuous area first to ensure no damage occurs. Additionally, work in a well-ventilated area to minimize exposure to fumes. Keep acetone away from open flames or sparks as it is highly flammable.
Method 5: Commercial adhesive removers
Say goodbye to that stubborn glue stain on your bathroom mirror with Method 5: Commercial adhesive removers. These powerful products are like superheroes in a bottle, ready to tackle even the toughest adhesive residues without causing any harm to your beloved mirror.
Commercial adhesive removers come in a variety of forms – sprays, gels, and liquids – giving you the flexibility to choose the one that suits your fancy. But what sets them apart is their ability to break down and loosen even the most stubborn glue stains. Packed with powerful solvents and chemicals, these removers work their magic by dissolving the adhesive, making it a breeze to remove.
However, not all adhesive removers are created equal. Some may be more effective than others depending on the type and strength of the glue you’re dealing with. That’s why it’s crucial to read and follow the instructions provided by the manufacturer. This step is essential to avoid any accidental damage to your mirror or surrounding materials.
Before diving into the world of adhesive removers, it’s wise to test the product on a small, inconspicuous area of your mirror first. This precaution ensures that it doesn’t cause any discoloration or unexpected reactions. Once you’re confident in its compatibility, you’re ready to go.
To use a commercial adhesive remover, apply a generous amount directly onto the glue stain and let it sit for a few minutes. This allows the remover to penetrate and dissolve that sticky mess. Then, grab a soft cloth or sponge and gently scrub the area in circular motions. Like magic, the softened glue should lift right off.
But we’re not done yet. After removing the glue, give your mirror some love and attention by cleaning it with warm water and mild soap. This will ensure that any residue from the adhesive remover is completely gone, leaving your mirror looking as good as new. Don’t forget to dry it immediately to prevent any pesky water spots or streaks.
When choosing a commercial adhesive remover, look for a product specifically formulated for mirrors or glass surfaces. These gentle yet effective removers will ensure that your mirror’s coating or reflective surface stays in tip-top shape. And let’s not forget to be environmentally conscious – opt for a non-toxic and eco-friendly remover that’s safer to use and dispose of.
Tips for safely removing glue from a bathroom mirror
Removing glue from a bathroom mirror can be a daunting task, but with the right techniques and tools, it can be done safely and effectively. Whether you’re dealing with adhesive residue from mounting hooks or stubborn glue from DIY projects, we’ve got you covered. In this article, we will share expert tips and tricks to help you restore your bathroom mirror to its pristine condition without causing any damage.
Tip 1: Protect the Mirror Surface
Before you begin removing the glue, it’s essential to protect the mirror surface to prevent scratches or damage. Use a soft cloth or plastic sheet to cover the surrounding area, ensuring that only the glue is exposed for removal.
Tip 2: Apply Heat or Solvents
Two effective methods for loosening and dissolving glue are heat and solvents. For heat application, use a hairdryer or a heat gun on low heat to warm up the glue. Once the glue becomes soft, gently scrape it off using a plastic scraper or credit card. Be careful not to apply too much pressure to avoid scratching the mirror.
If heat alone doesn’t do the trick, try using a solvent. Natural solvents like vinegar or lemon juice can be effective in breaking down the glue. Apply a small amount to a clean cloth and gently rub the glue until it starts to dissolve.
For tougher glues, commercial adhesive removers or rubbing alcohol can also be used. However, exercise caution as these products may contain harsh chemicals that could damage certain types of mirrors.
Tip 3: Avoid Abrasive Materials
To safeguard your mirror’s surface, steer clear of abrasive materials such as steel wool or scrub brushes. Instead, opt for gentle techniques using cotton swabs, soft cloths, or plastic scrapers. These tools will help remove the glue without scratching or causing any harm.
Tip 4: Thoroughly Clean the Mirror
Once the glue has been successfully removed, it’s important to give your bathroom mirror a thorough cleaning. Use a glass cleaner and a non-abrasive cloth or sponge to remove any residue or streaks. Ensure the mirror is completely dry to achieve a clear and streak-free finish.
Precautions to take when using chemicals or solvents
If so, it’s time to prioritize safety. While chemicals and solvents can work wonders in dissolving adhesives, they also come with risks if not handled properly. Get ready to embark on a glue-free victory by following these essential precautions that will keep you safe throughout the process.
Read and Follow the Instructions:
Consider the product label your trusty roadmap to success. Take a moment to carefully read and understand the instructions provided. Each chemical or solvent may have specific guidelines, dilution ratios, safety precautions, and disposal methods. Don’t skip this step – it’s your key to a safe and successful outcome.
Wear Appropriate Protective Gear:
Before diving into your glue removal mission, put safety first. Equip yourself with gloves, safety goggles, and a protective apron or clothing. These simple yet crucial items will act as shields, protecting your skin and eyes from potential burns or irritations.
Work in a Well-Ventilated Area:
Say no to chemical fumes. Ensure that you work in a well-ventilated area to minimize exposure to potentially harmful vapors. Open windows or use exhaust fans to let fresh air flow through your workspace. If your project takes place in a confined space, consider using a respirator for an extra layer of protection.
Avoid Mixing Incompatible Substances:
Mixing chemicals or solvents without knowing their compatibility is like playing with fire – literally. Some combinations can result in toxic gases or even explosions. Unless explicitly stated by the manufacturer, steer clear of mixing incompatible substances. Safety should always be your glue removal companion.
Store Chemicals Properly:
Proper storage is vital for both the effectiveness of your chemicals and your peace of mind. Keep them in their original containers with tightly sealed lids, and store them in a cool, dry place away from direct sunlight, heat sources, or flames. Additionally, ensure they are out of reach of curious children and pets.
Dispose of Chemicals Safely:
Once you have triumphed over your gluey battle, bid farewell to your trusty chemicals or solvents responsibly. Don’t just pour them down the drain or toss them in the trash. Check local regulations for safe disposal methods or contact your nearest waste management facility or hazardous waste disposal center for guidance. Let’s be responsible stewards of our environment.
Keep Emergency Measures in Place:
Even the most careful DIY warriors can encounter accidents. Be prepared by keeping a nearby first aid kit and knowing how to respond to chemical exposure or accidents. Familiarize yourself with emergency procedures and save important contact numbers for poison control or medical assistance – just in case.
uh9Zk9X-esg” >
Conclusion
Removing glue from a bathroom mirror can be a pesky task, but fear not.
There are several effective methods you can try. One option is to use rubbing alcohol or nail polish remover.
Simply apply a small amount to a clean cloth and gently rub the glue until it starts to loosen. Another technique is to use a mixture of warm water and dish soap.
Dip a sponge into the soapy water and gently scrub the affected area. If these methods don’t do the trick, you can also try using vinegar or lemon juice, which have natural adhesive-dissolving properties.
Remember to always test any cleaning solution on a small, inconspicuous area of the mirror first to ensure it doesn’t cause any damage.